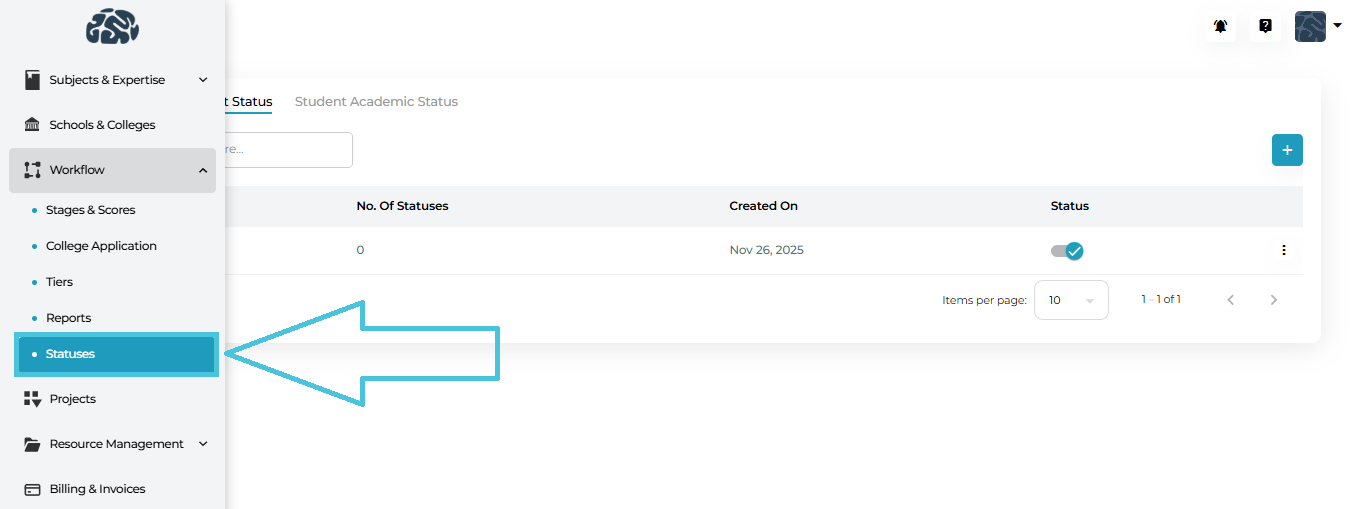
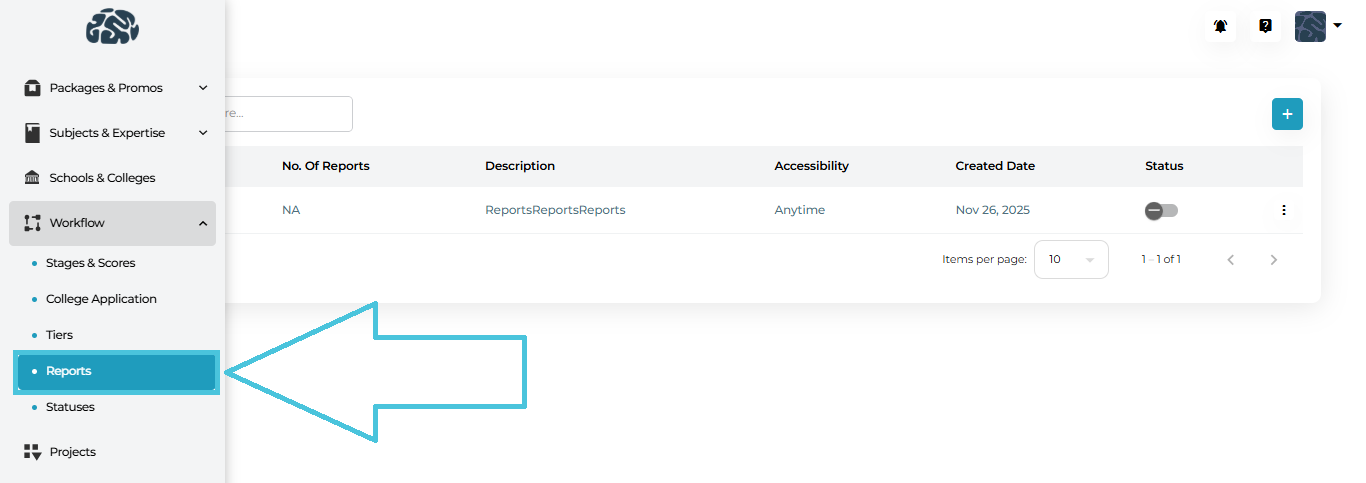
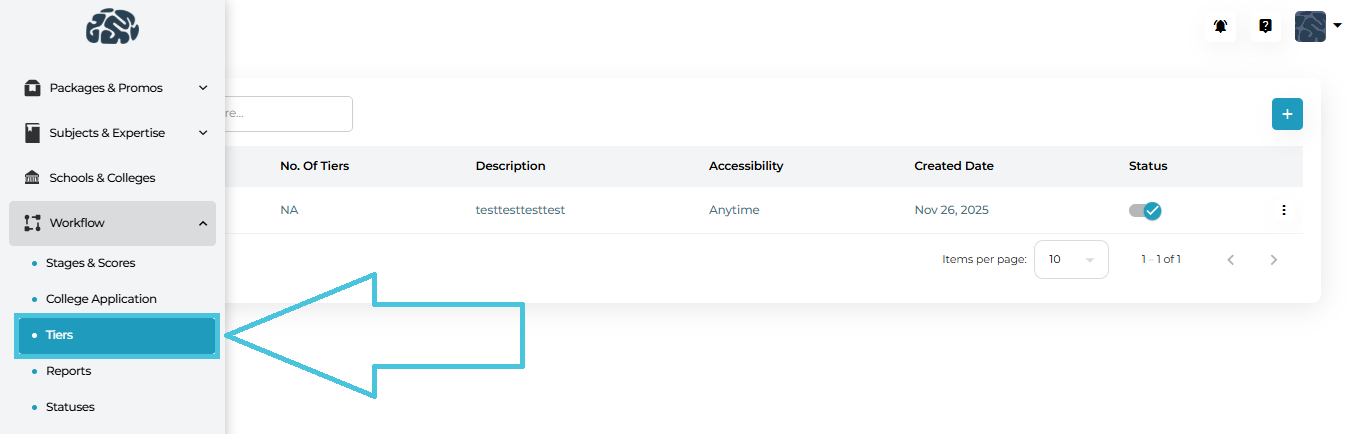
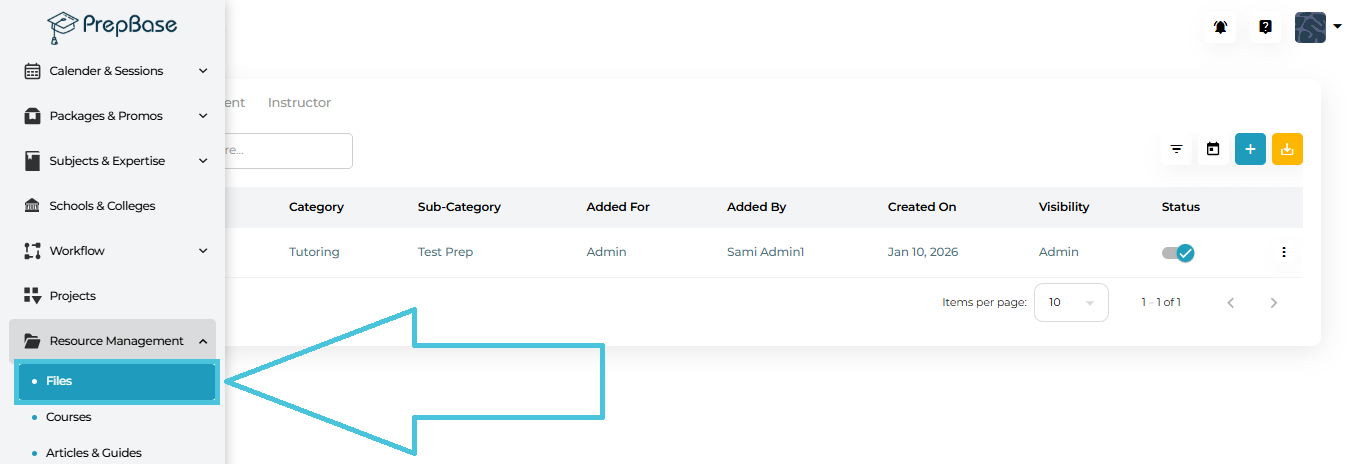
Navigate to:
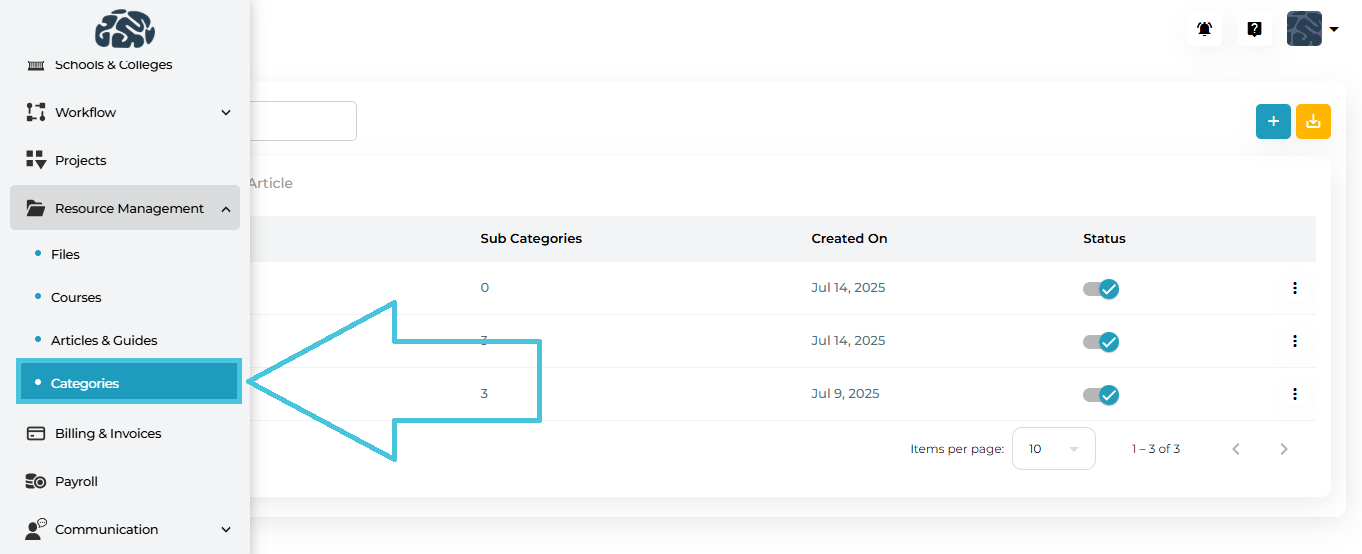
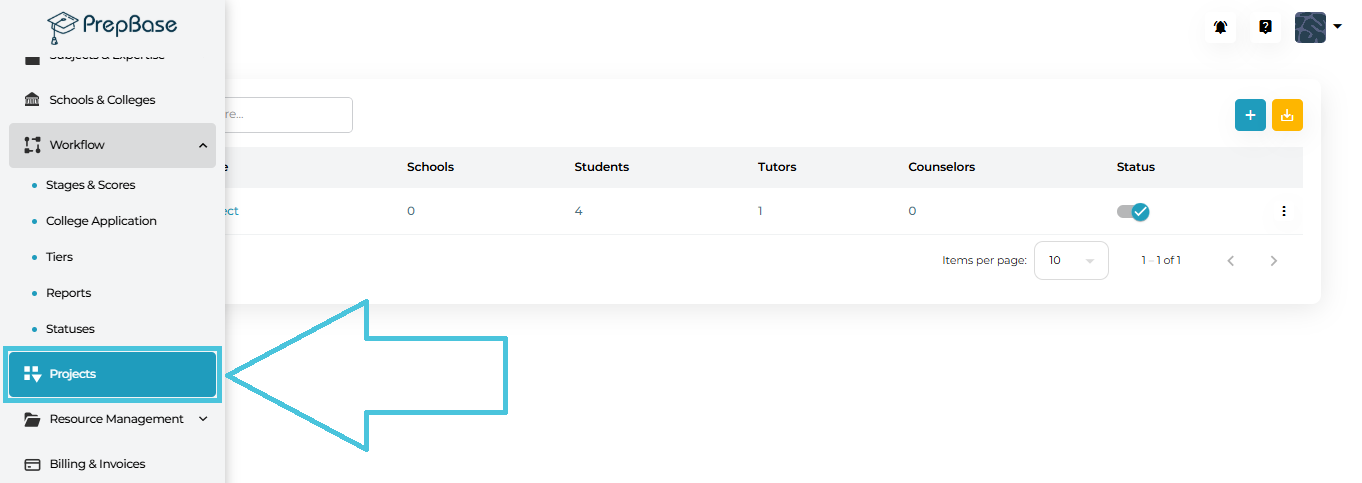
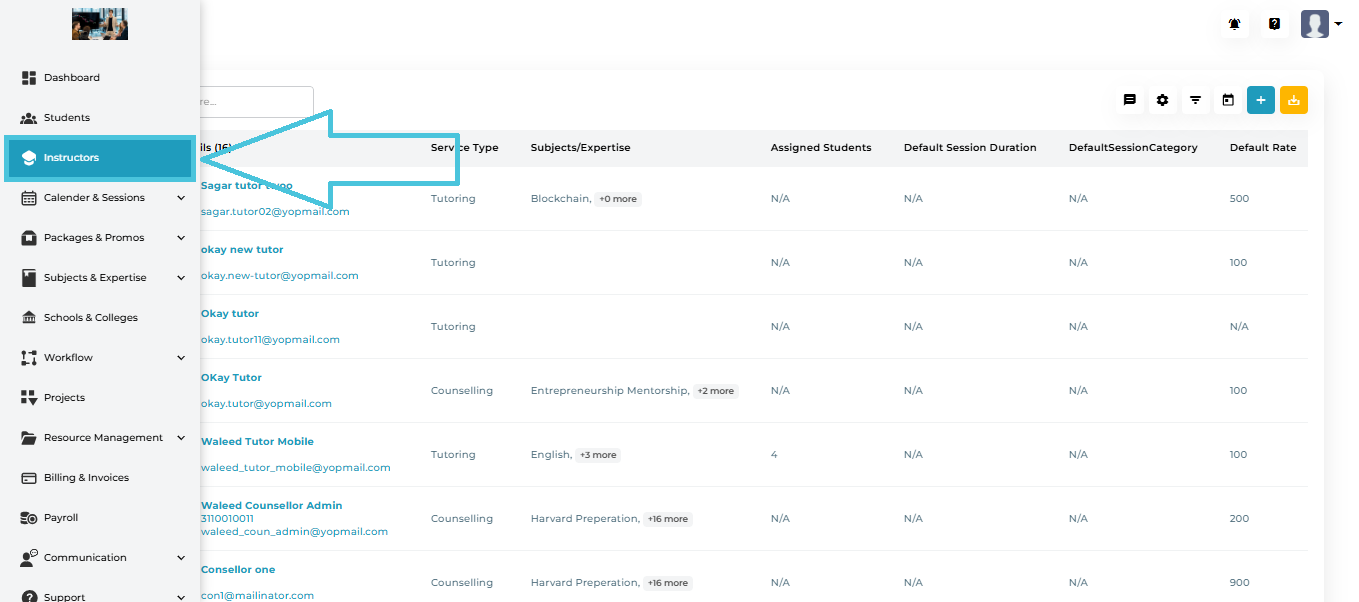
Admin Portal → Resource Management → Categories
The Categories screen is divided into three tabs, each managing a different resource type:

| Tab | Purpose |
|---|---|
| File | Organize uploaded files and folders |
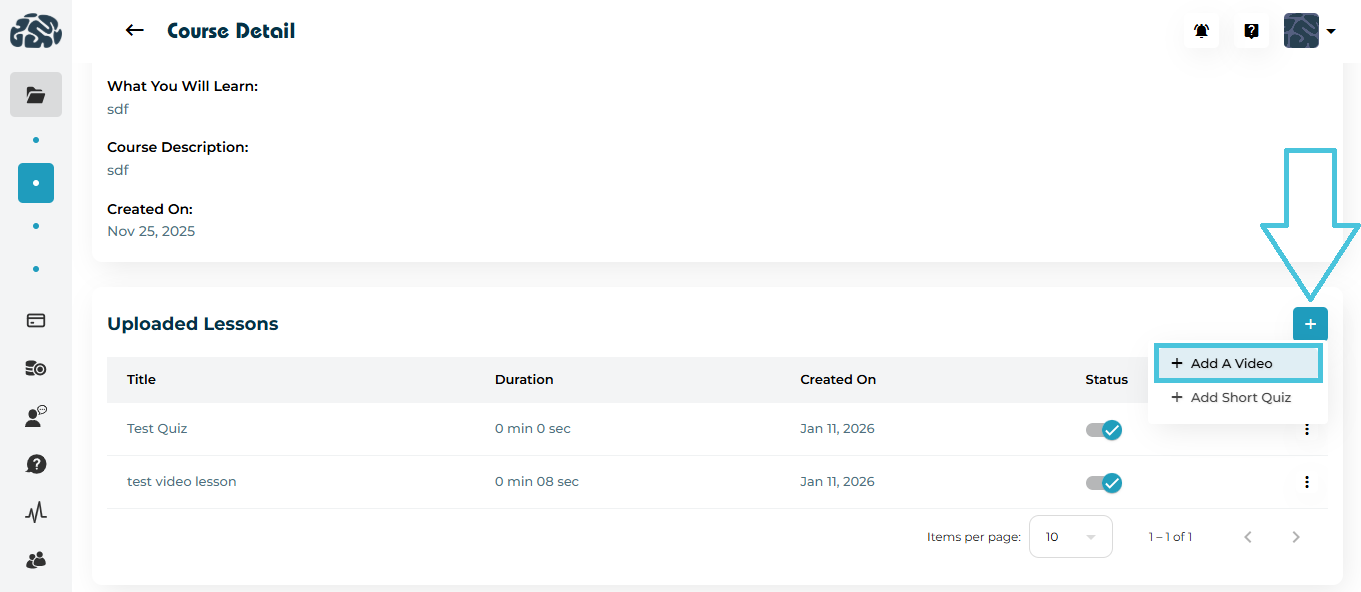
| Course | Organize video courses and learning content |
| Article | Organize articles, guides, and FAQs |
Each tab works the same way, but applies to a different resource type.
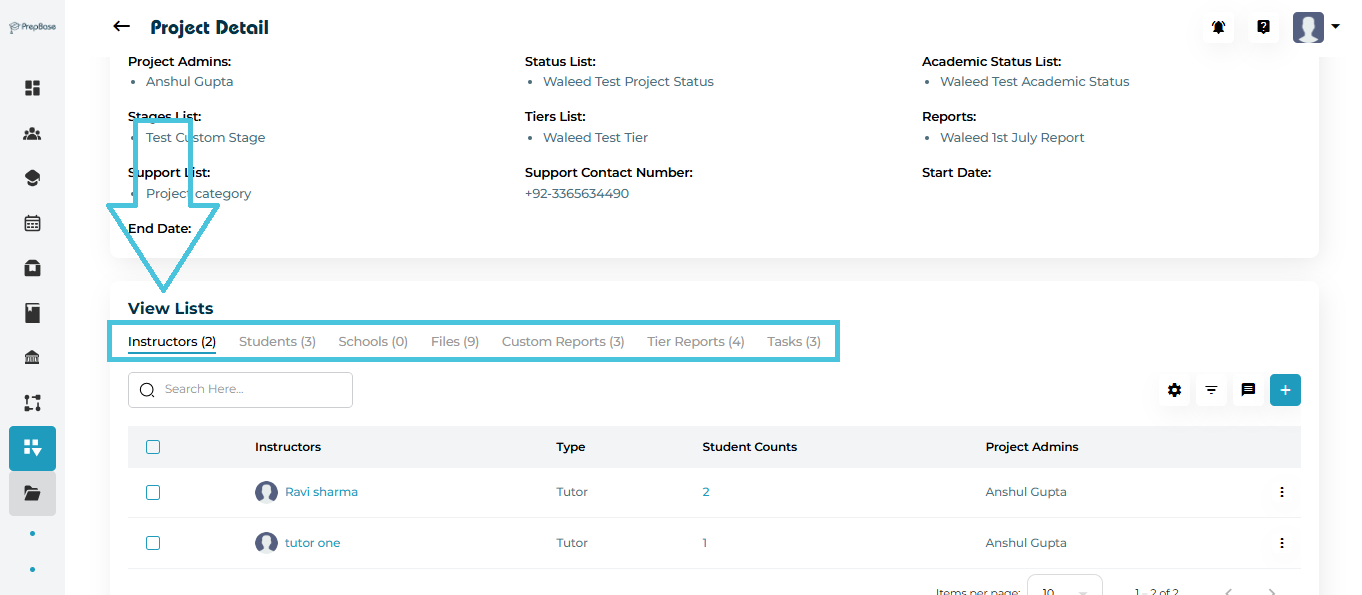
File categories are used when uploading files in Resource Management → Files and also inside Projects and Profiles.
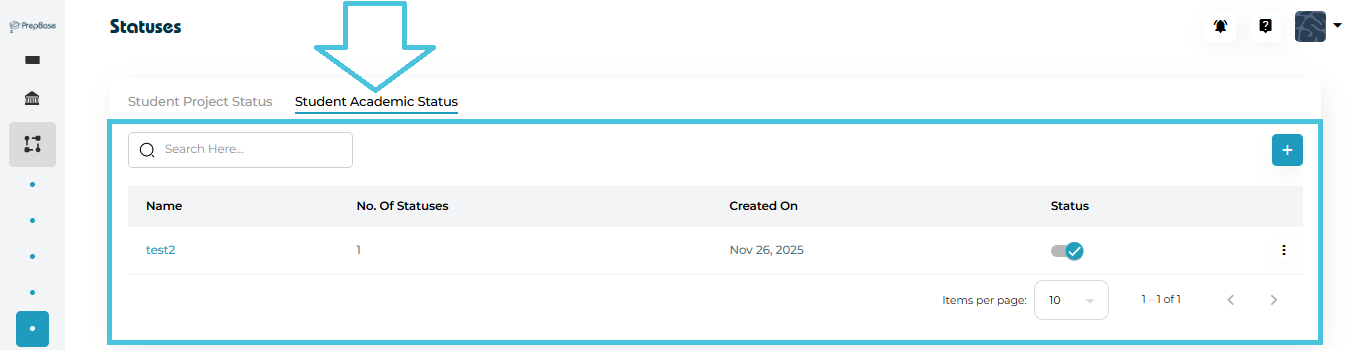
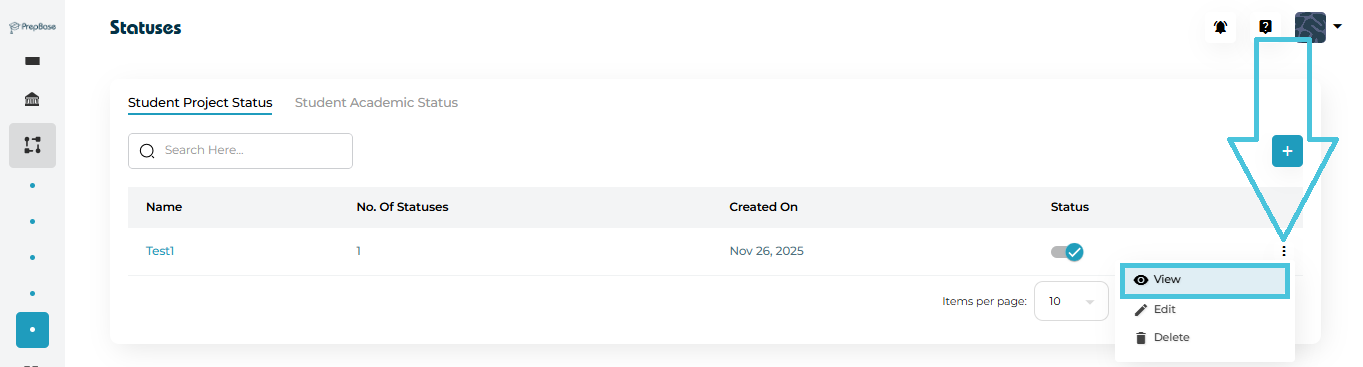
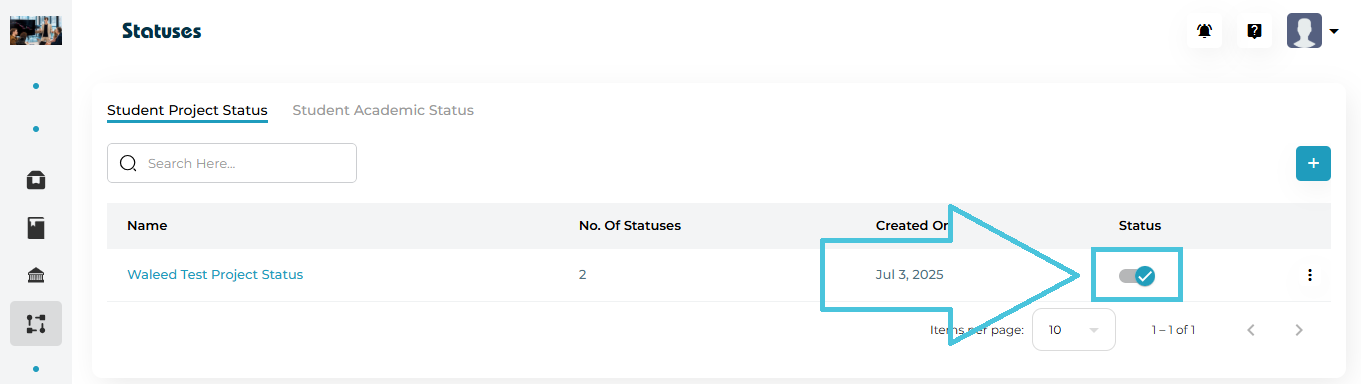
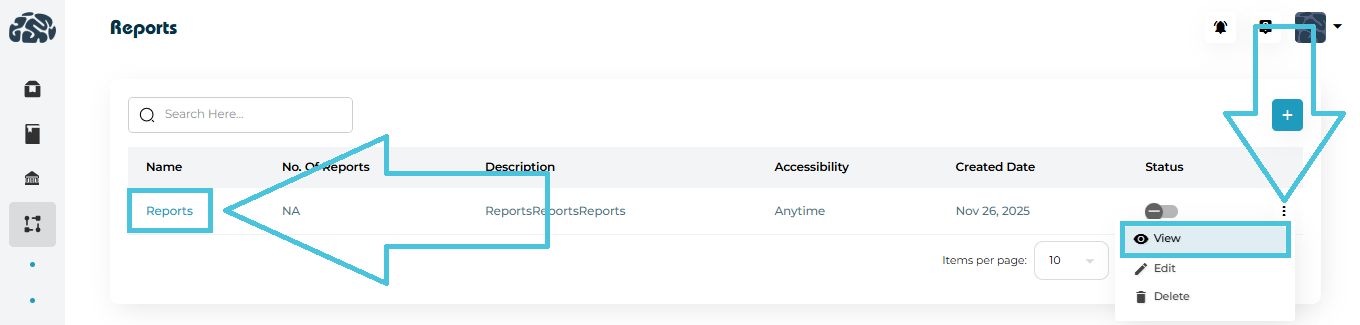
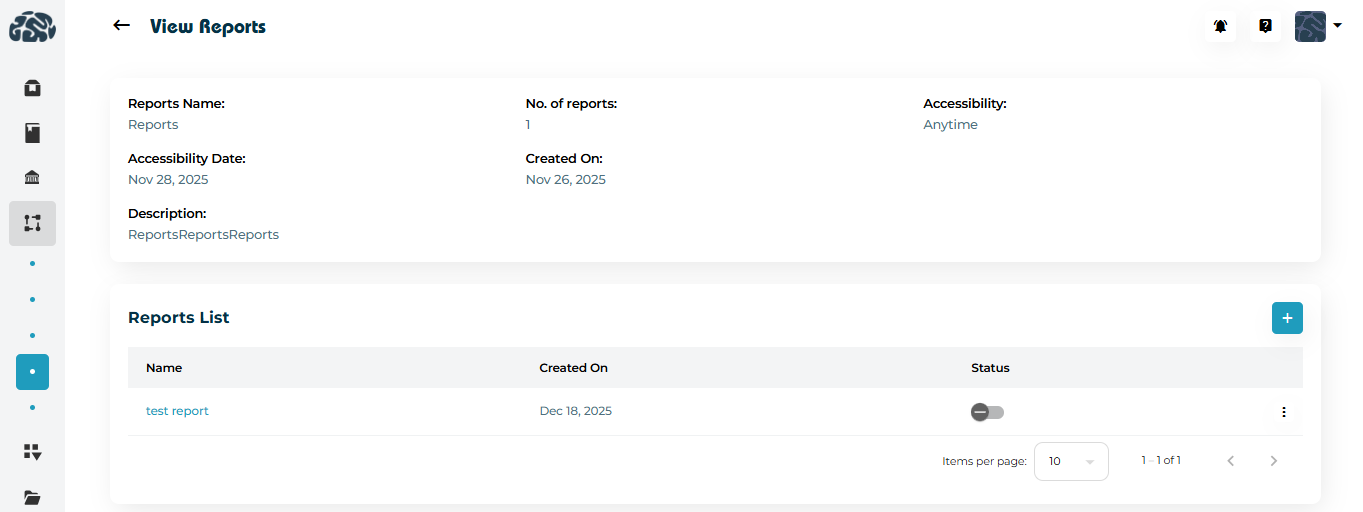
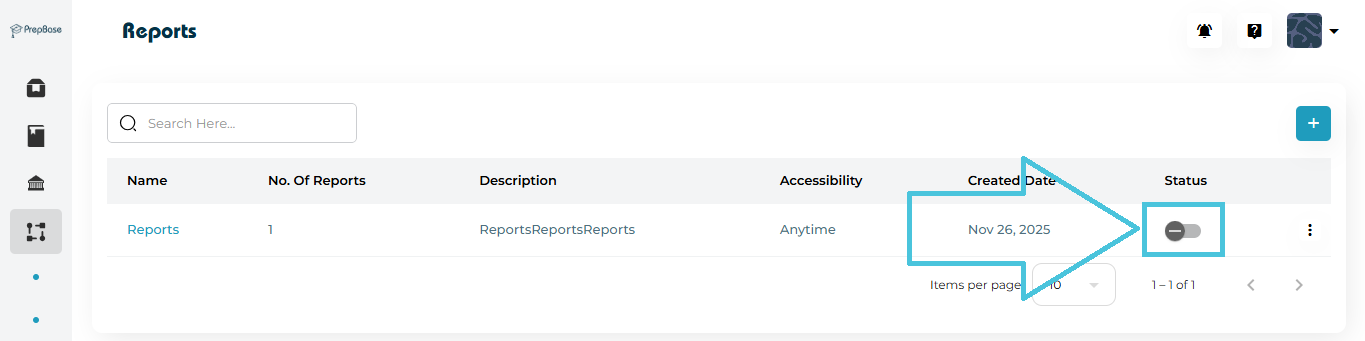
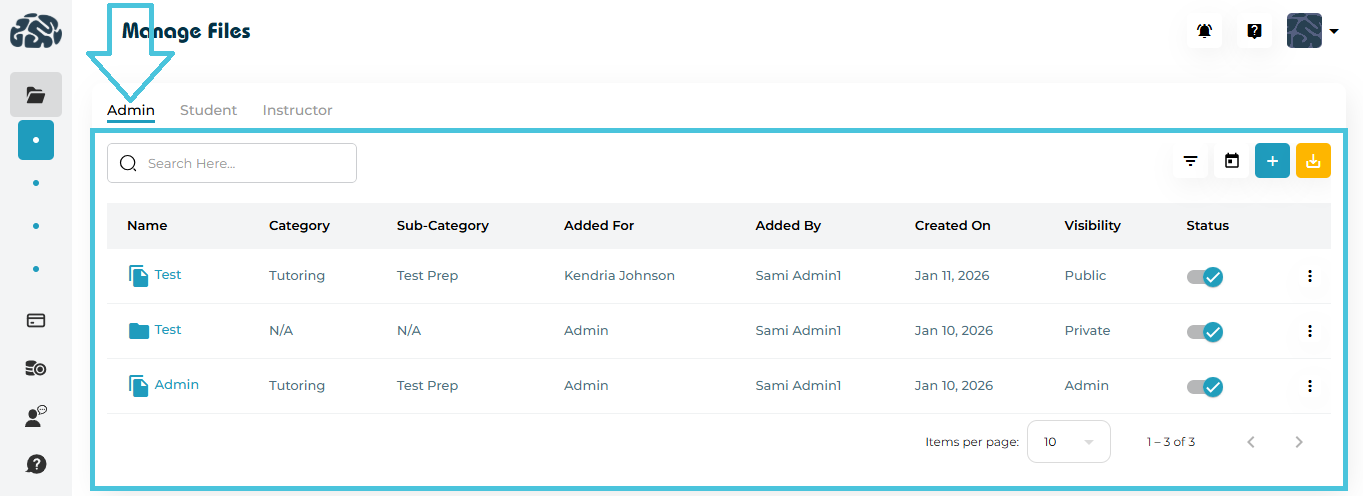
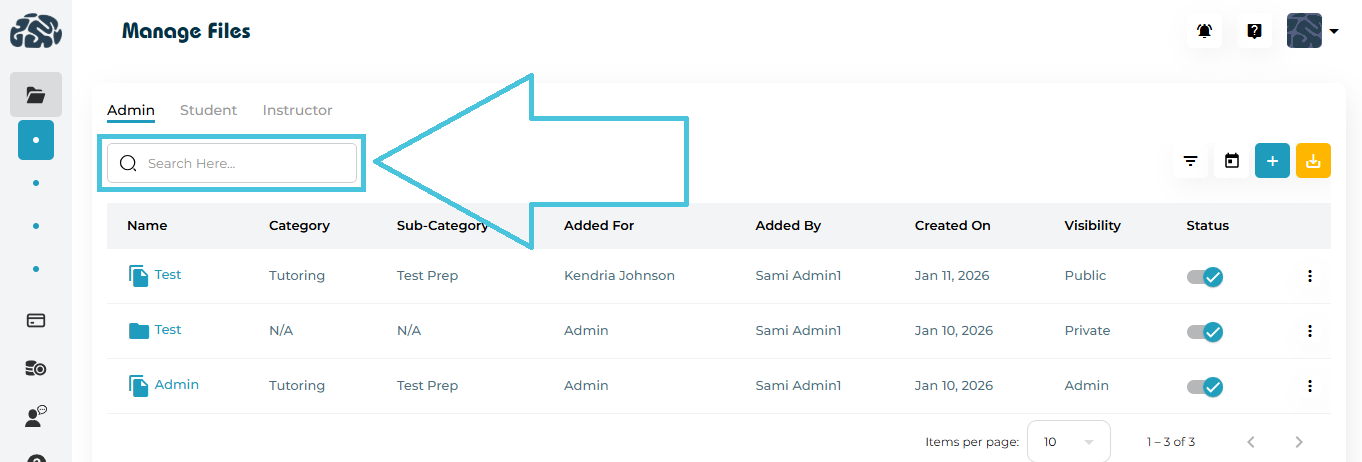
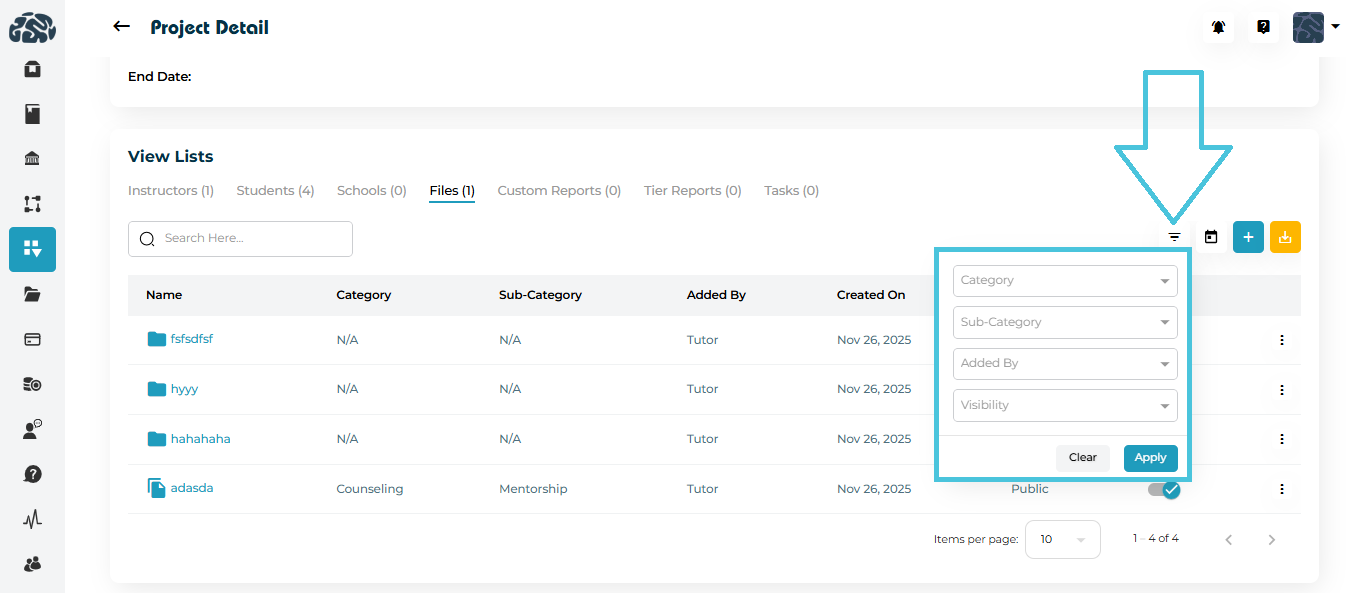
Viewing File Categories
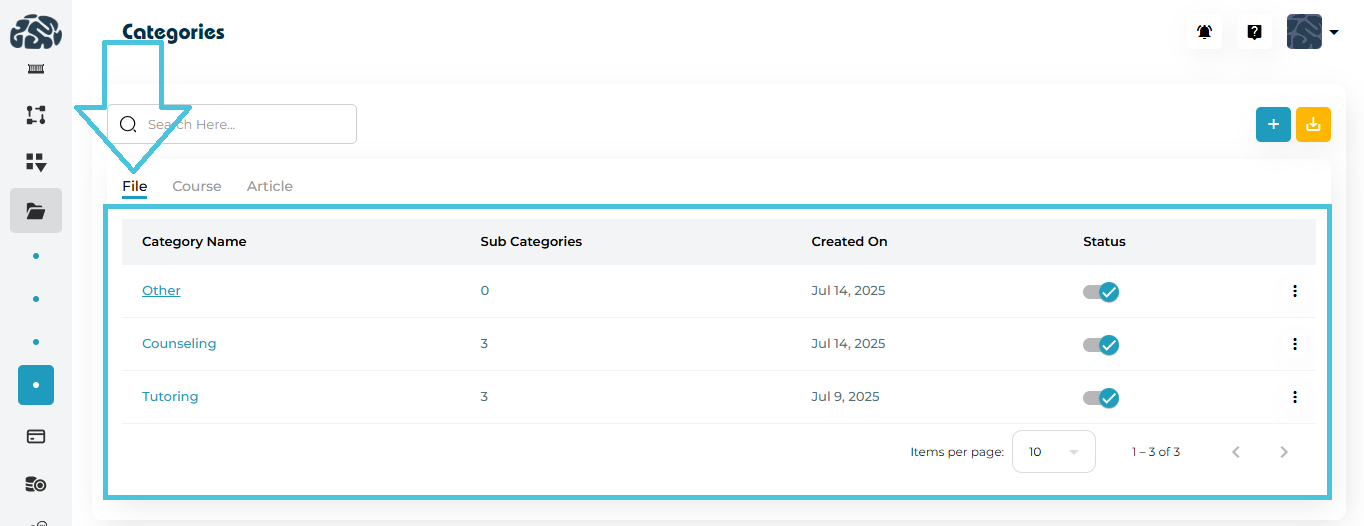
Click the File tab
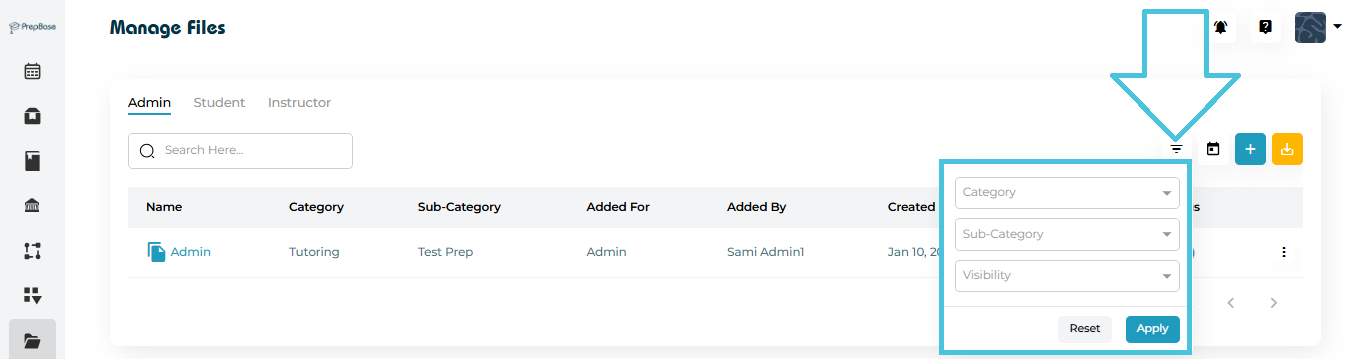
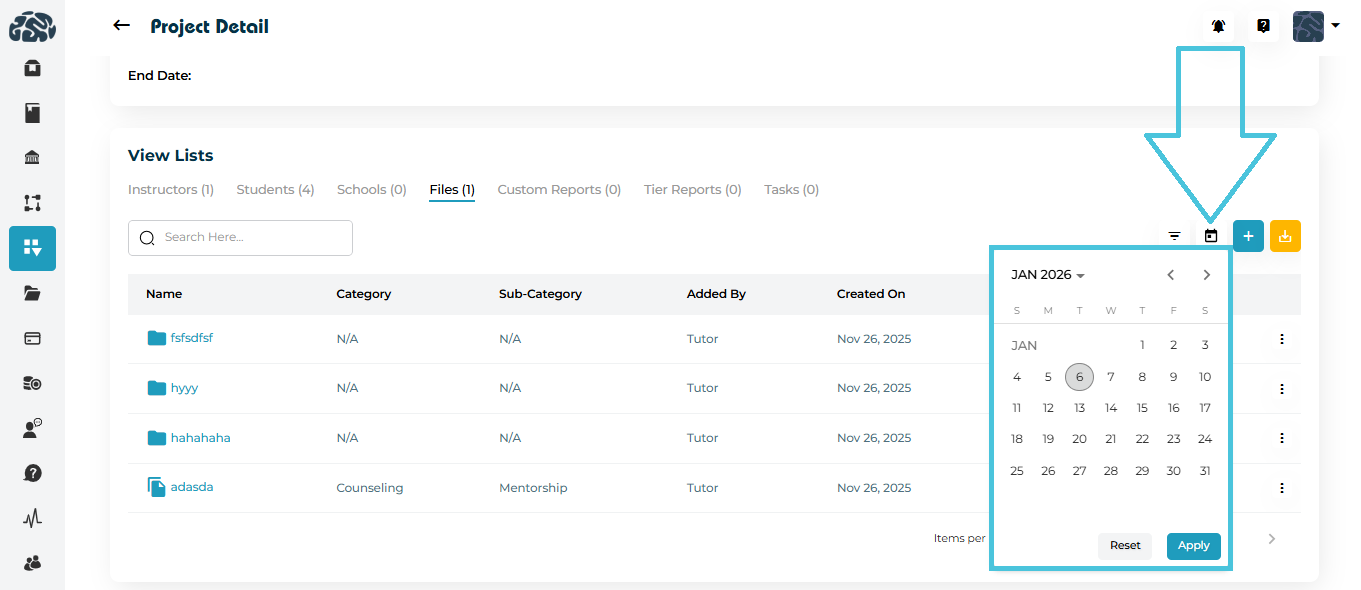
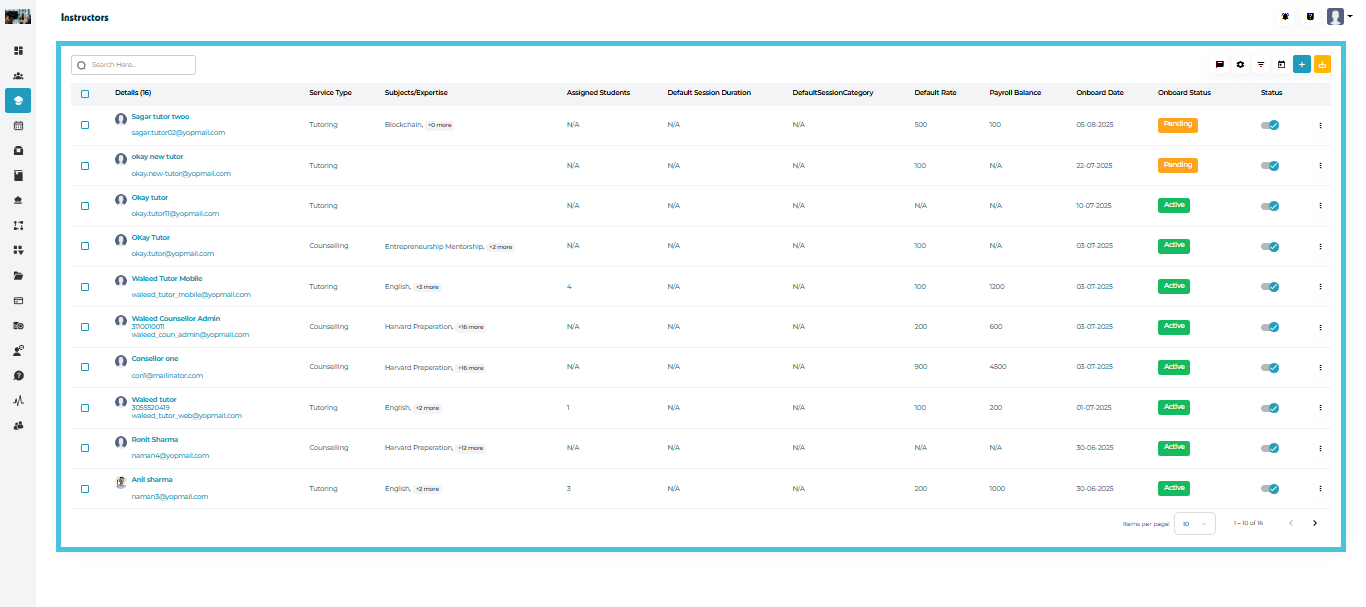
View category name, number of sub-categories, creation date, and status
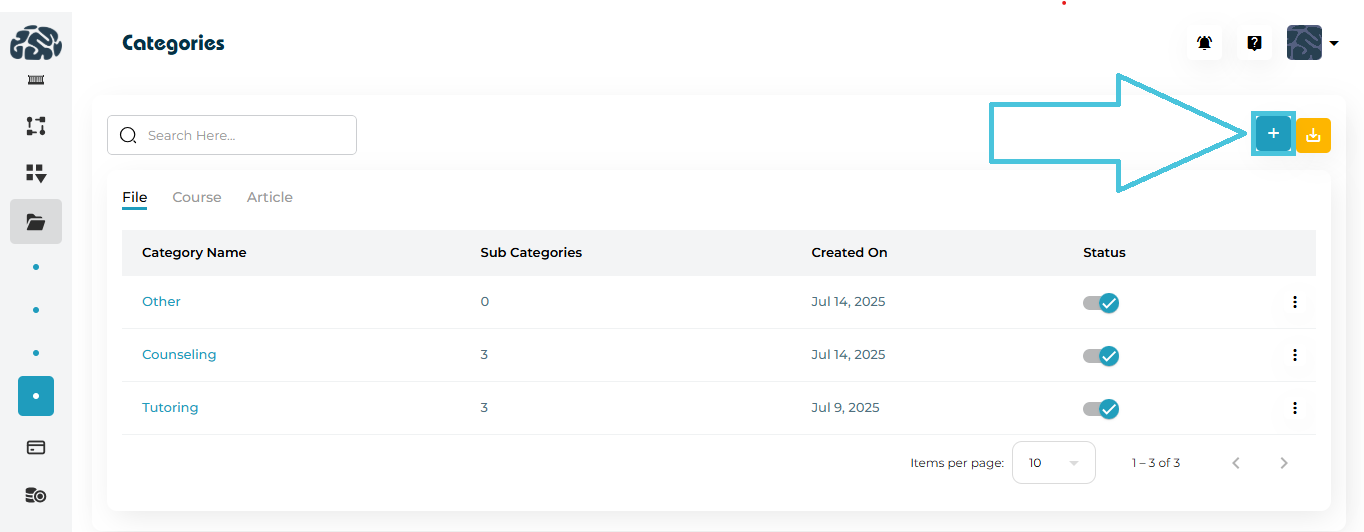
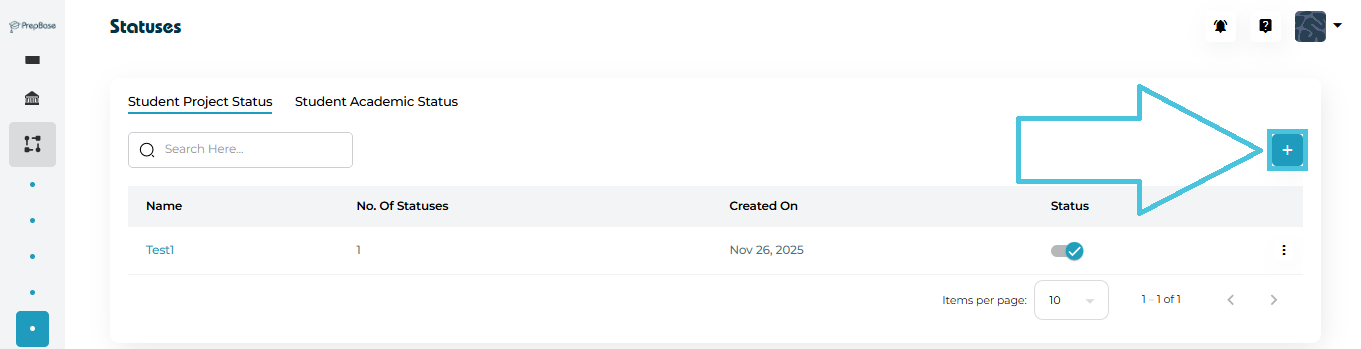
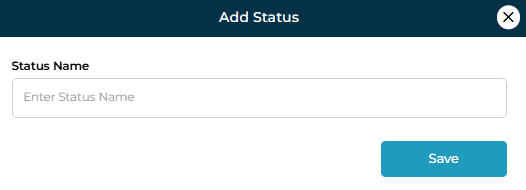
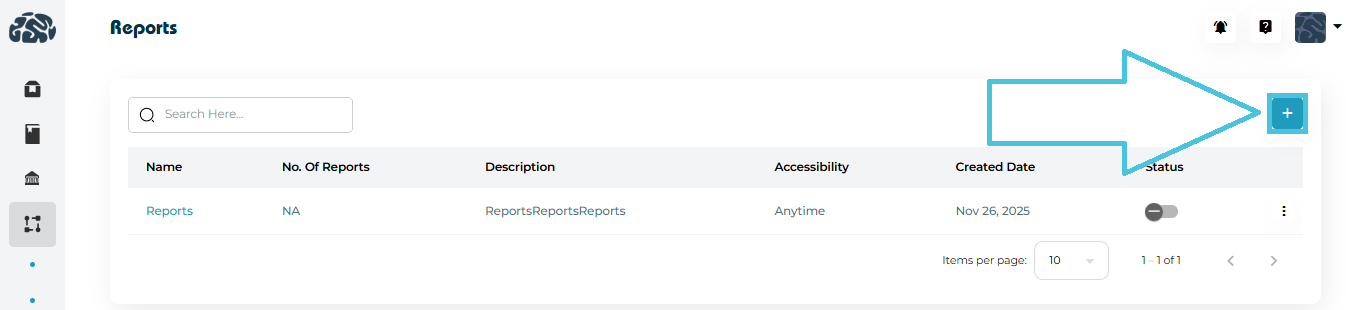
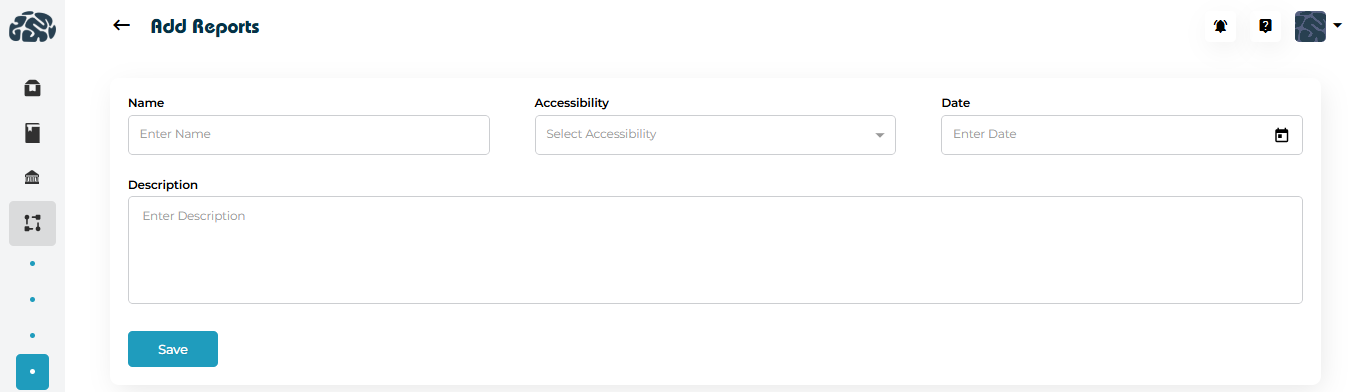
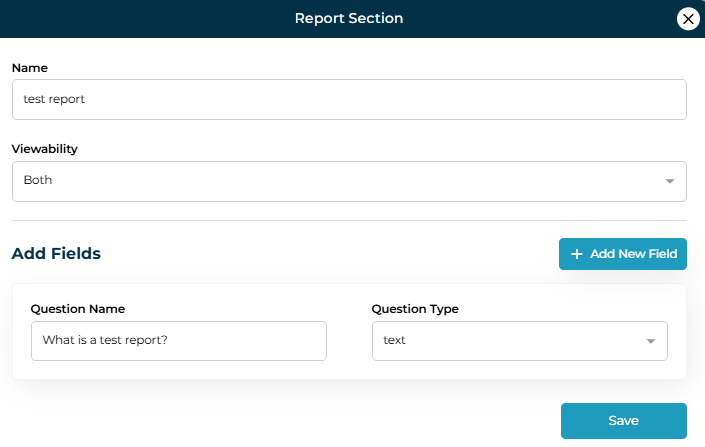
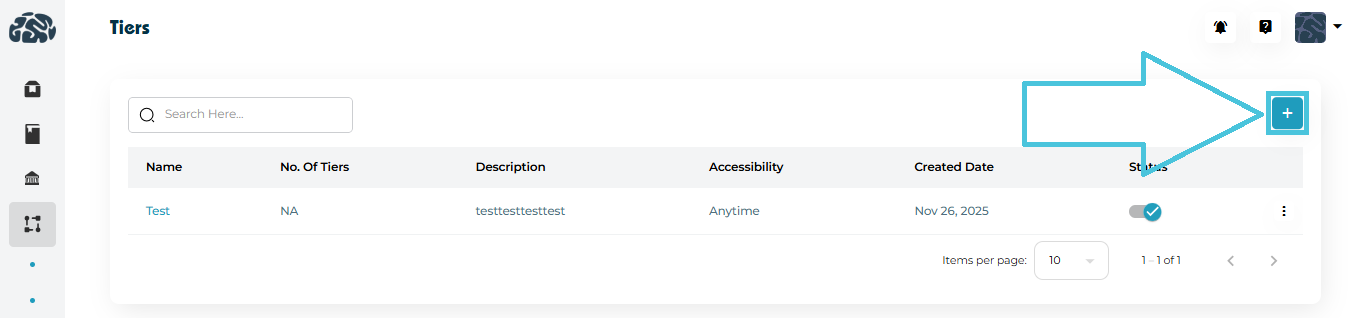
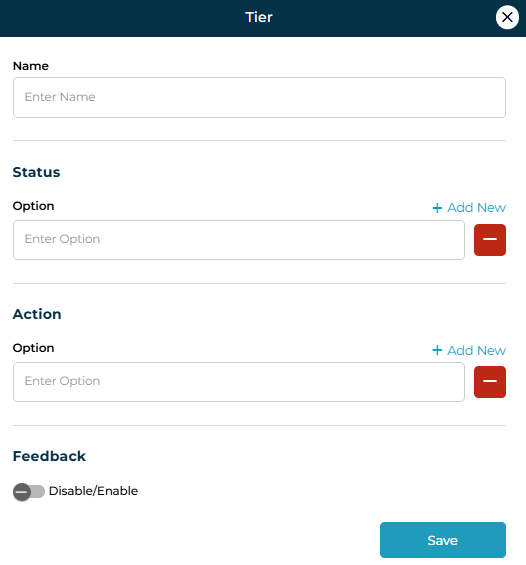
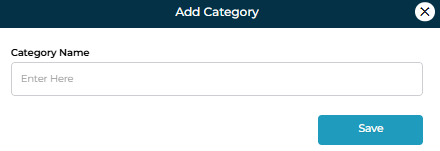
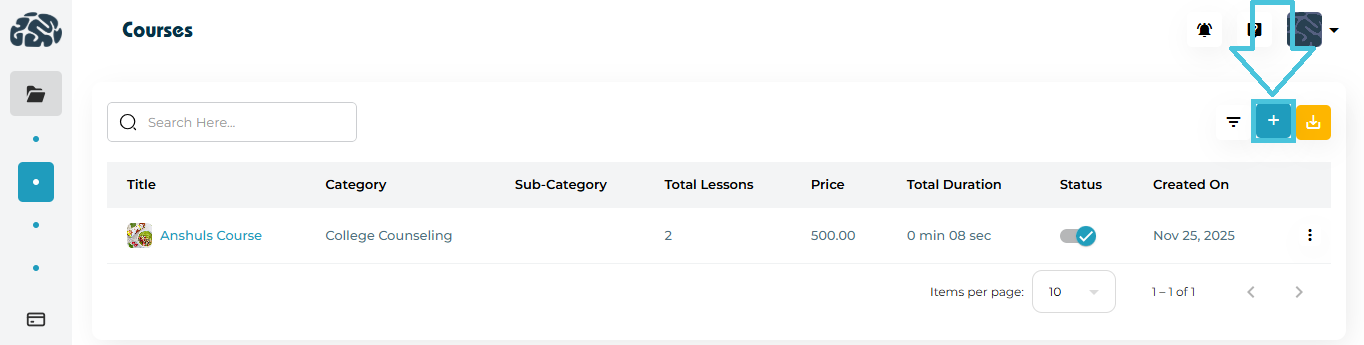
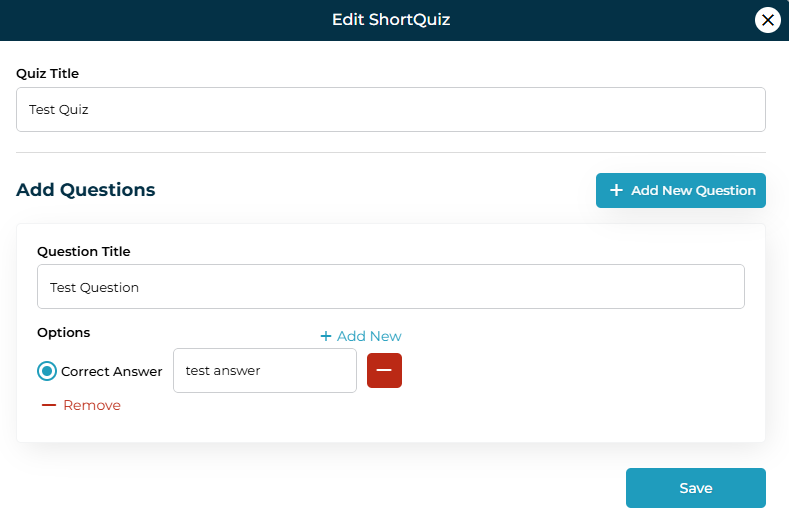
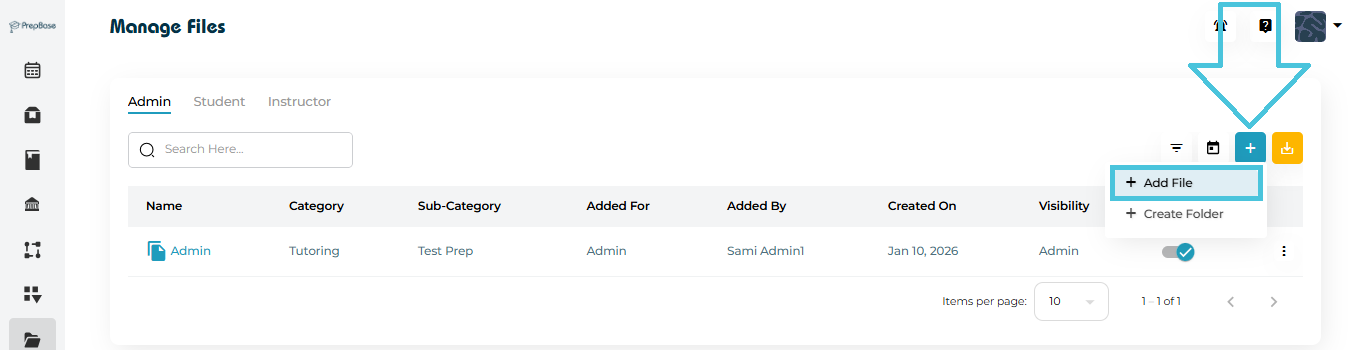
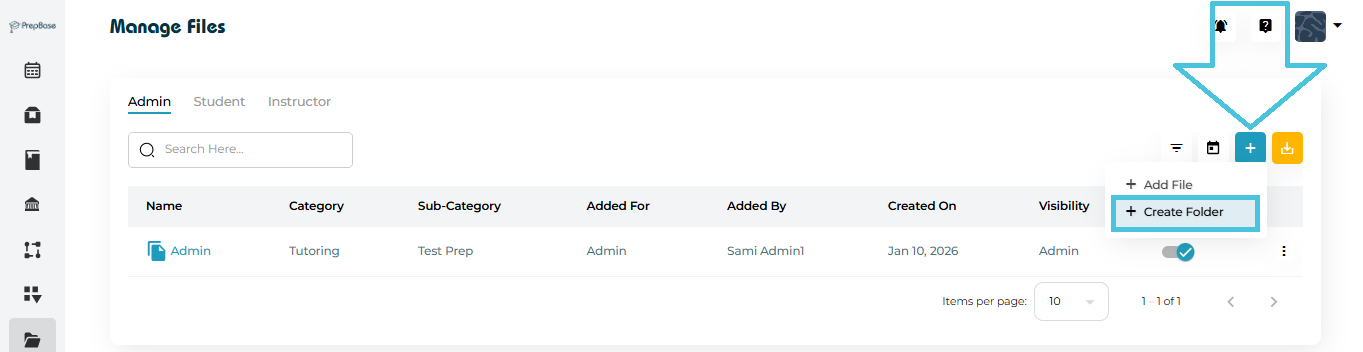
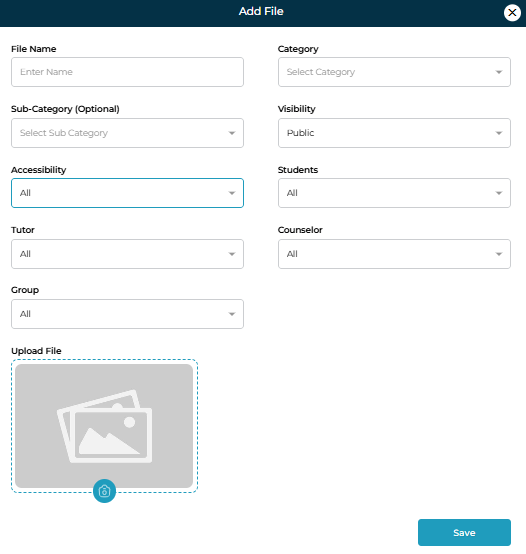
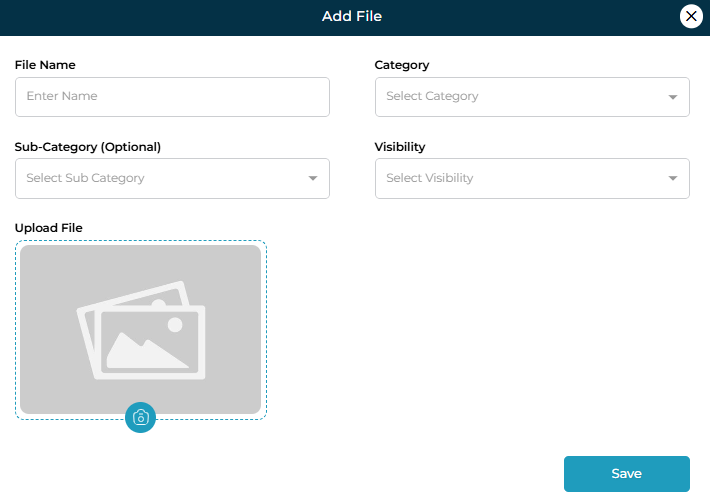
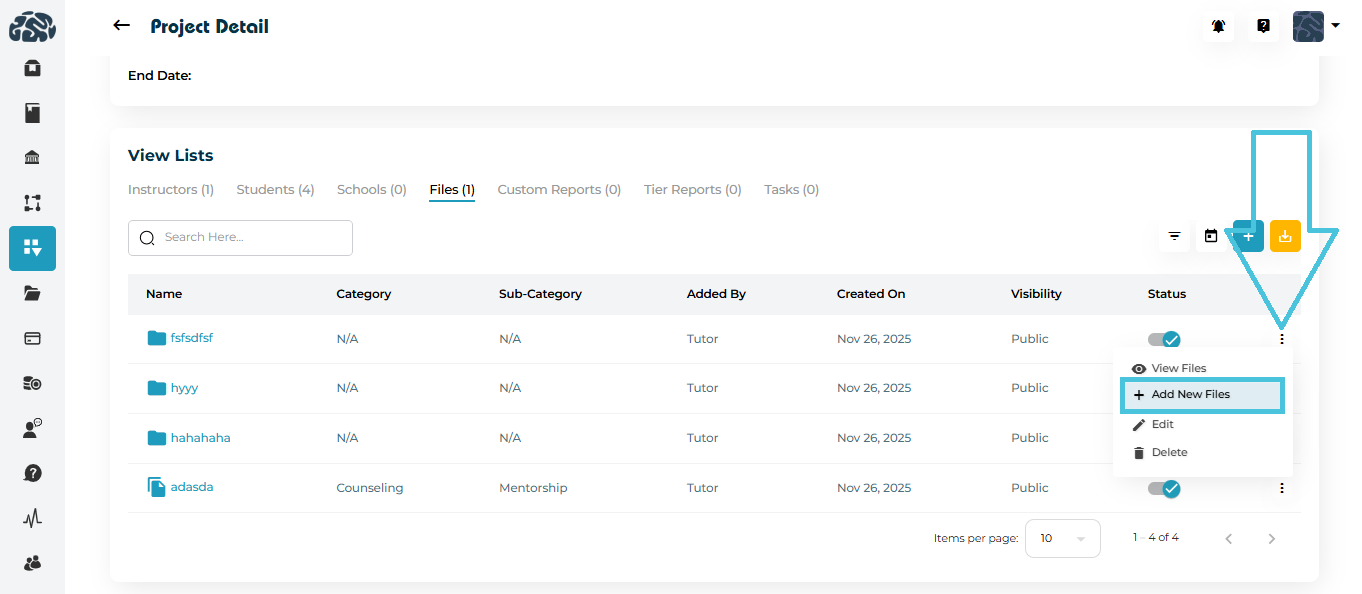
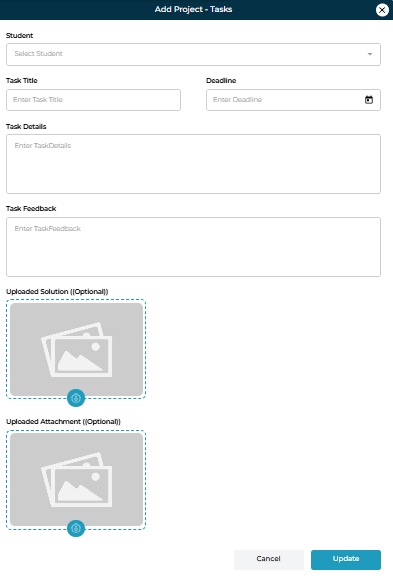
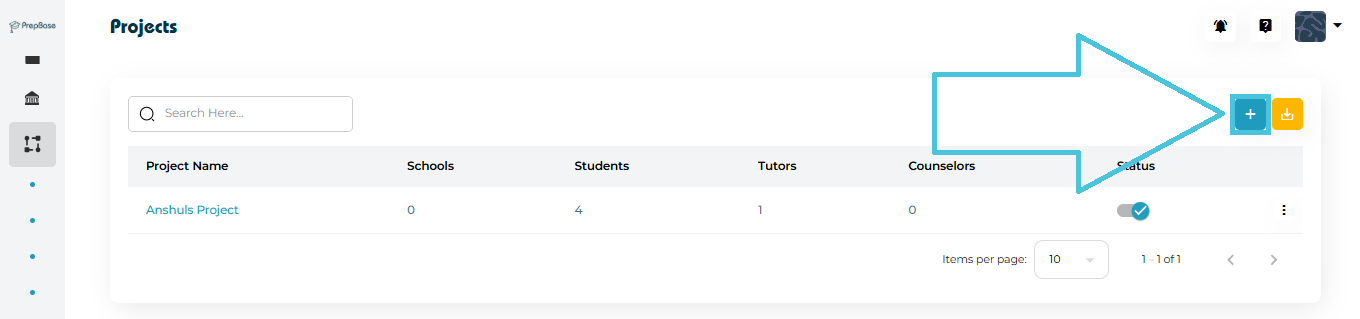
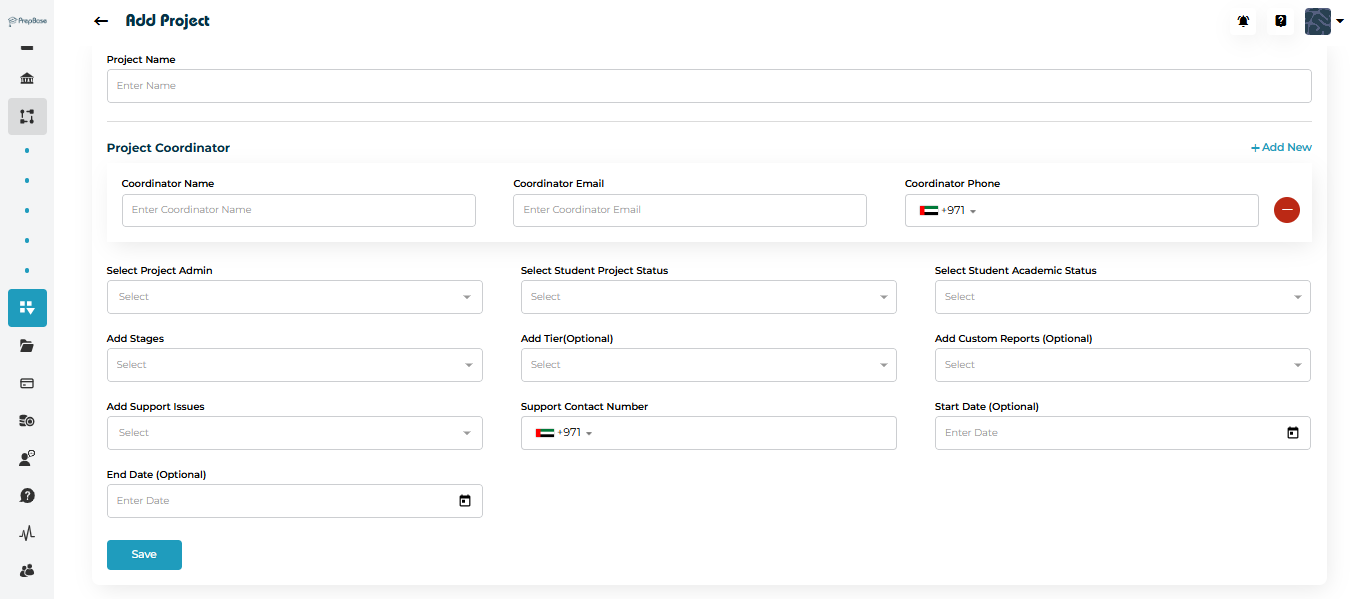
Adding a New File Category

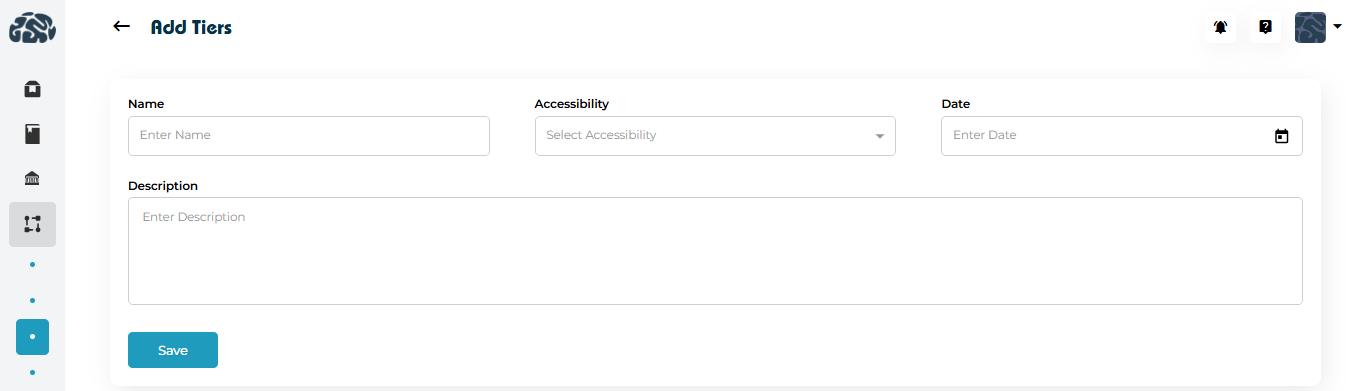
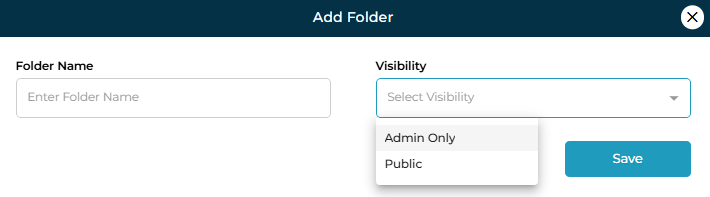
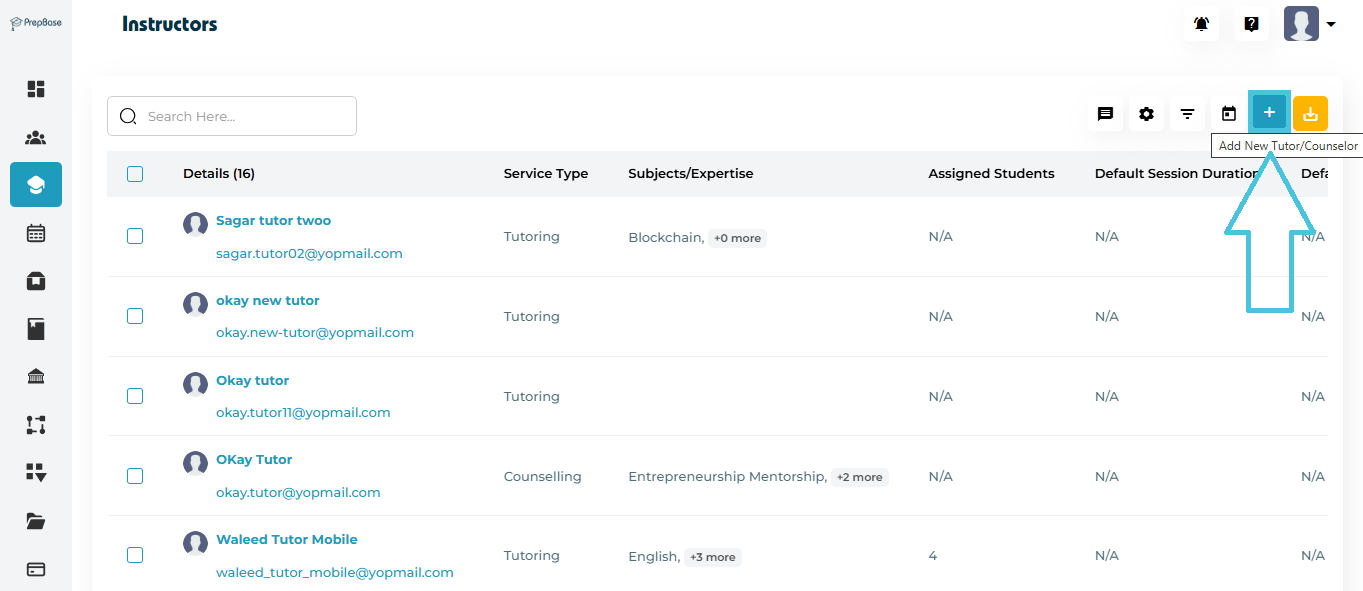
Click the ➕ Add Category button
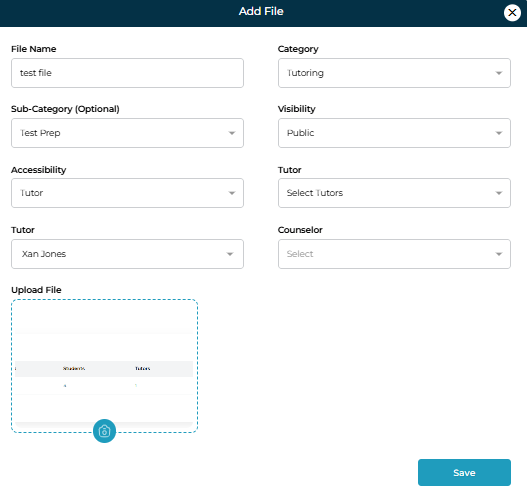
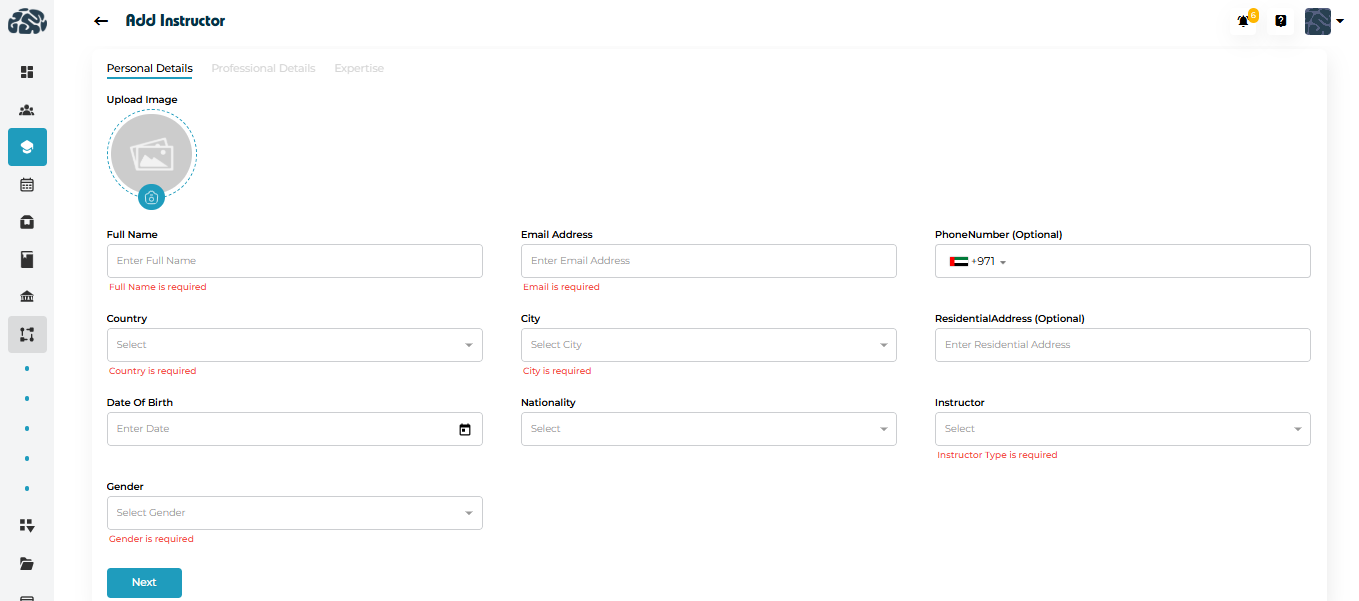
Enter the Category Name
Click Save
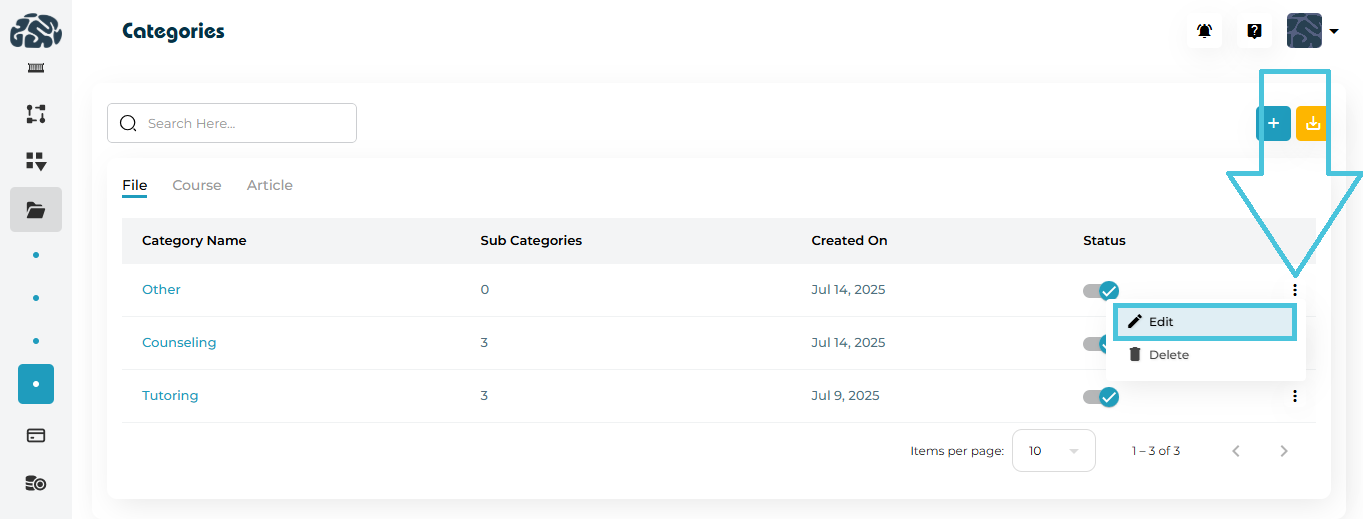
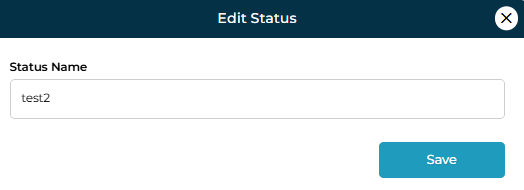
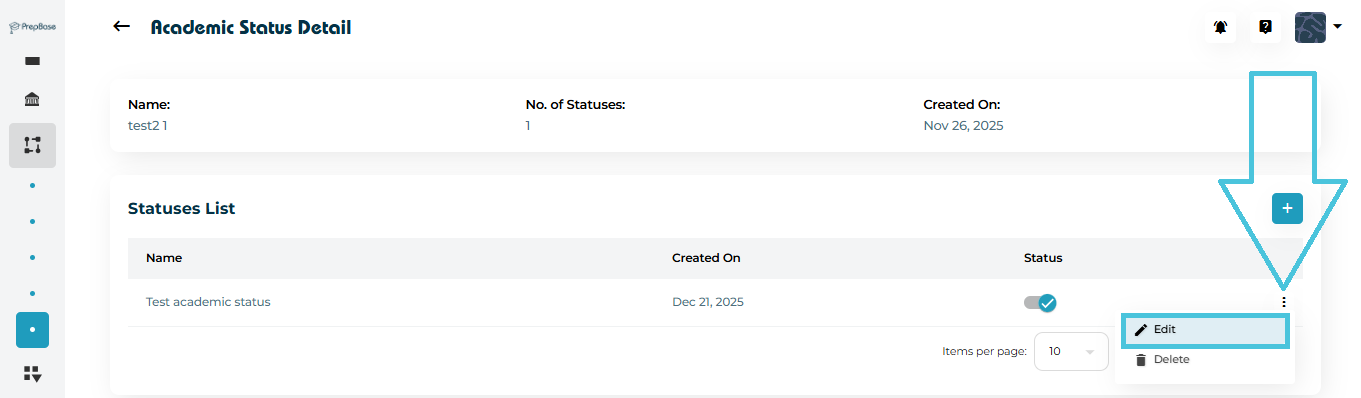
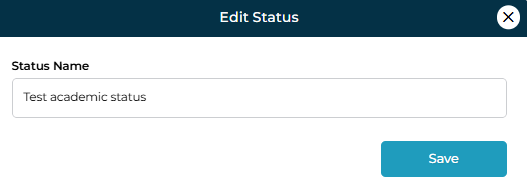
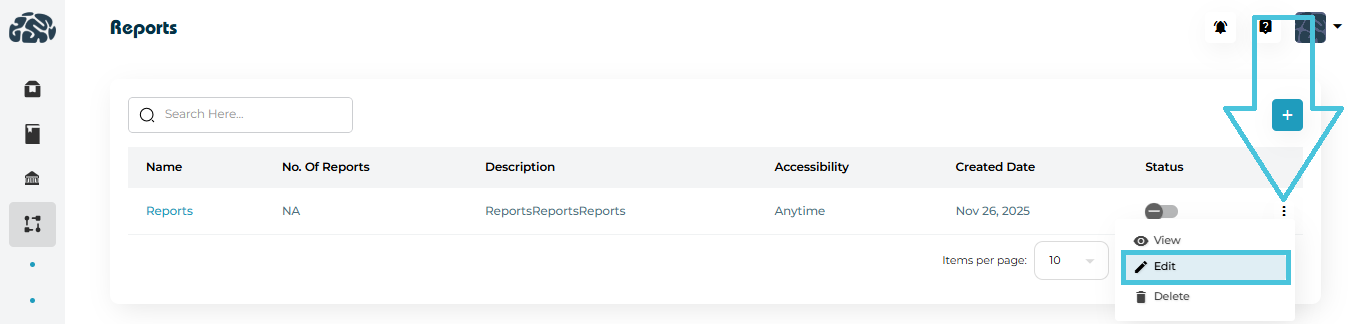
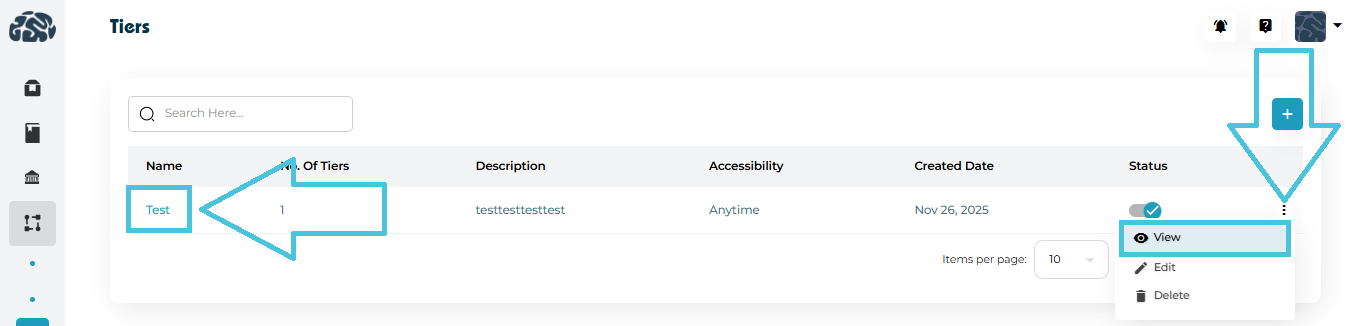
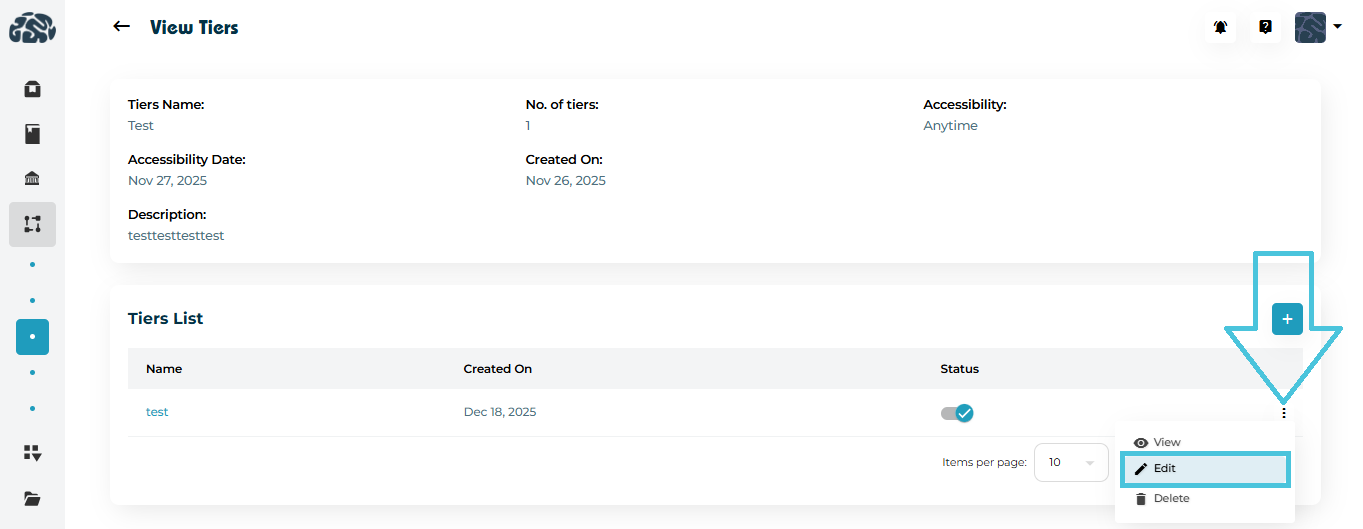
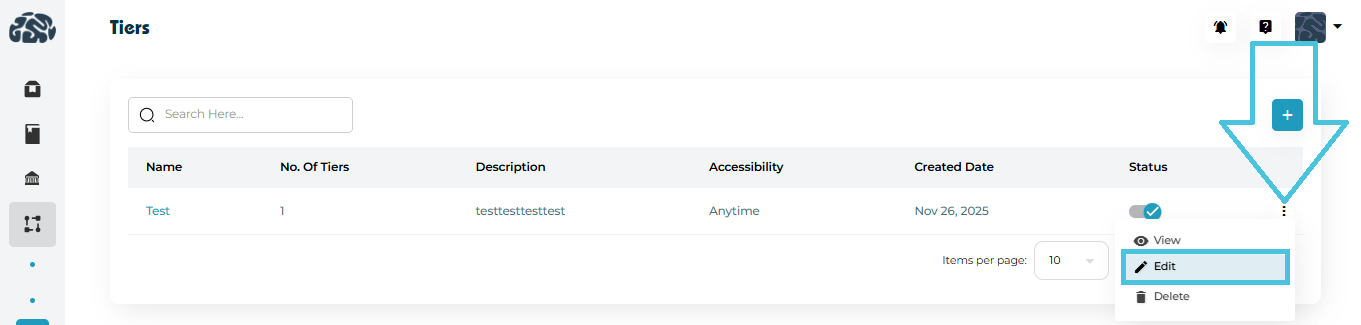
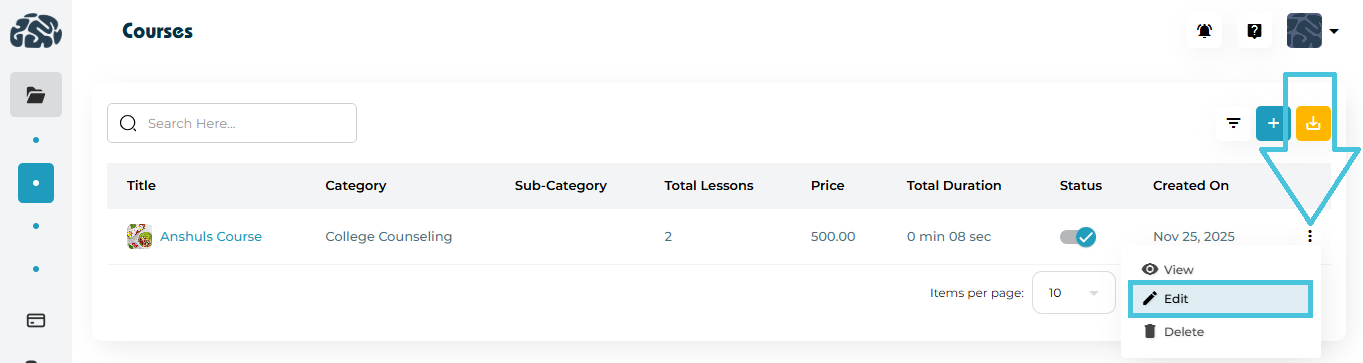
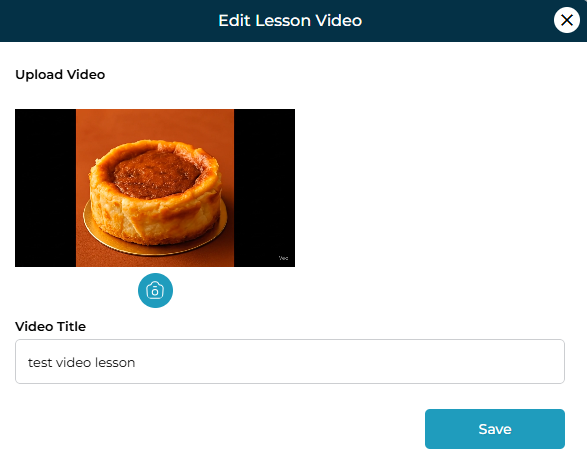
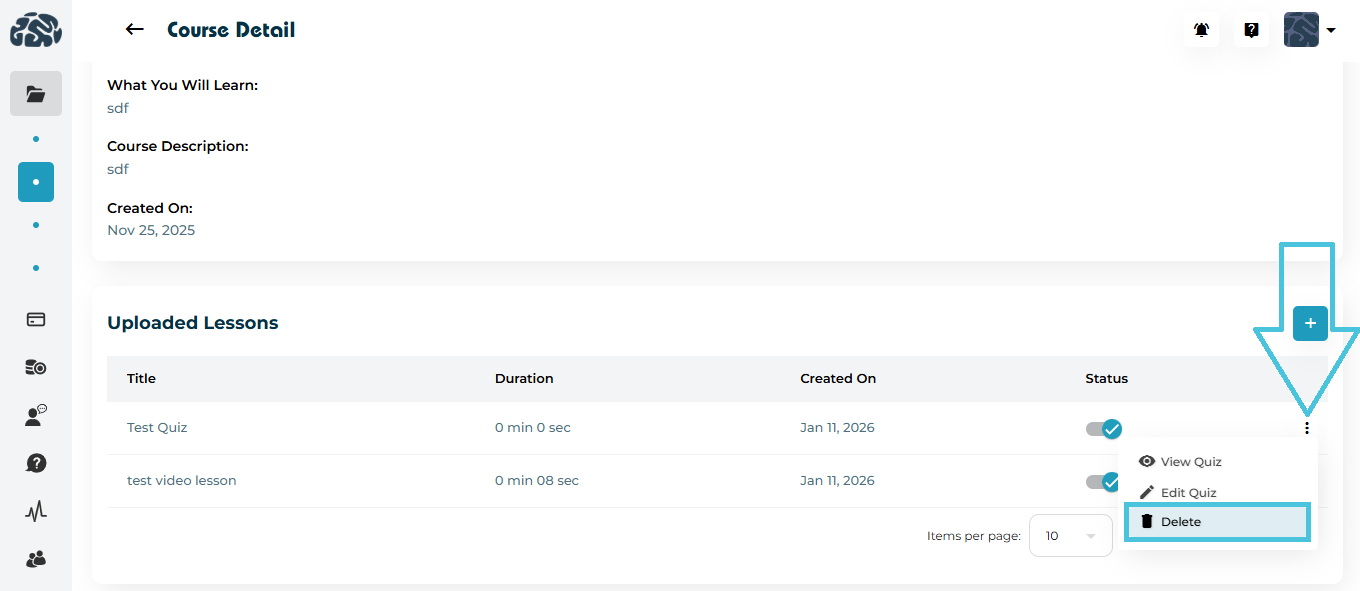
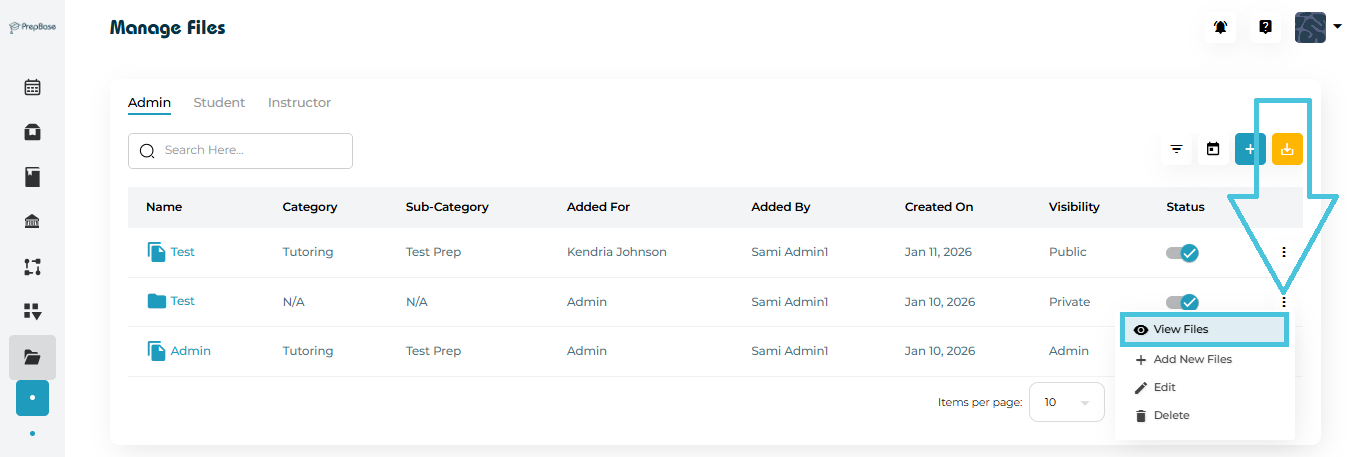
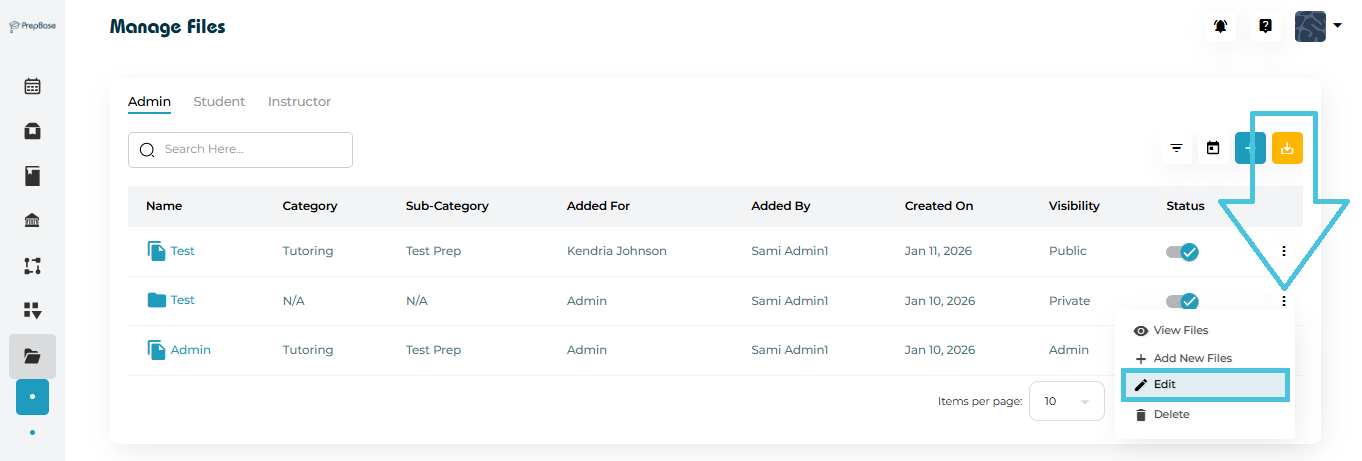
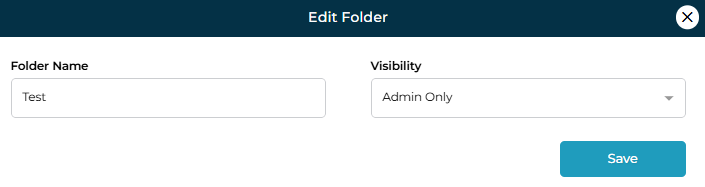
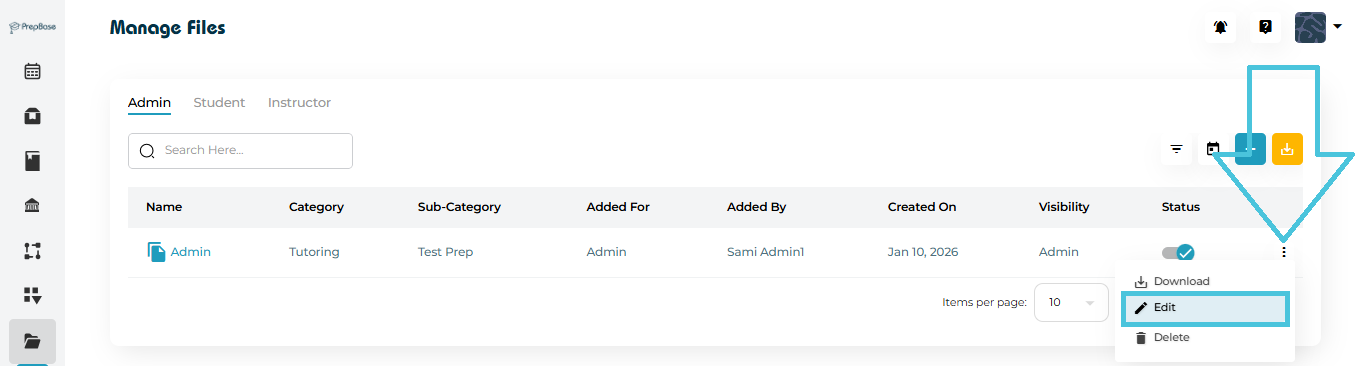
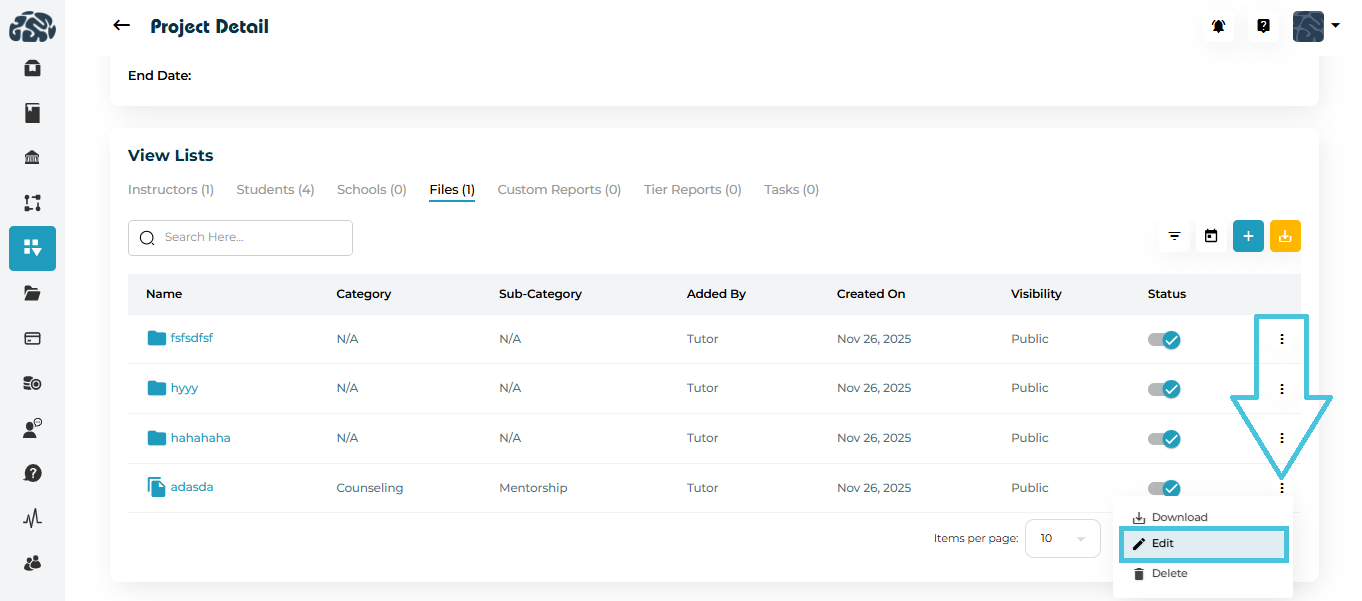
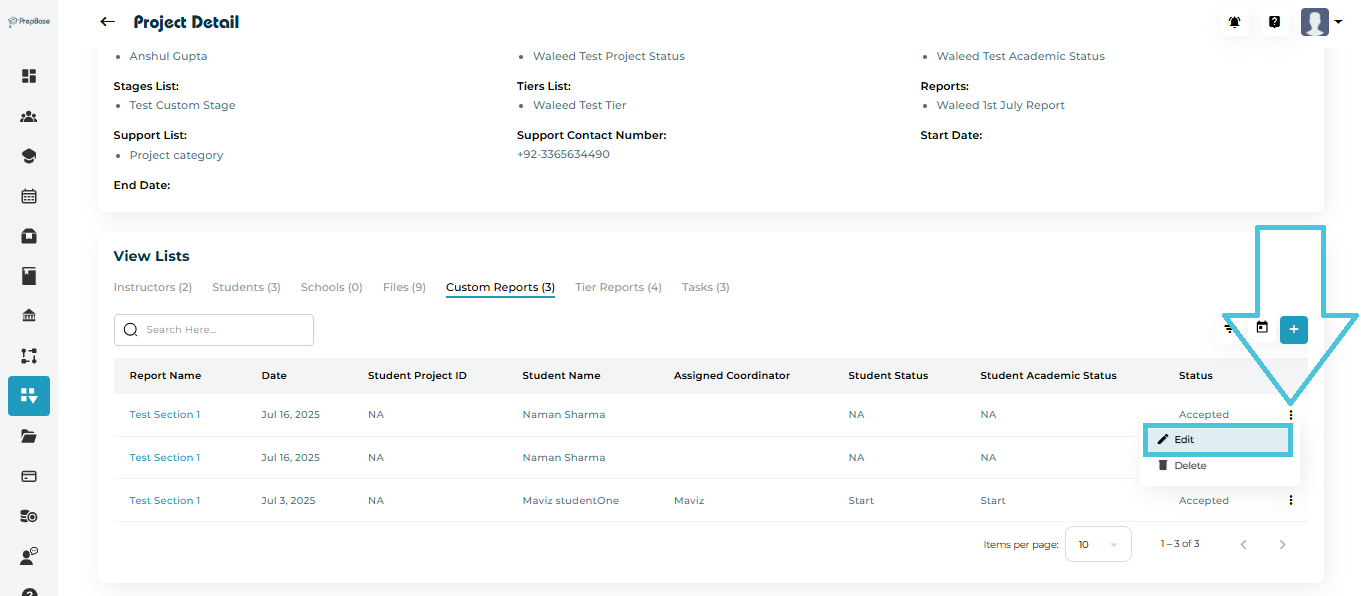
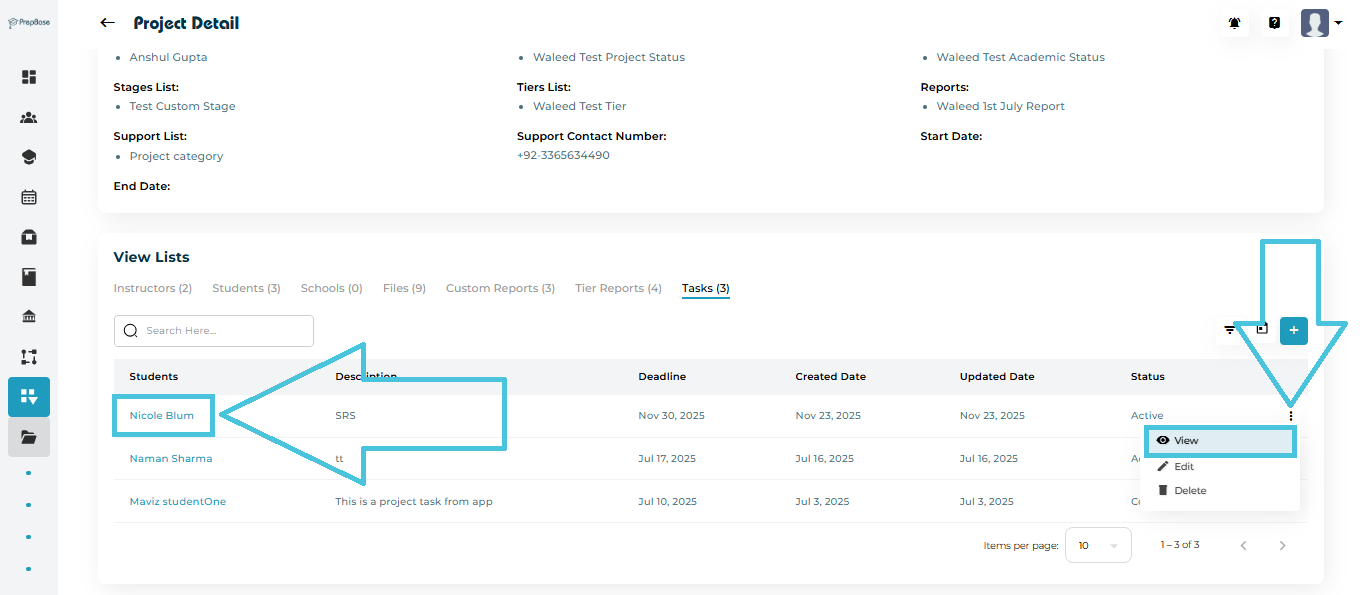
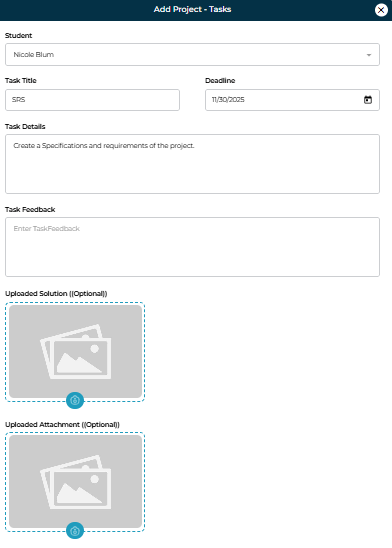
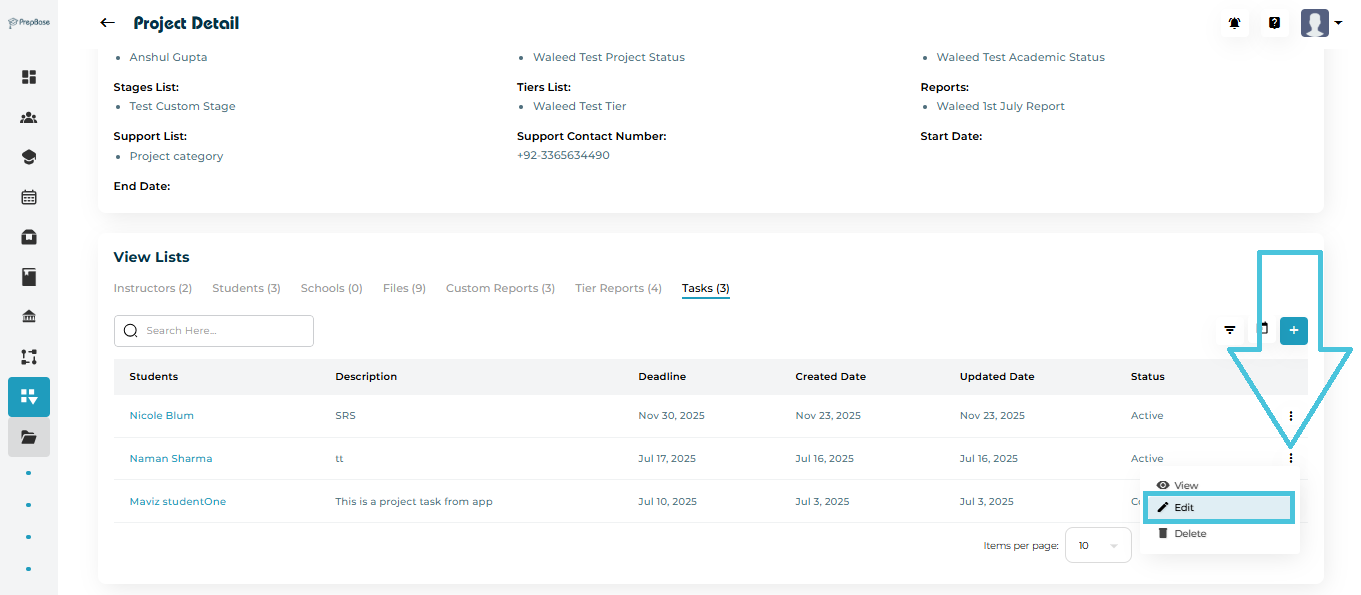
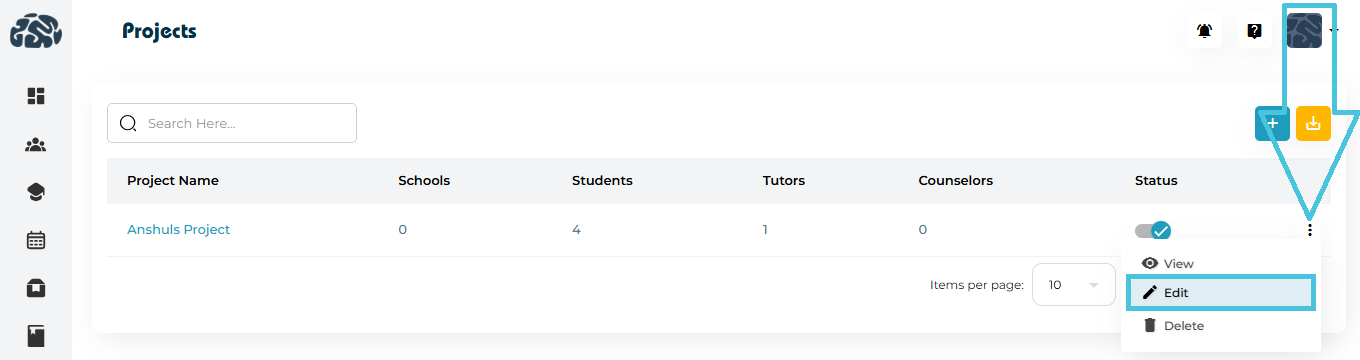
Editing a File Category
Click the three-dot menu beside a category
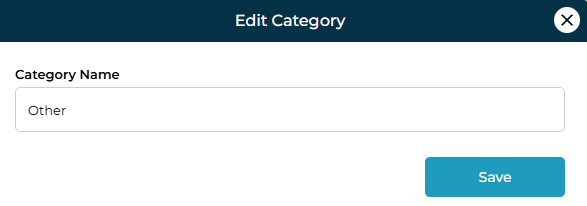
Select Edit
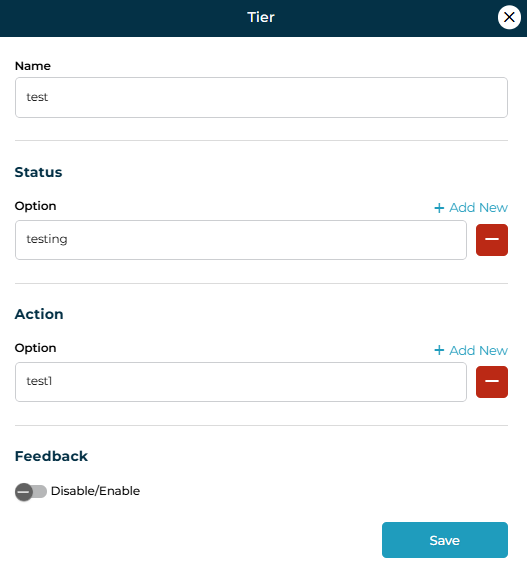
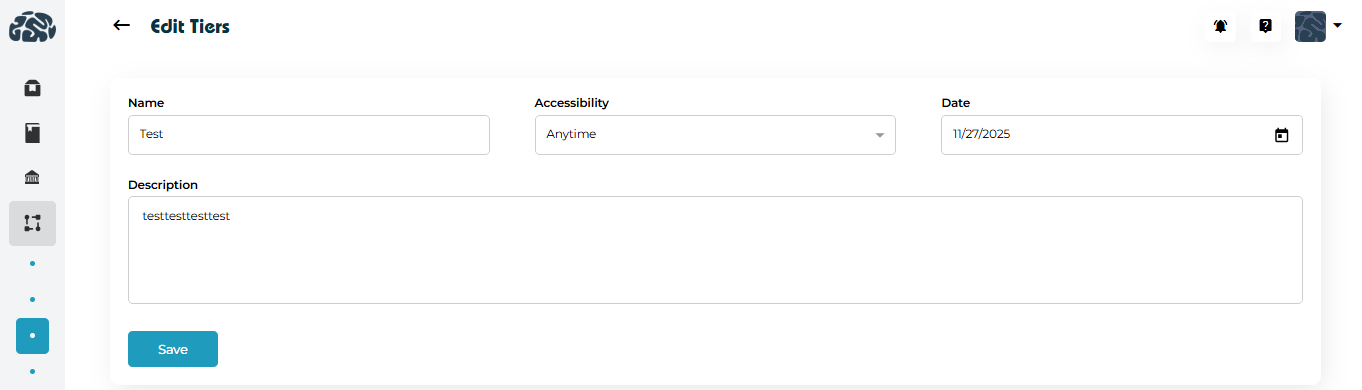
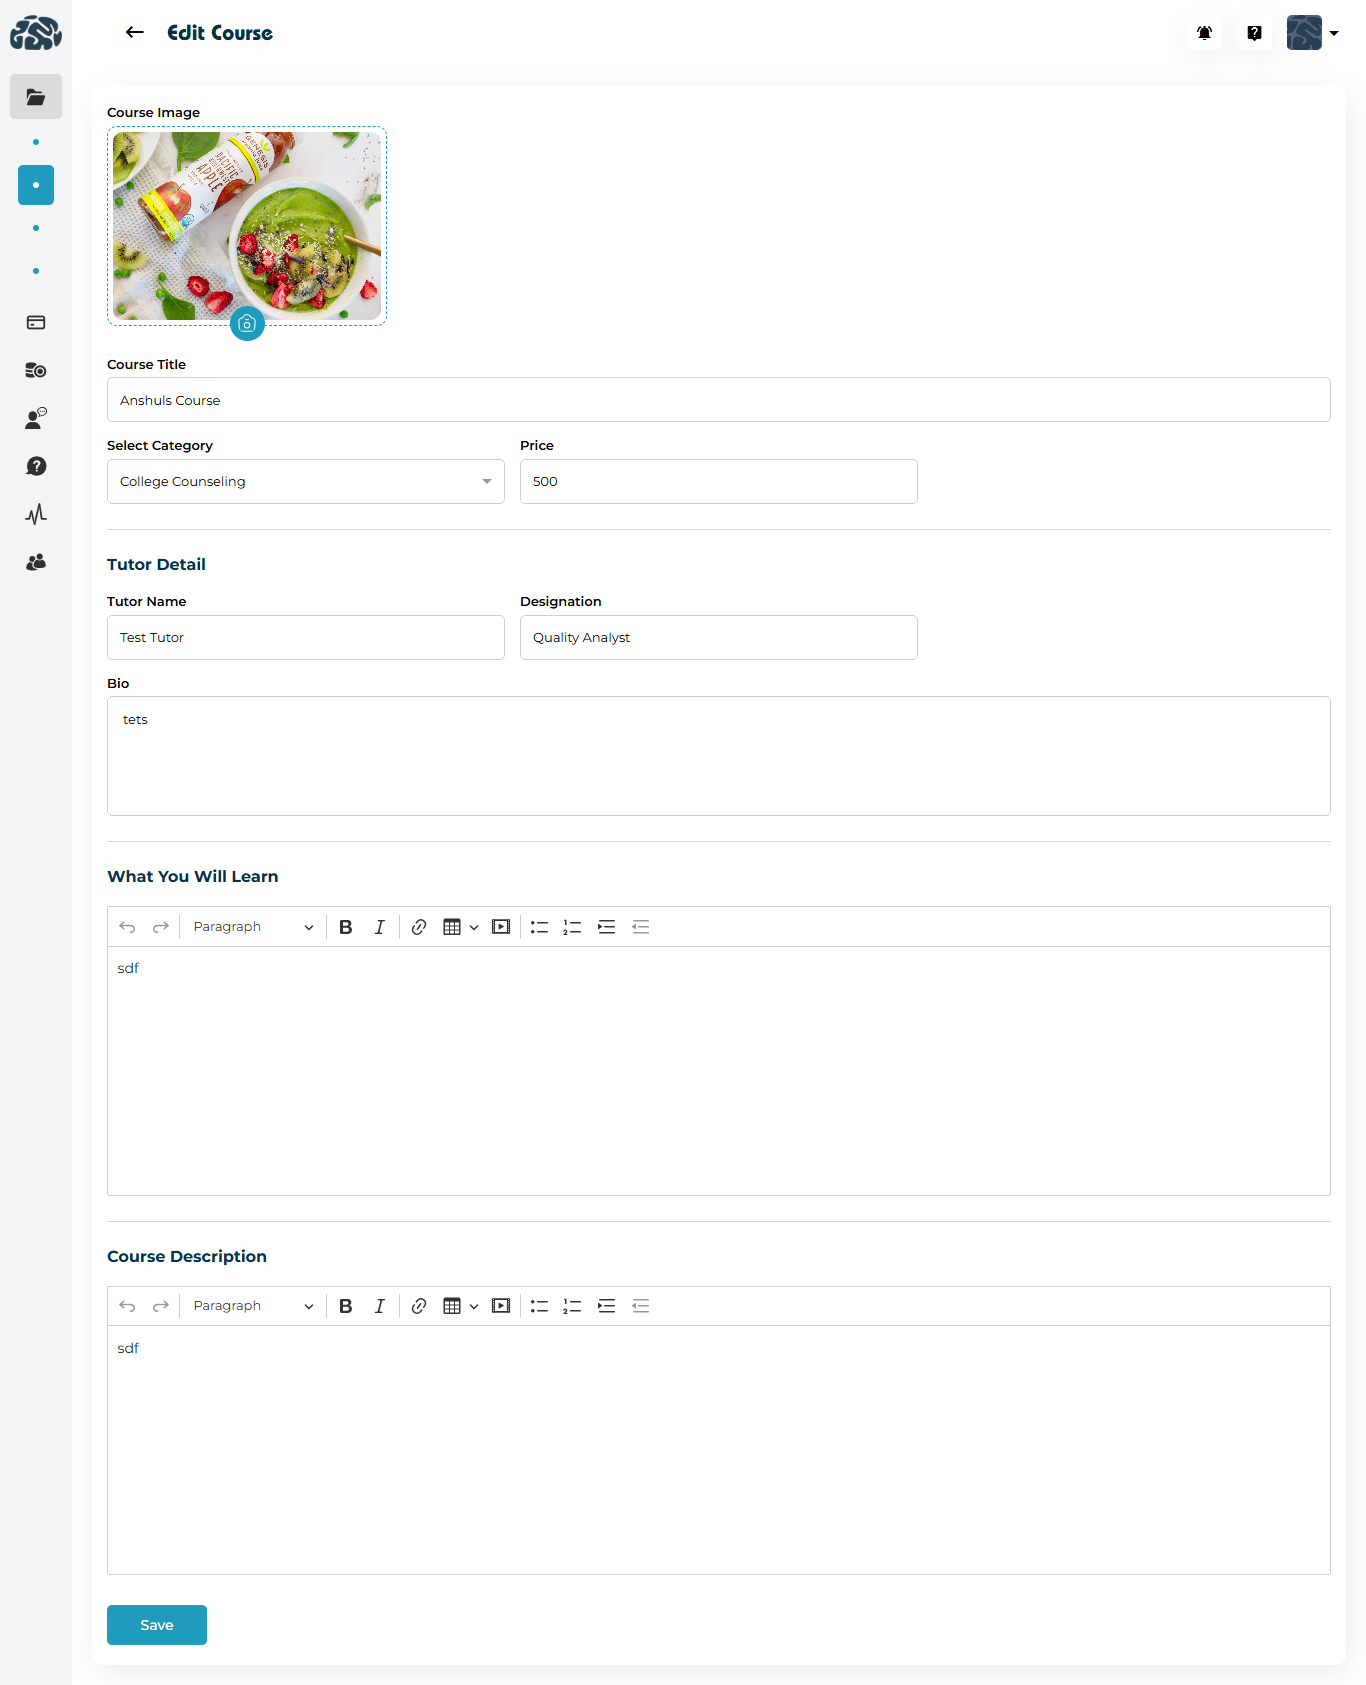
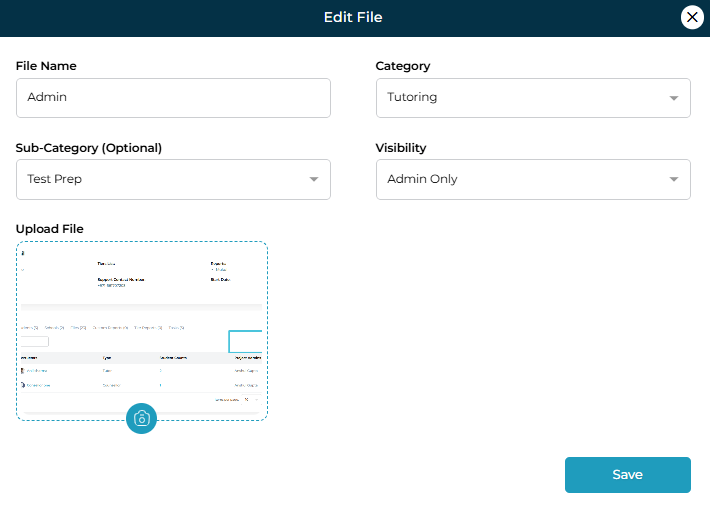
Update the category name
Click Save
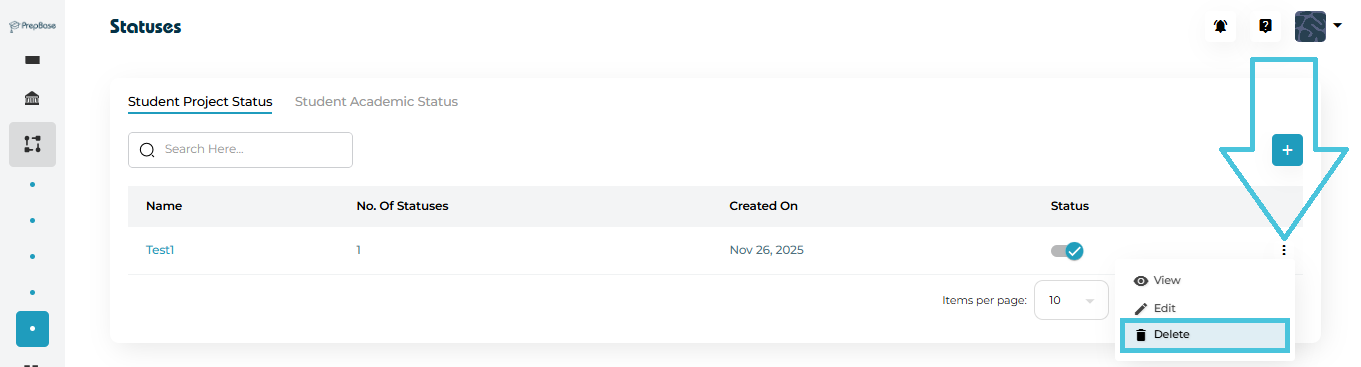
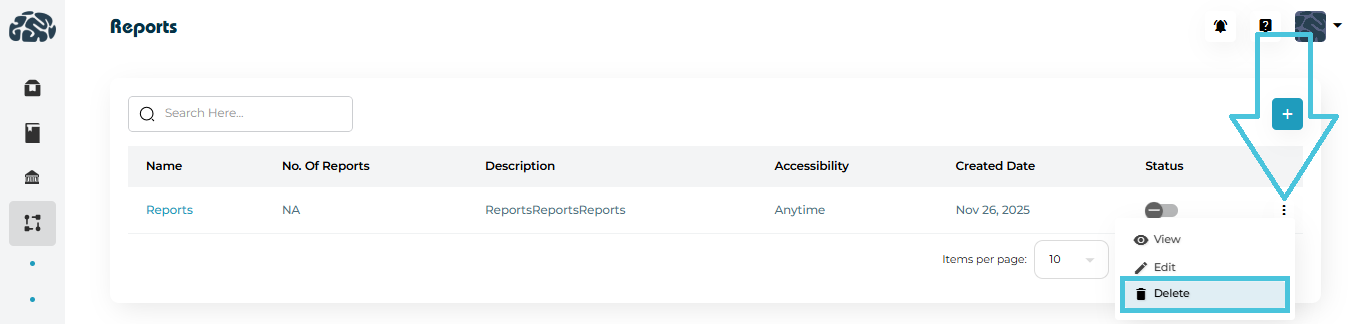
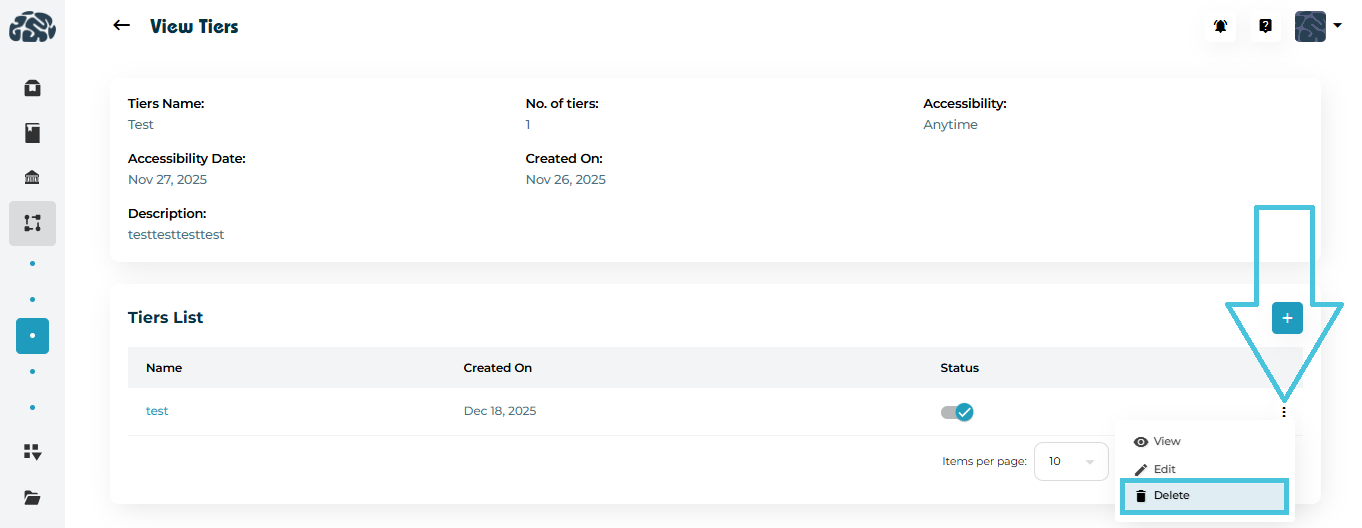
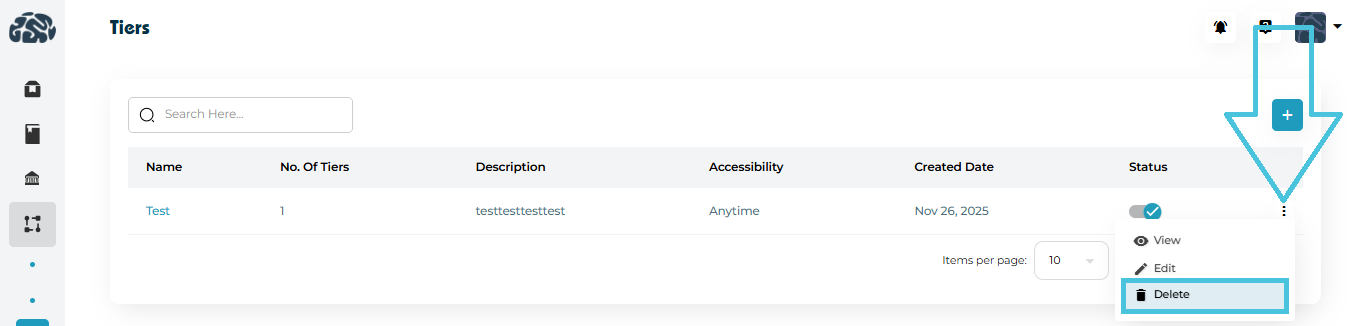
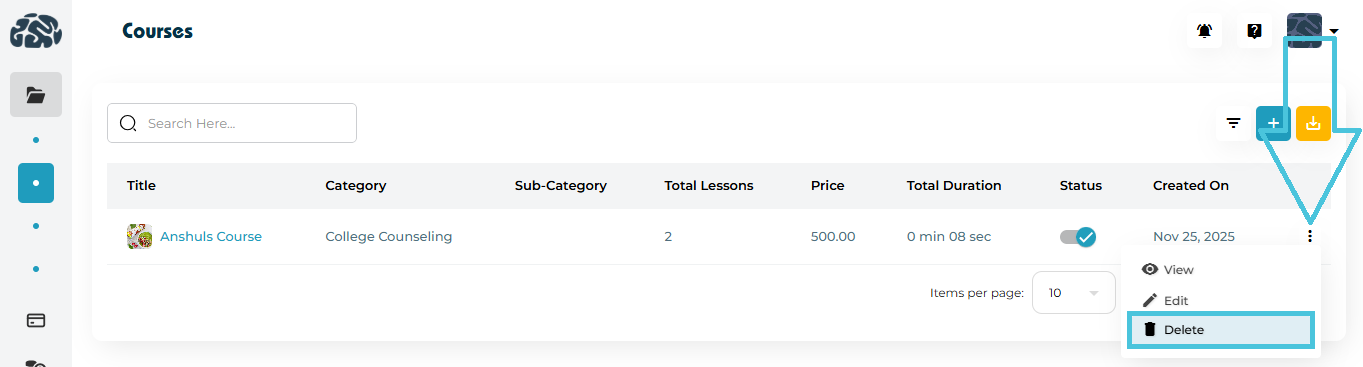
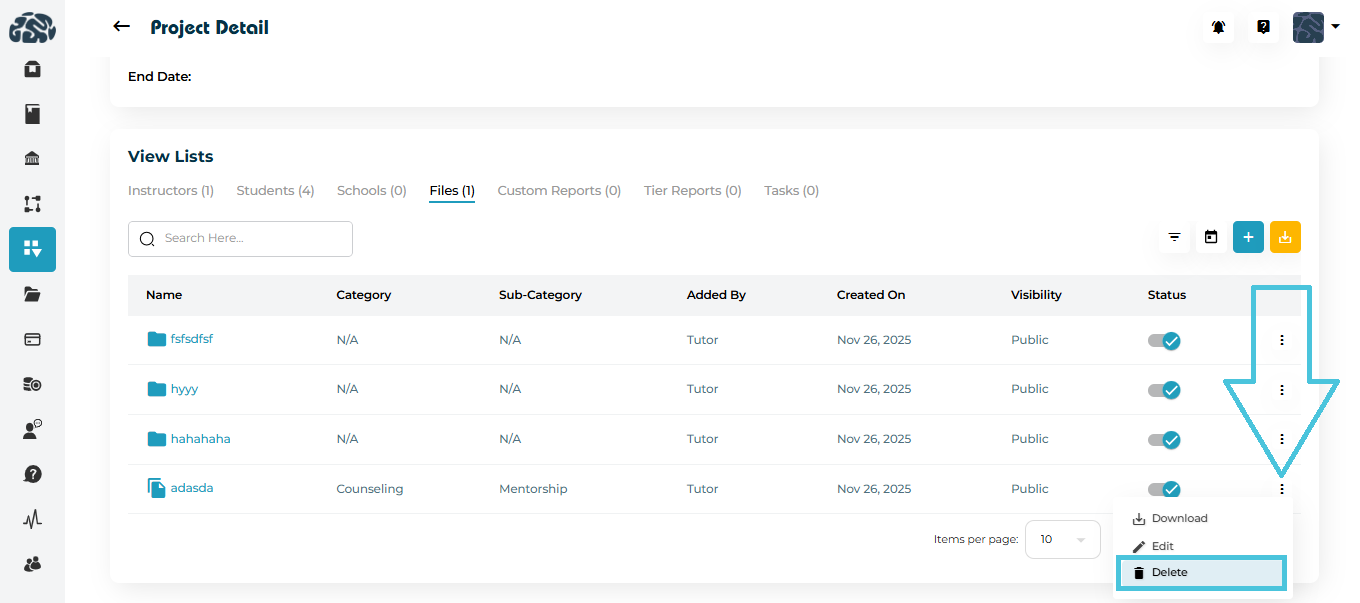
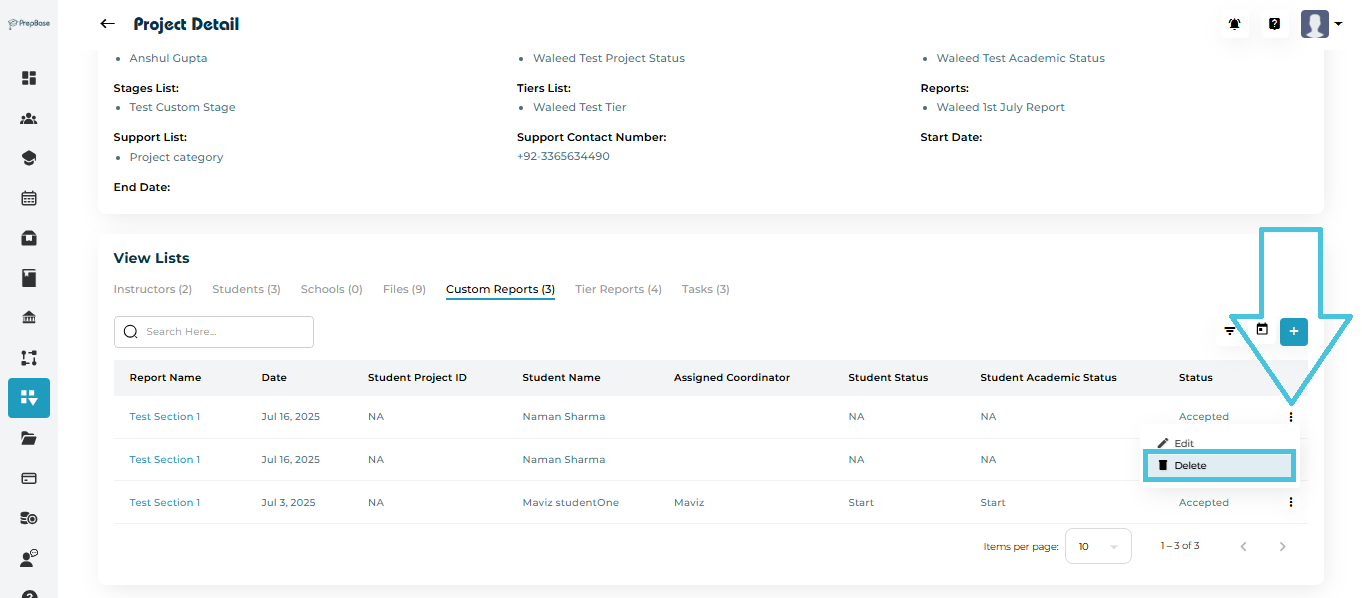
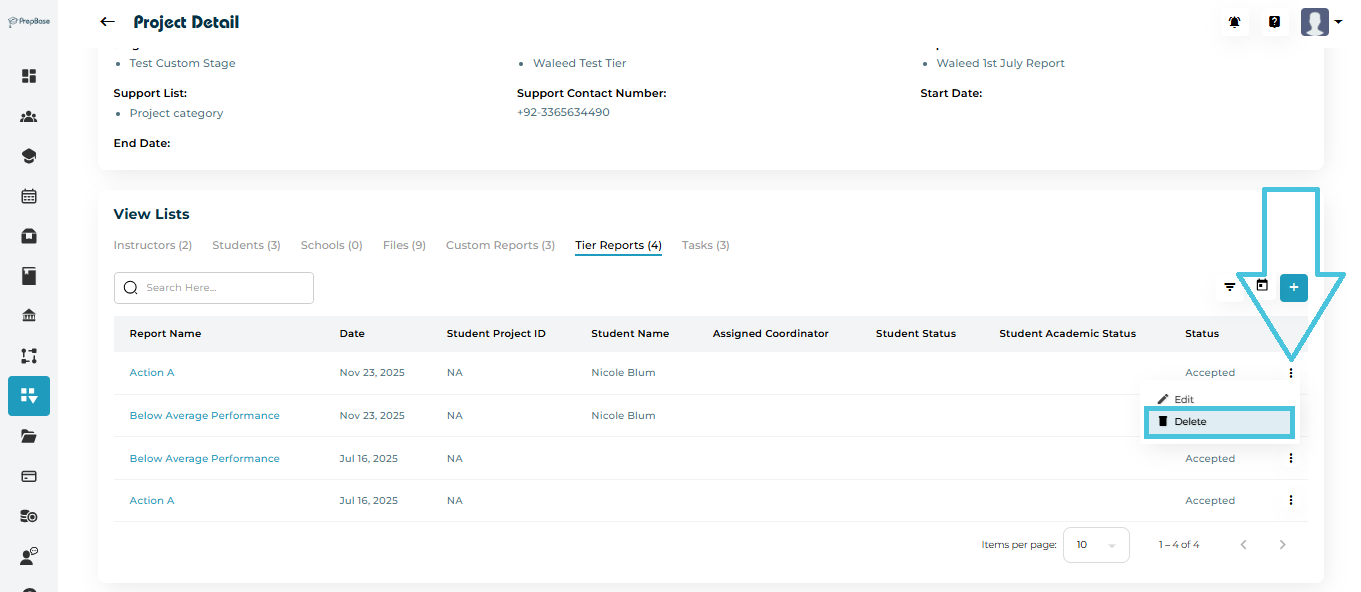
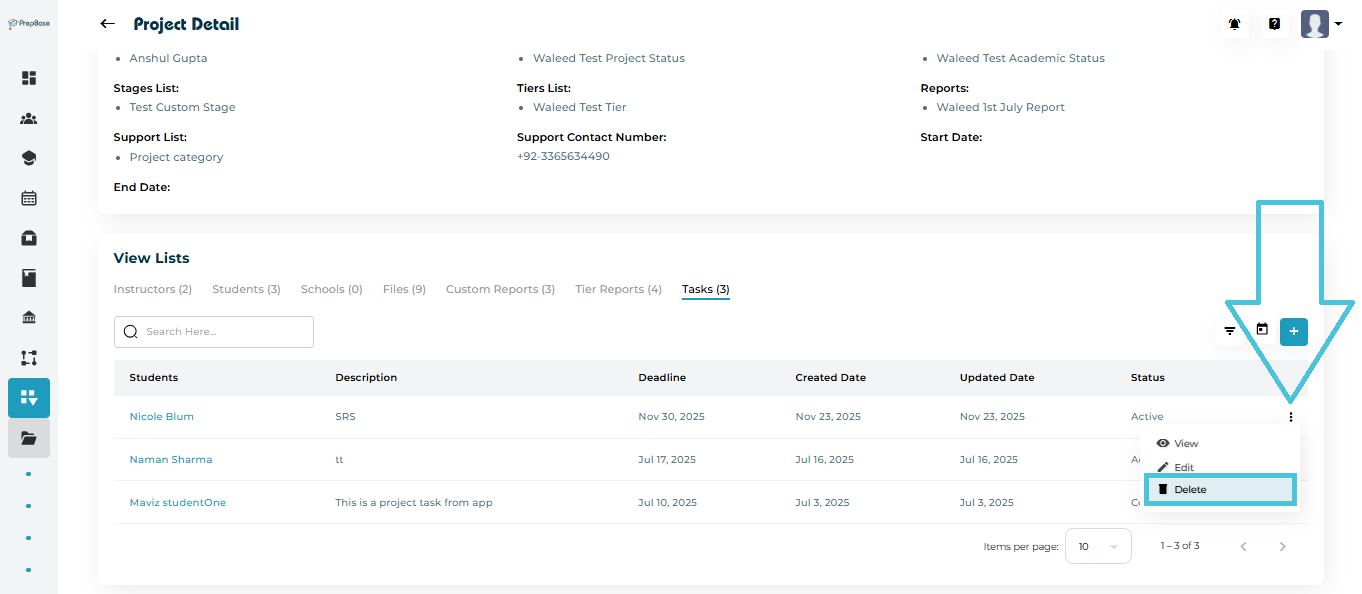
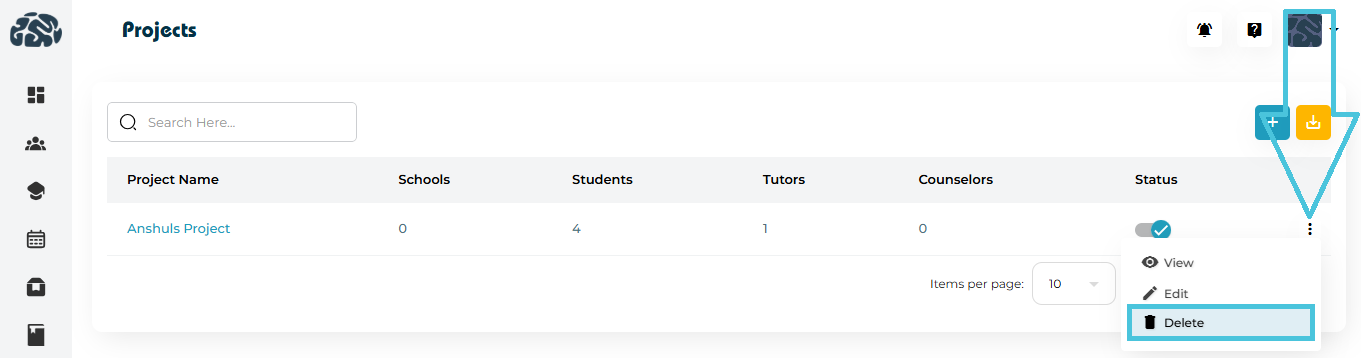
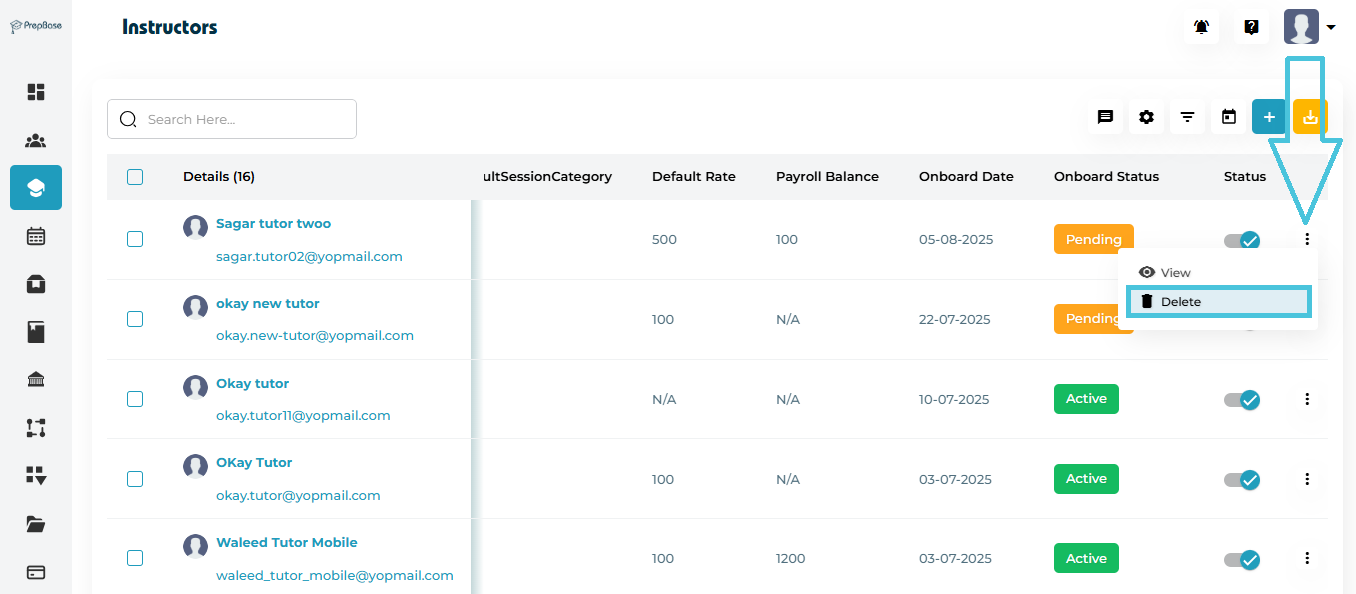
Deleting a File Category
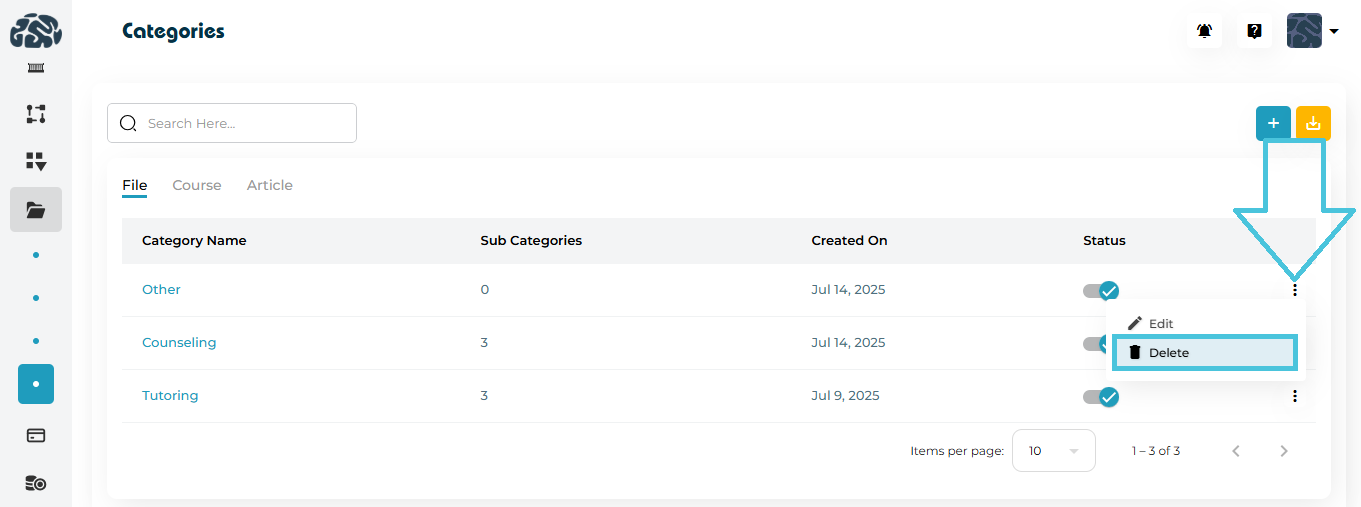
Click the three-dot menu
Select Delete
Confirm the action
⚠️ Note: Deleting a category does not delete files, but may require reassignment.
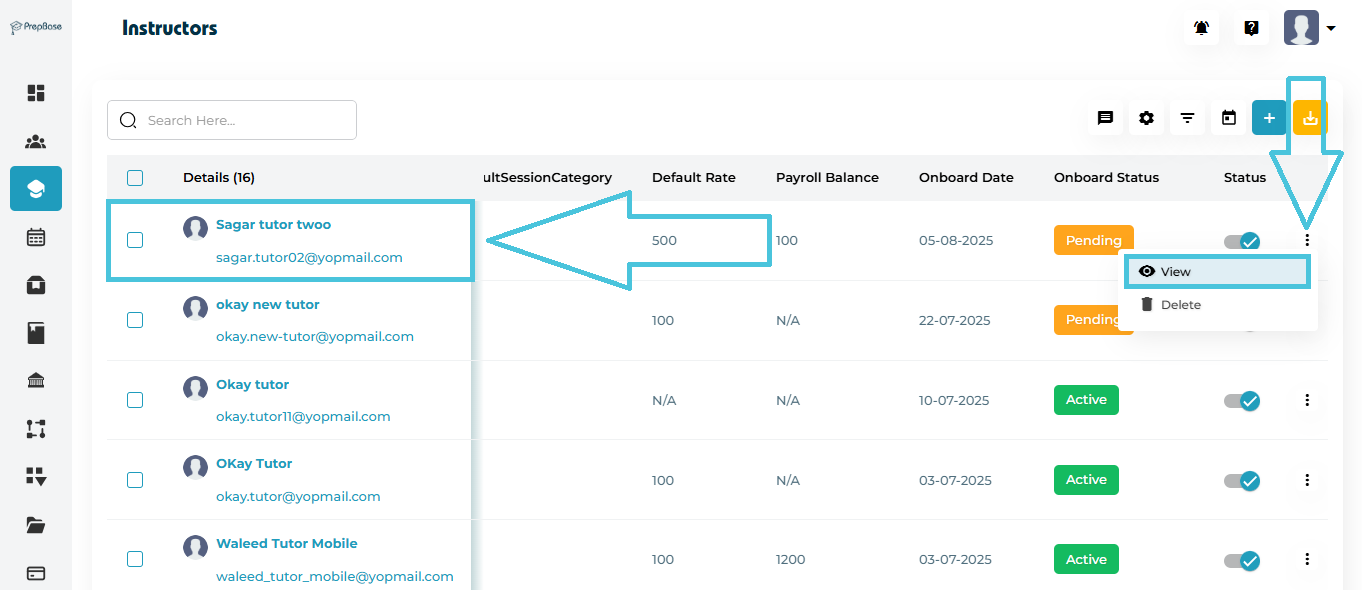
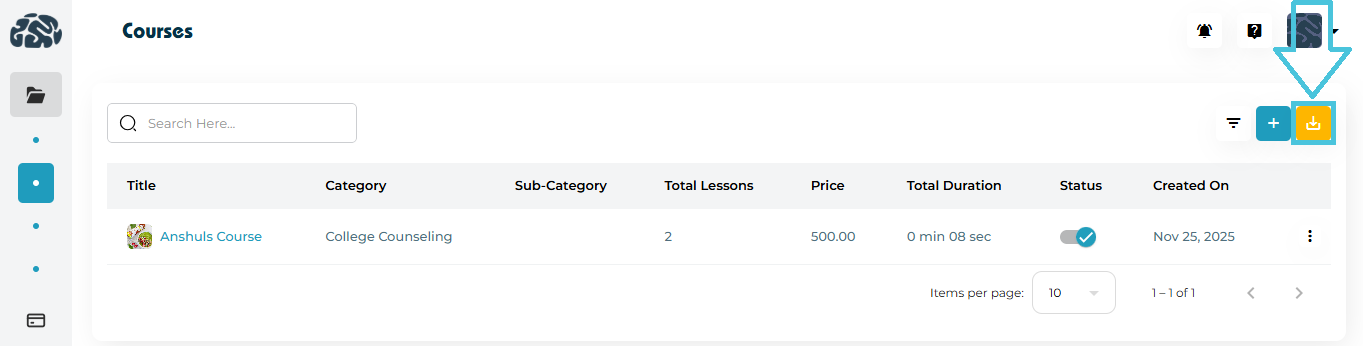
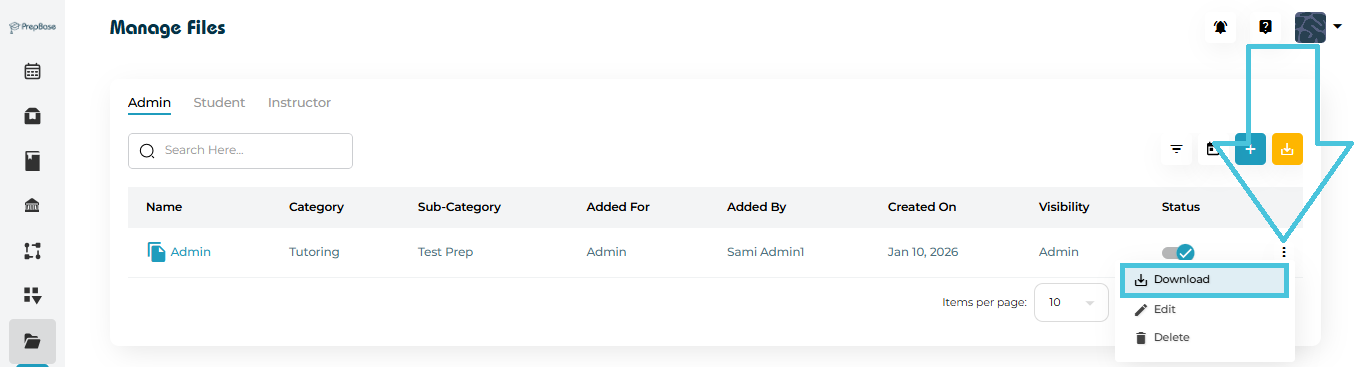
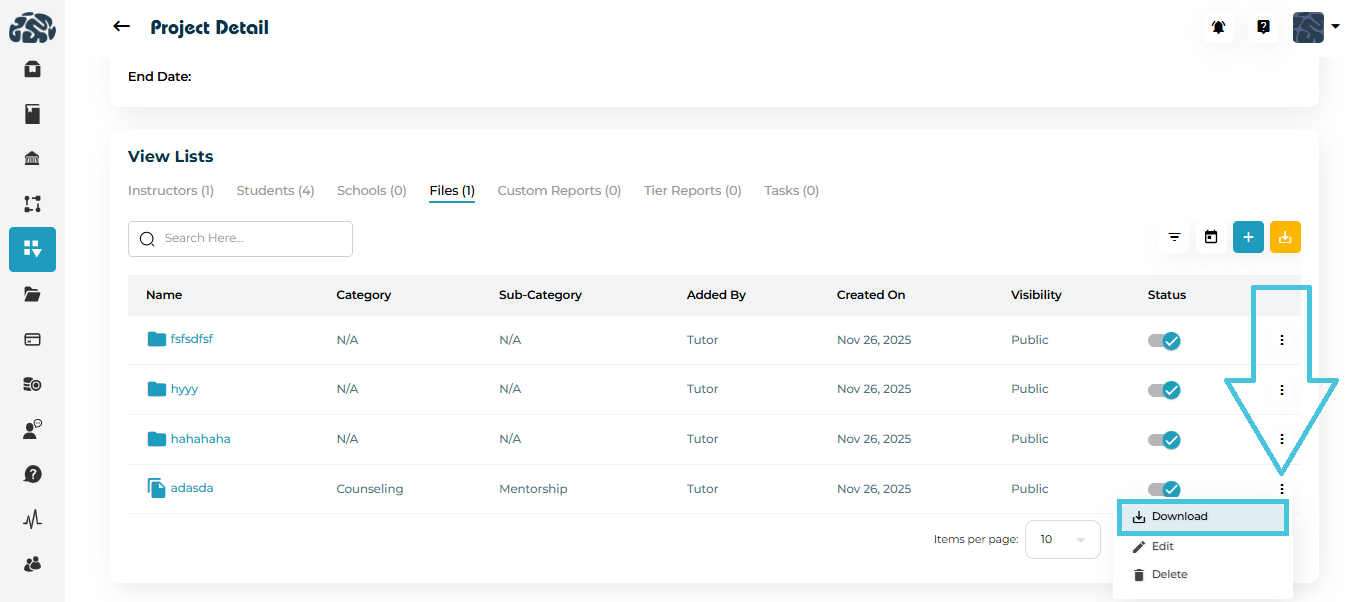
Exporting File Categories
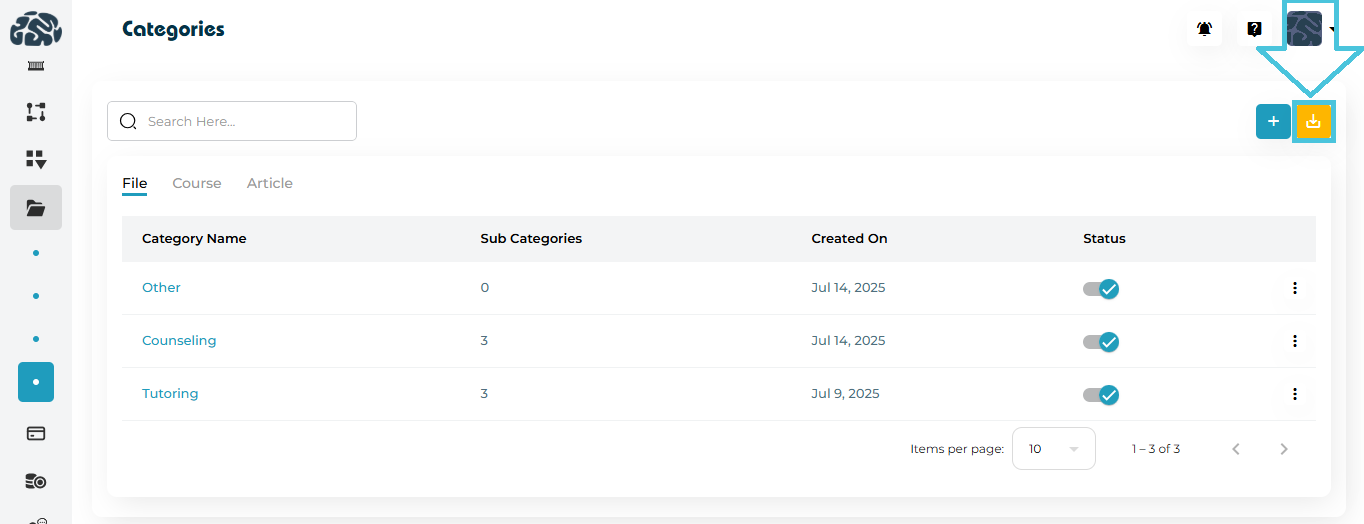
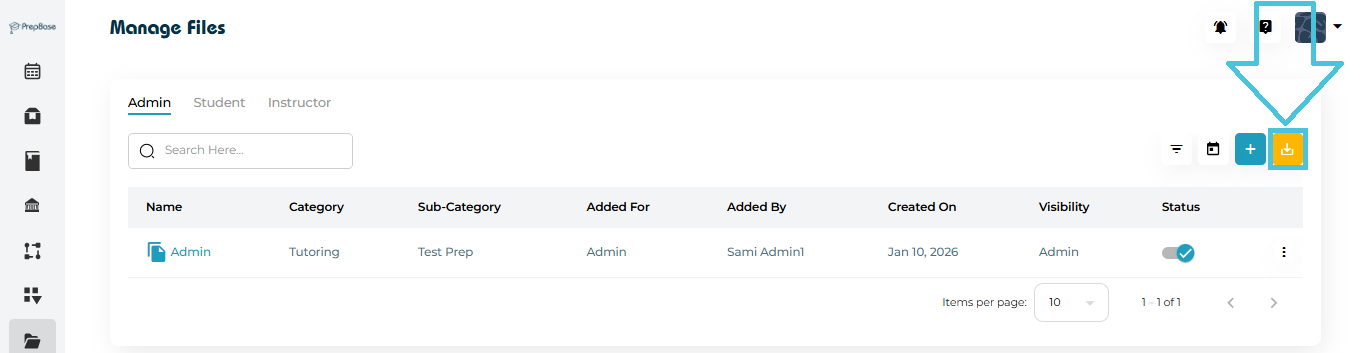
Click the Download (⬇️) icon to export file categories as CSV
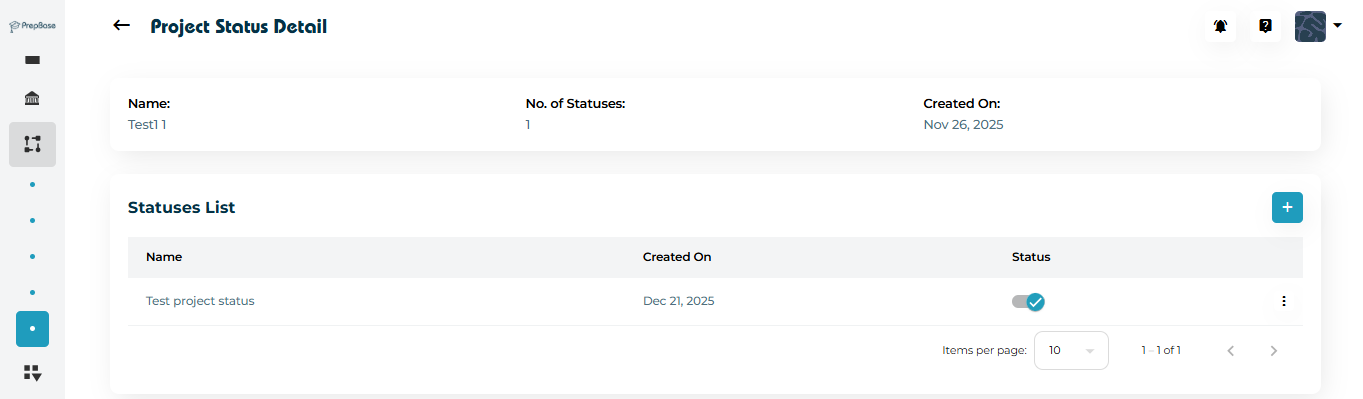
Sub-categories provide additional classification under a main category.
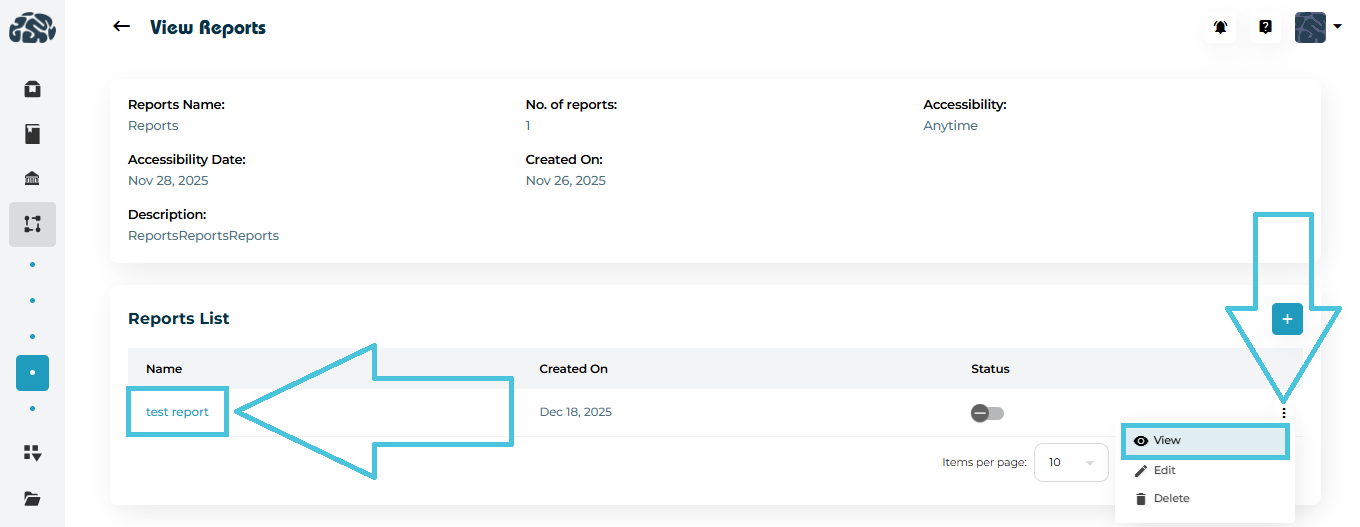
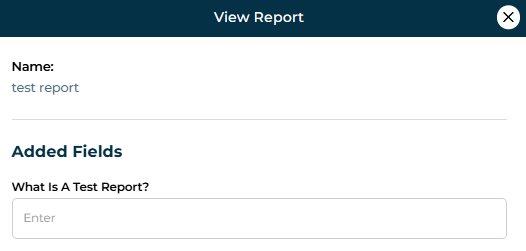
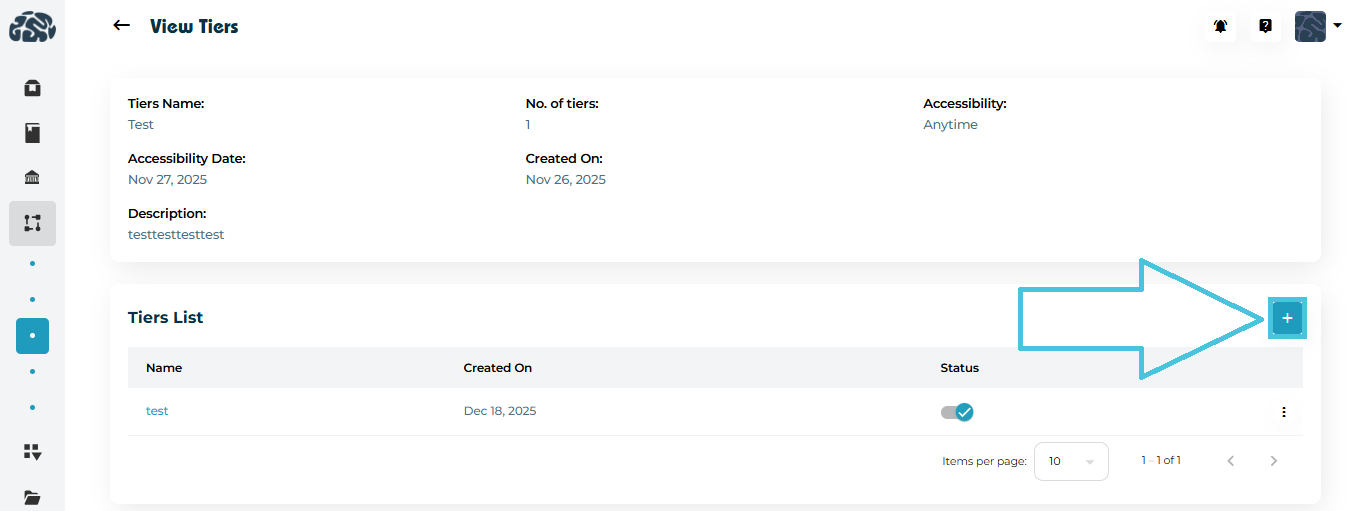
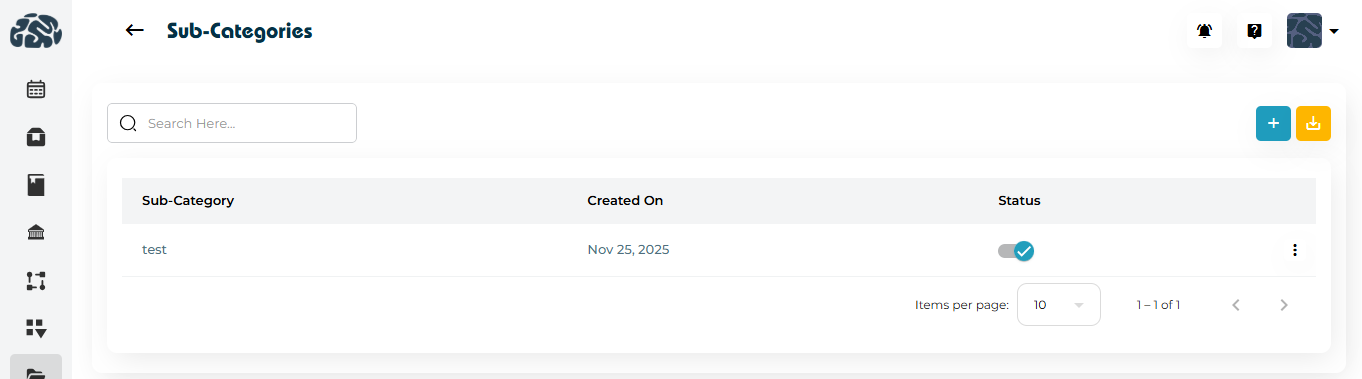
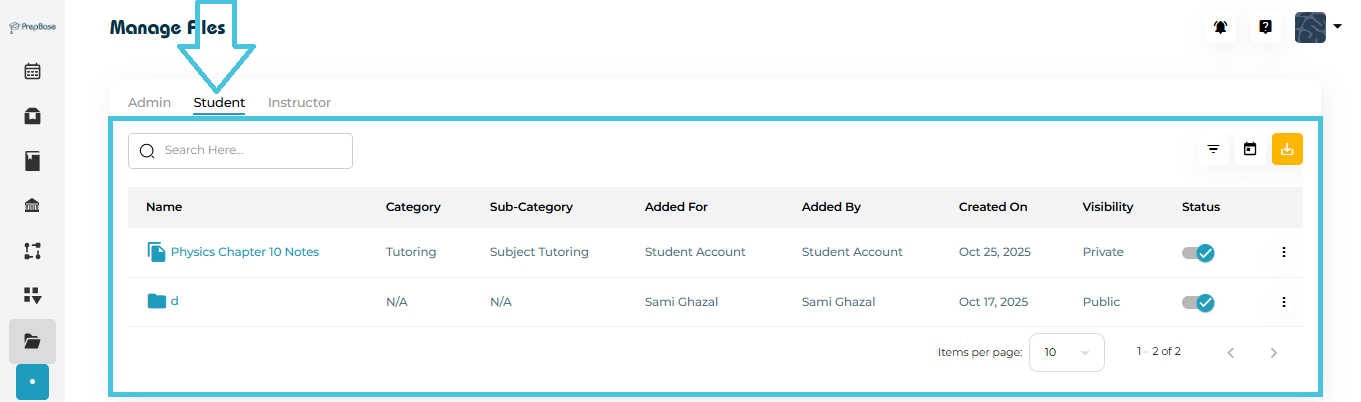
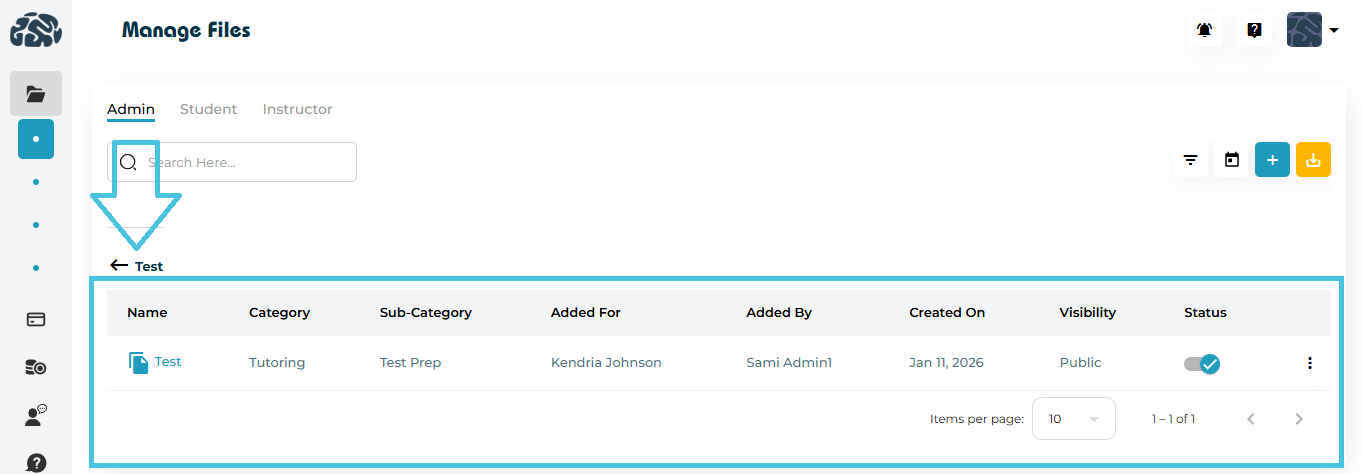
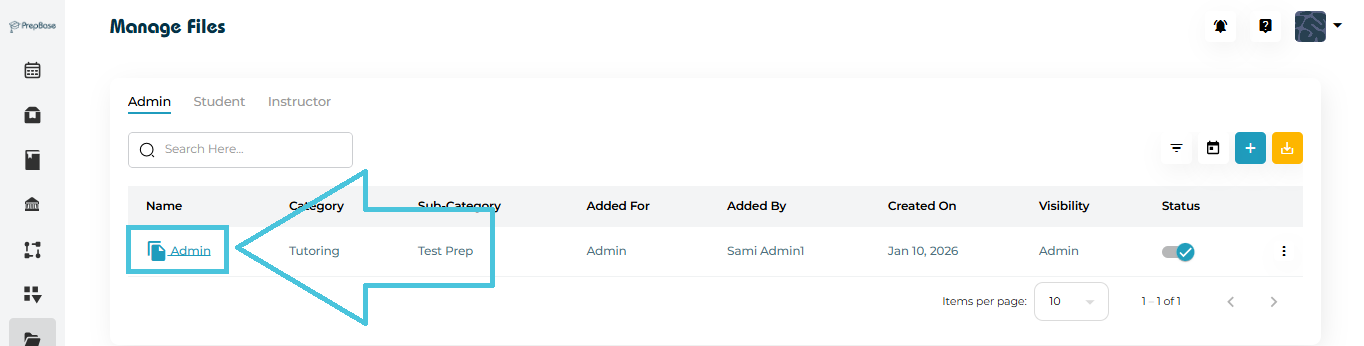
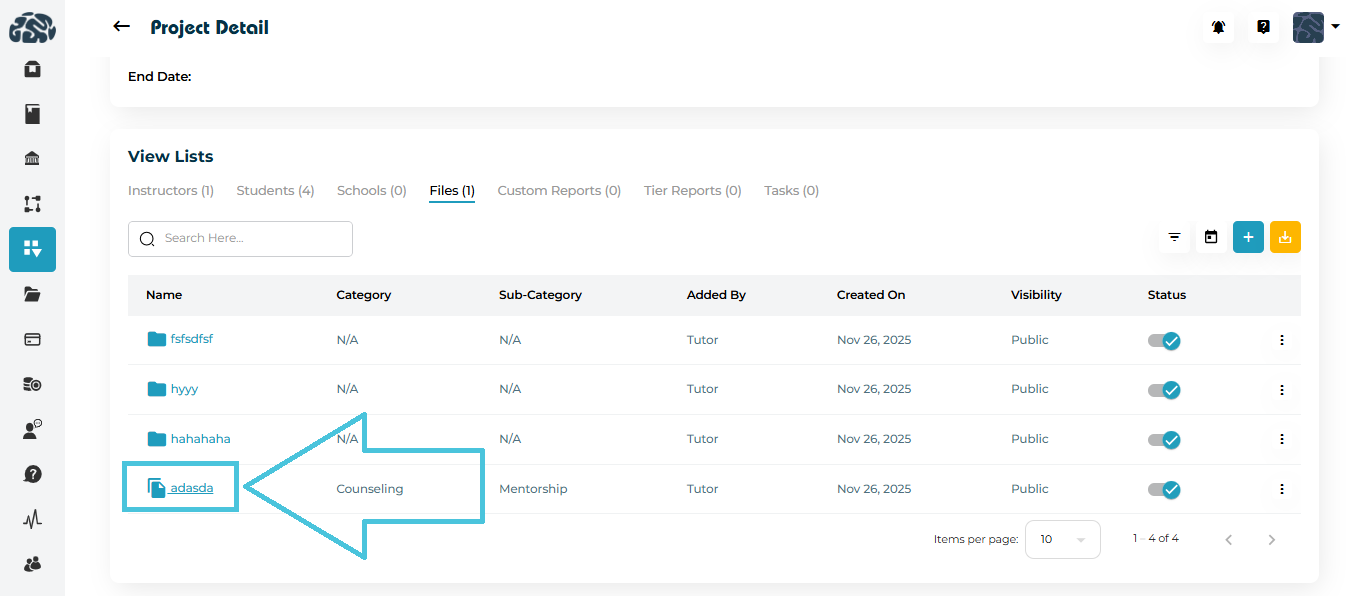
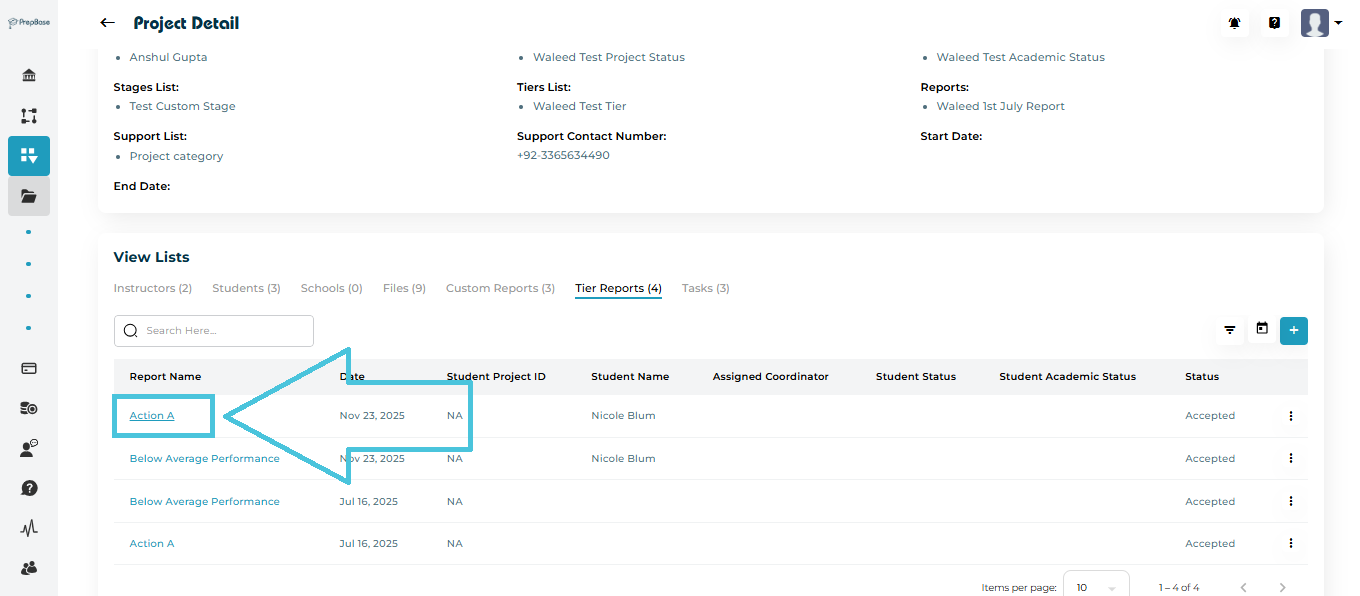
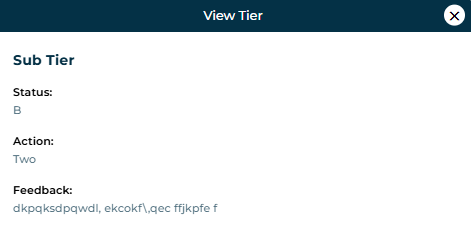
Viewing Sub-Categories
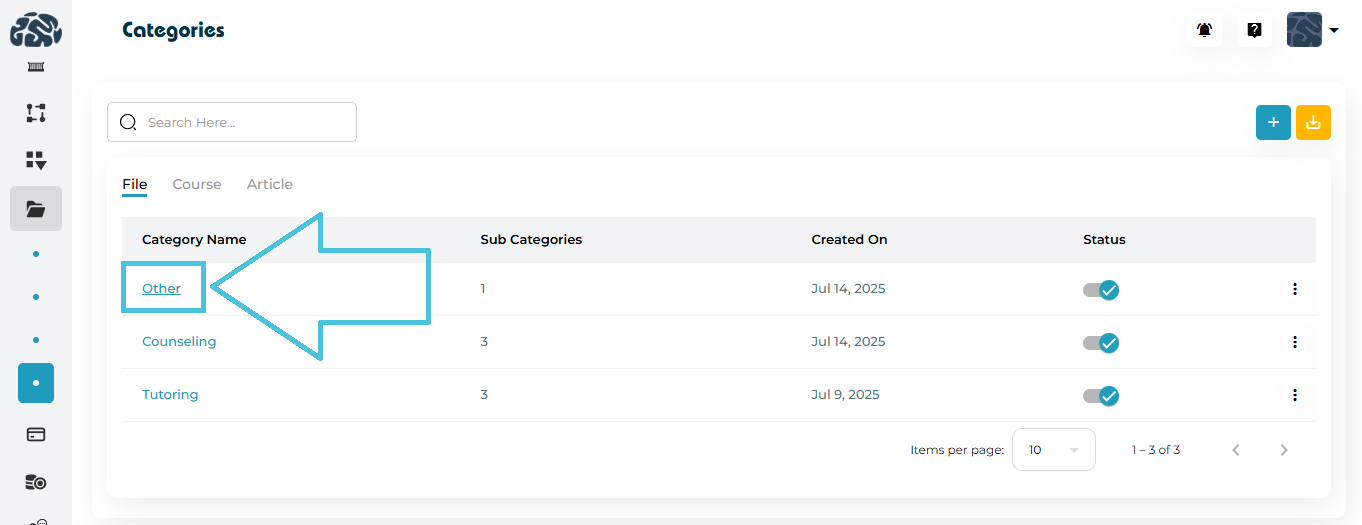
Click a category name
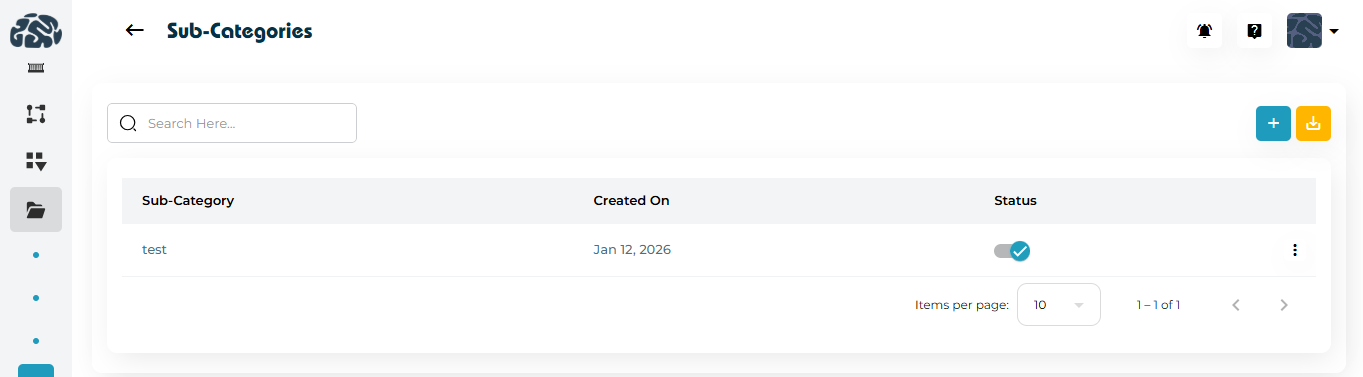
You’ll be redirected to the Sub-Categories page
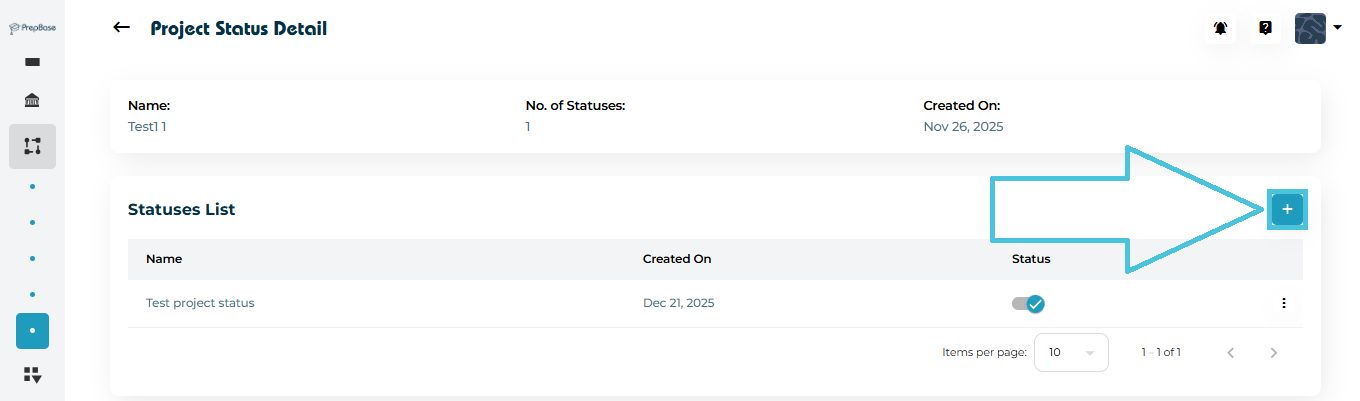
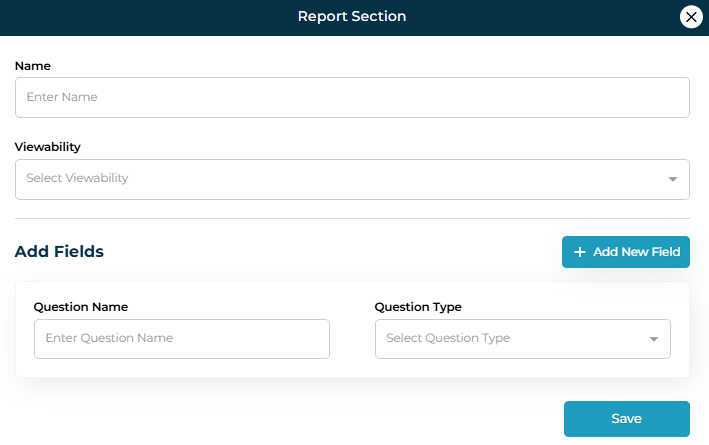
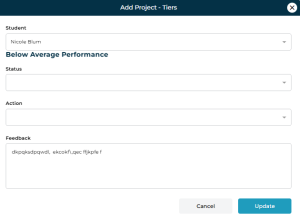
Adding a File Sub-Category
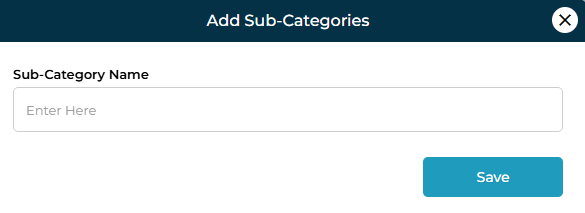
Click ➕ Add Sub-Category
Enter the sub-category name
Click Save
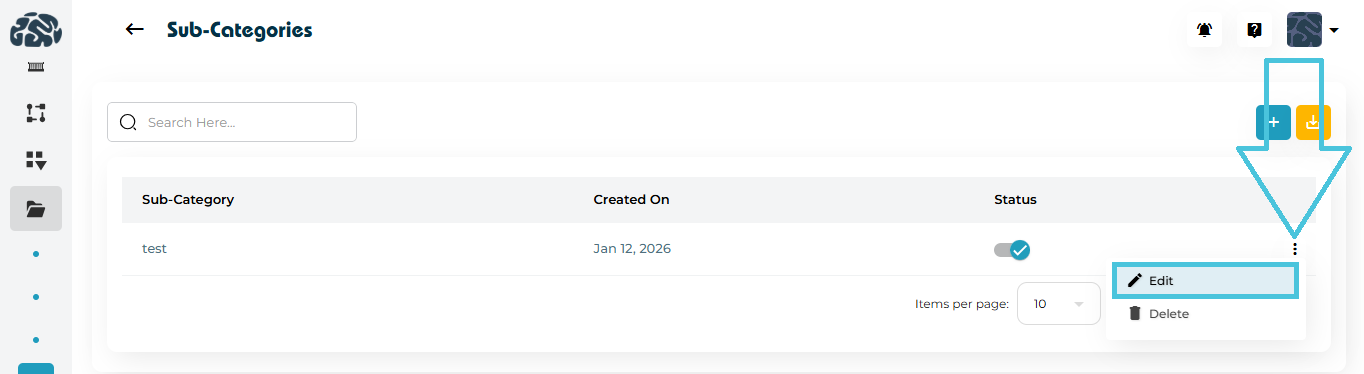
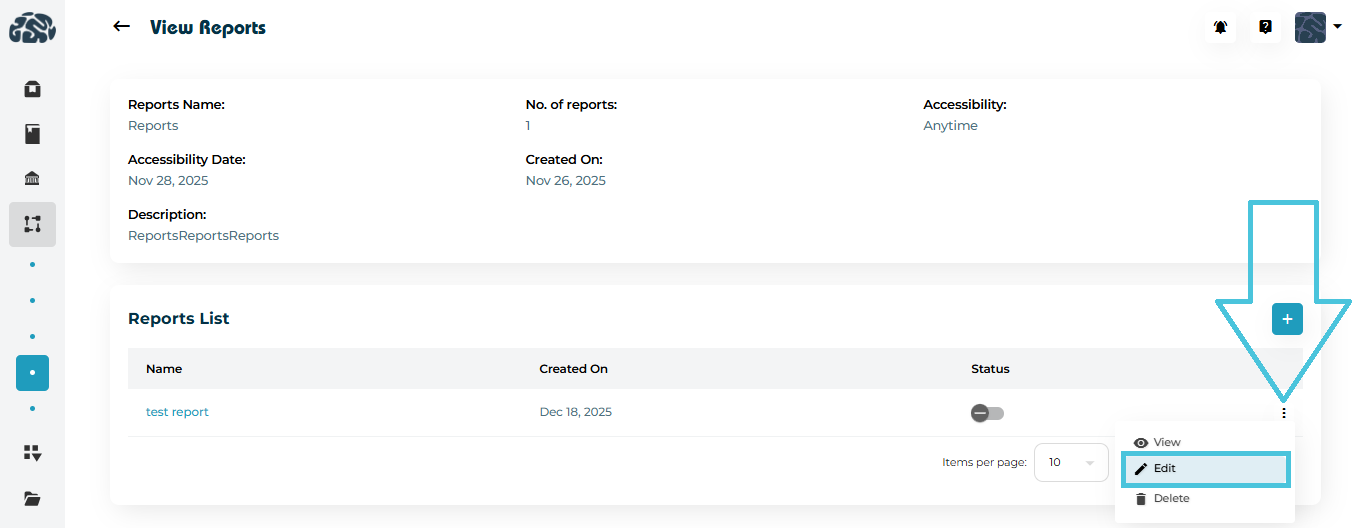
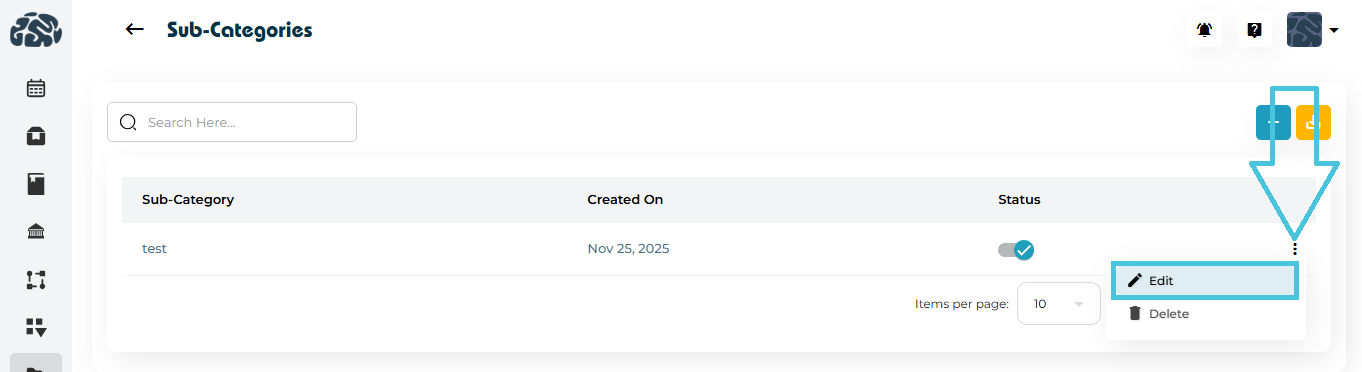
Editing a File Sub-Category
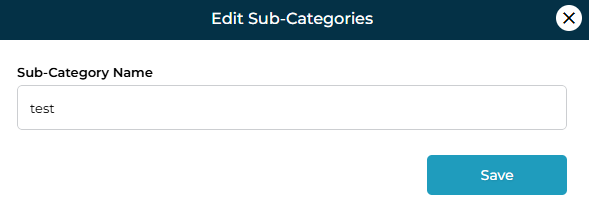
Click the three-dot menu
Select Edit
Update the name and save
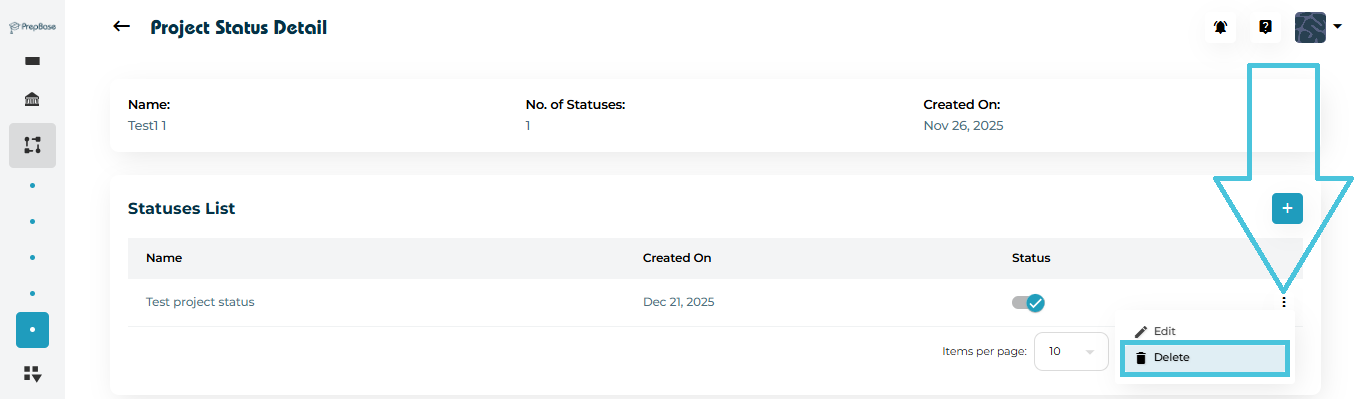
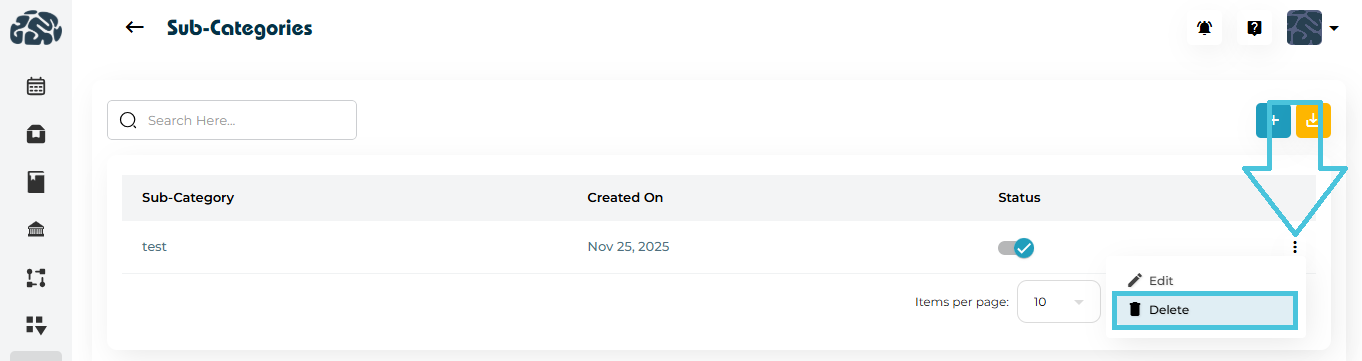
Deleting a File Sub-Category
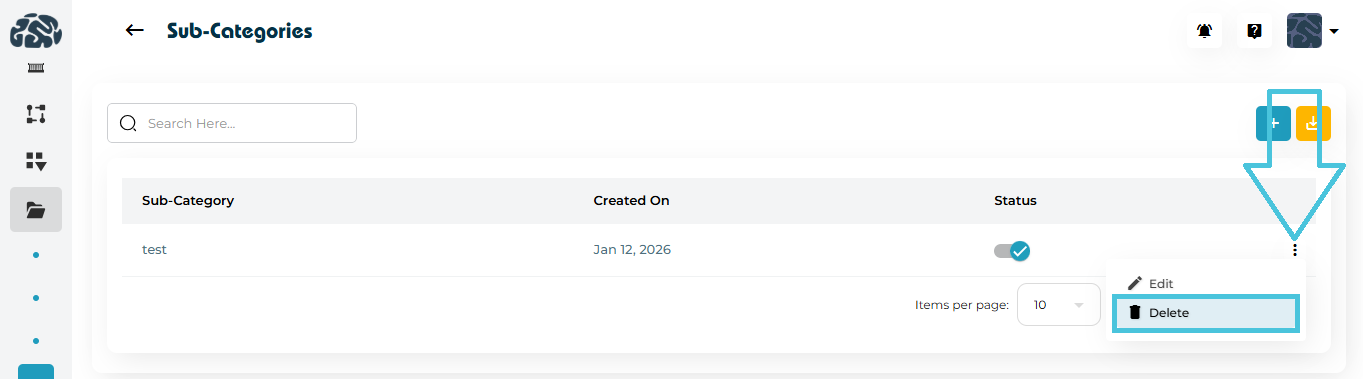
Click the three-dot menu
Select Delete
Confirm deletion
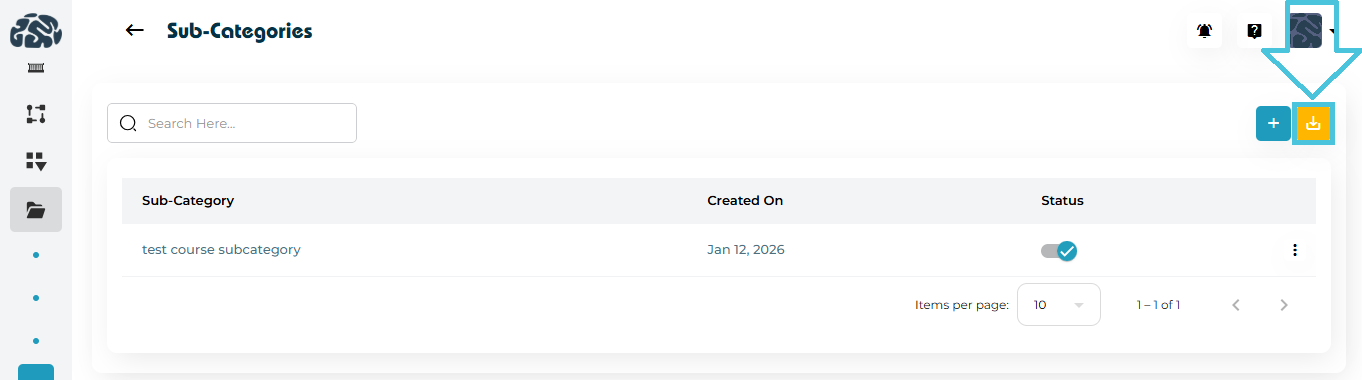
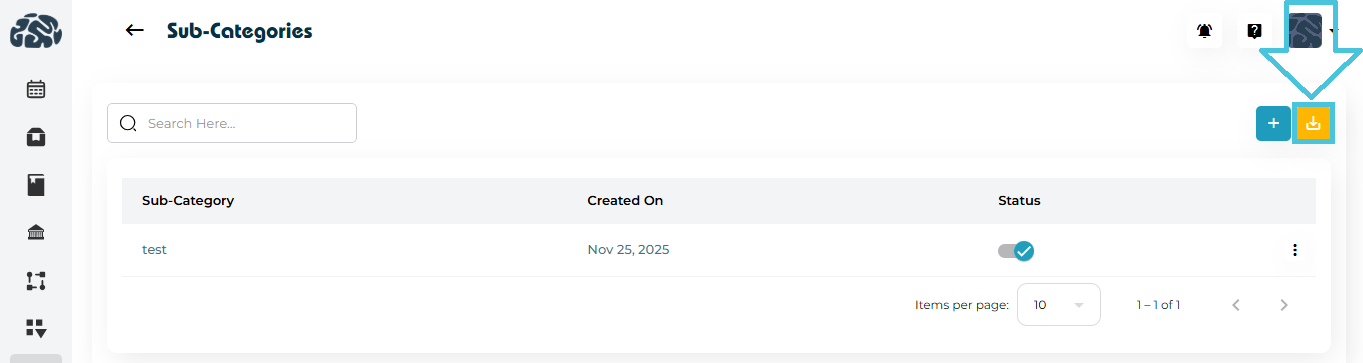
Exporting File Sub-Categories
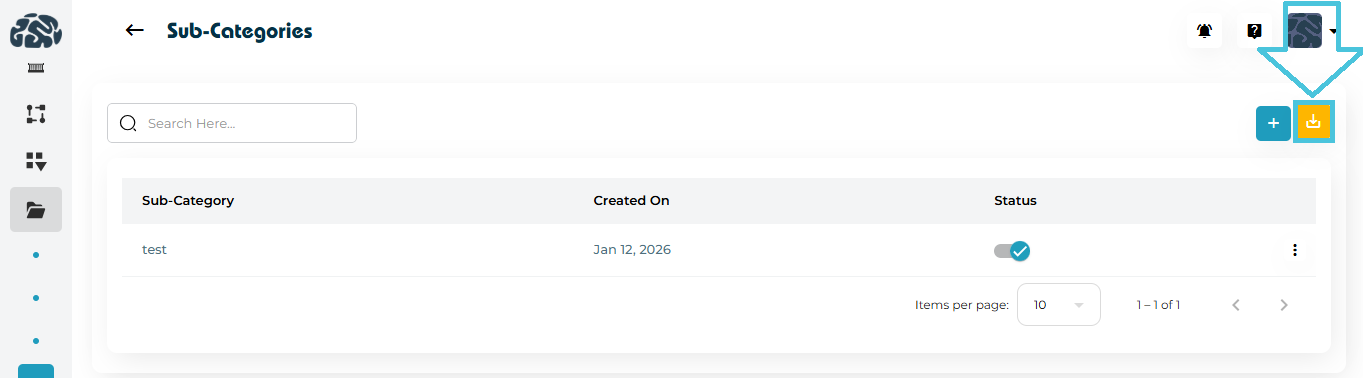
Use the Download (⬇️) icon to export sub-categories as CSV
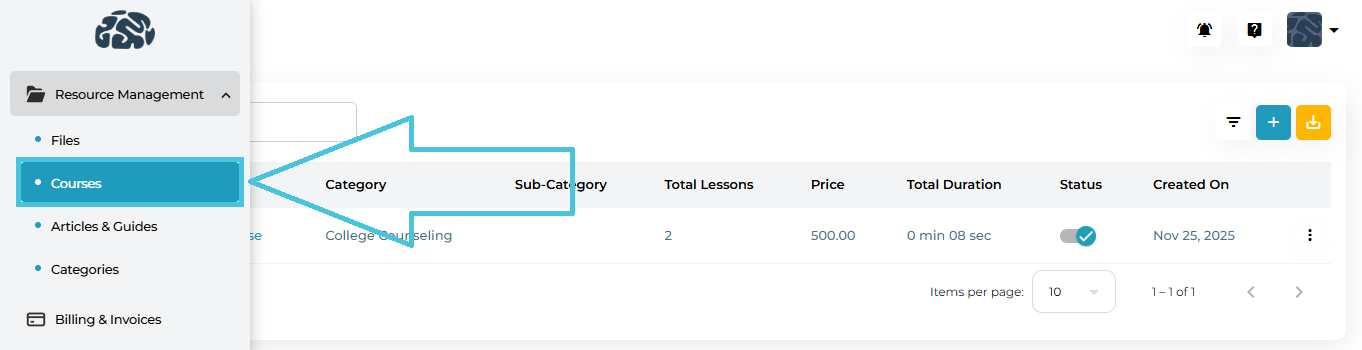
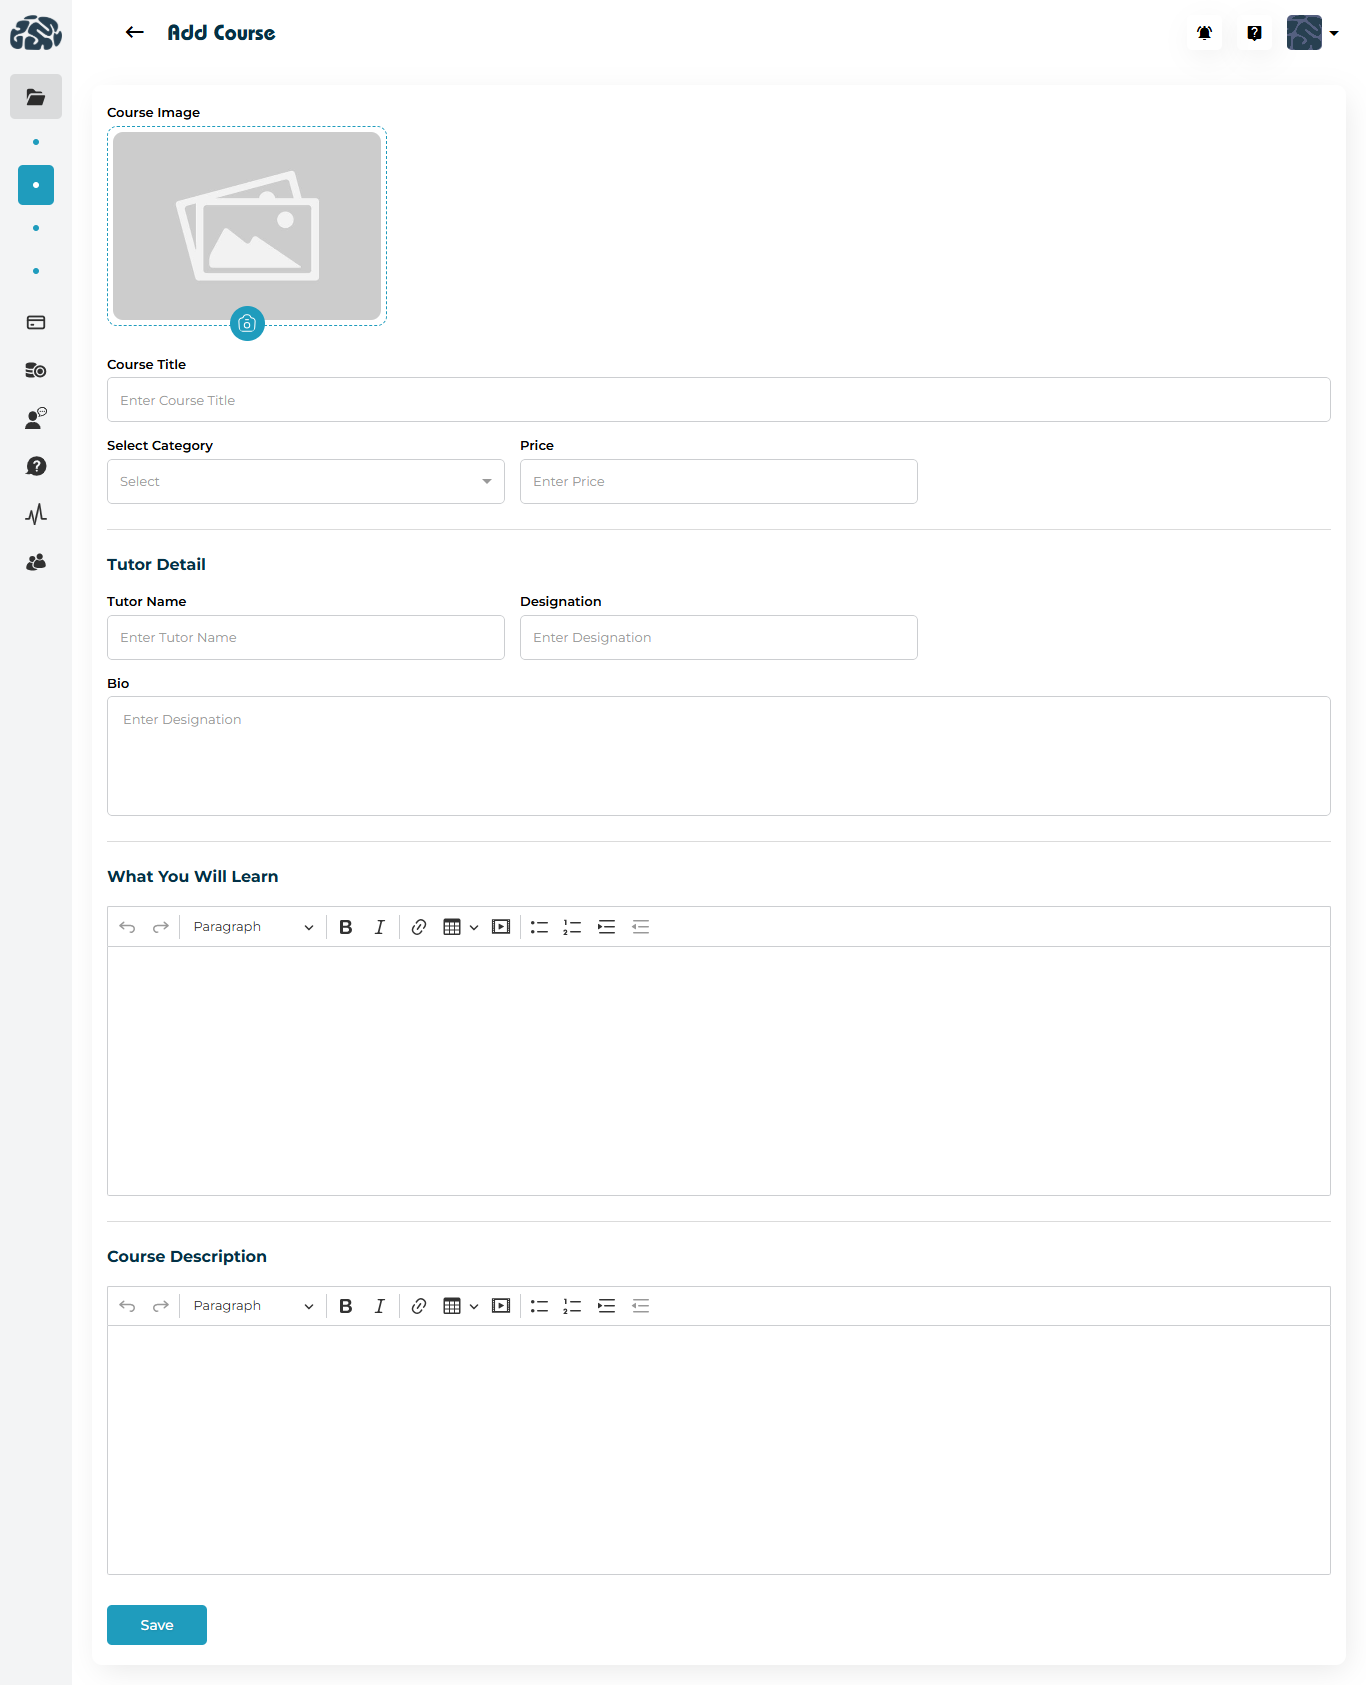
Course categories help organize video courses and learning programs.
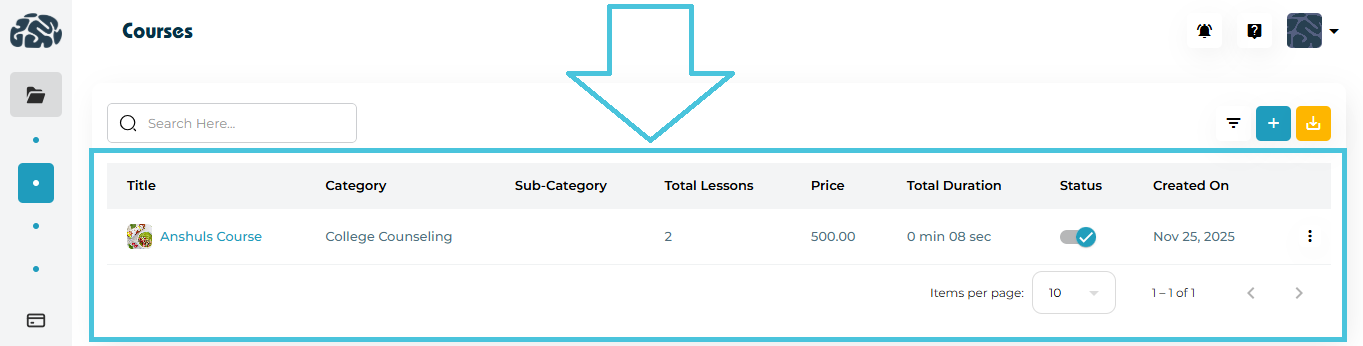
Viewing Course Categories
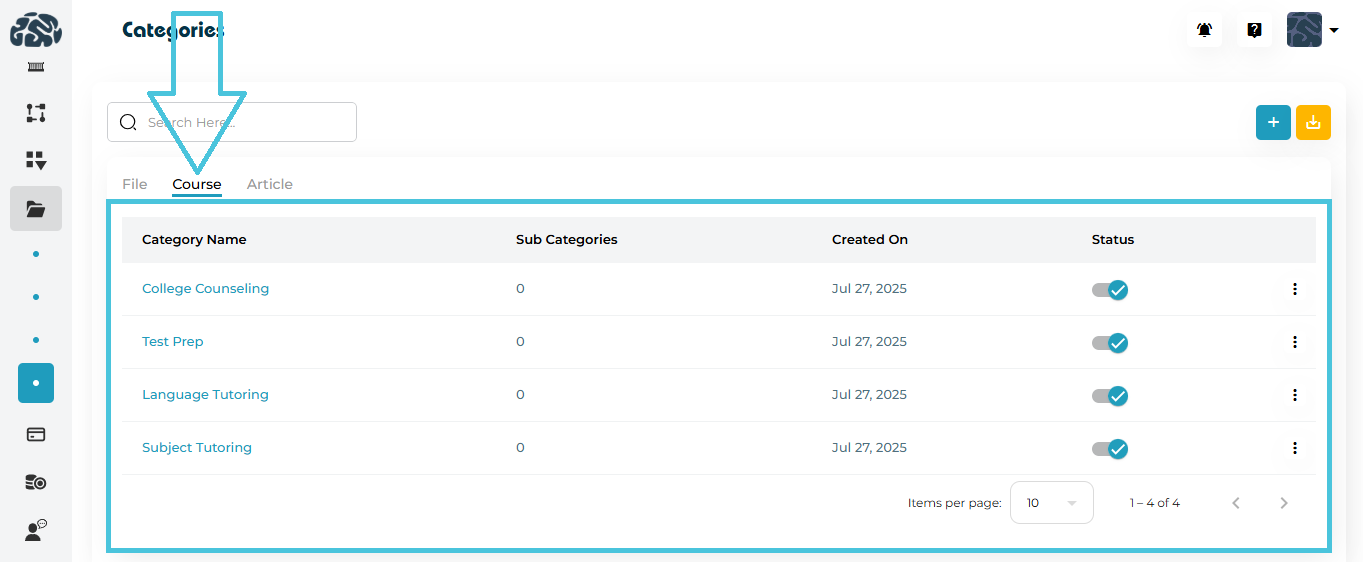
Switch to the Course tab
View categories and sub-category counts

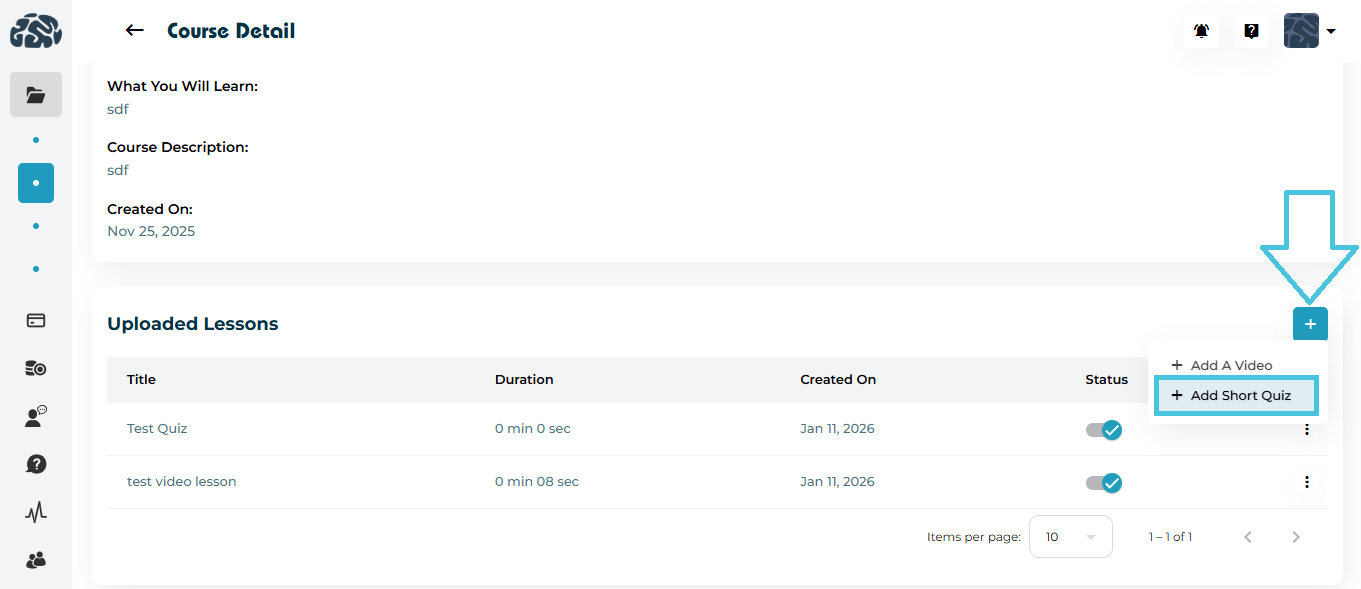
Adding a Course Category

Click ➕ Add Category
Enter category name
Save
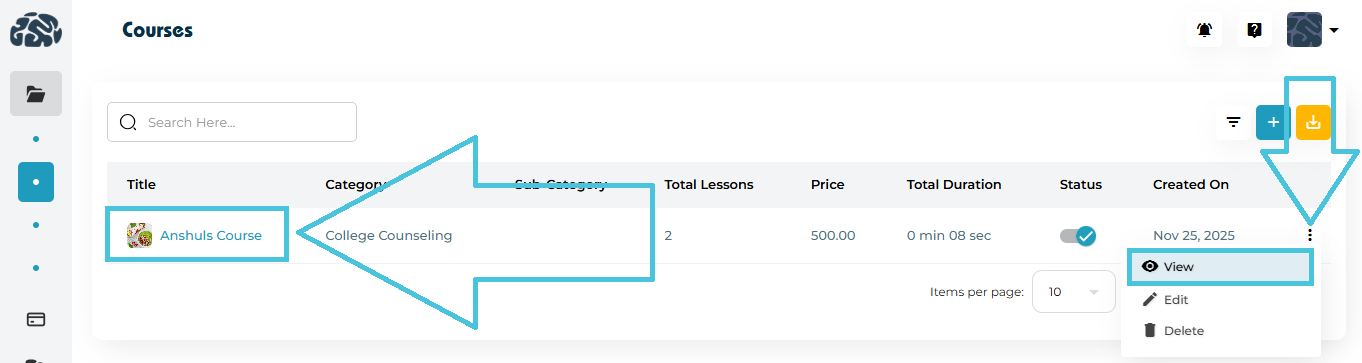
Managing Course Sub-Categories

Click a course category name to manage sub-categories
Add, edit, delete, or export sub-categories the same way as files
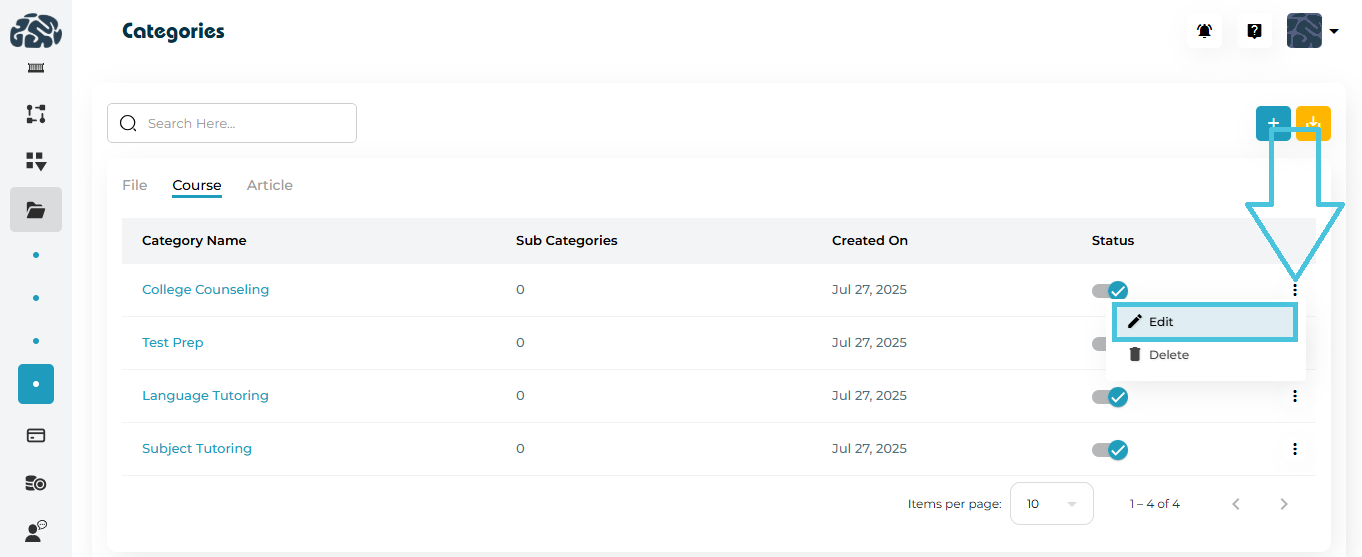
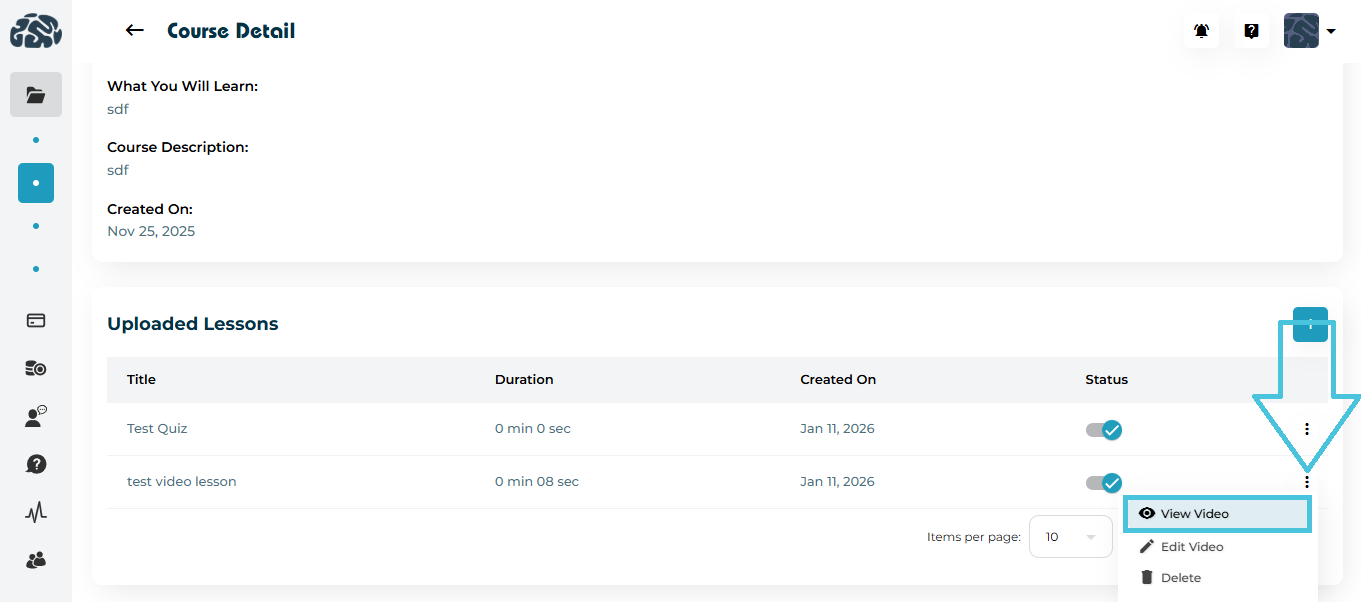
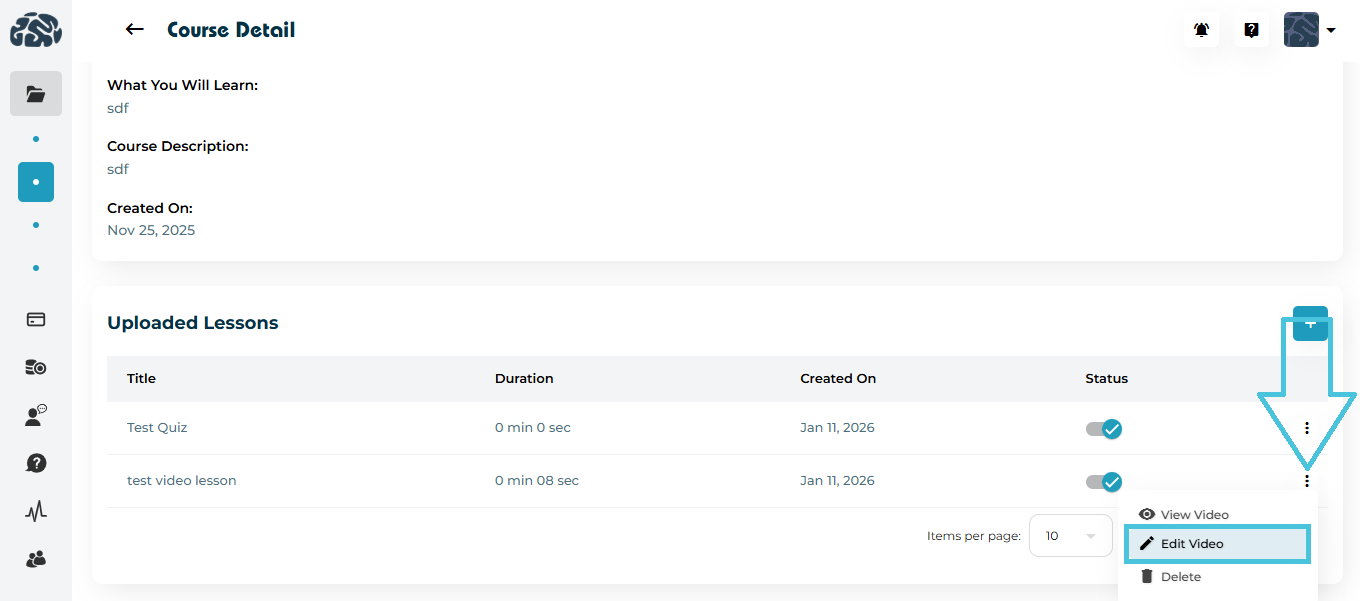
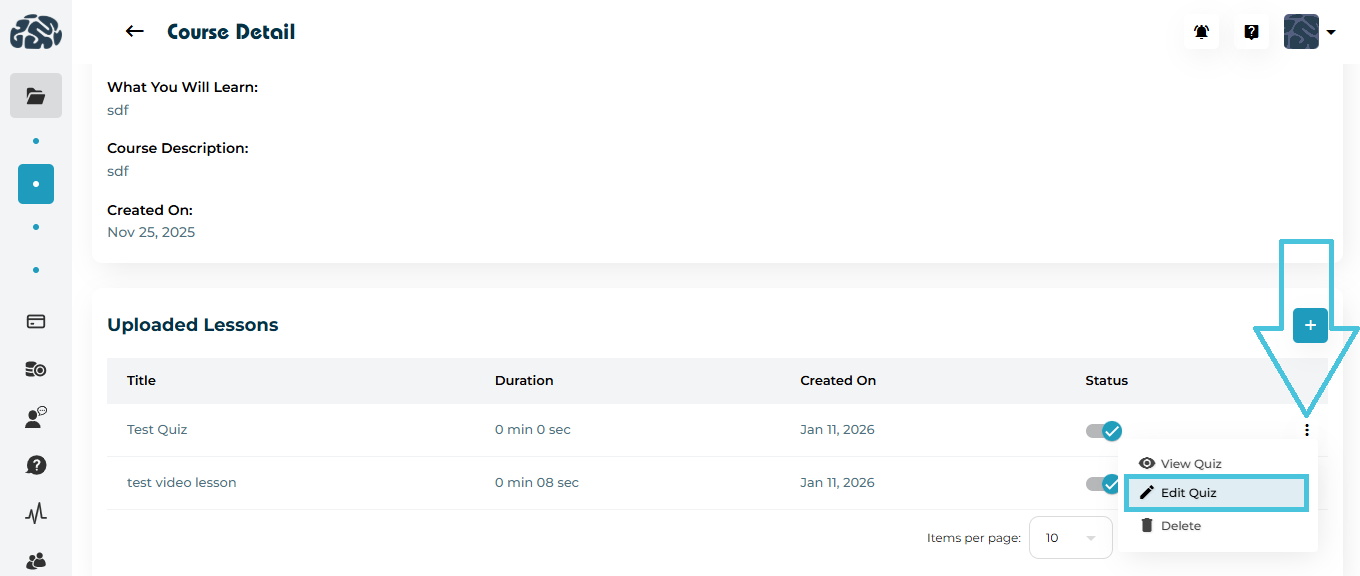
Editing & Deleting Course Categories
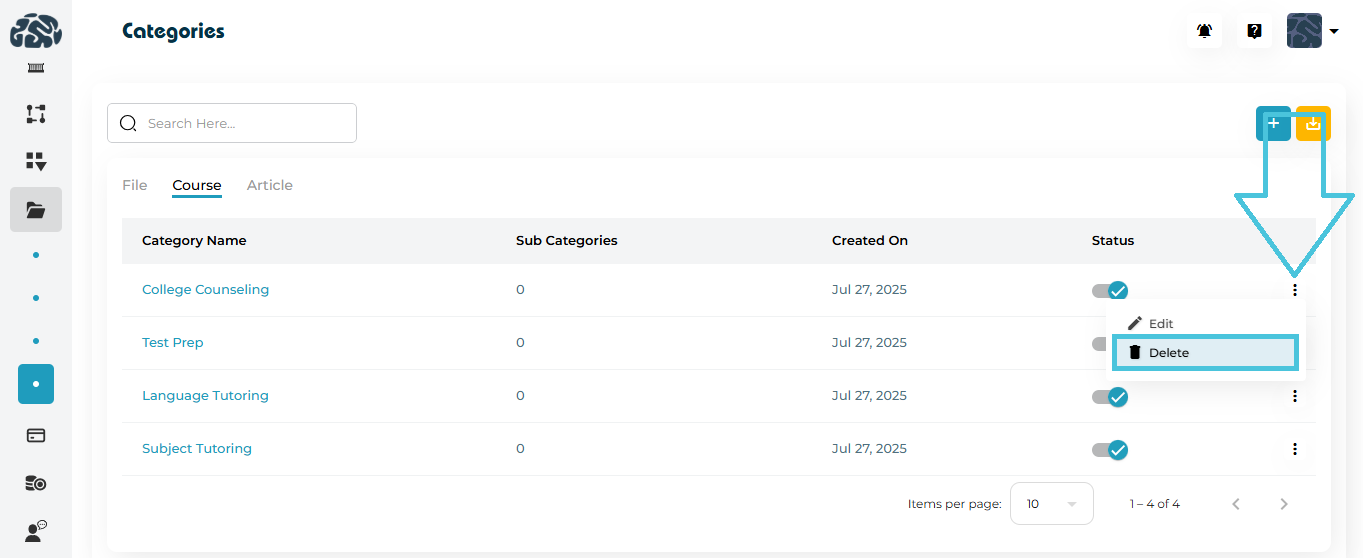
Use the three-dot menu to edit or delete
Changes reflect immediately in course creation and filtering
Exporting Course Categories & Sub-Categories

Use the Download (⬇️) icon for CSV export
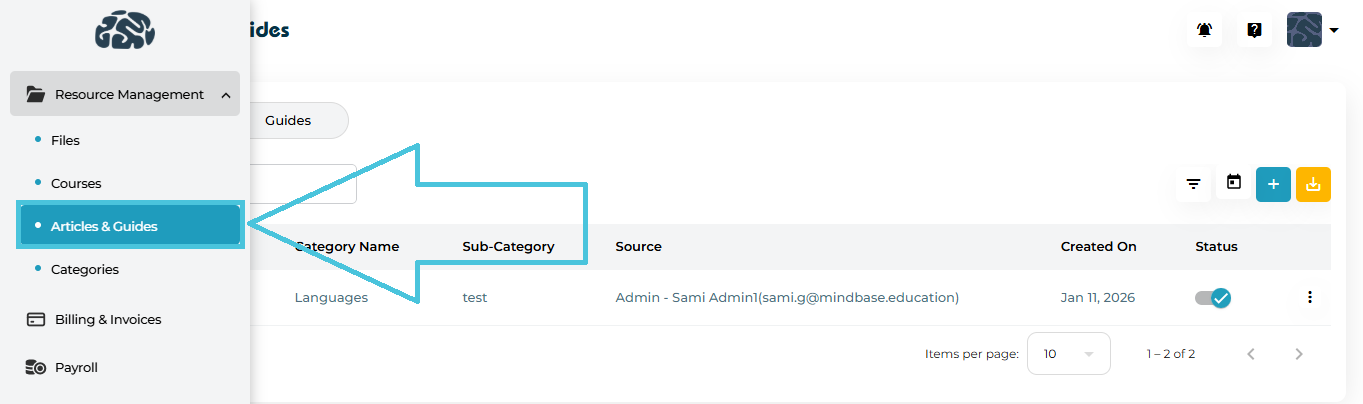
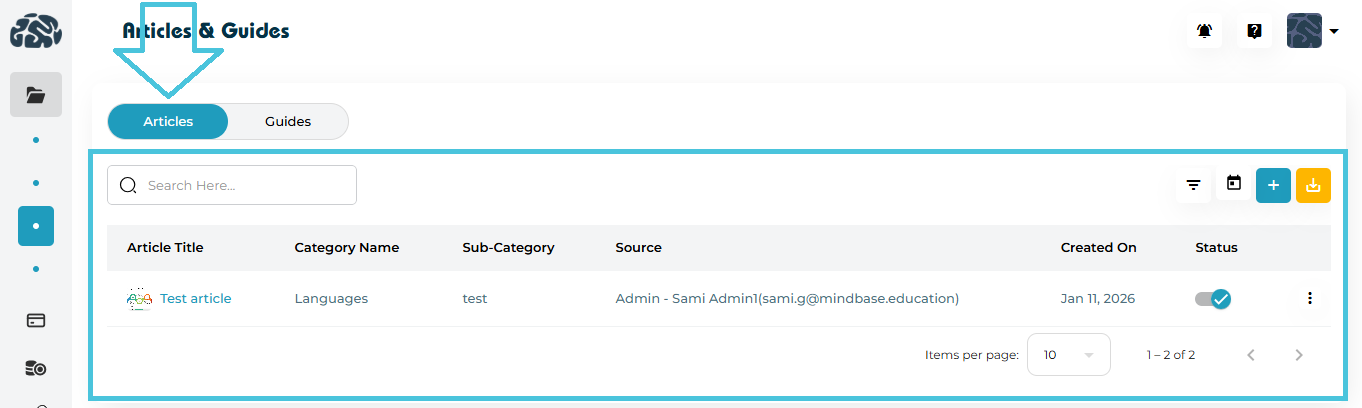
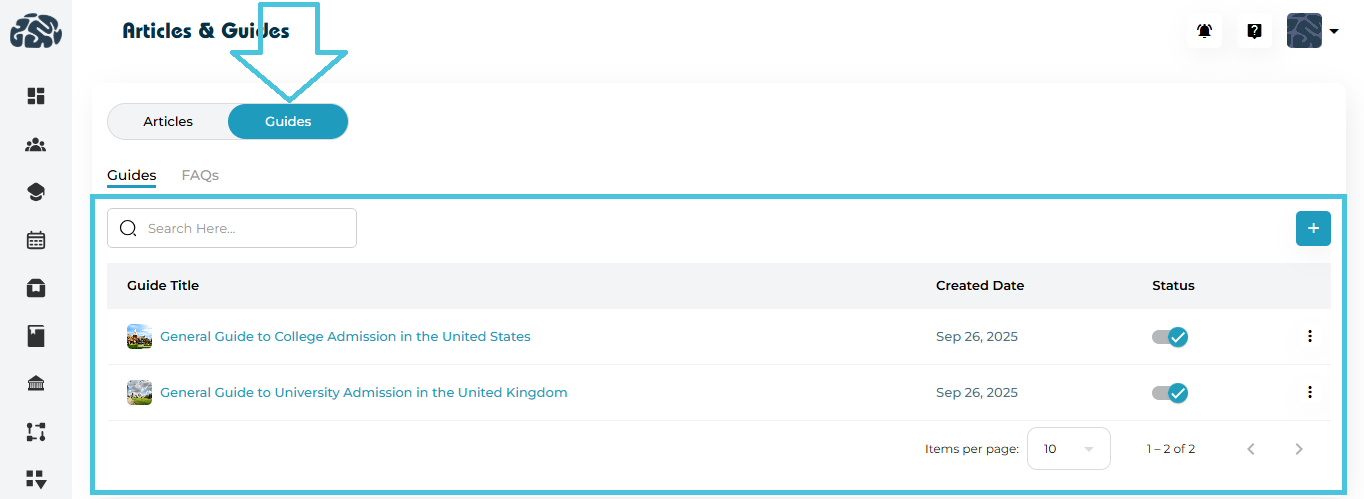
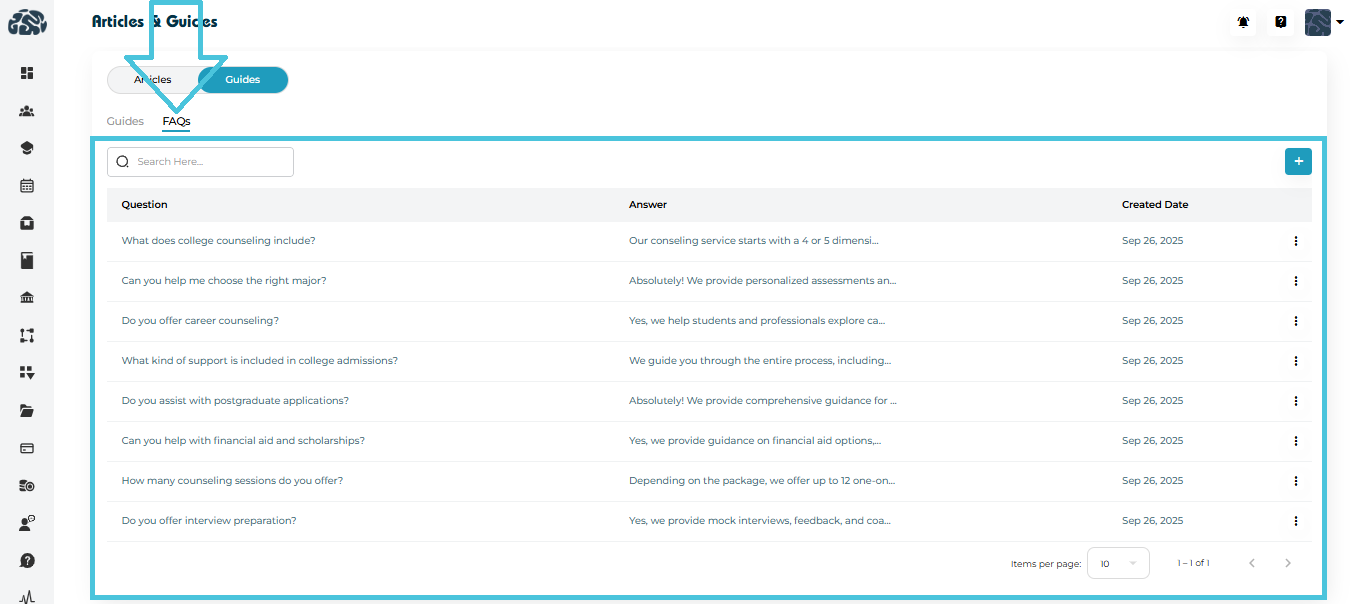
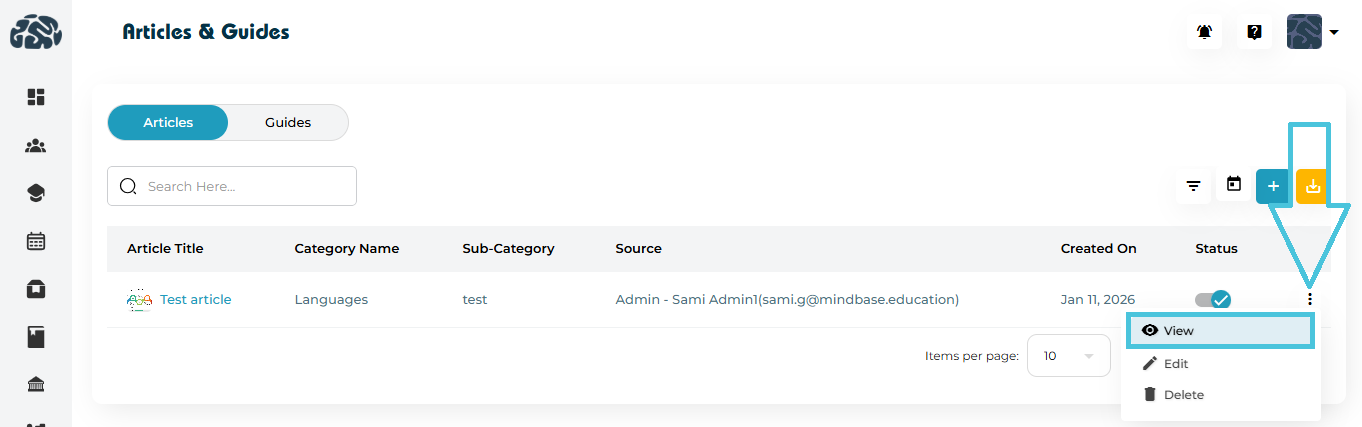
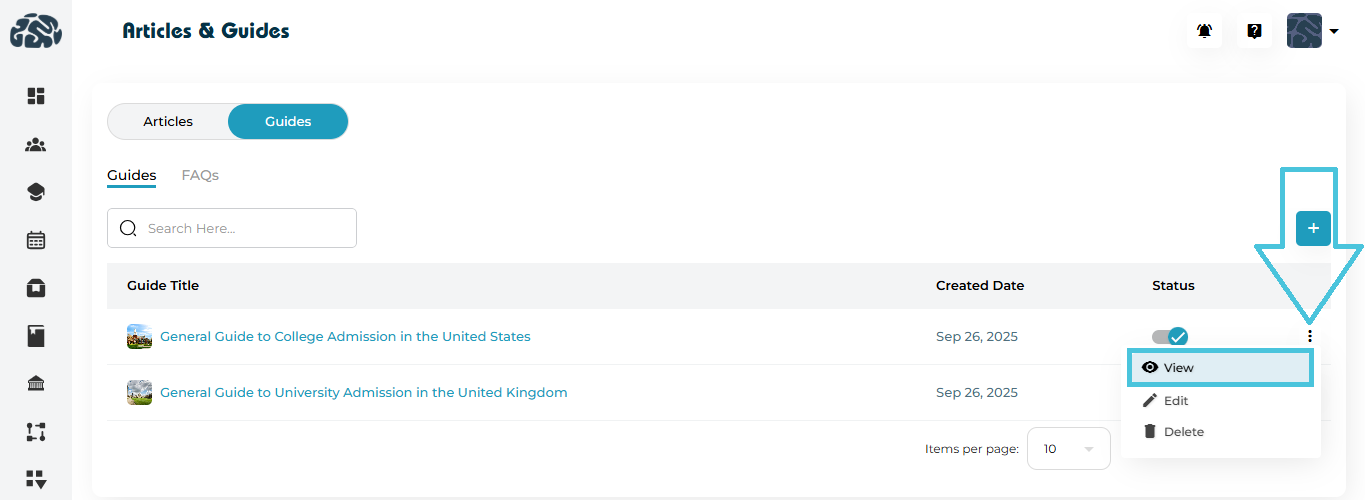
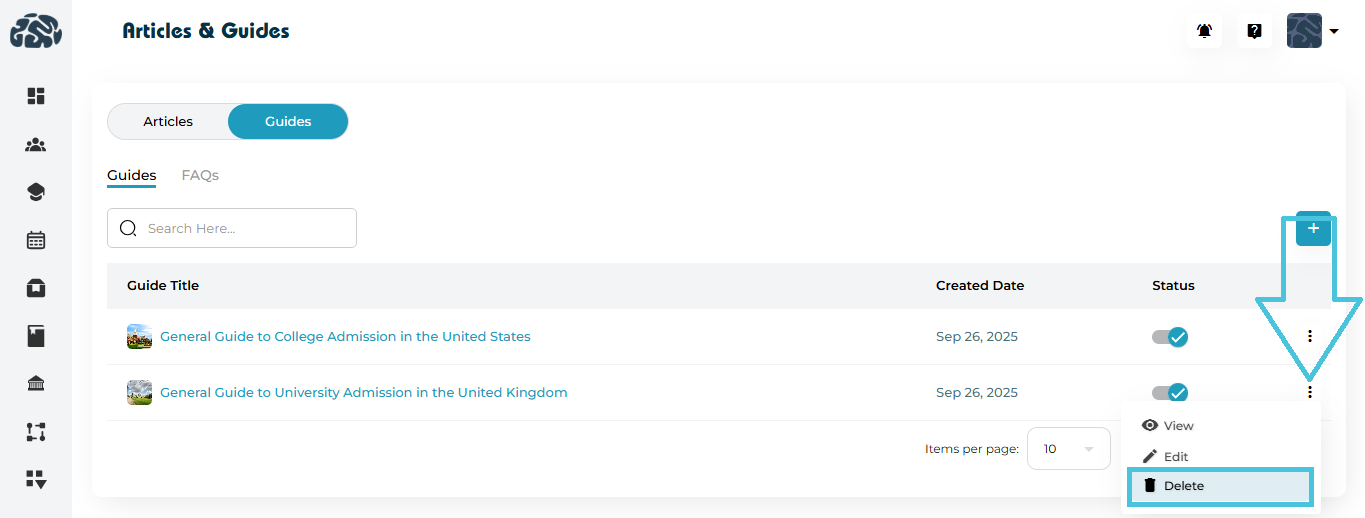
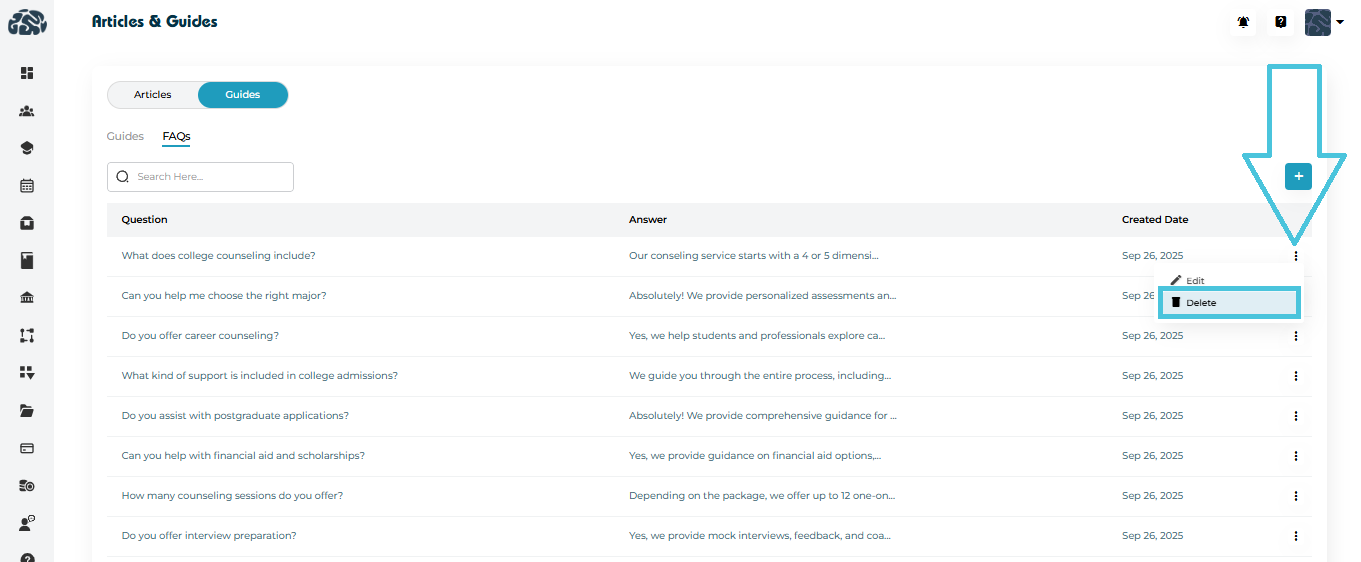
Article categories organize Articles, Guides, and FAQs shown in Articles & Guides.
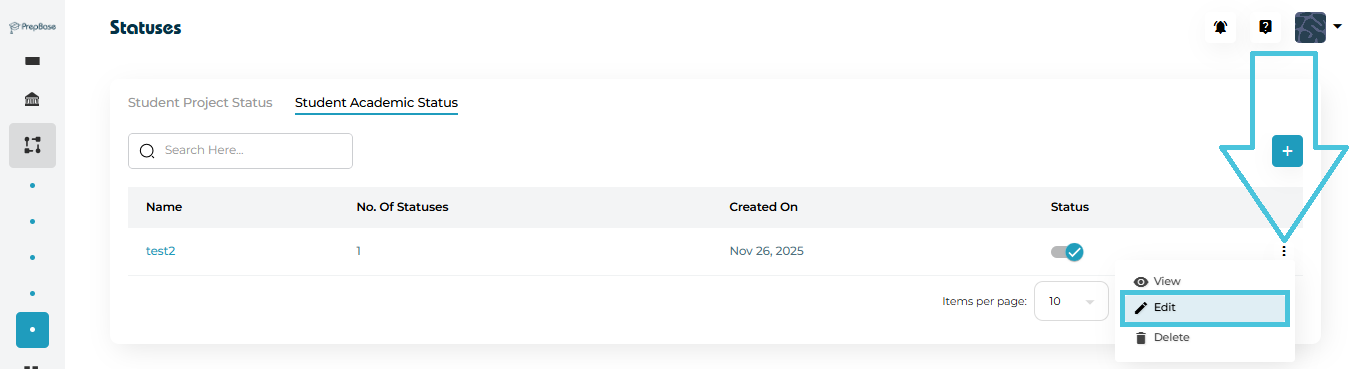
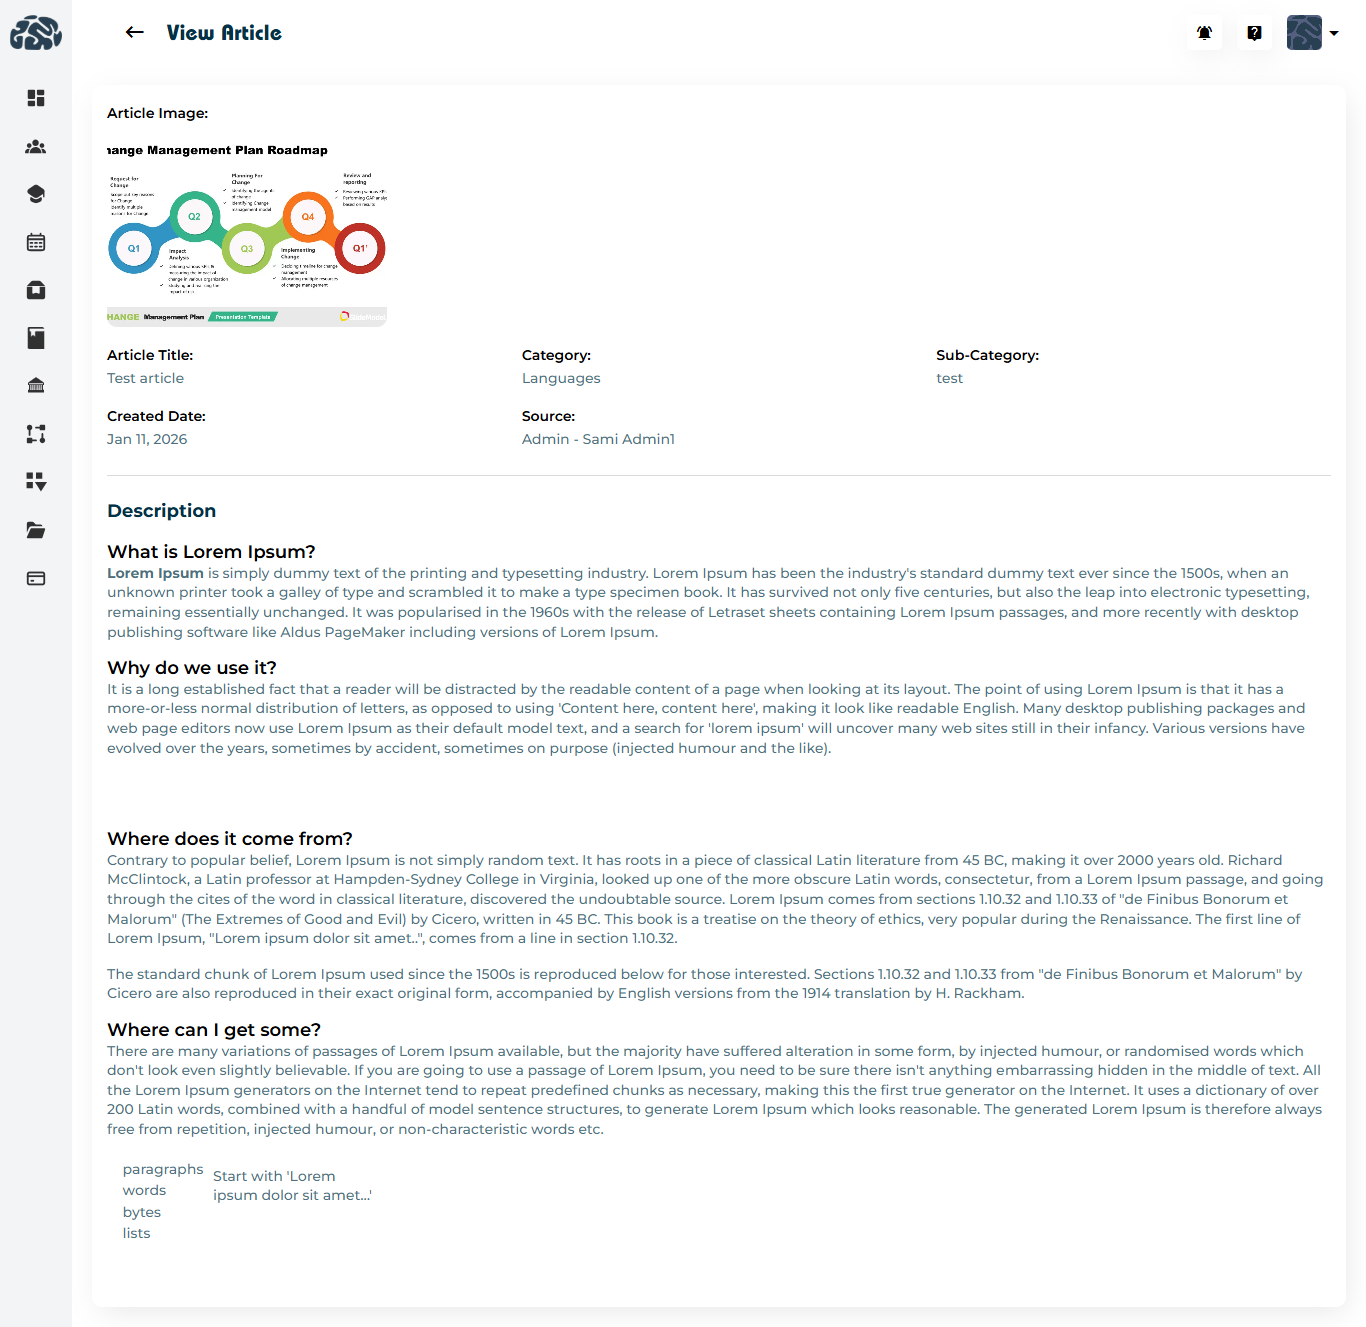
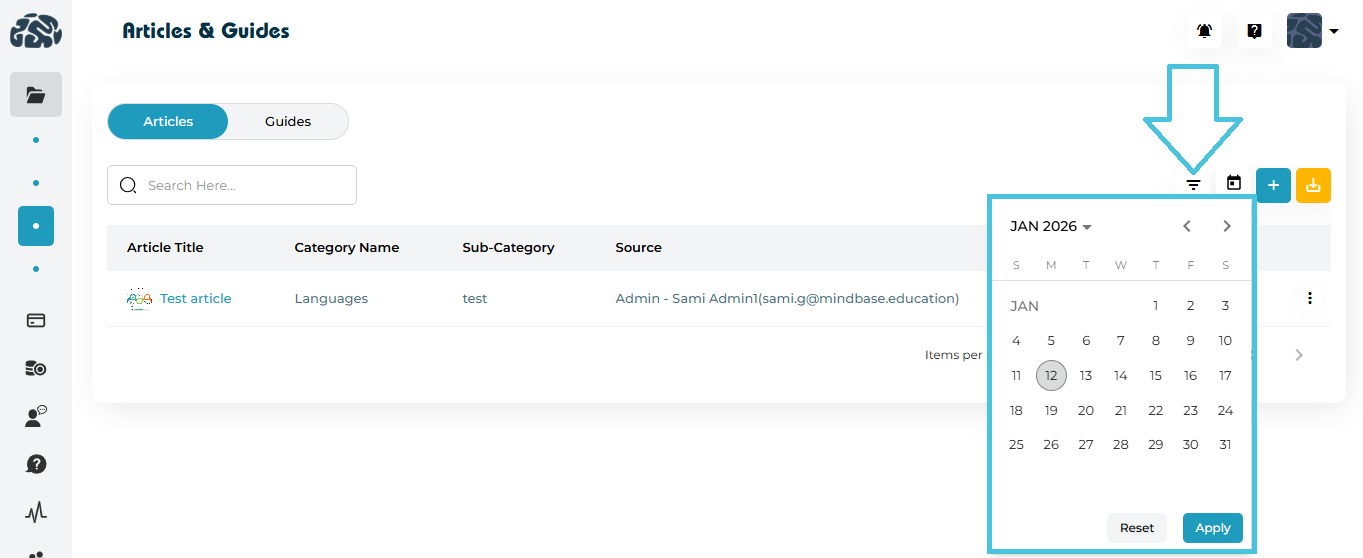
Viewing Article Categories
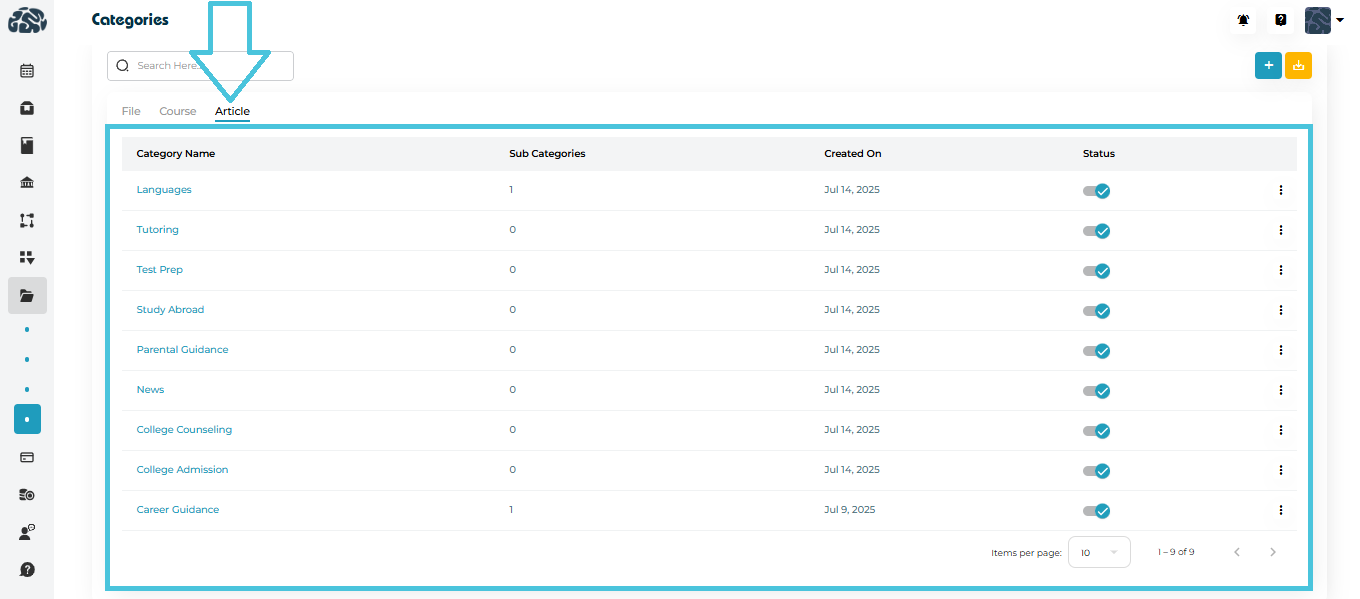
Switch to the Article tab
See categories used for educational content

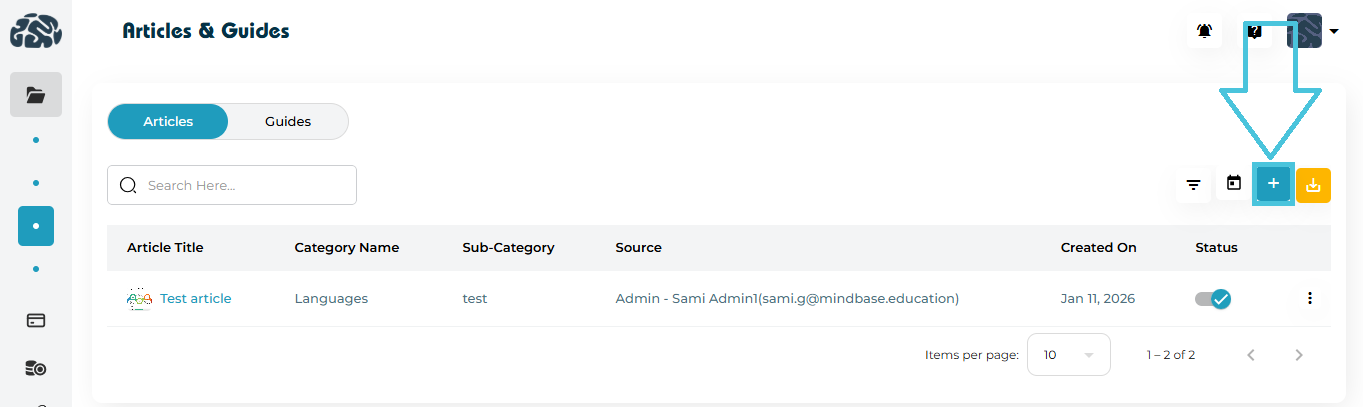
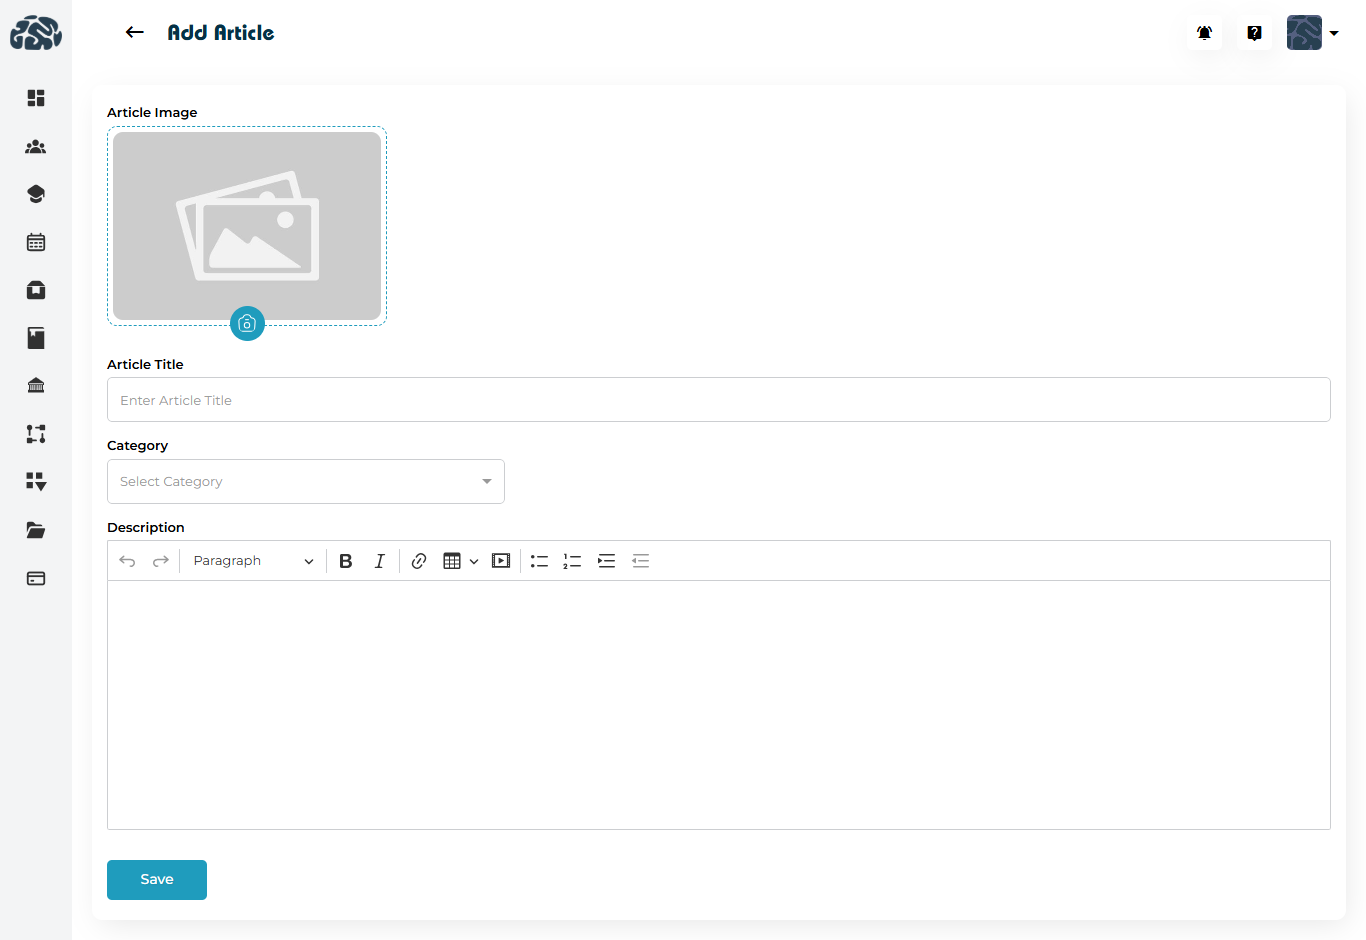
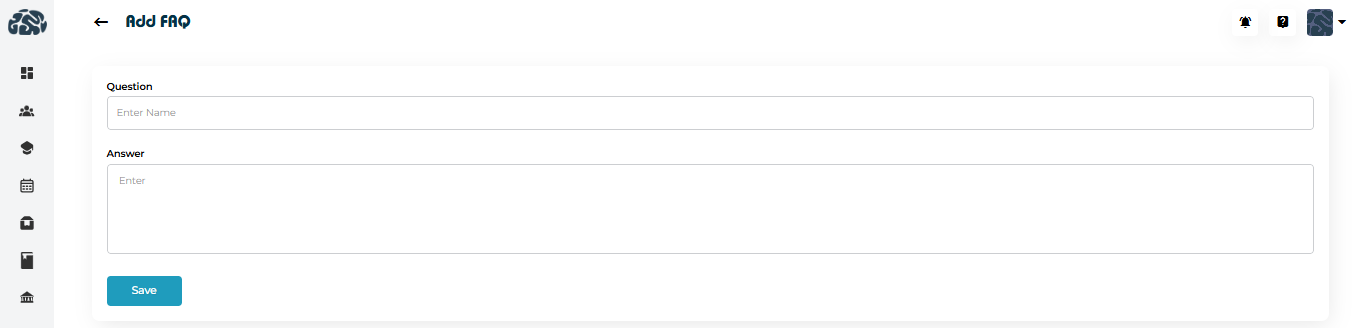
Adding an Article Category
Click ➕ Add Category
Enter category name
Save
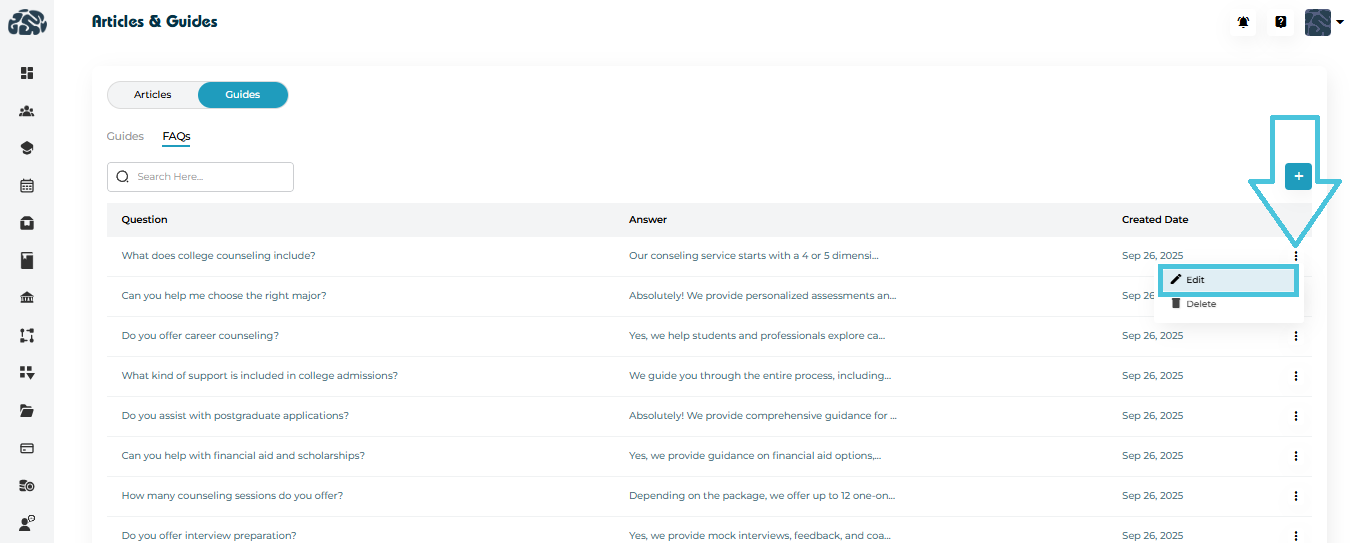
Managing Article Sub-Categories
Click a category name to open sub-categories
Add or manage sub-categories for content grouping
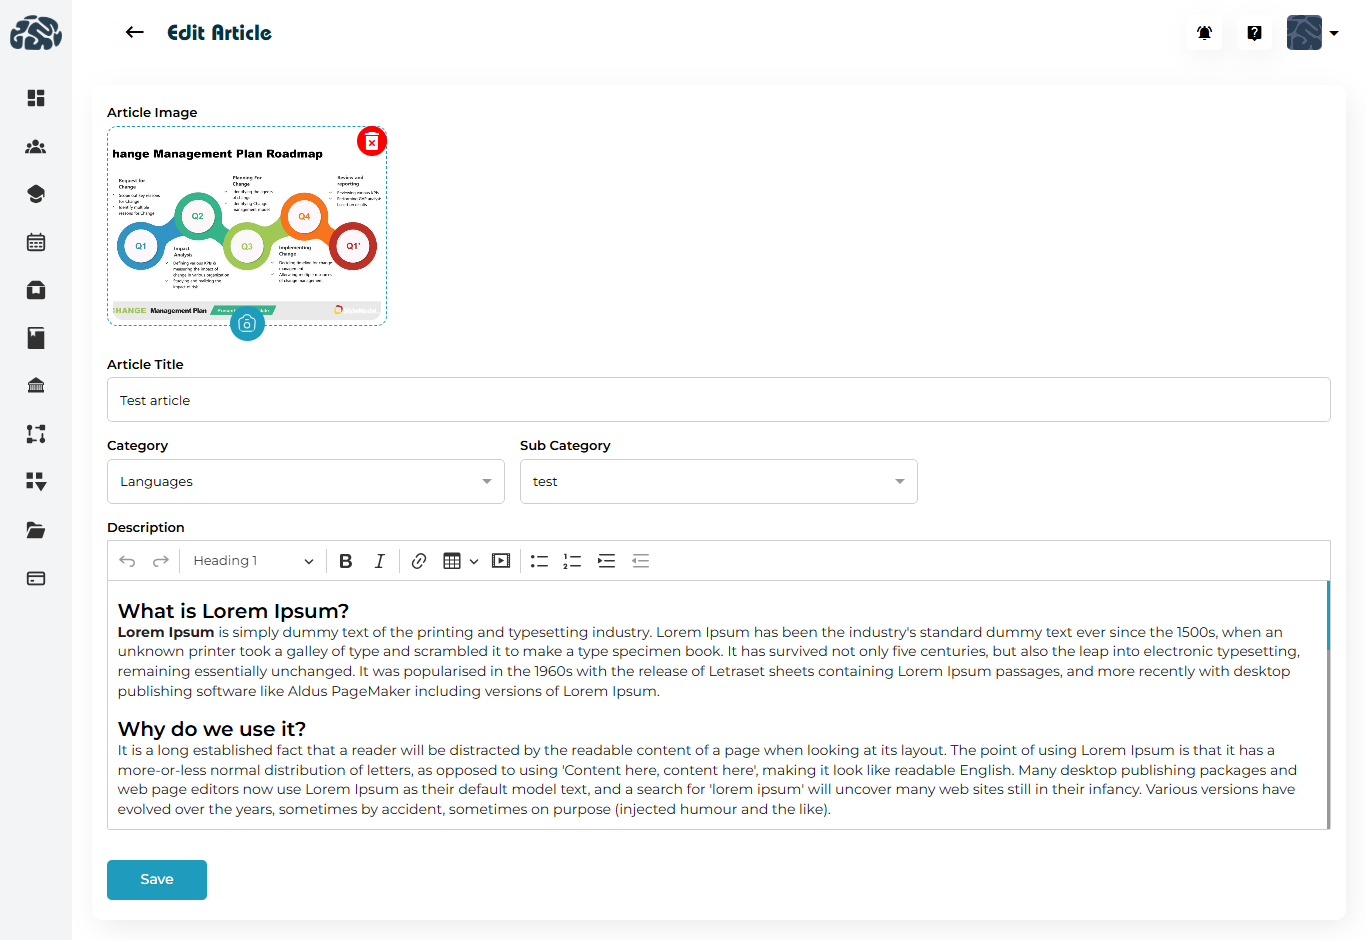
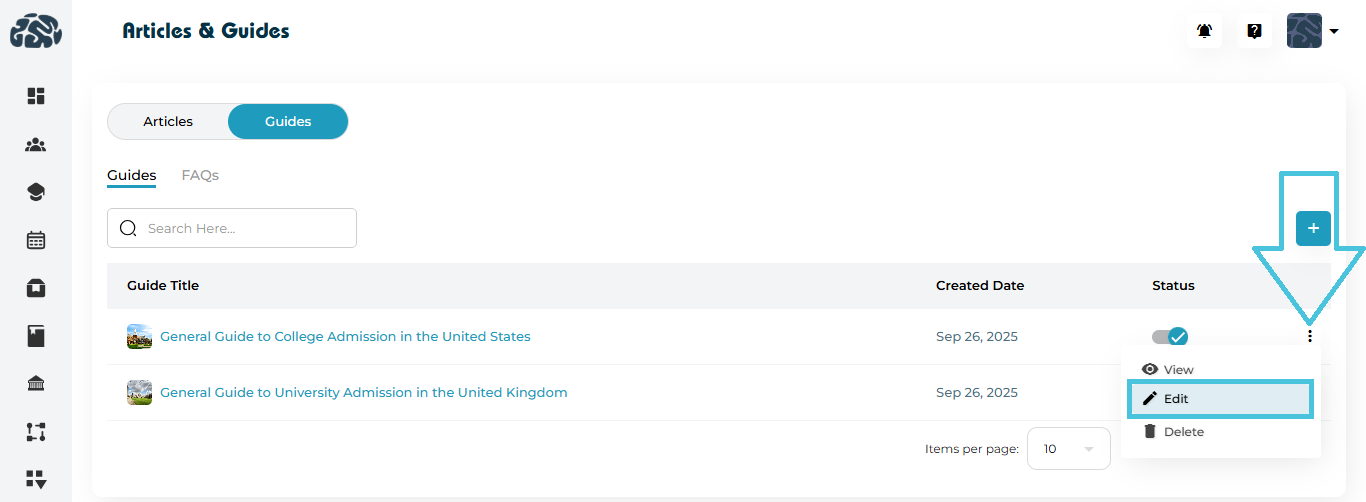
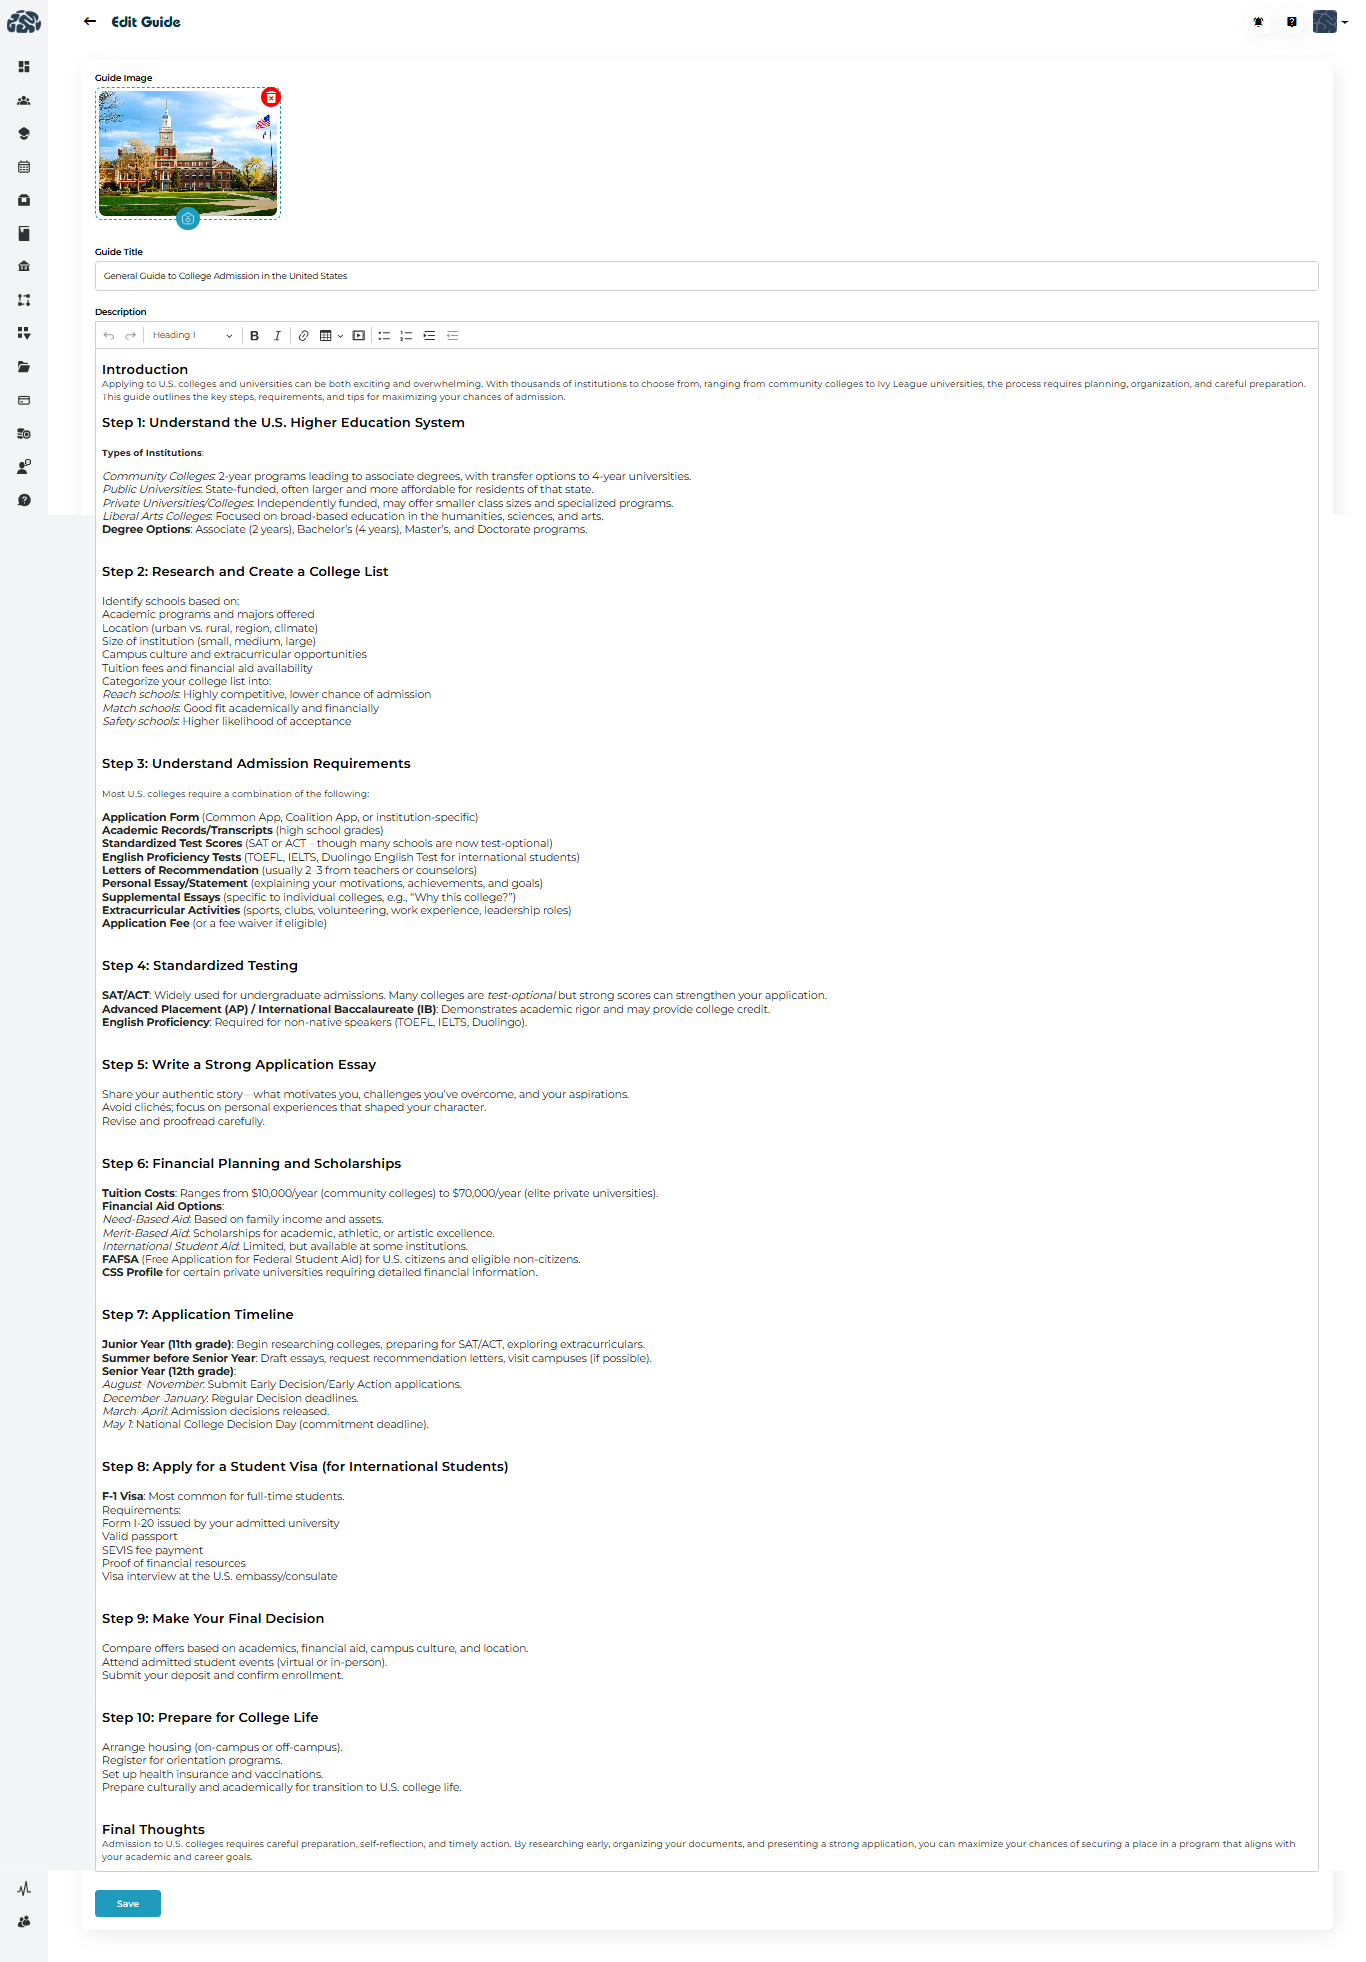
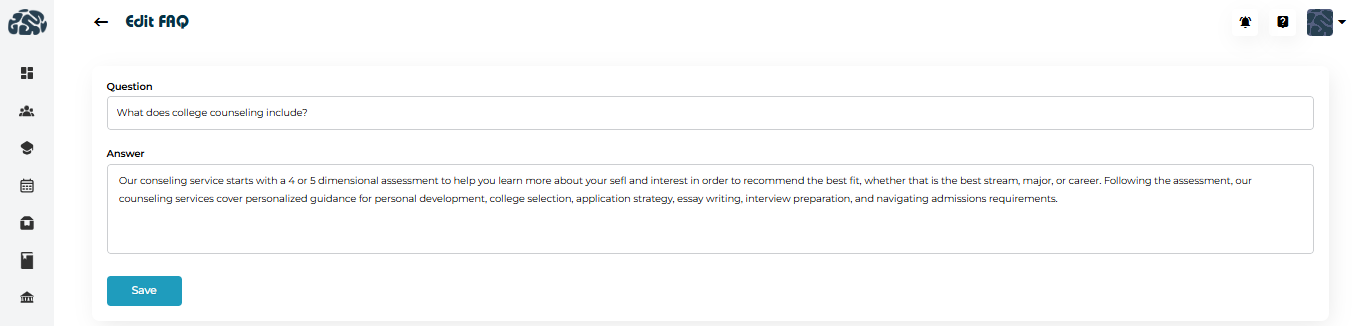
Editing & Deleting Article Categories
Use the three-dot menu
Select Edit or Delete
Exporting Article Categories
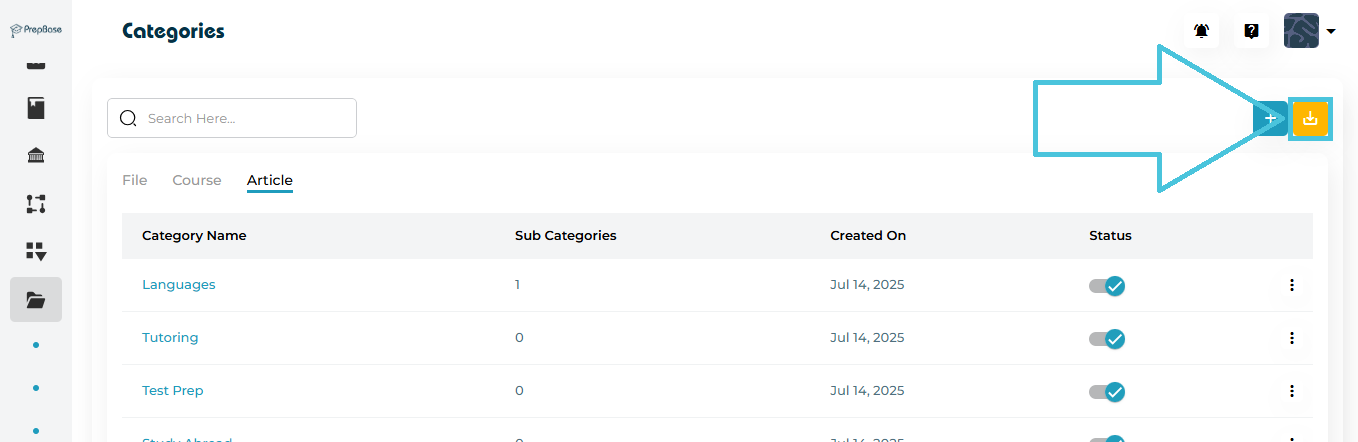
Click Download (⬇️) to export article categories and sub-categories
 Add
Add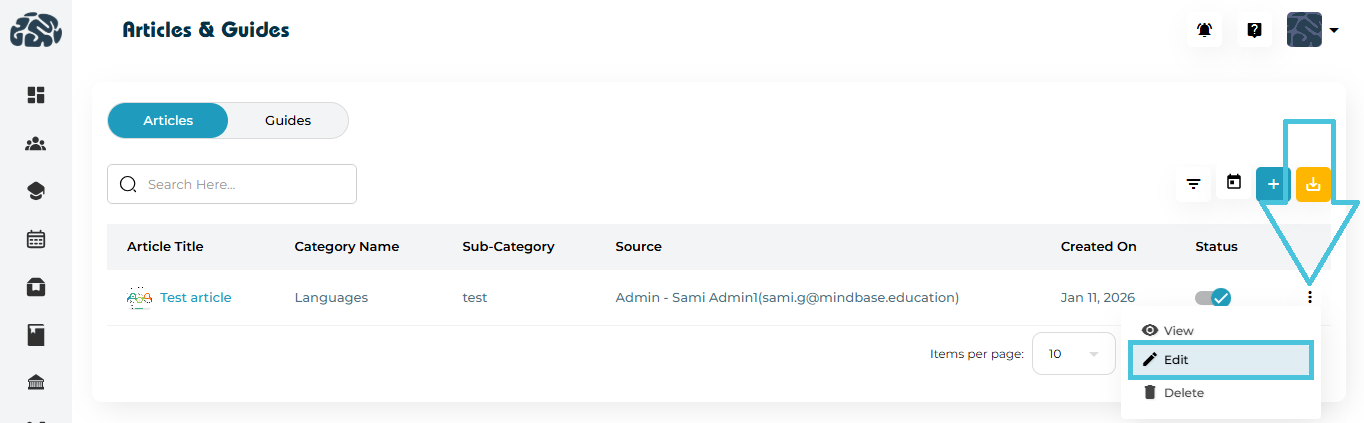
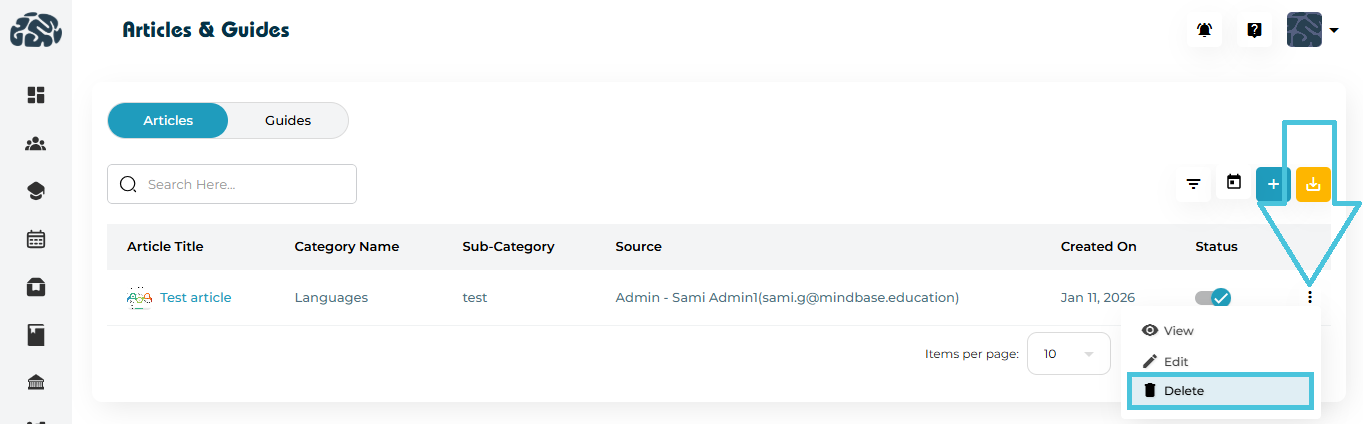
 Deleted articles are permanently removed and cannot be restored.


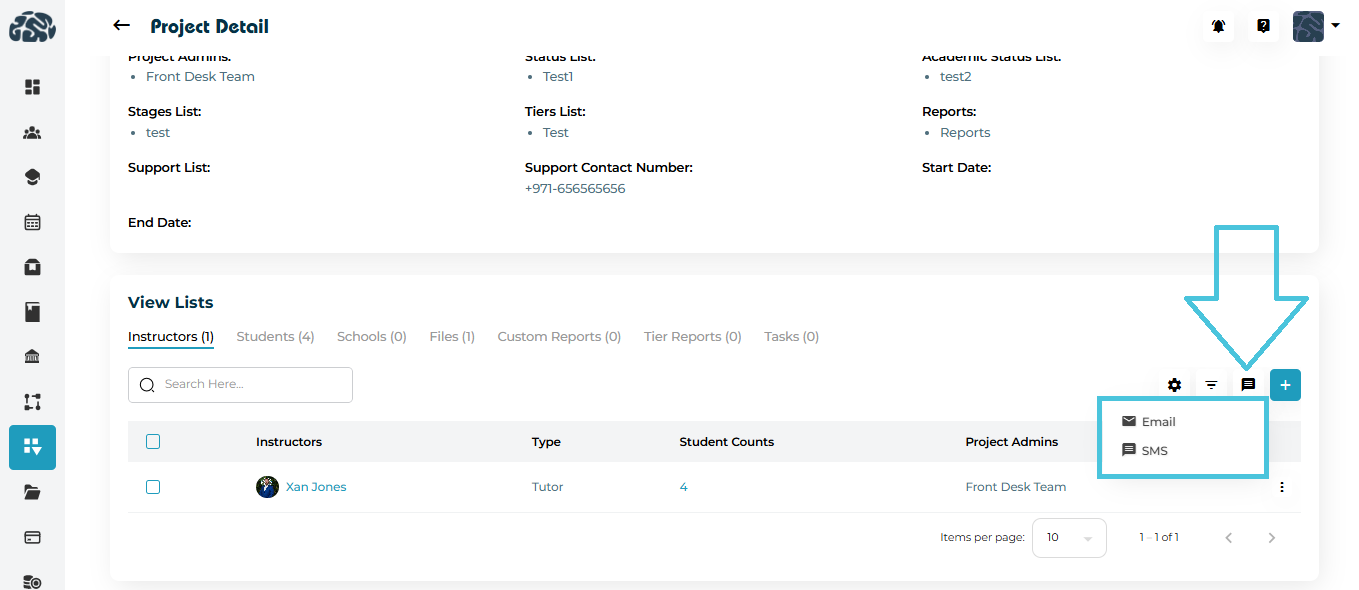

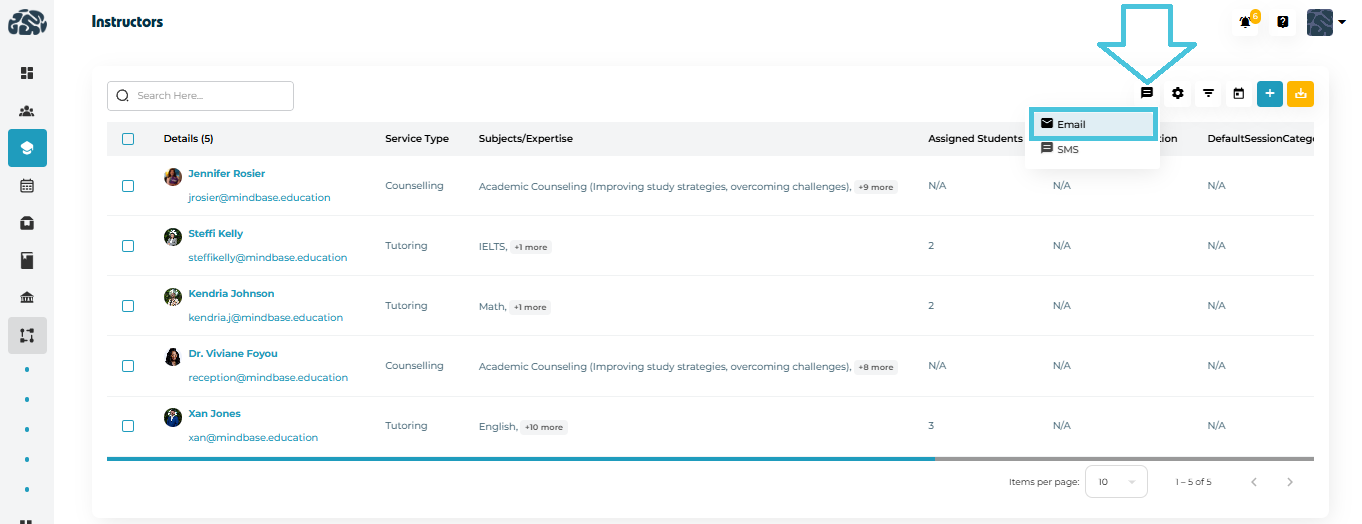
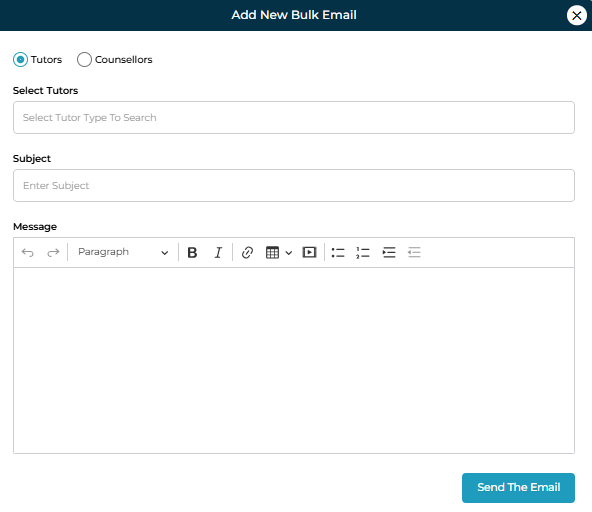
 → Email.
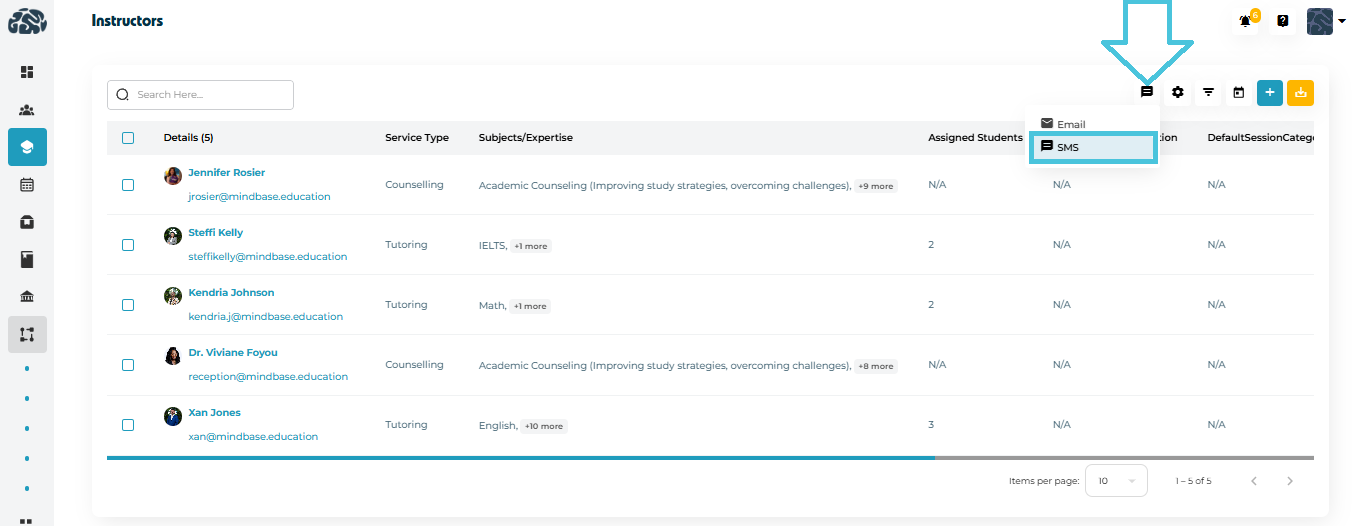

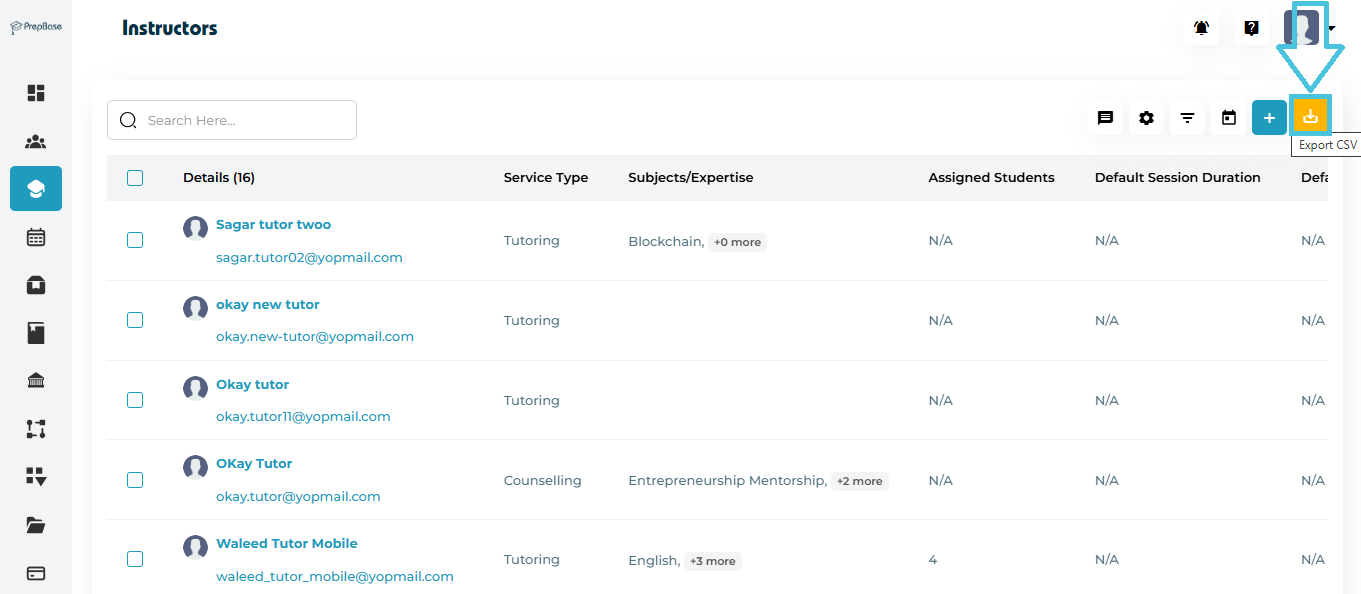
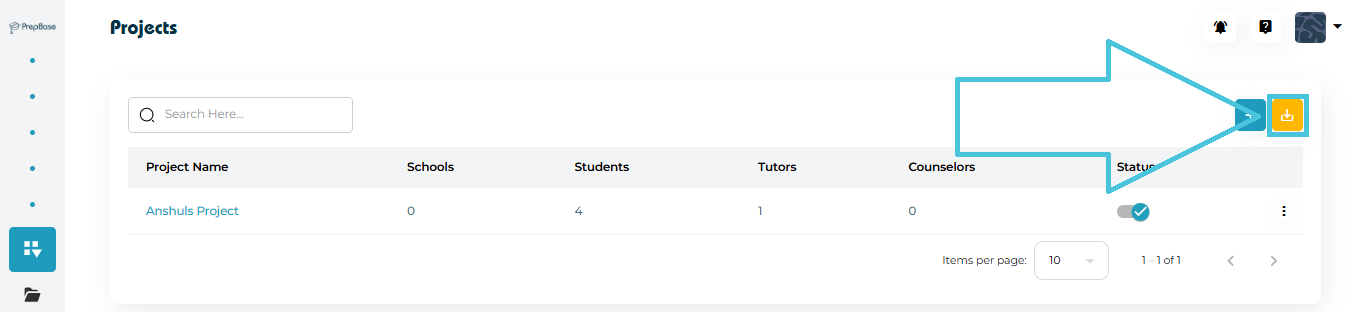
 Export CSV.