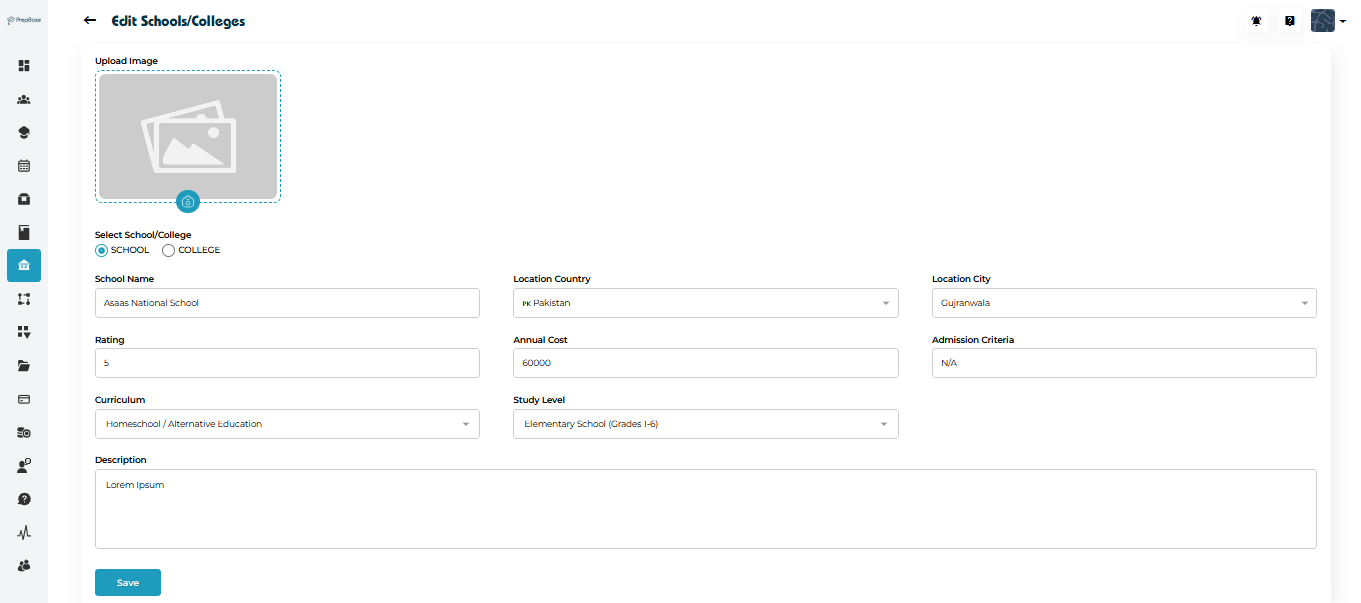
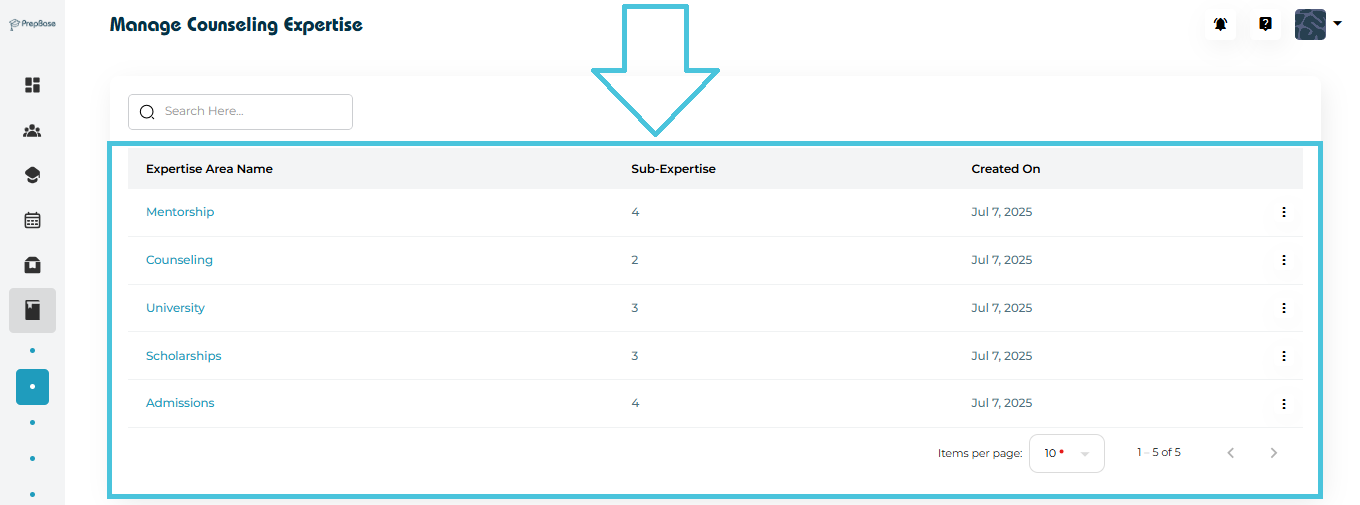
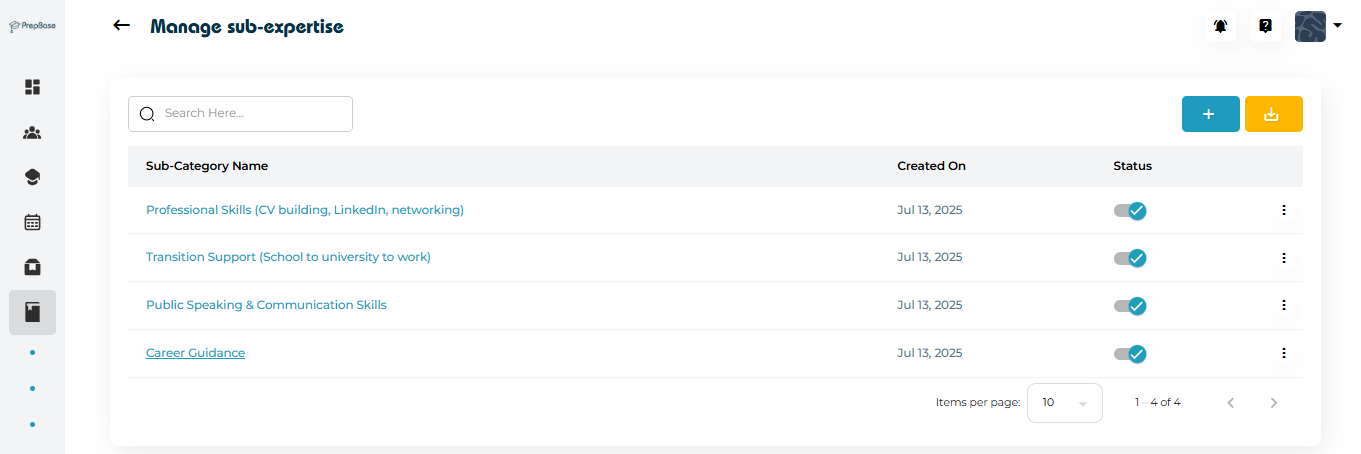
Application fields define what information is collected for each college application record. These fields appear across student application tracking and are used by counselors, advisors, and admins to record progress and decisions.
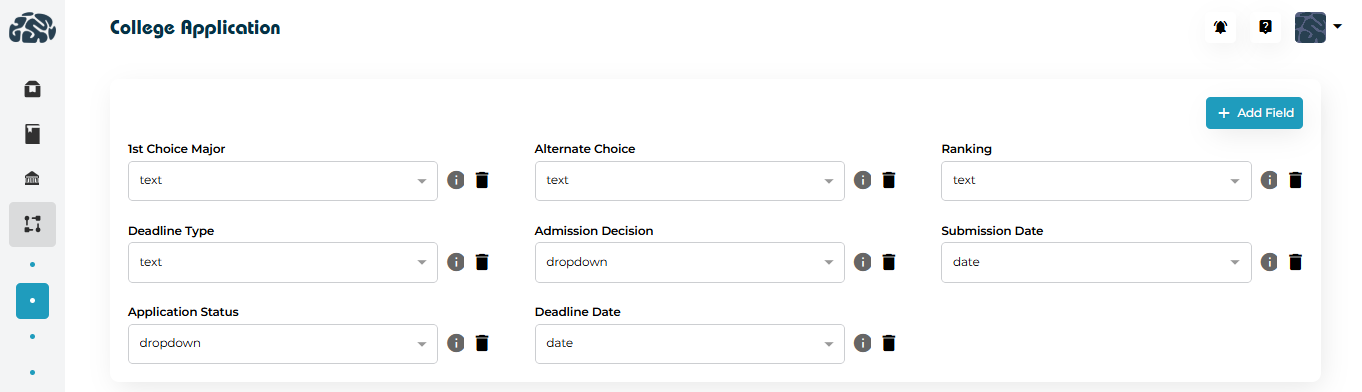
Examples of commonly used fields include:
First Choice Major
Alternate Choice
Application Status
Admission Decision
Deadline Date
Submission Date
Ranking
Each field can be configured with an appropriate field type (text, dropdown, date, etc.) to match how the data should be captured.

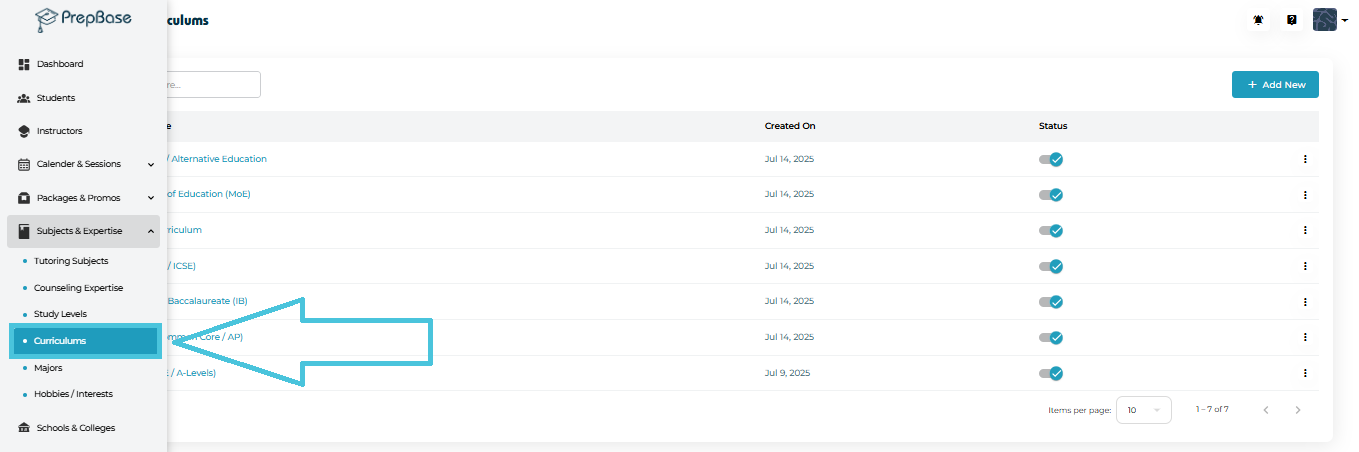
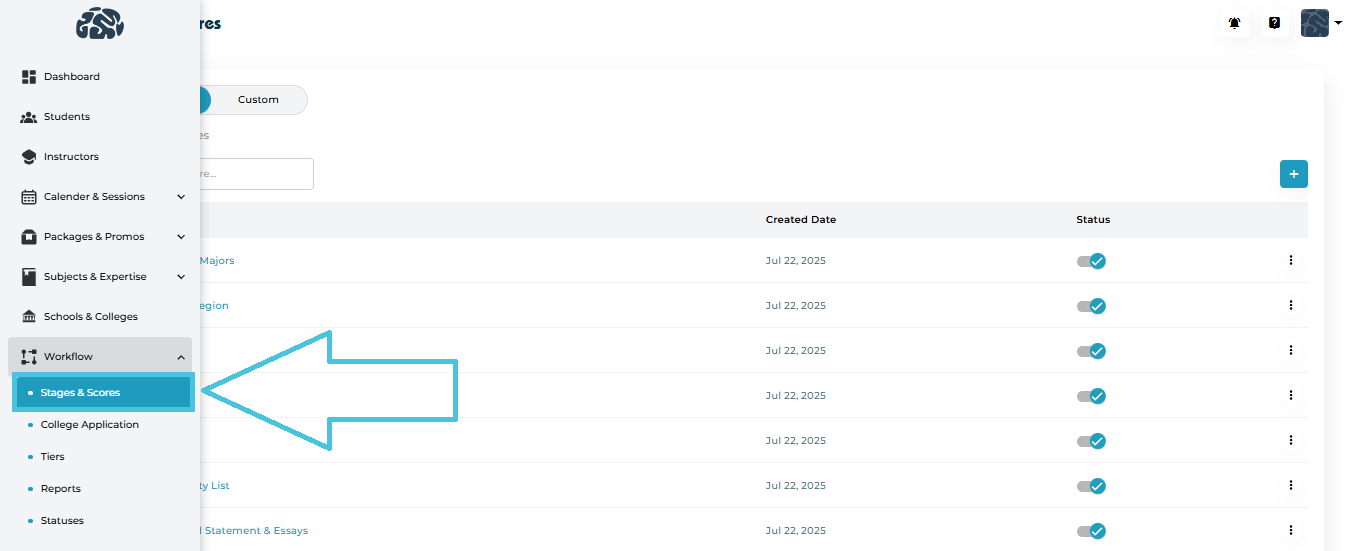
Open the Admin Portal.
Navigate to Workflow → College Application.
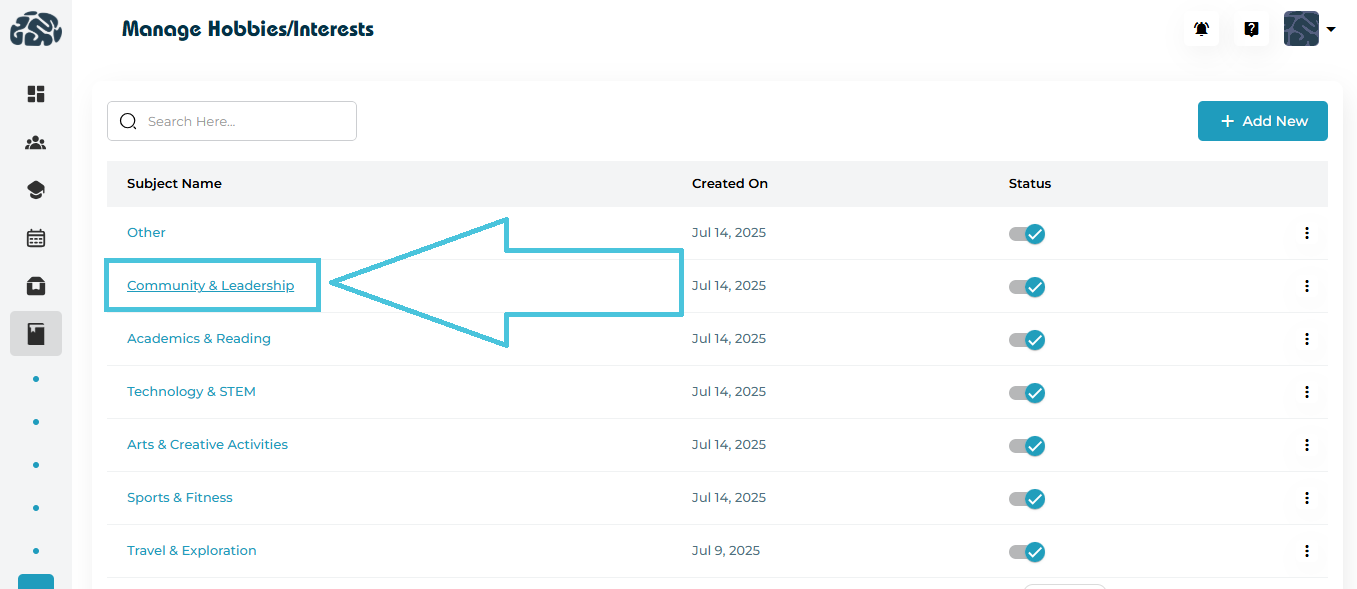
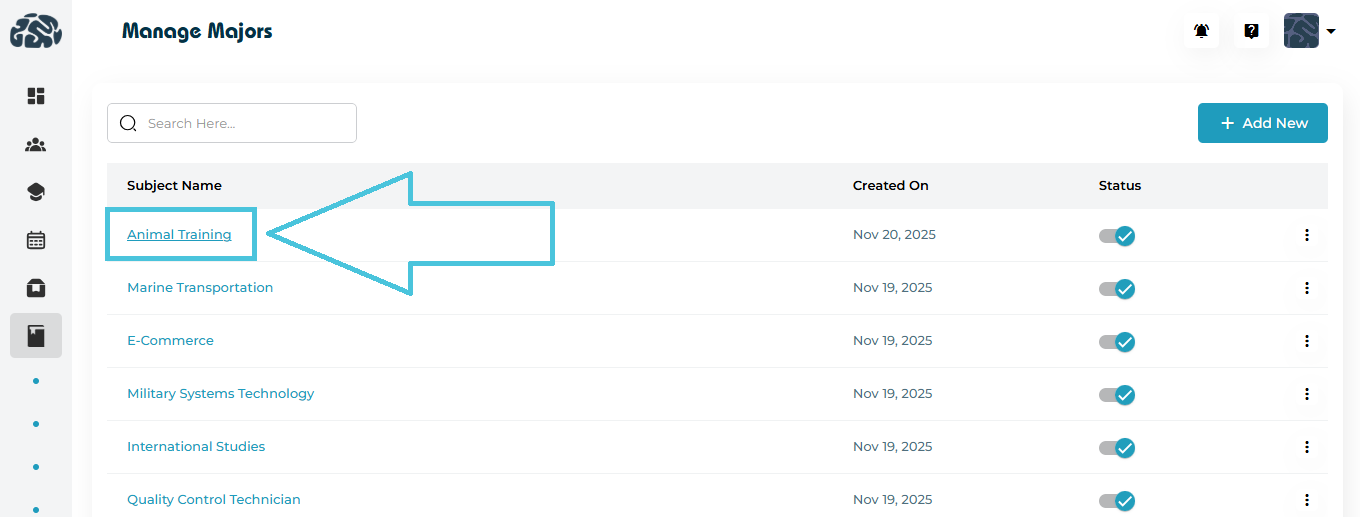
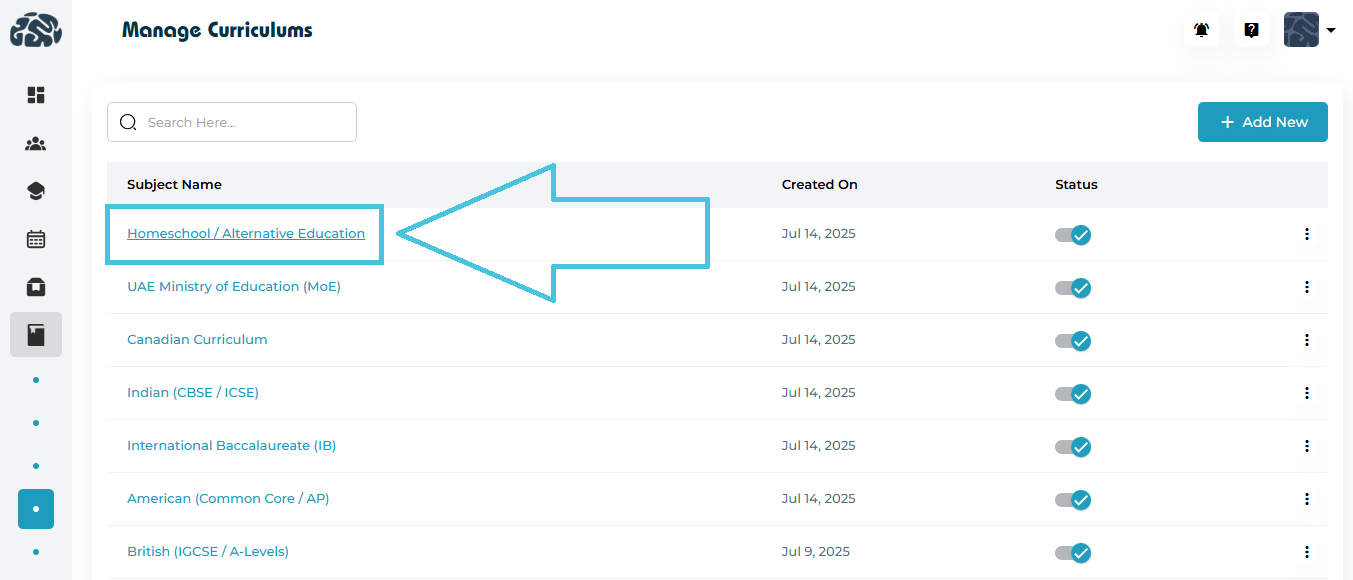
You’ll see the full list of configured application fields displayed in a structured layout.
From here, you can:
Add new custom fields
Edit existing fields
Remove fields that are no longer needed
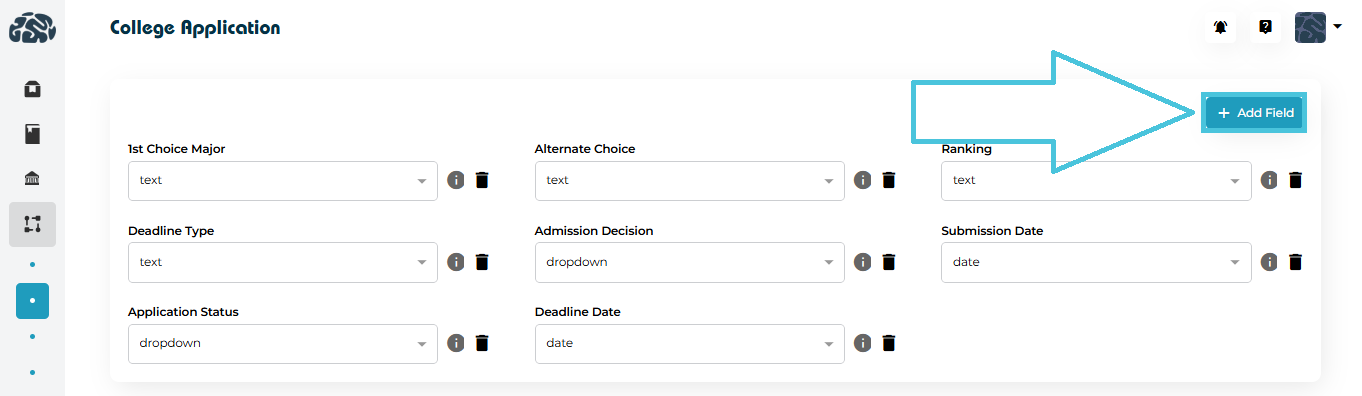
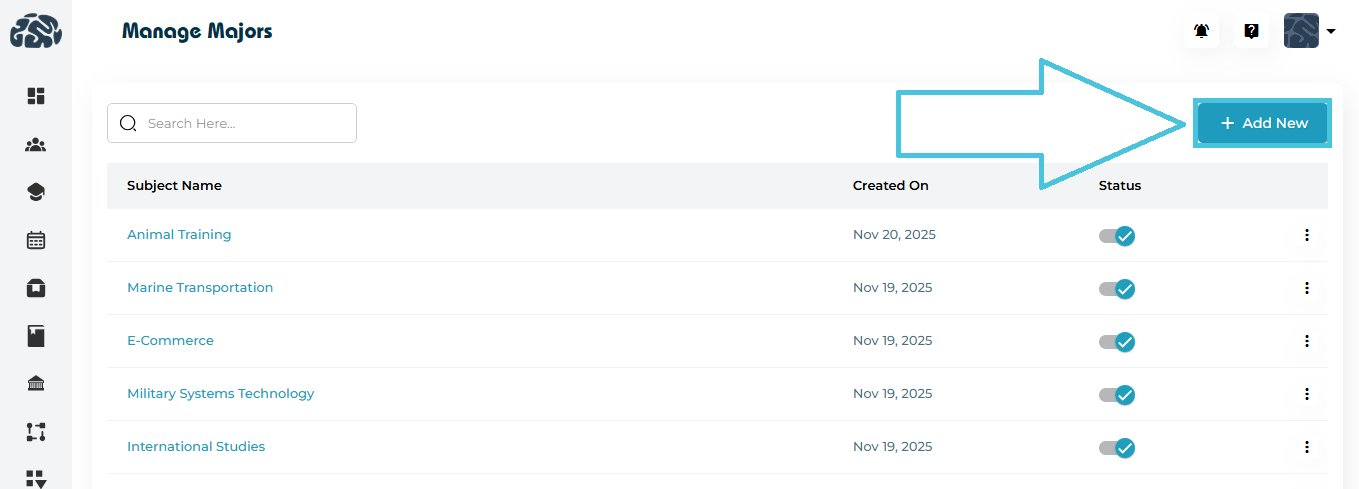
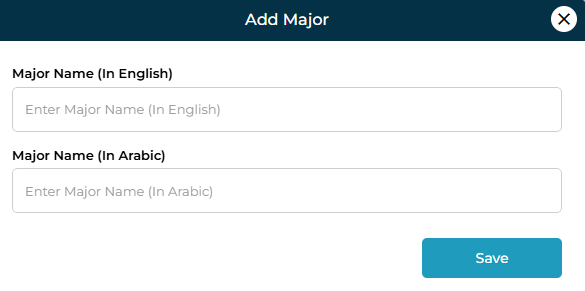
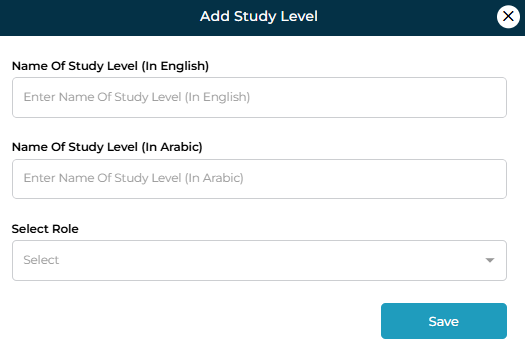
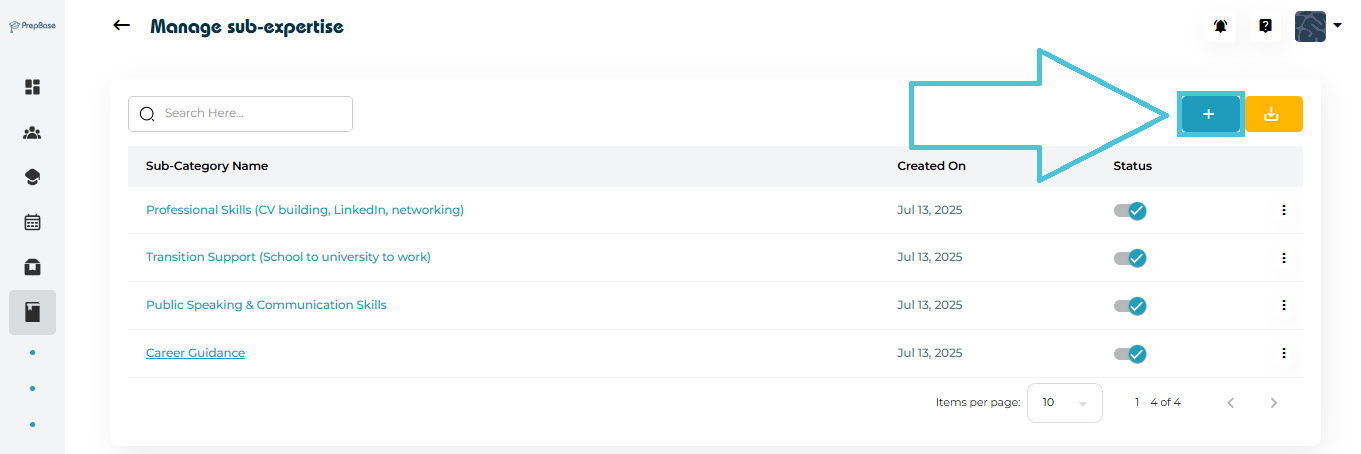
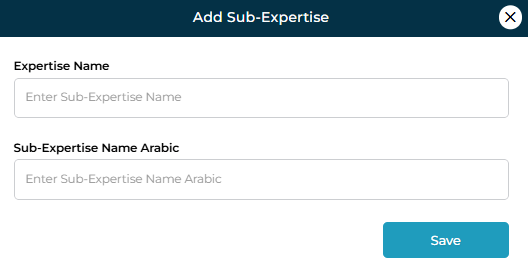
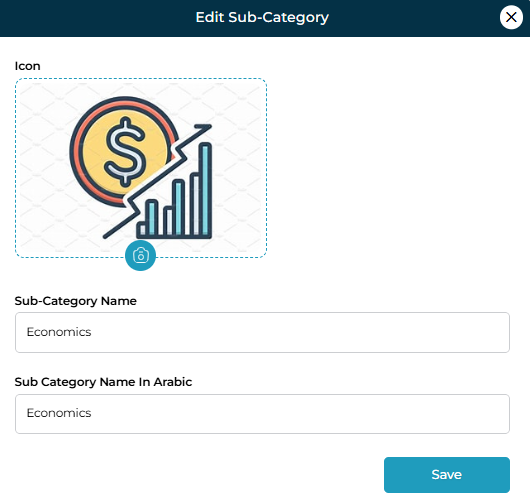
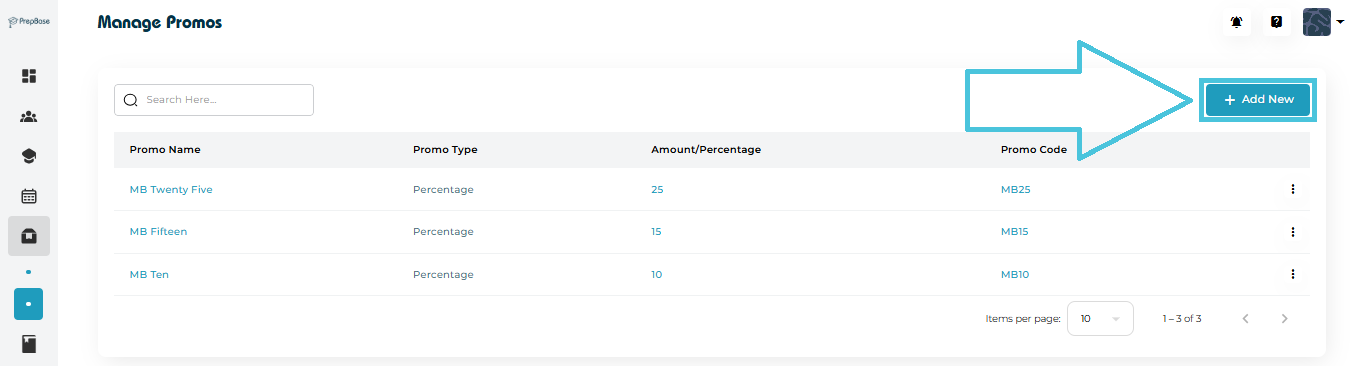
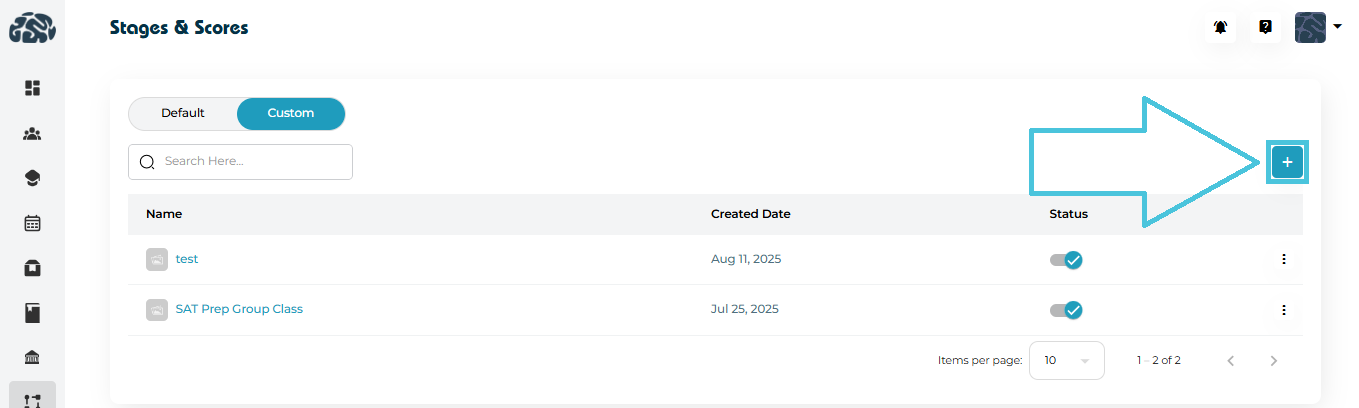
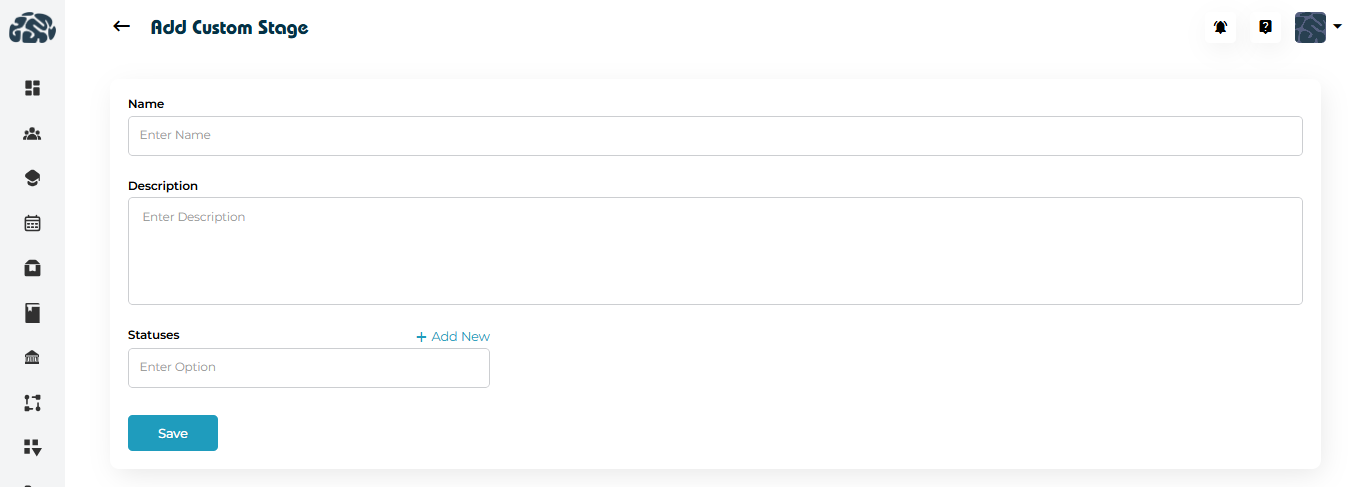
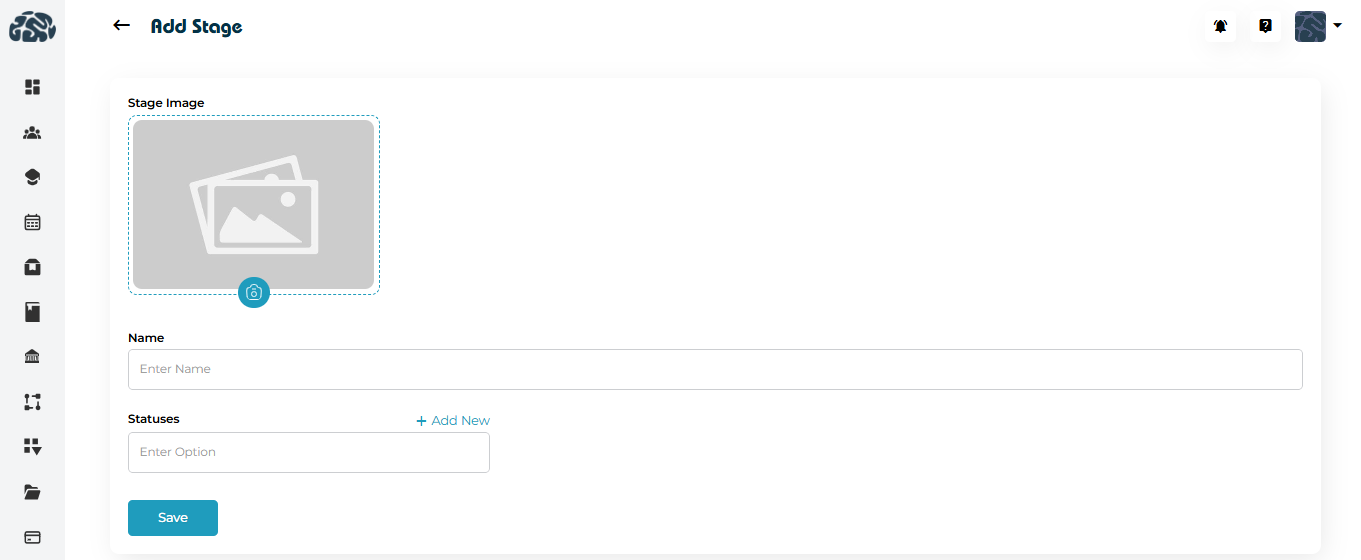
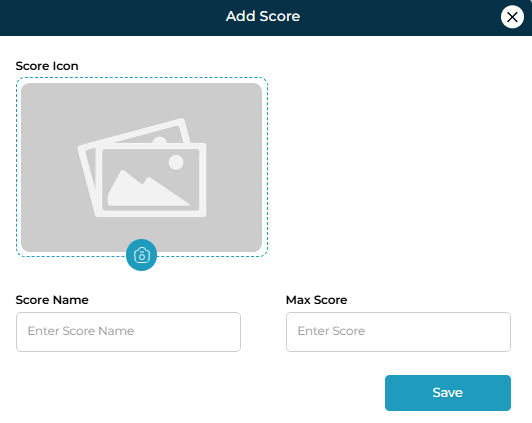
To create a new field:
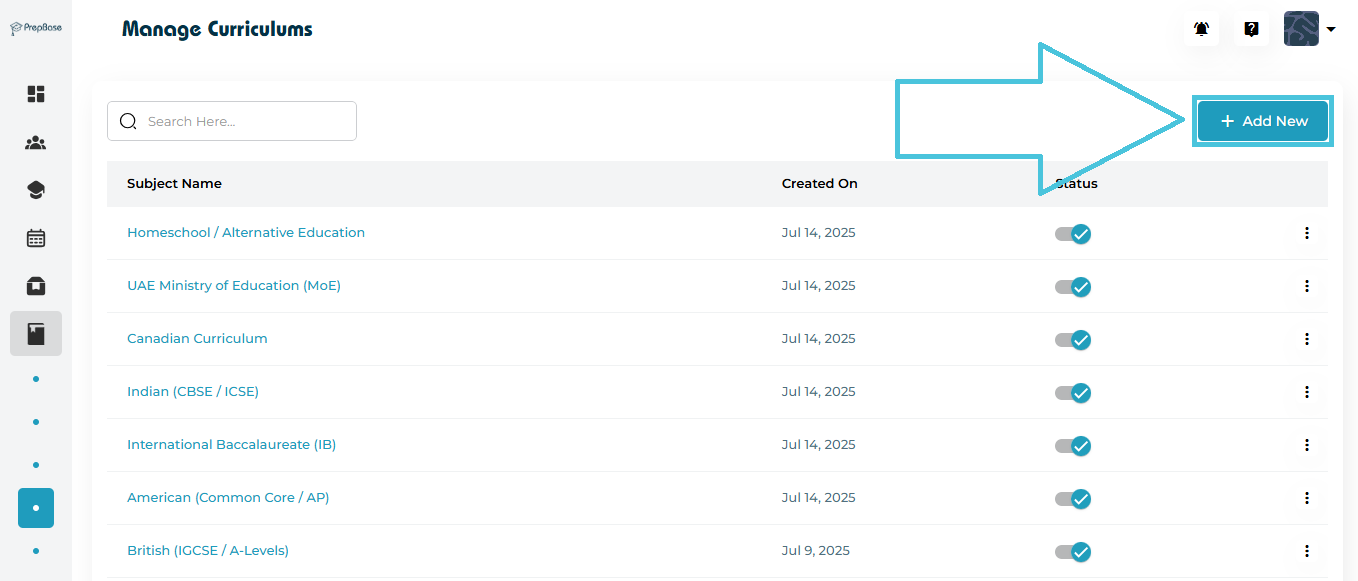
Click ➕ Add Field.
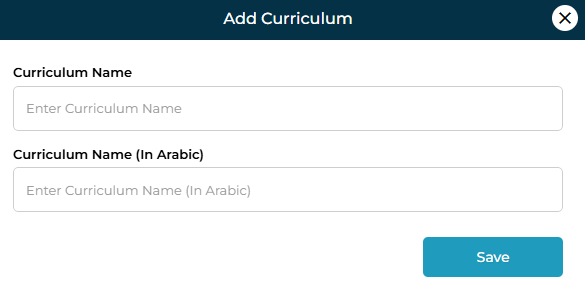
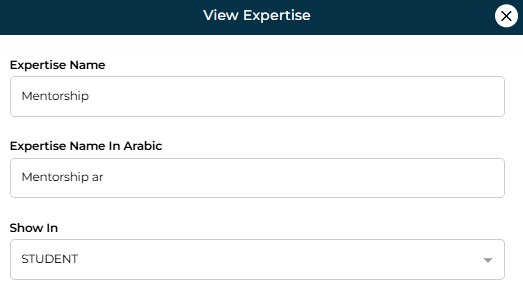
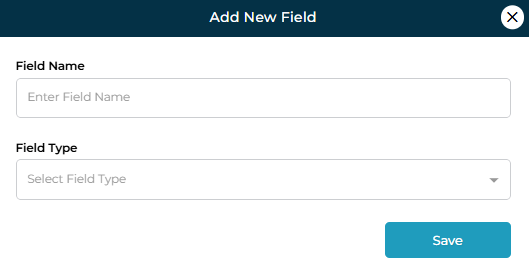
In the Add New Field modal, enter:
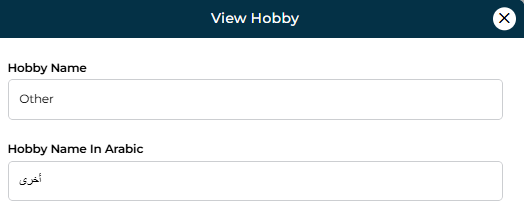
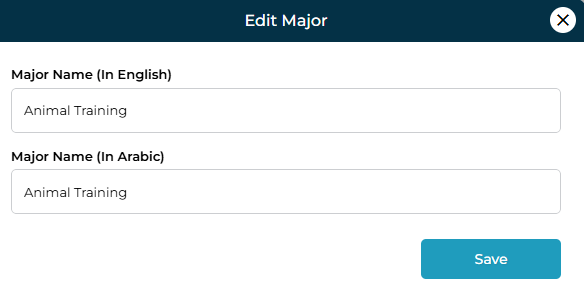
Field Name
(Example: Interview Date, Scholarship Status)Field Type
Choose how the data should be captured:Text
Dropdown
Date
Click Save.
Once saved, the field becomes immediately available across the College Application workflow.
Best Practices When Adding Fields
Use clear, descriptive names so counselors understand the field’s purpose.
Select the correct field type to avoid inconsistent data entry.
Keep fields minimal and relevant to reduce form clutter.
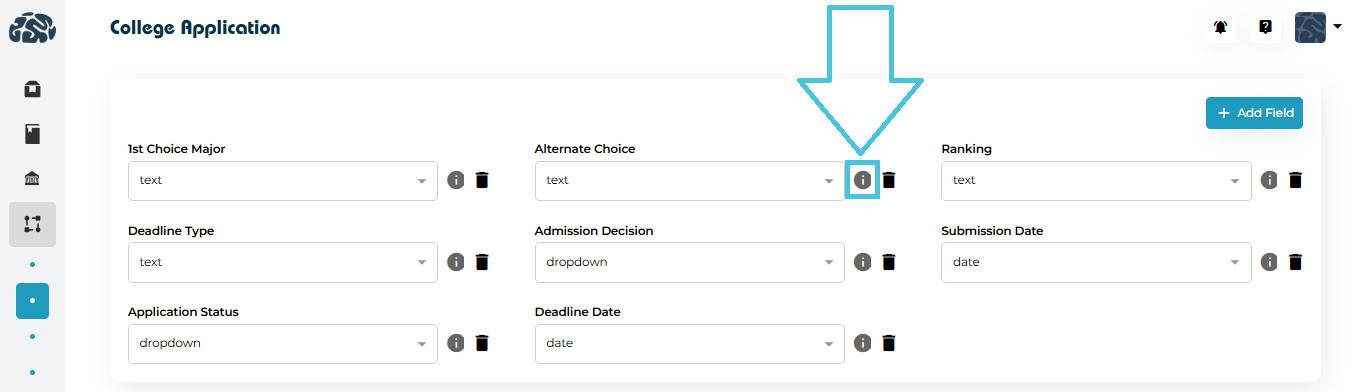
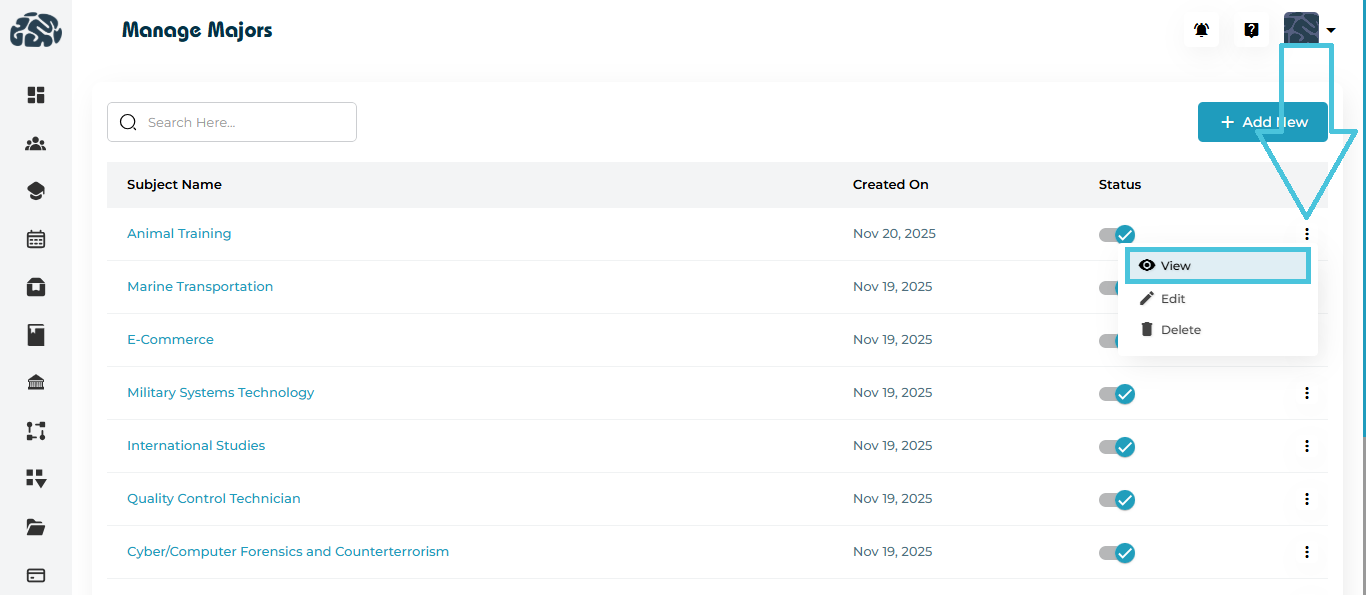
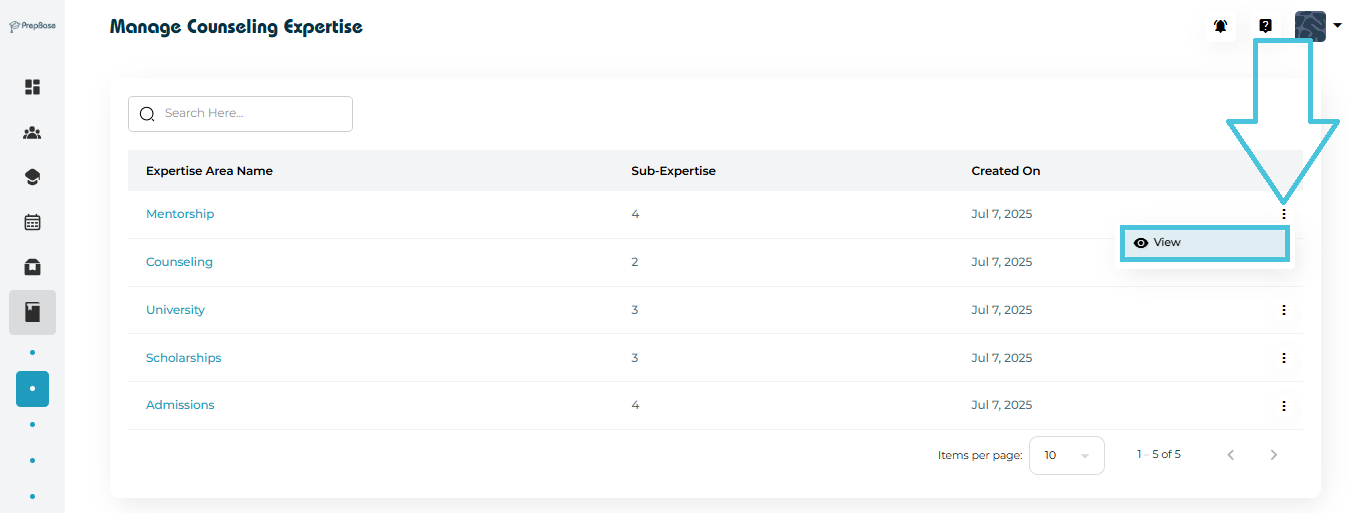
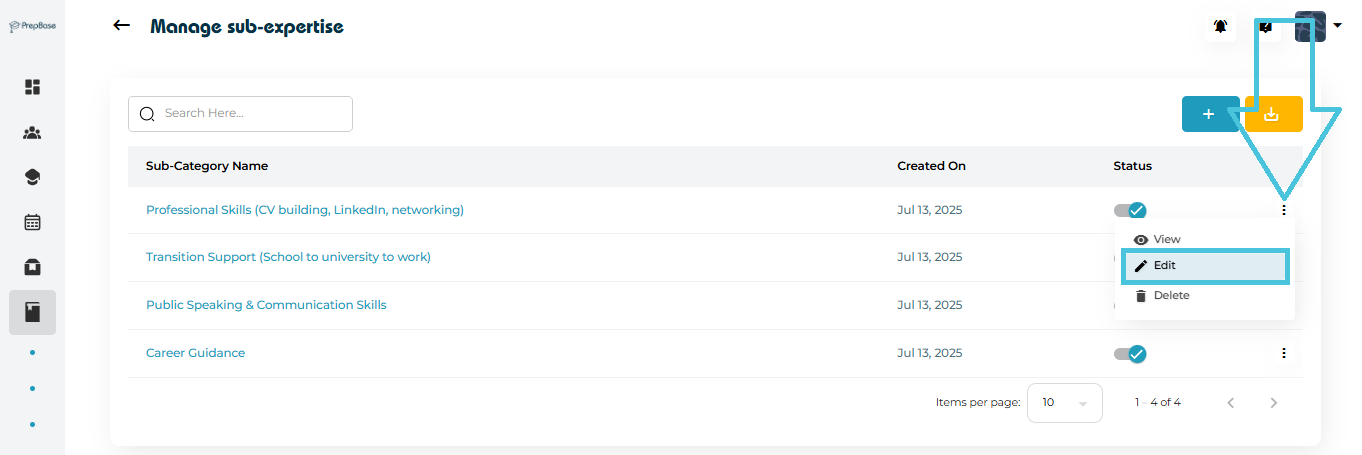
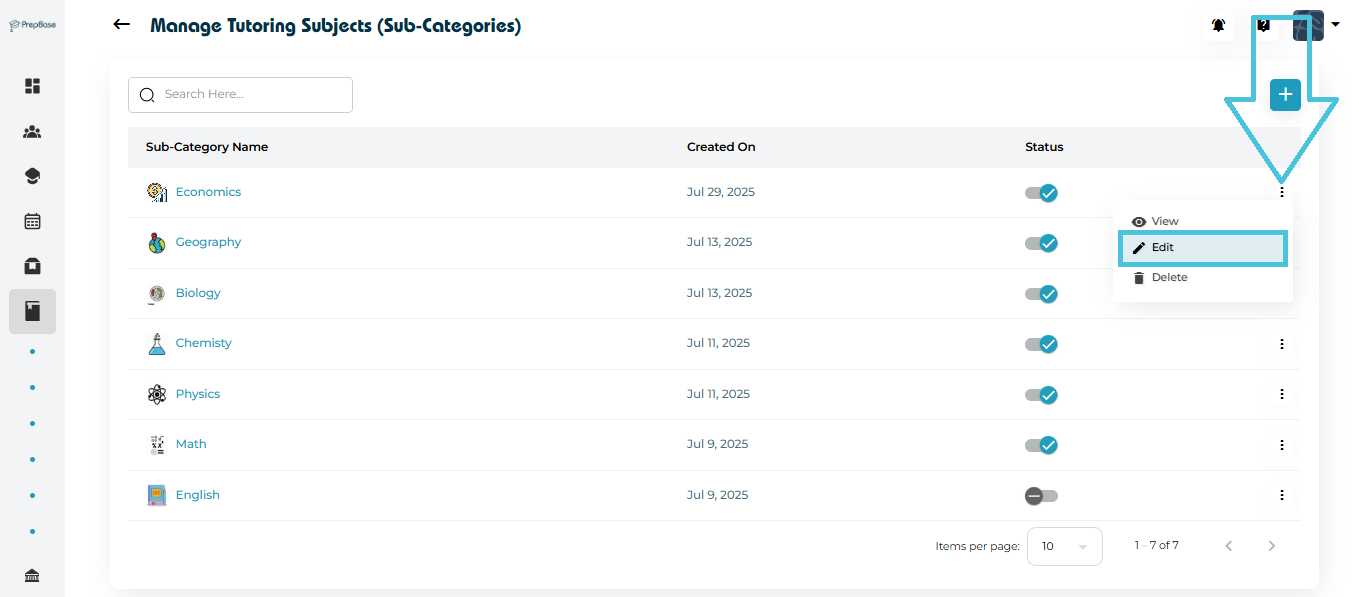
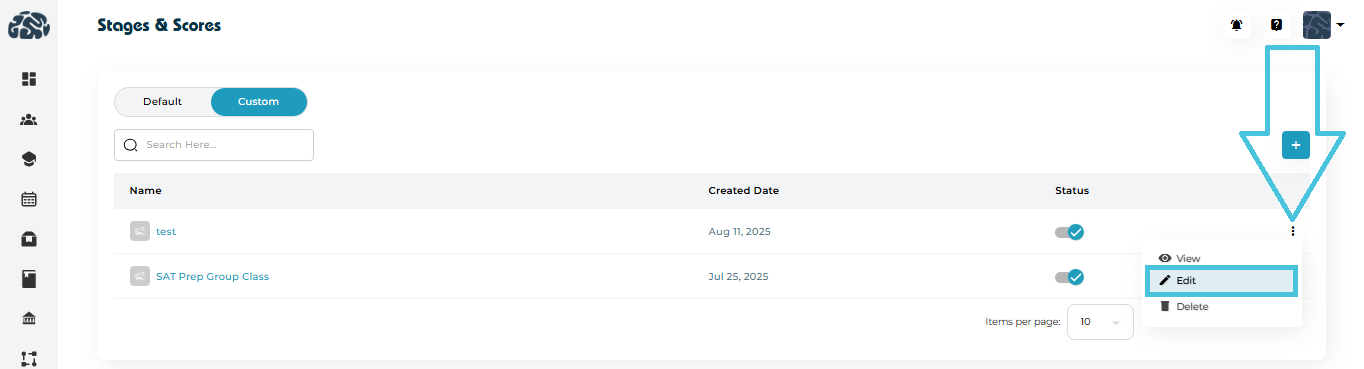
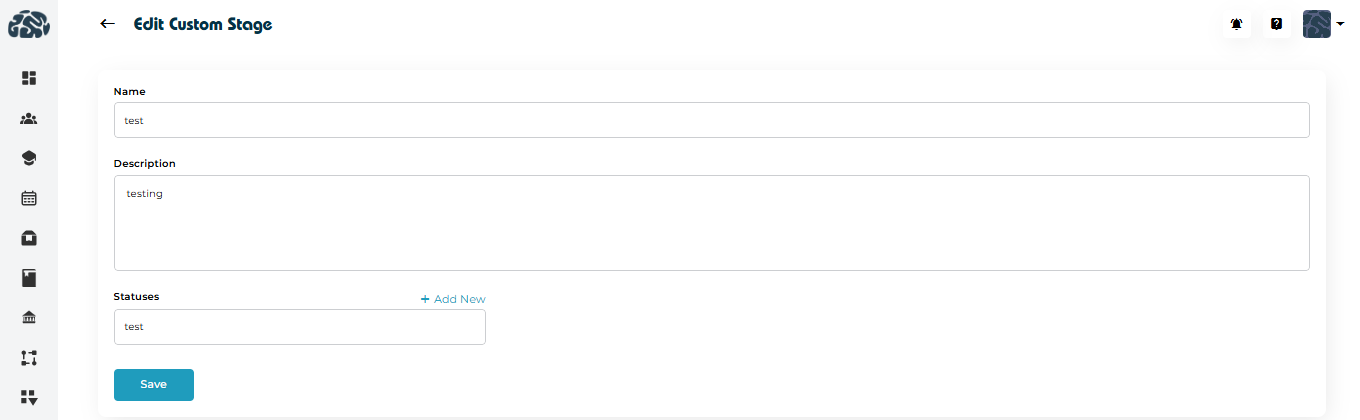
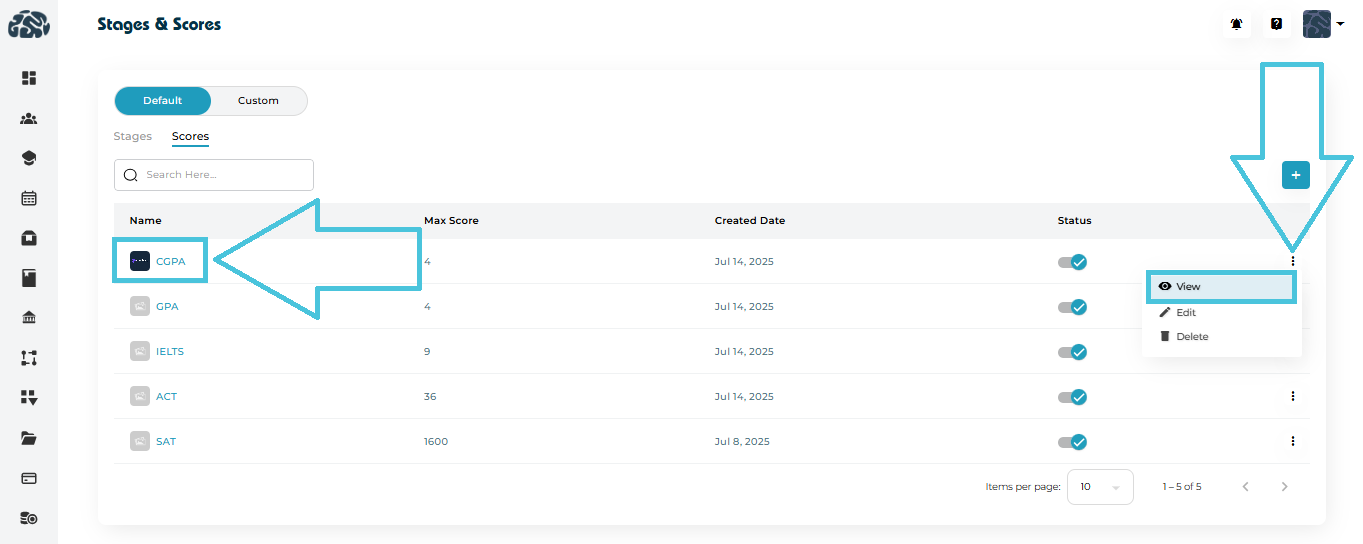
You can update any field at any time:
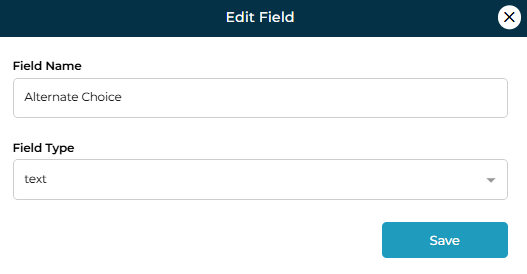
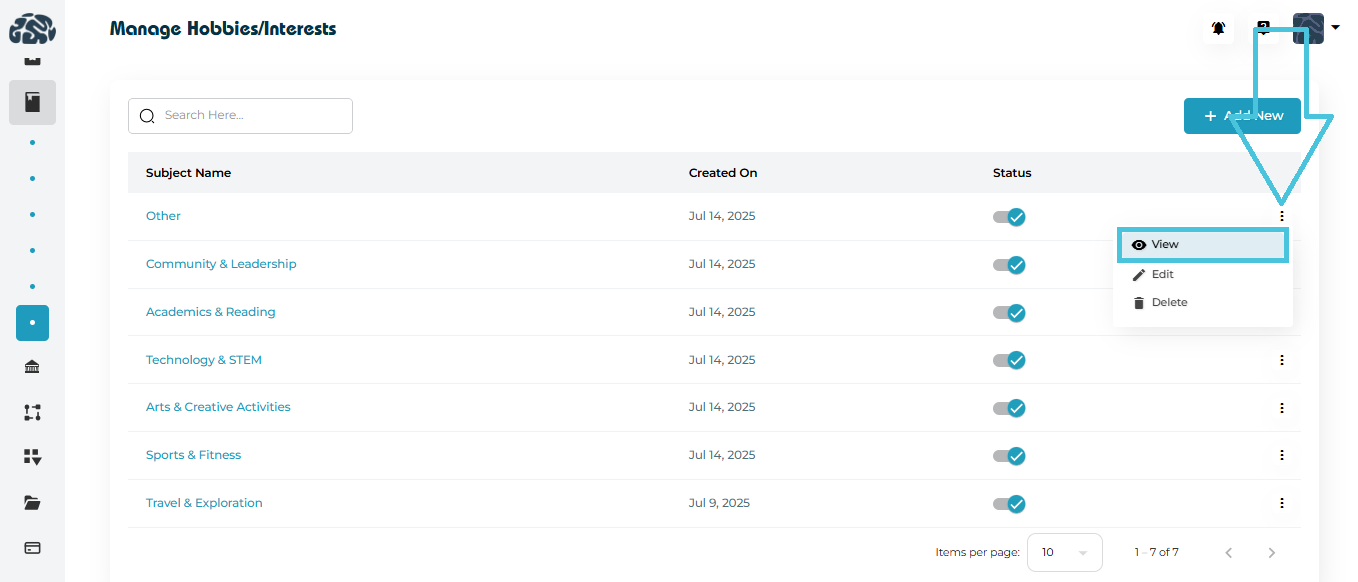
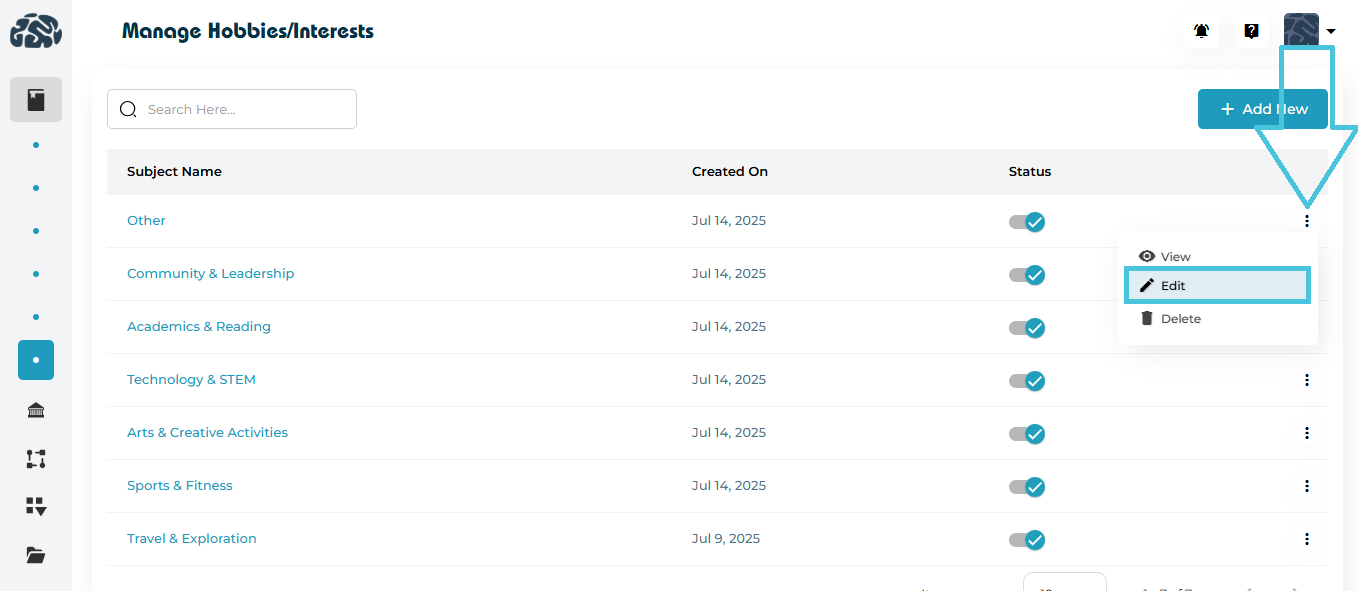
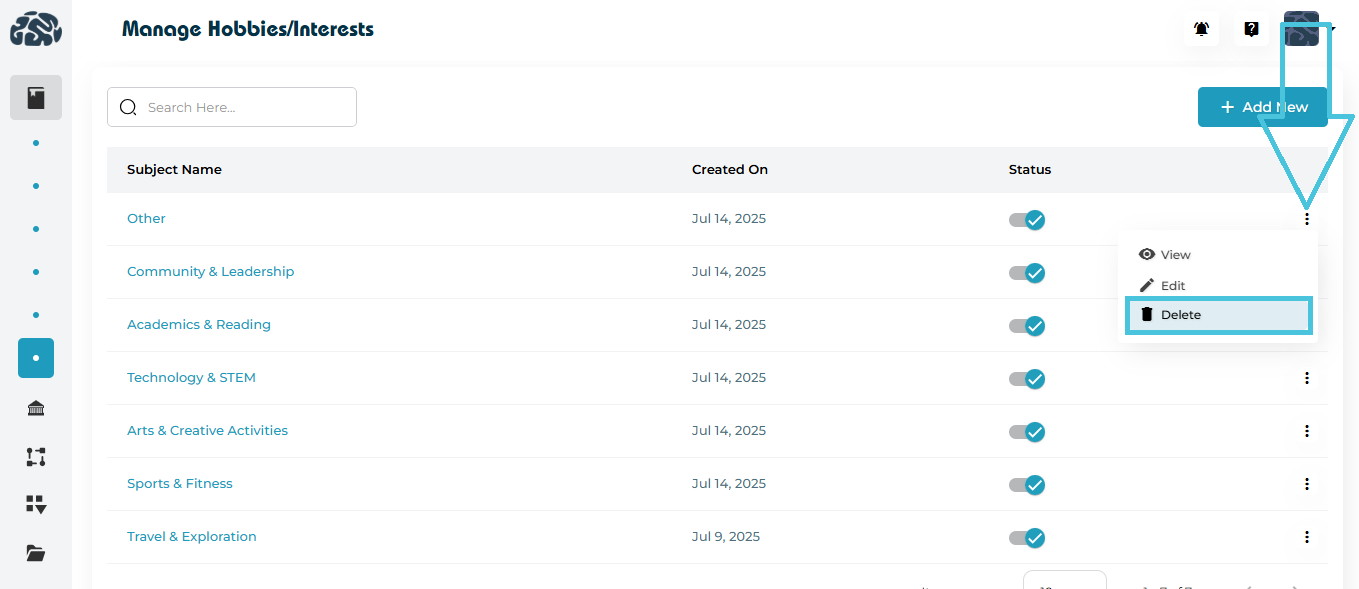
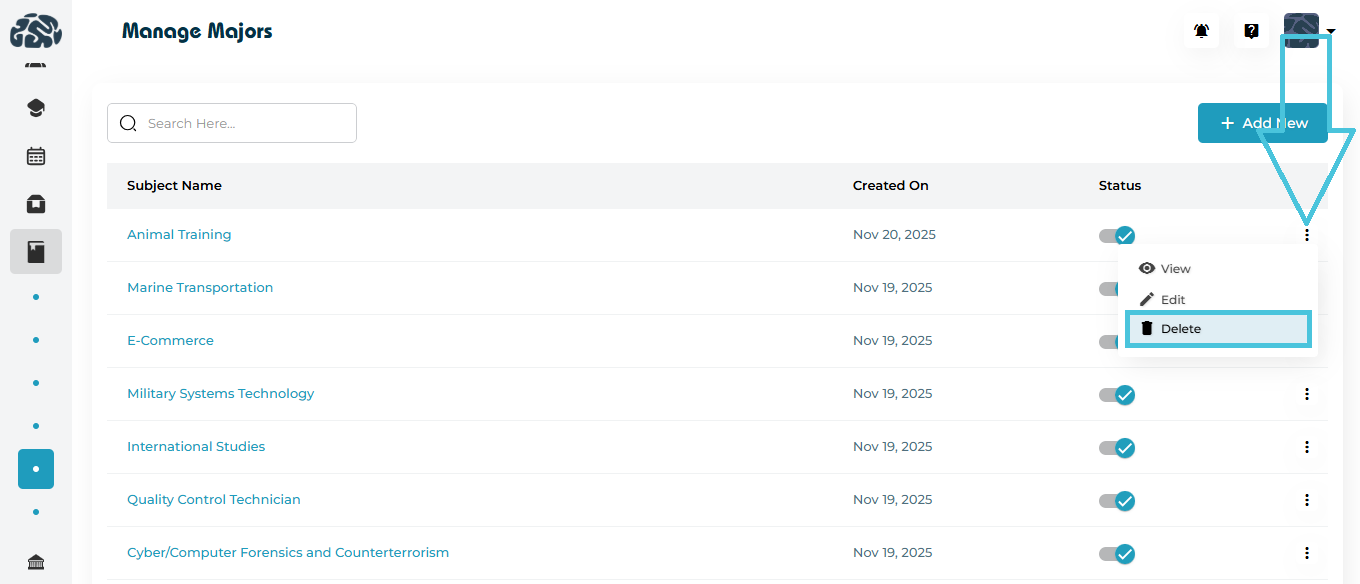
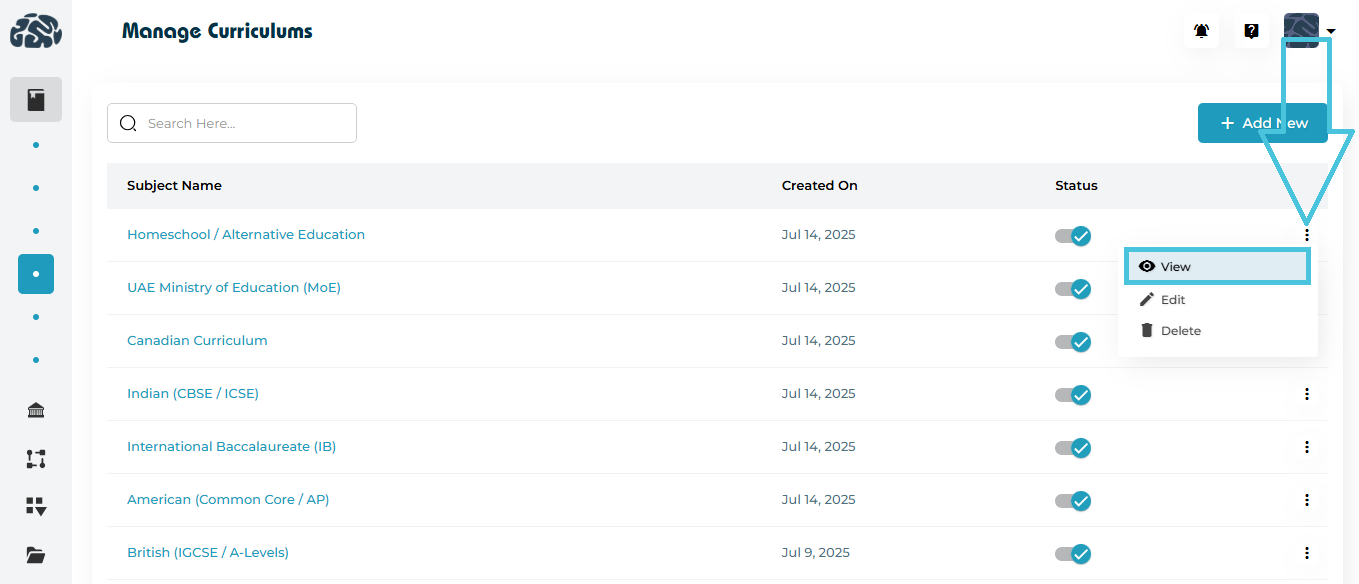
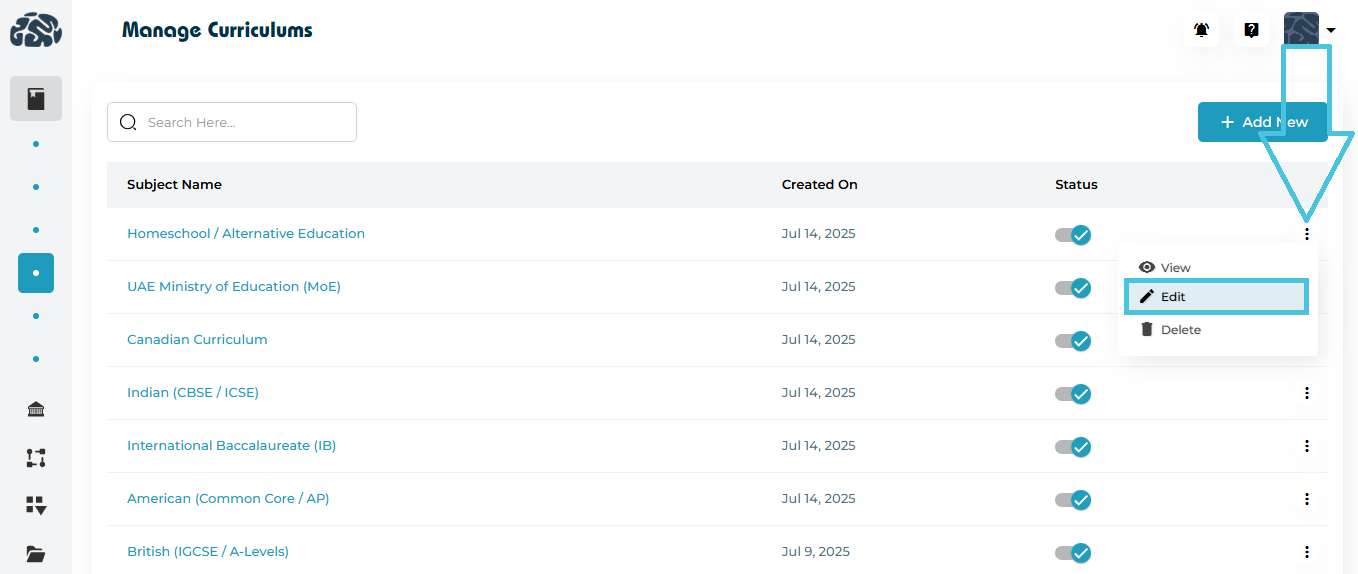
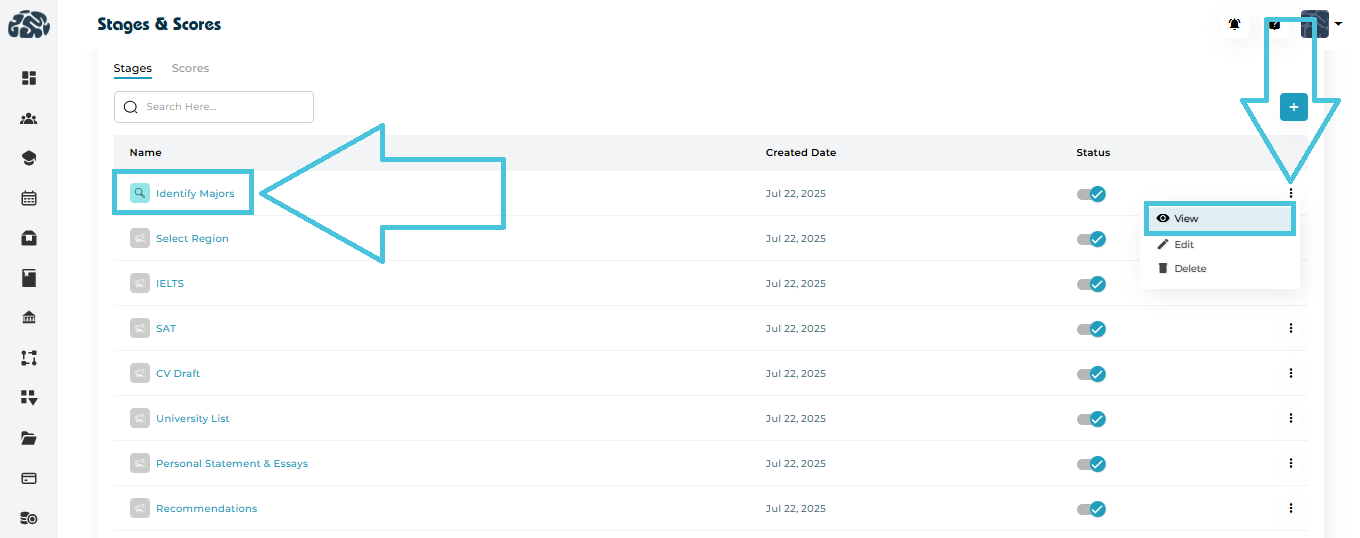
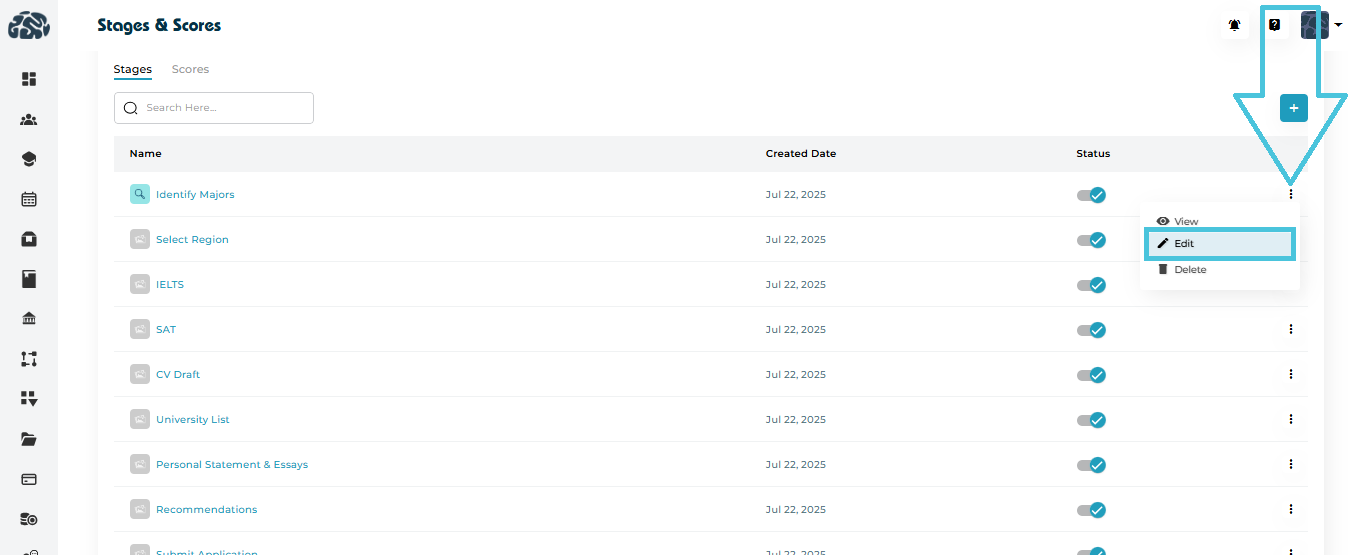
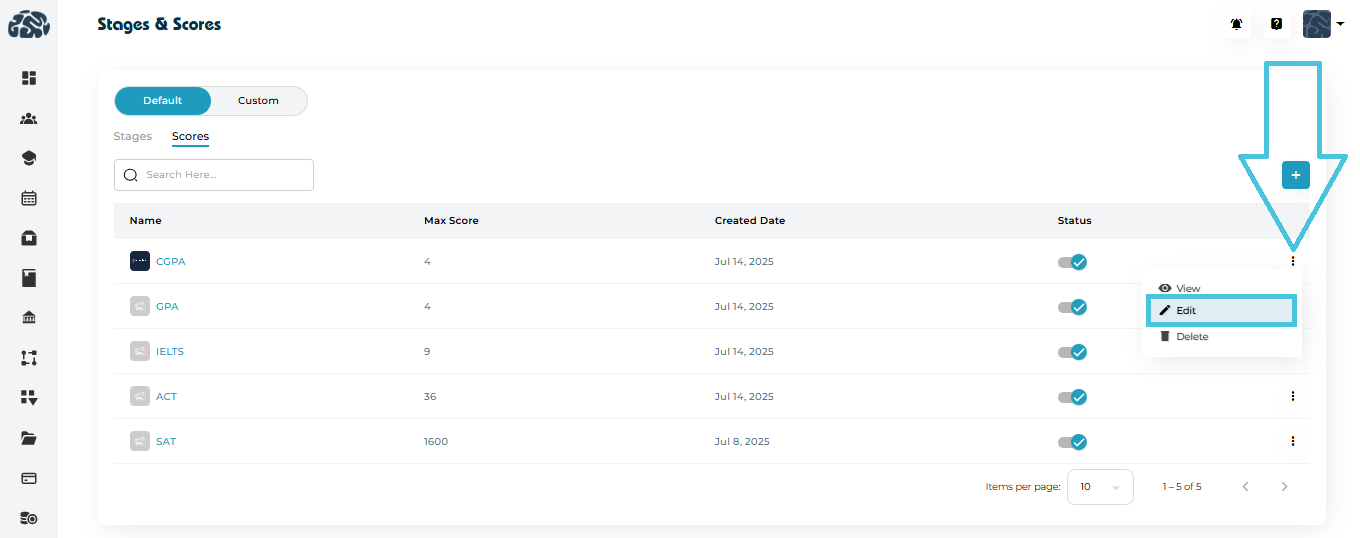
Open the three-dot menu next to a field.
Click Edit.
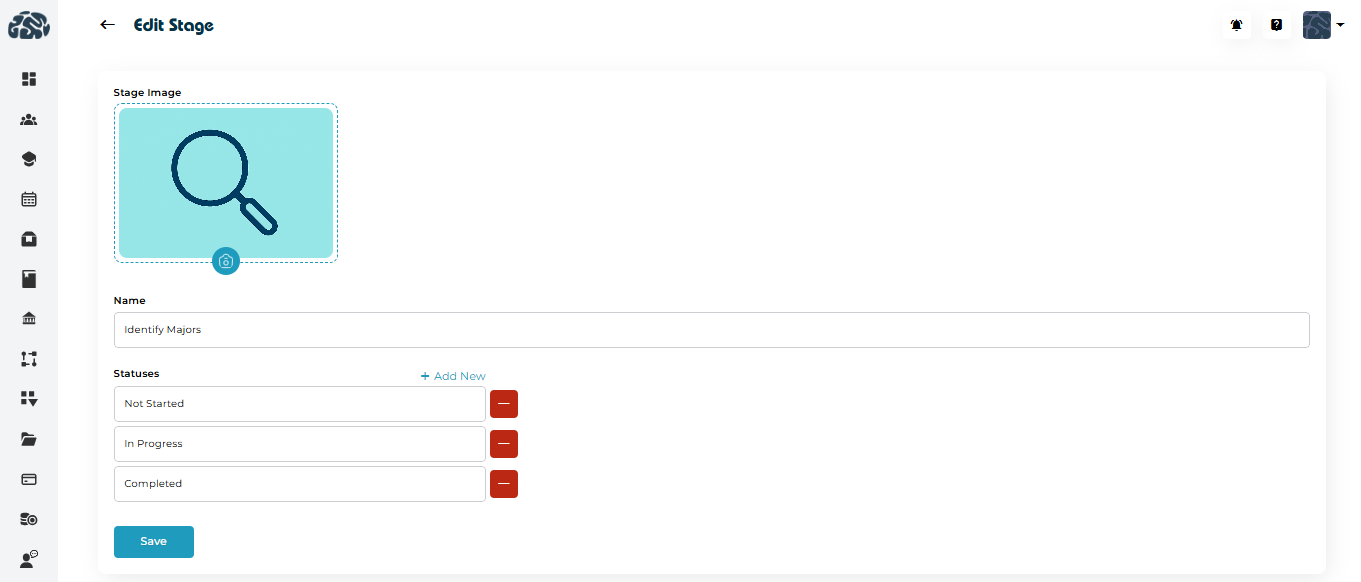
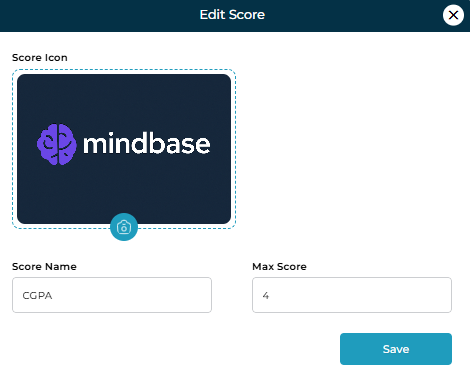
Modify the Field Name or Field Type as required.
Click Save to apply changes.
⚠️ Tip: Changing a field type (e.g., from text to dropdown) may affect how previously entered data is interpreted. Review carefully before saving.
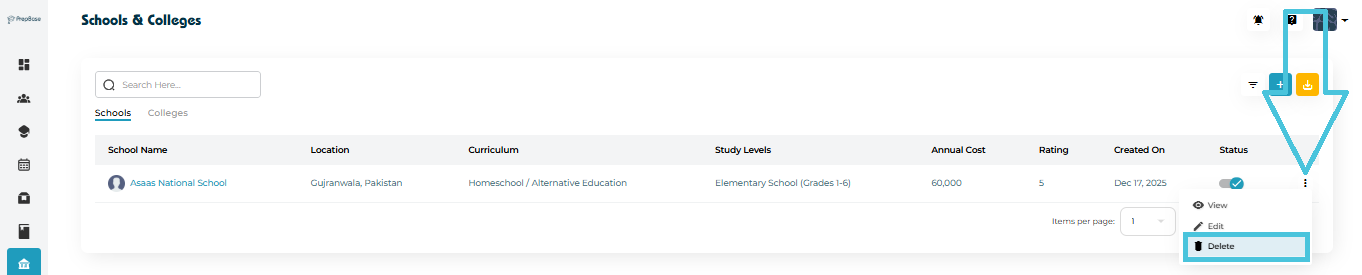
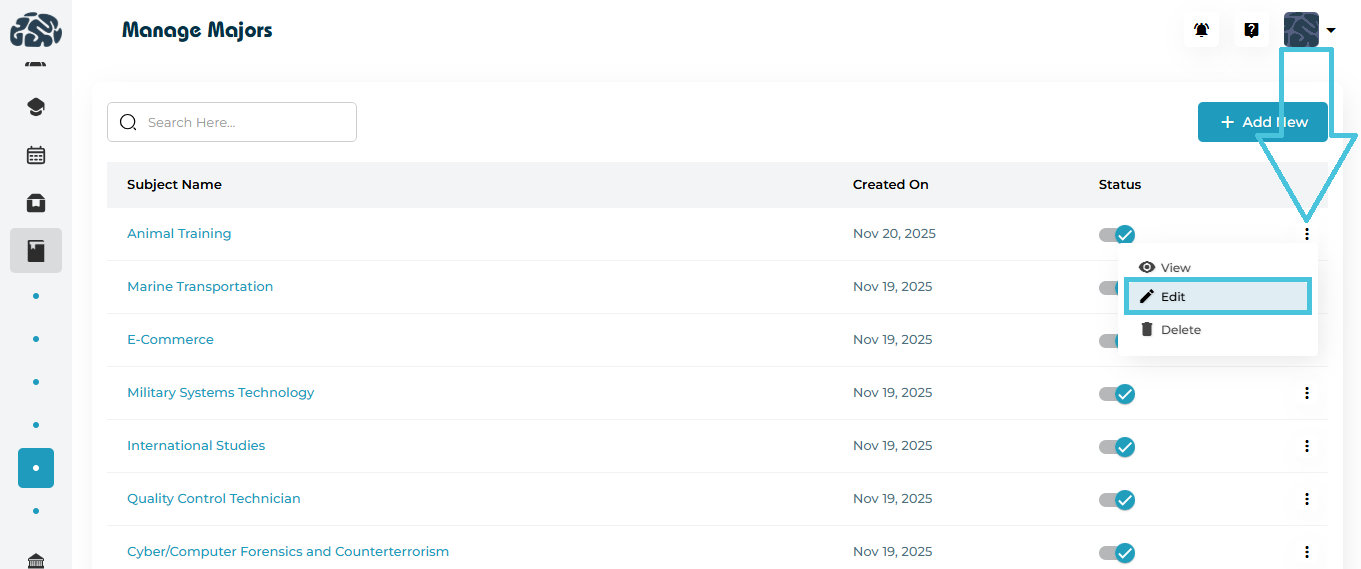
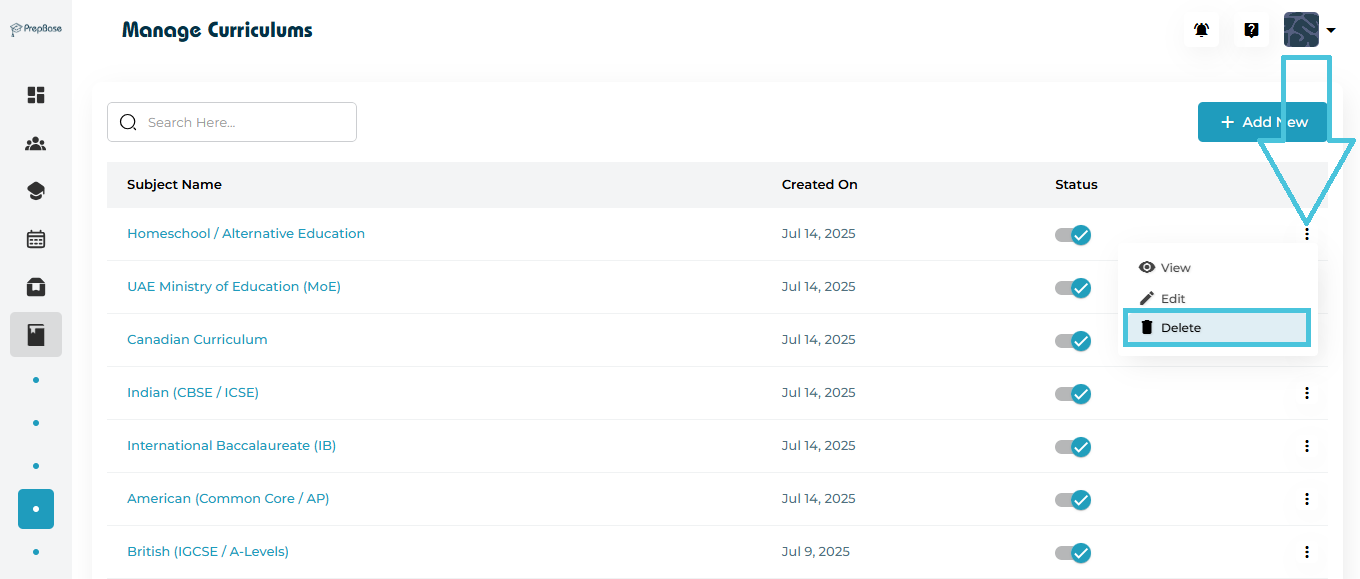
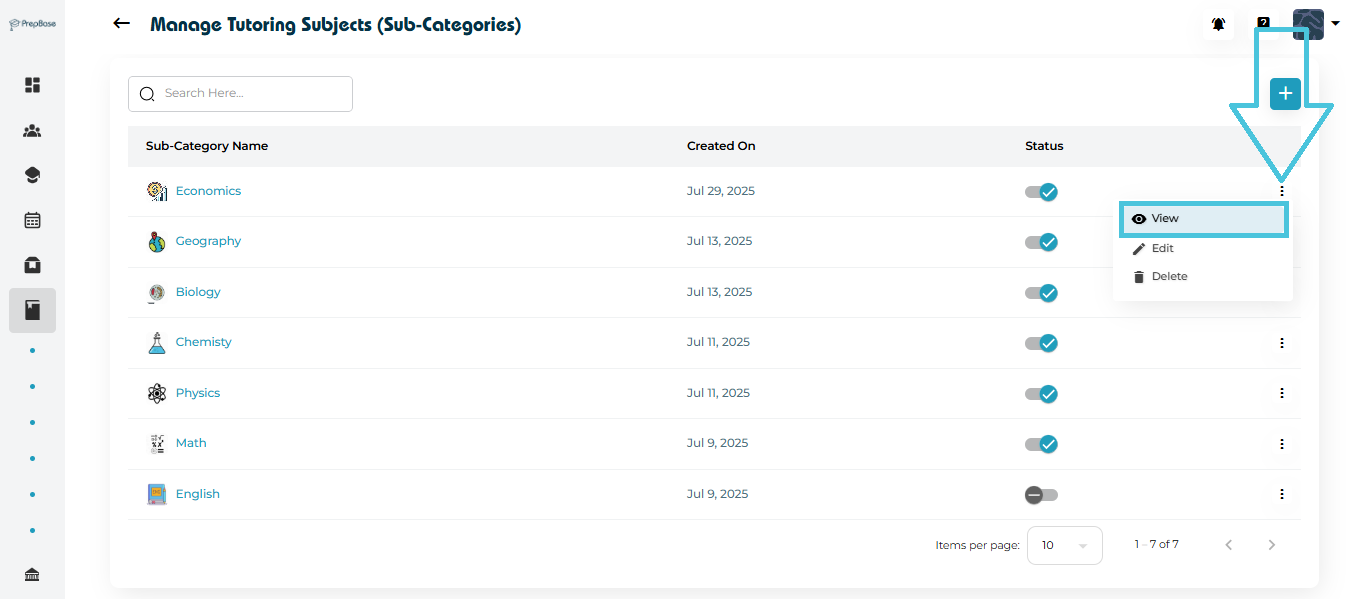
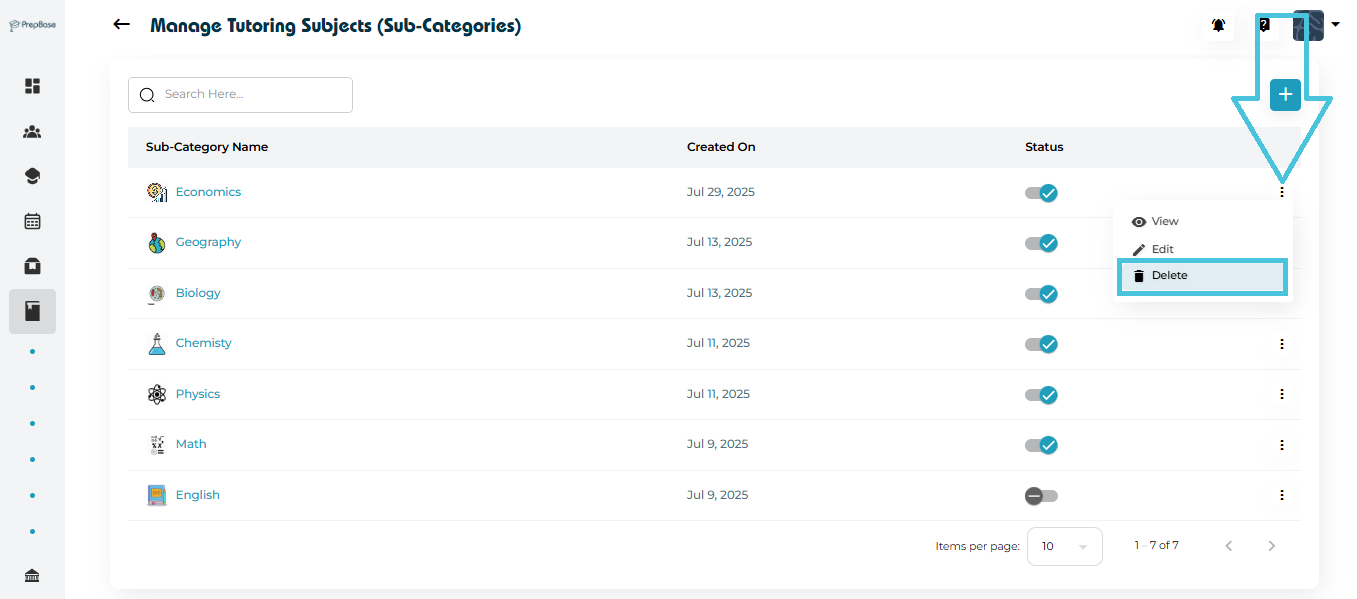
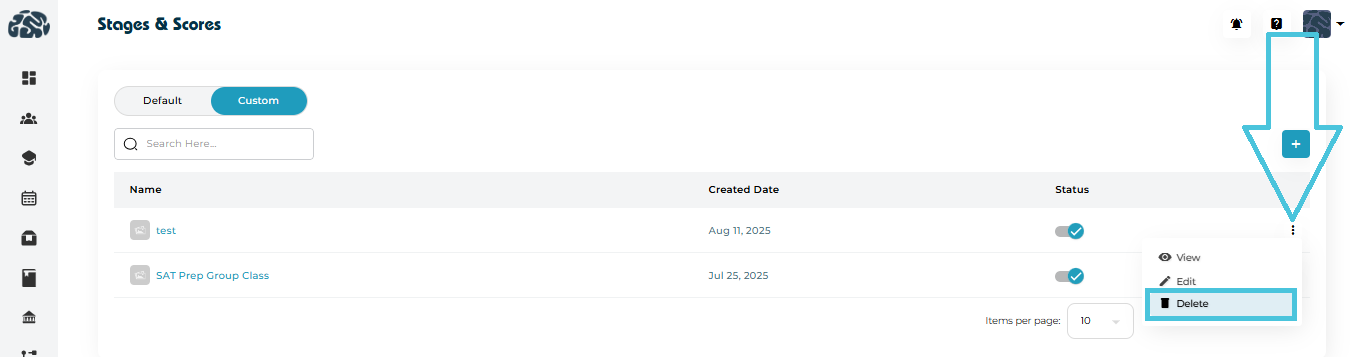
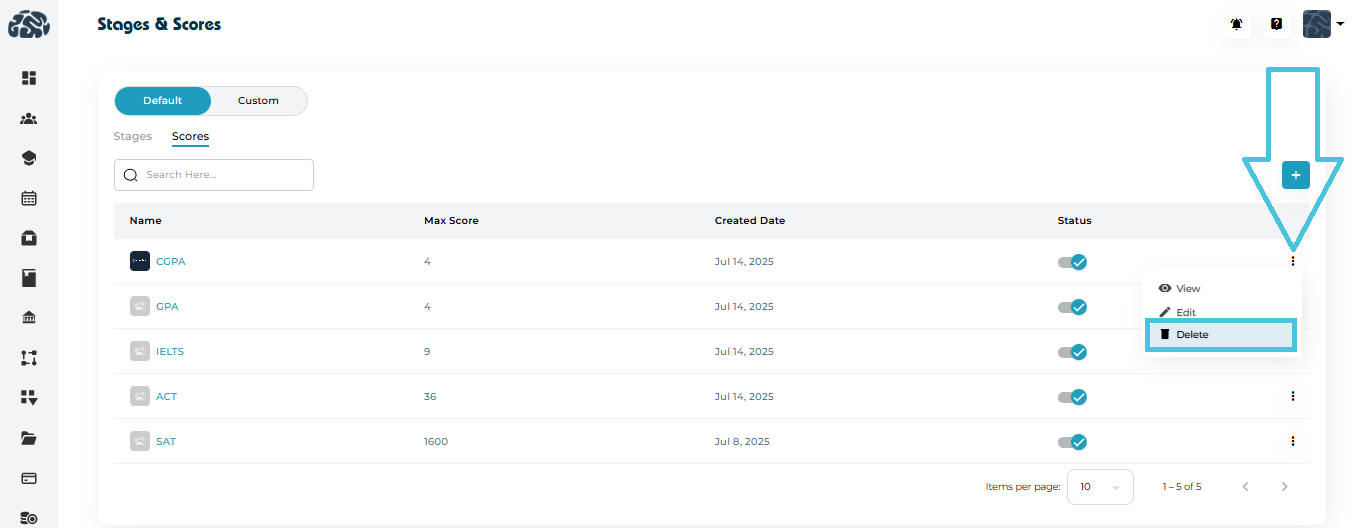
If a field is no longer required:
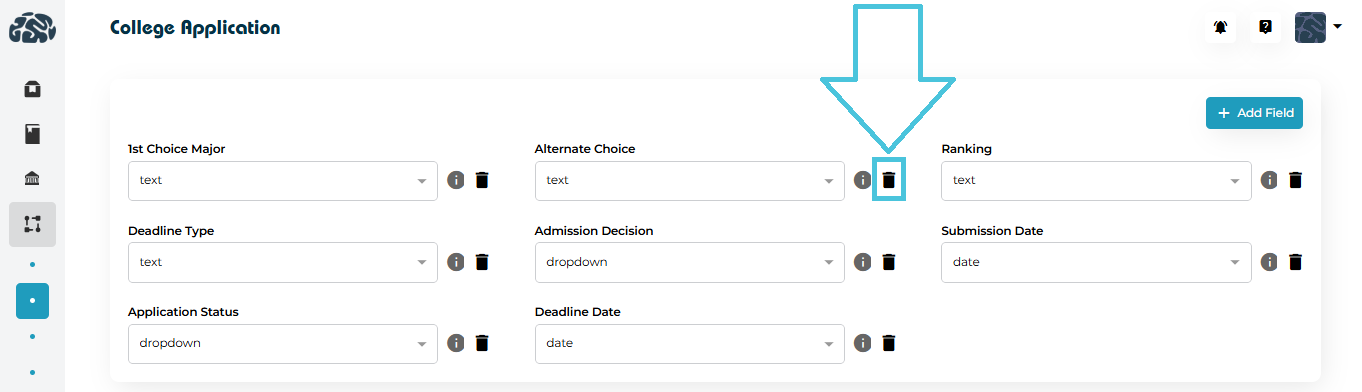
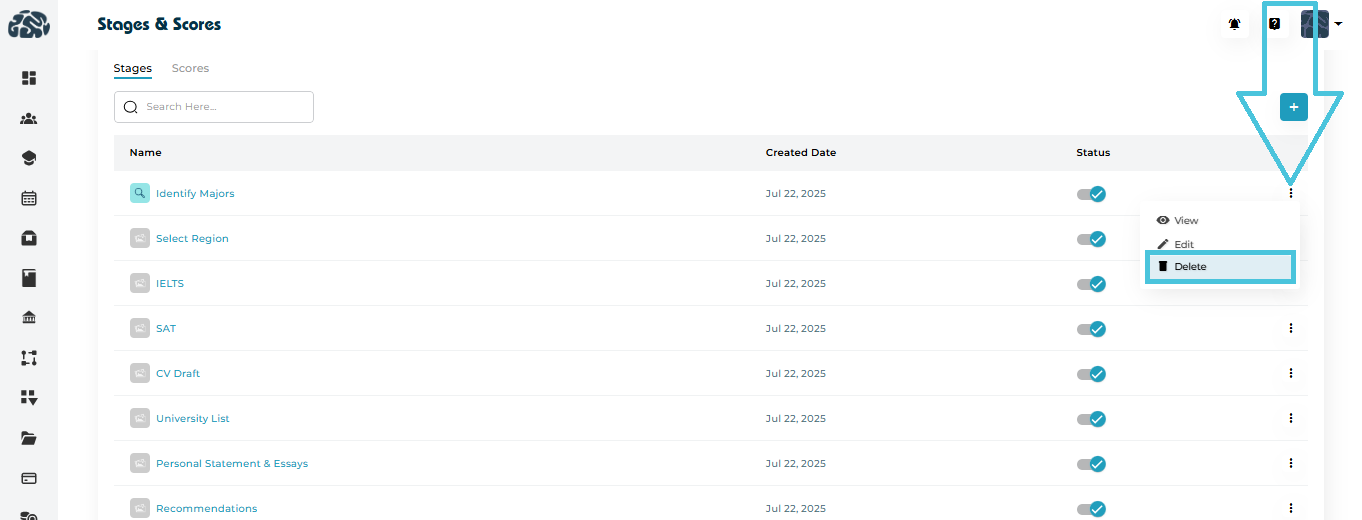
Open the three-dot menu for that field.
Click Delete.
Confirm the deletion.
Deleting a field removes it from the workflow entirely. This action should be used cautiously, especially if the field has historical data.


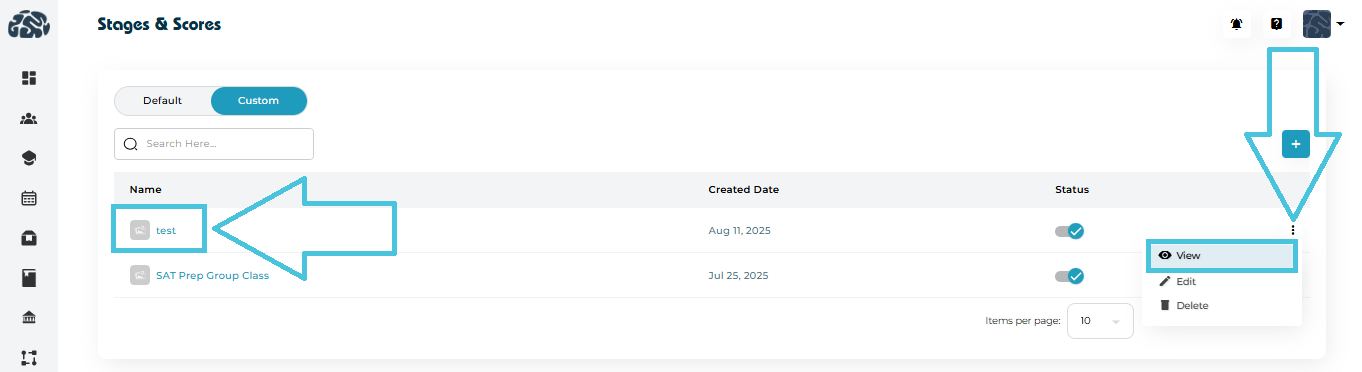
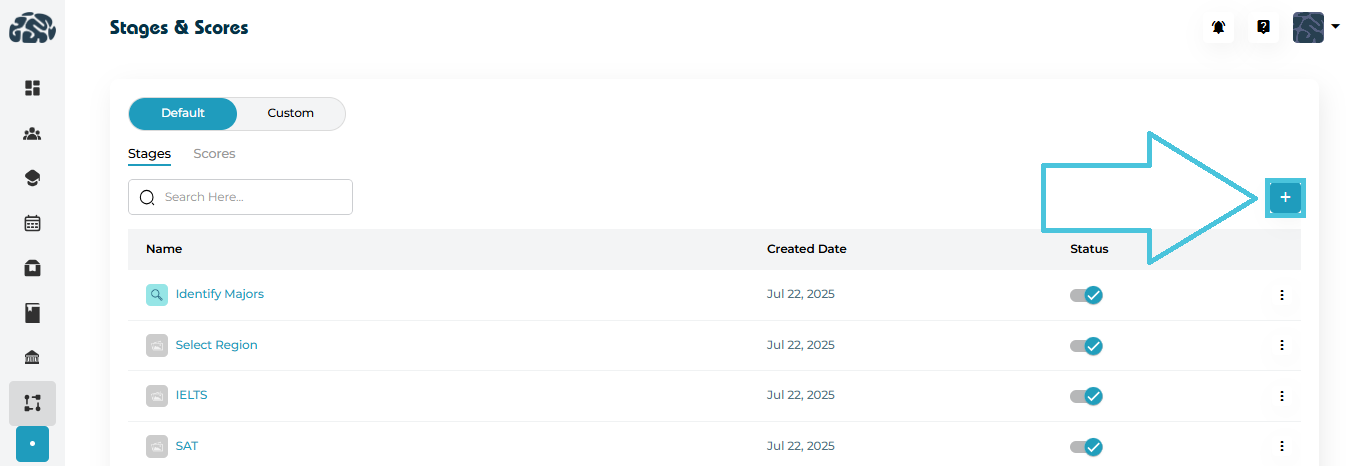
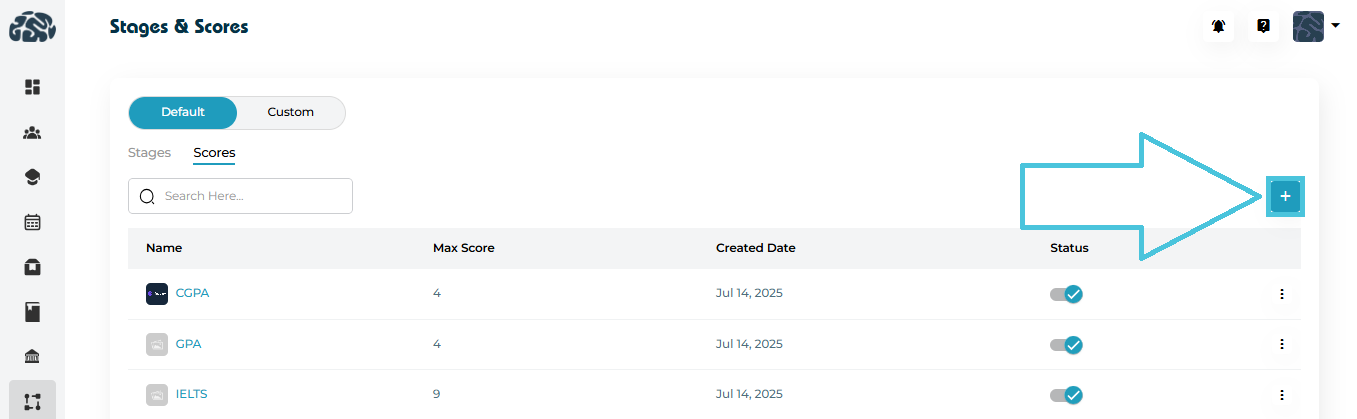
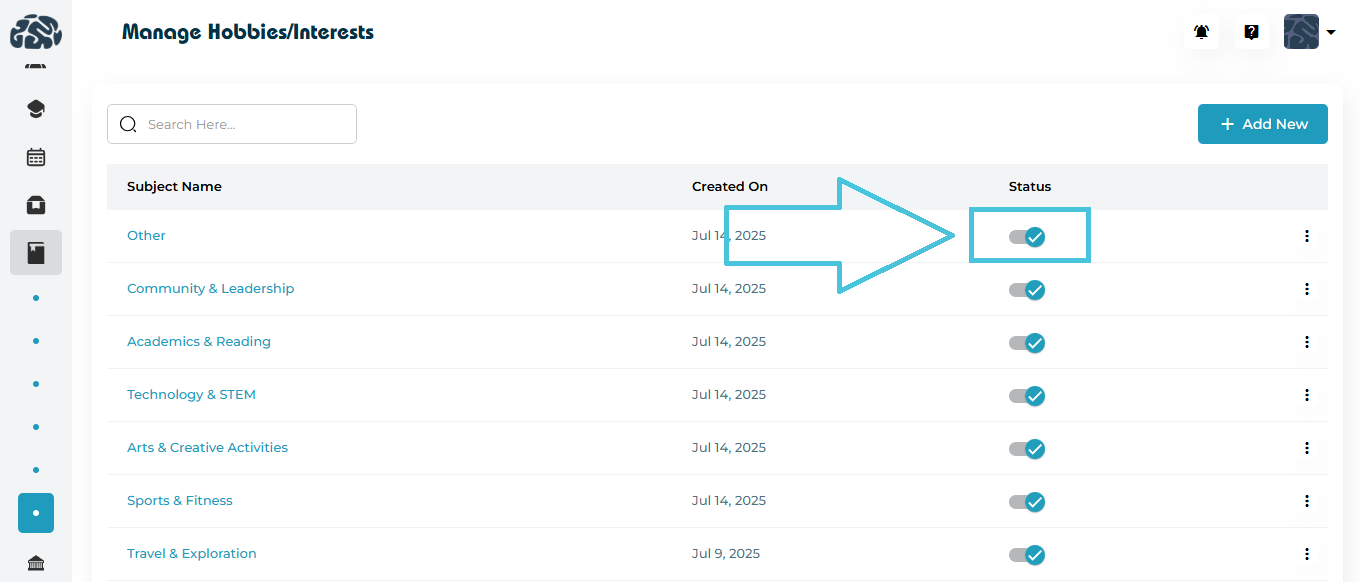
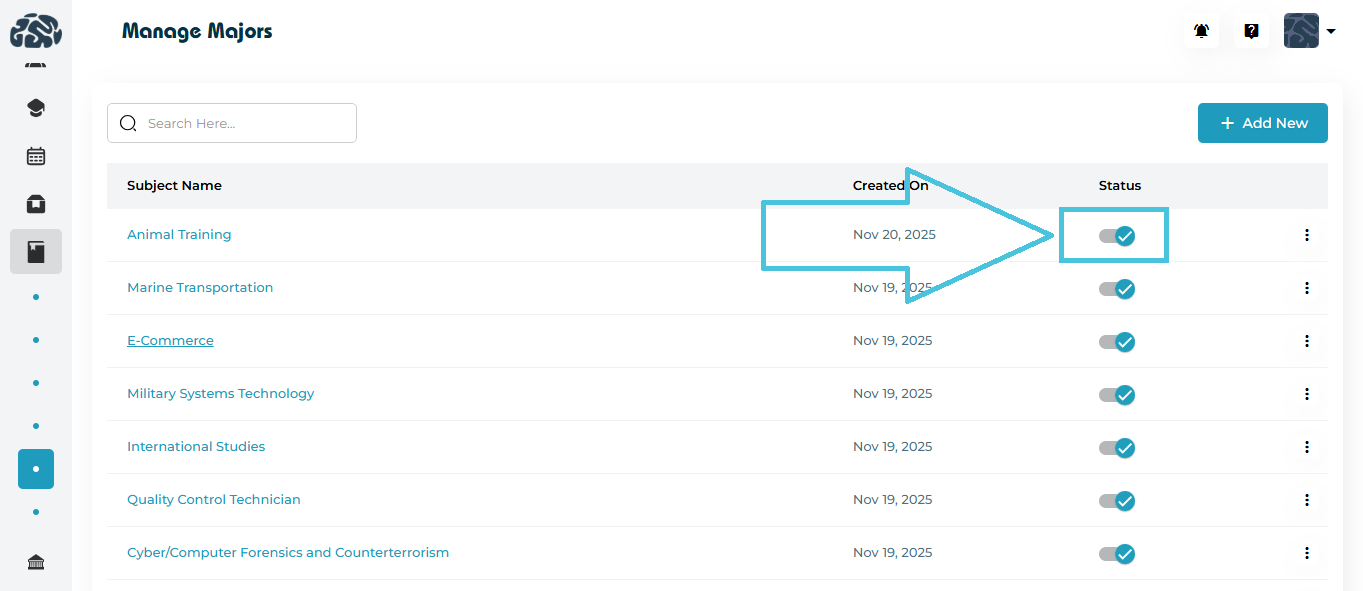
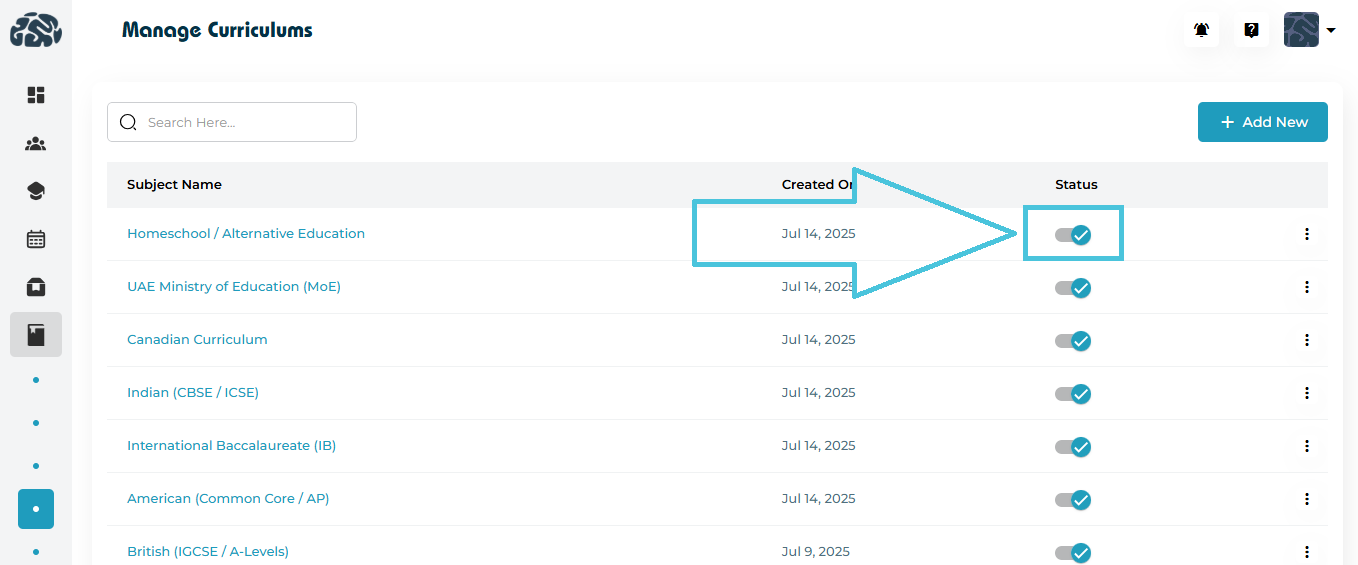
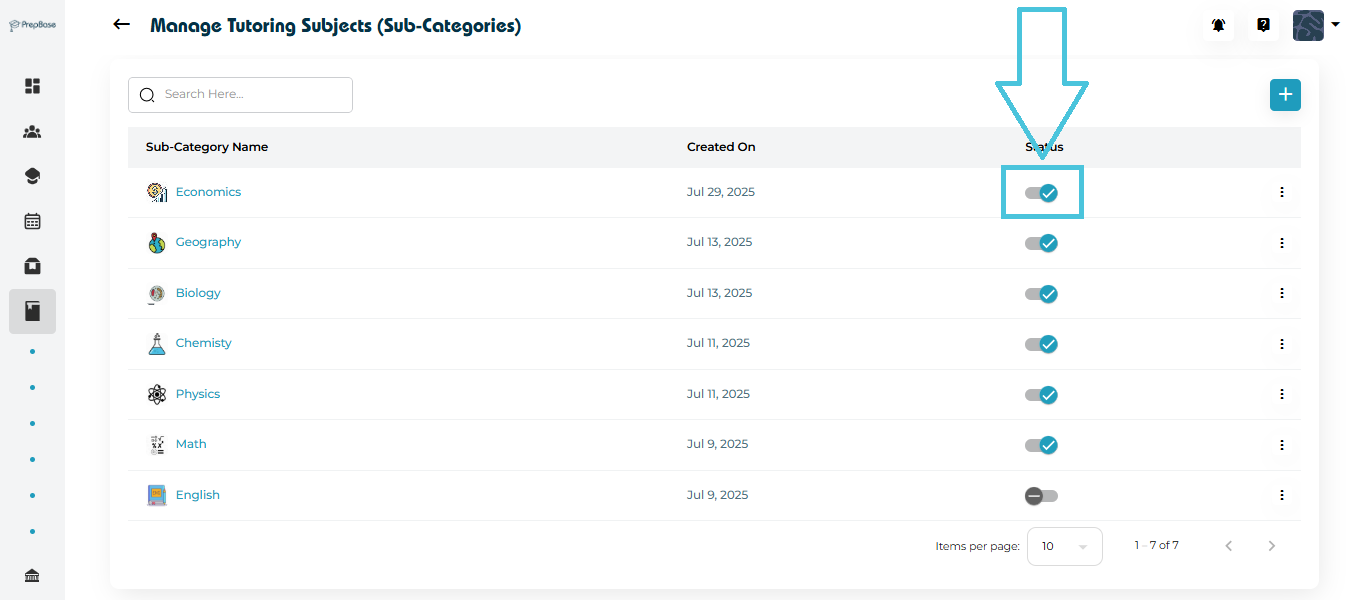
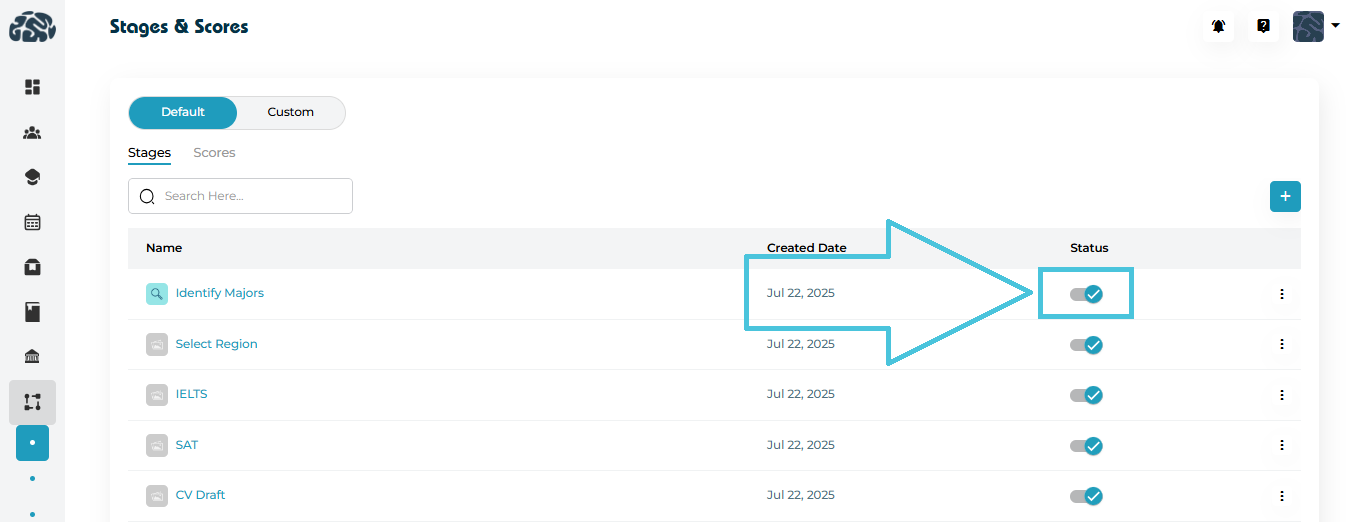 Each stage or score includes a status toggle: