Navigate to:
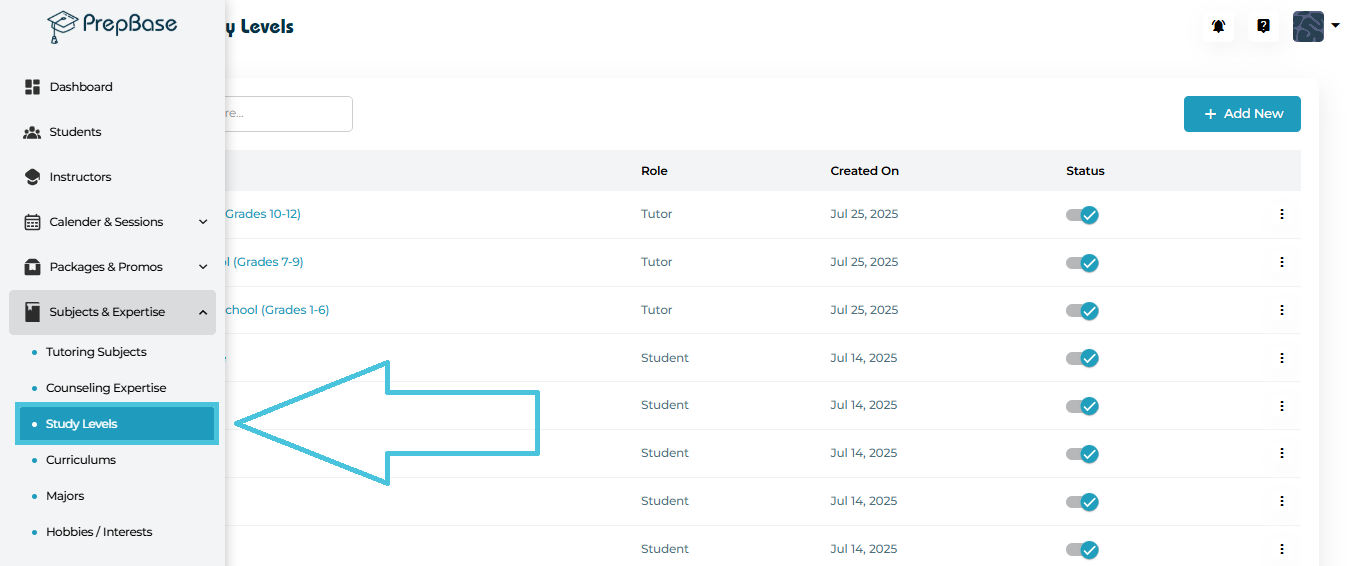
Subjects & Expertise → Study Levels
Here you will see a complete list of study levels along with:
Study Level Name
Assigned Role (created for Tutor or Student profile)
Created On date
Status Toggle (Active / Inactive)
Actions Menu (View, Edit, Delete)
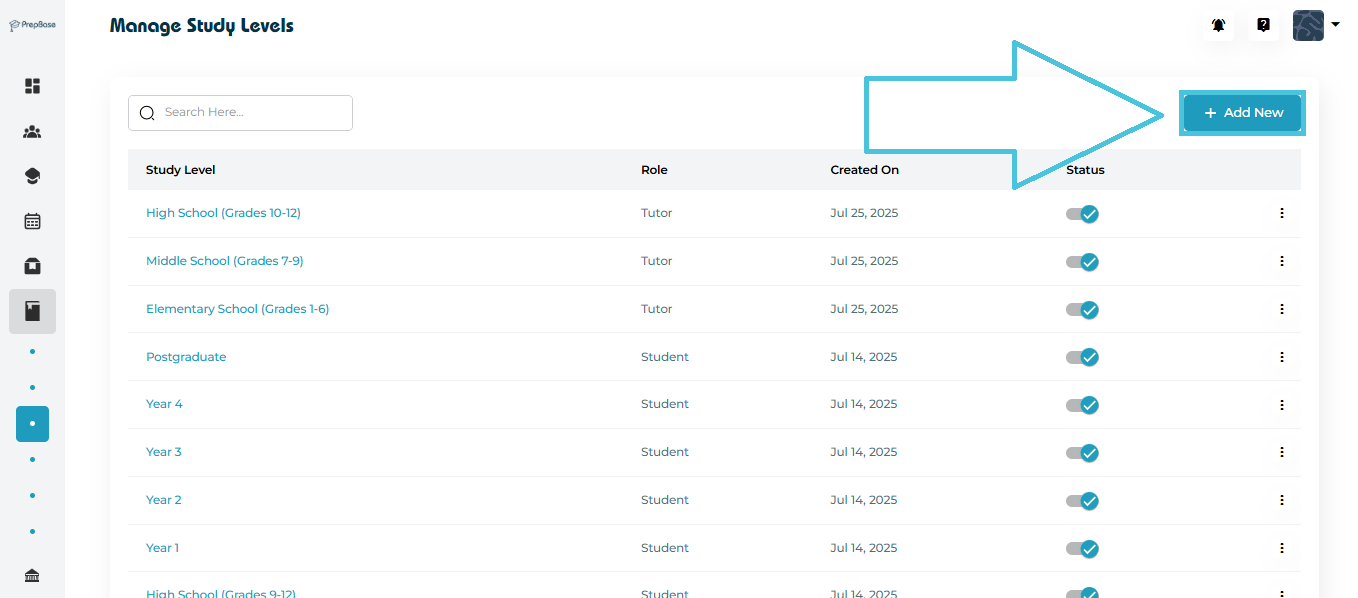
Click the Add New button (top-right corner) to open the form.
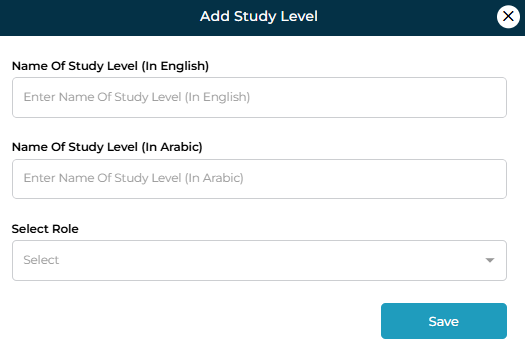
Fields Required
| Field | Description |
|---|---|
| Name of Study Level (In English) | Enter the academic level title (e.g., “High School (Grades 10–12)”). |
| Name of Study Level (In Arabic) | Optional — Arabic translation for bilingual environments. |
| Select Role | Choose whether this level applies to Tutor or Student accounts. If student is selected then the admin can choose if this level will be used for school levels or university levels. |
Click Save to add the new study level.

There are two methods to open the details of a study level:
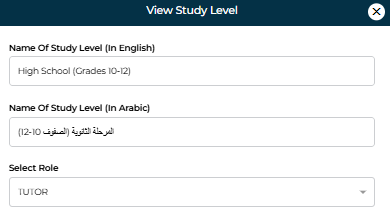
Method 1: Through the Three-Dot Menu
Click the three dots on the right side of any study level.
Select View.
Method 2: By Clicking the Study Level Name
Simply click the name of the study level directly in the table.
This will open the same View screen.
What You Can See
English & Arabic names
Assigned role
Read-only view of all details
This is useful when you need to verify configurations without modifying them.

To update a study level:
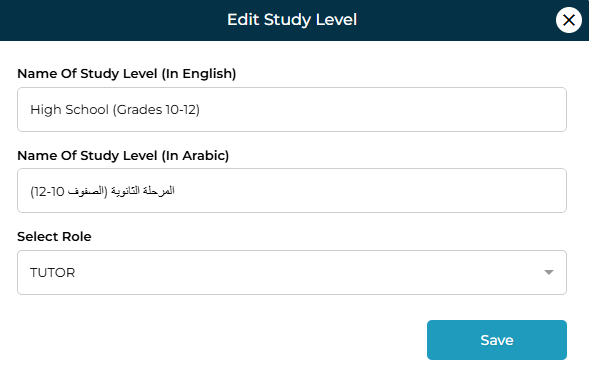
Click the three-dot menu beside any entry.
Select Edit.
You can modify:
English & Arabic names
Assigned role
Click Save to apply updates.
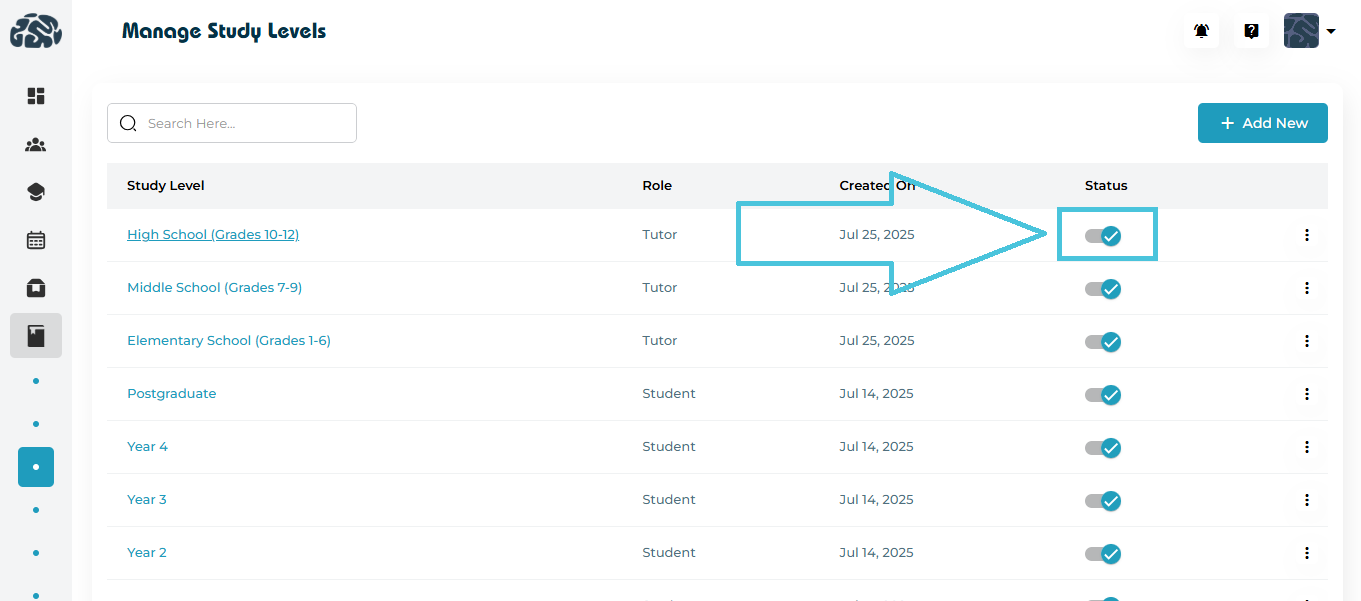
Use the status toggle to switch a study level ON or OFF.
Activated (blue checkmark): The level is available for use.
Deactivated (grey): The level is hidden from selection but not deleted.
This is helpful when:
A grade level is being phased out
Certain academic tiers are seasonal
Temporary suspension of a specific level is required
To remove a study level permanently:

Click the three-dot menu beside the level.
Select Delete.
Confirm the action.