To begin:
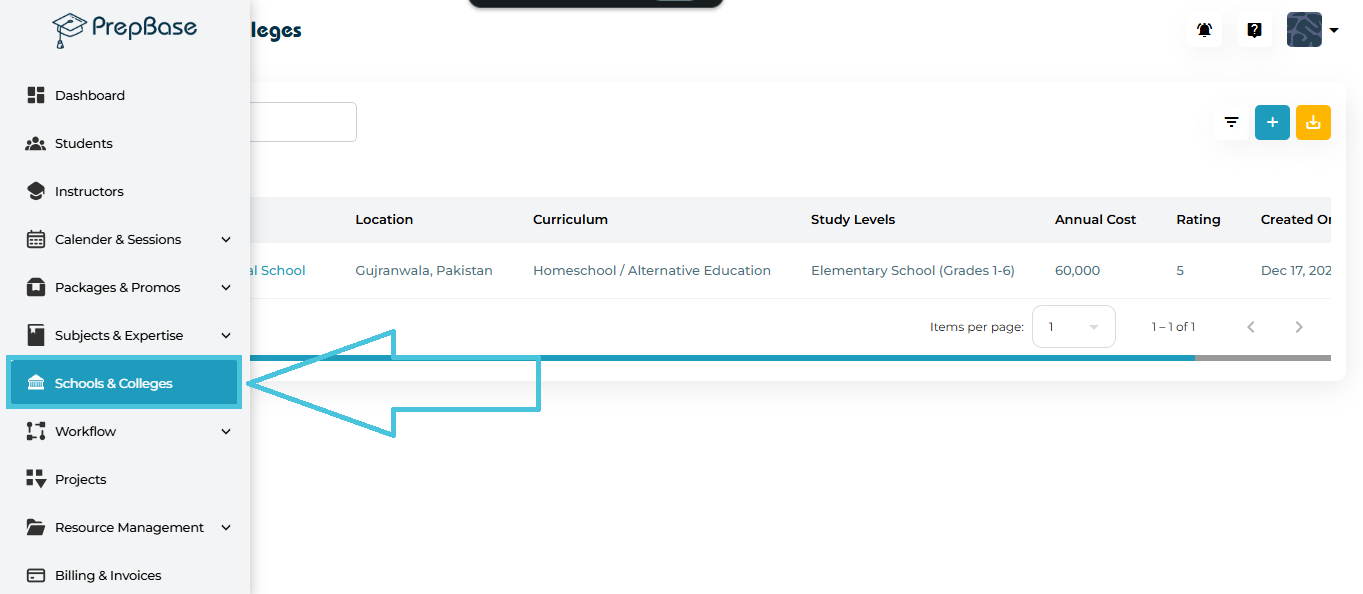
Open the left navigation menu.
Click Schools & Colleges.
You will see two tabs:
Schools
Colleges
Each tab displays its own list, fields, and management options.
The module is divided into two tabs:
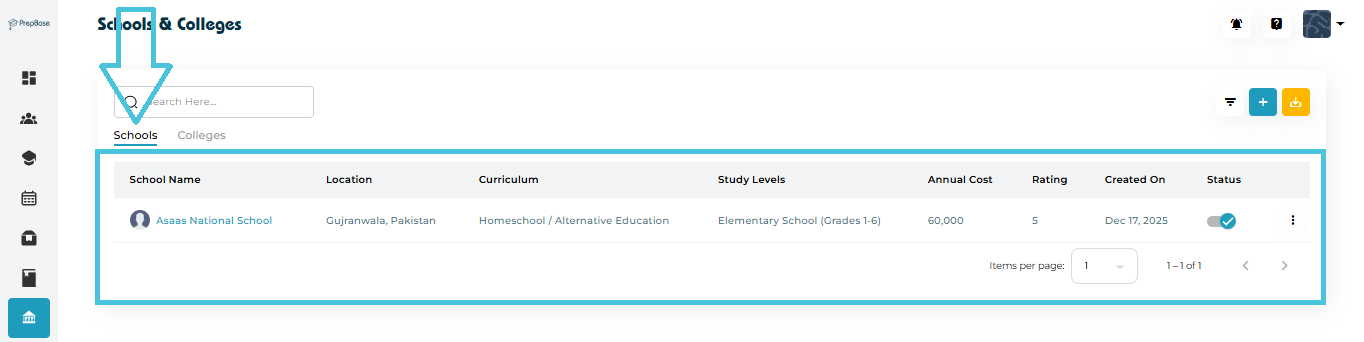
Schools Tab
Displays all school-level institutions with:
- Location
Curriculum
Study Levels
Annual Cost
Rating
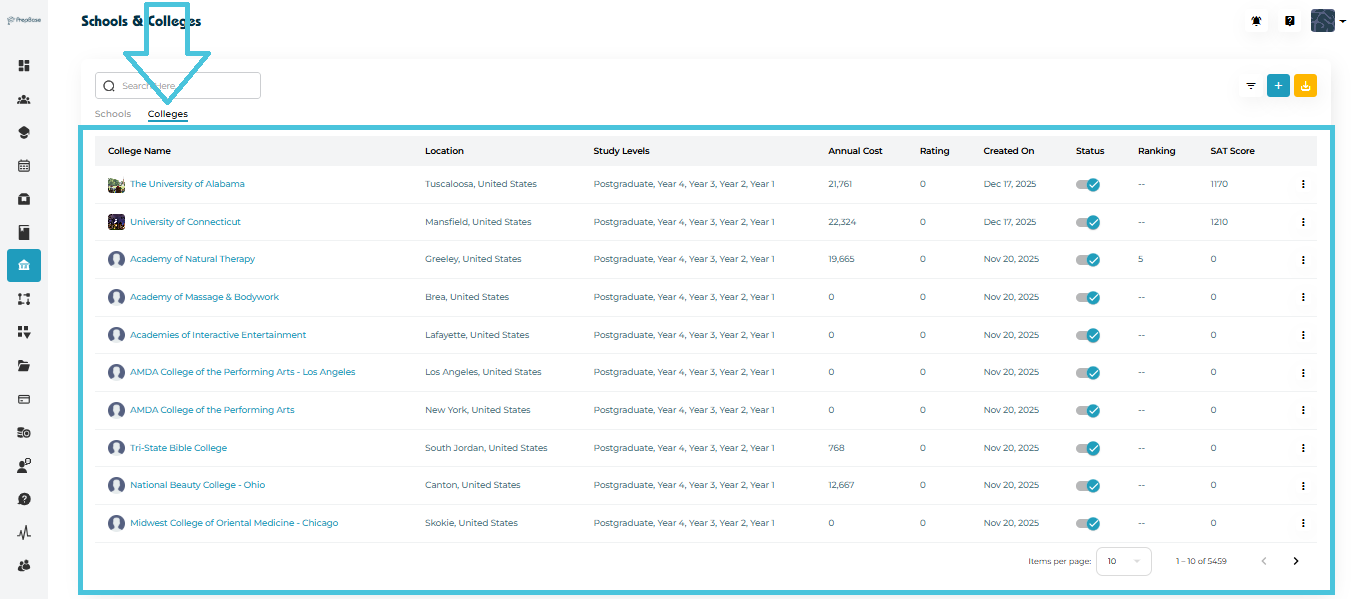
Colleges Tab
Displays higher-education institutions with extra fields:
- Location
Study Levels
Annual Cost
Rating
- Ranking
- SAT Score
Use the tab selector at the top to switch views.
To add a new institution:
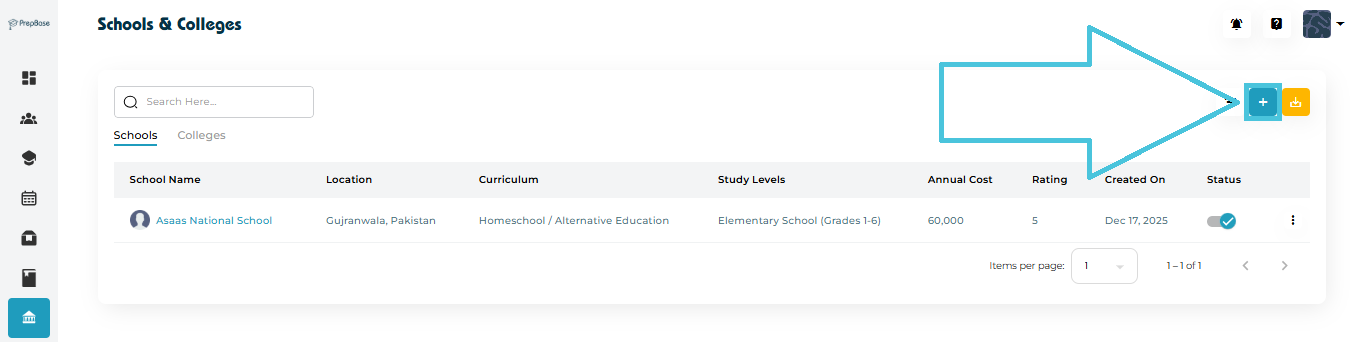
Go to Schools & Colleges → Schools or Colleges tab.
Click the + Add New button on the top right.
Add Schools/Colleges Form Fields

The Add page includes the following fields:
Basic Details
Upload Image – Add an institution logo or image.
Select School/College – Choose whether you are creating a school or a college.
Location Details
Location Country – Select the institution’s country.
Location City – Select the institution’s city.
Academic & General Details
Rating – Provide a rating (e.g., 1–5).
- Annual Cost – Enter yearly tuition fee or cost.
- Ranking – Enter optional rating (applies to colleges only)
- Admission Criteria – Add eligibility or requirements.
- SAT Score – The minimum accepted SAT score (applies to colleges only)
Curriculum – Select the curriculum offered (applies if adding schools only).
Curriculum – Select the majors offered (applies to colleges only)
Study Level – Choose applicable study levels.
Description – Include a descriptive overview of the institution.
Click Save to create the institution profile.
Both tabs display a list containing:
School/College Name
Location
Curriculum
Study Levels
Annual Cost
Rating
Ranking
Created On
Status
Action Menu (⋮)

Status Toggle
You can turn an institution Active/Inactive from the list using the switch in the Status column.
The filter panel helps refine large datasets.
To open filters:
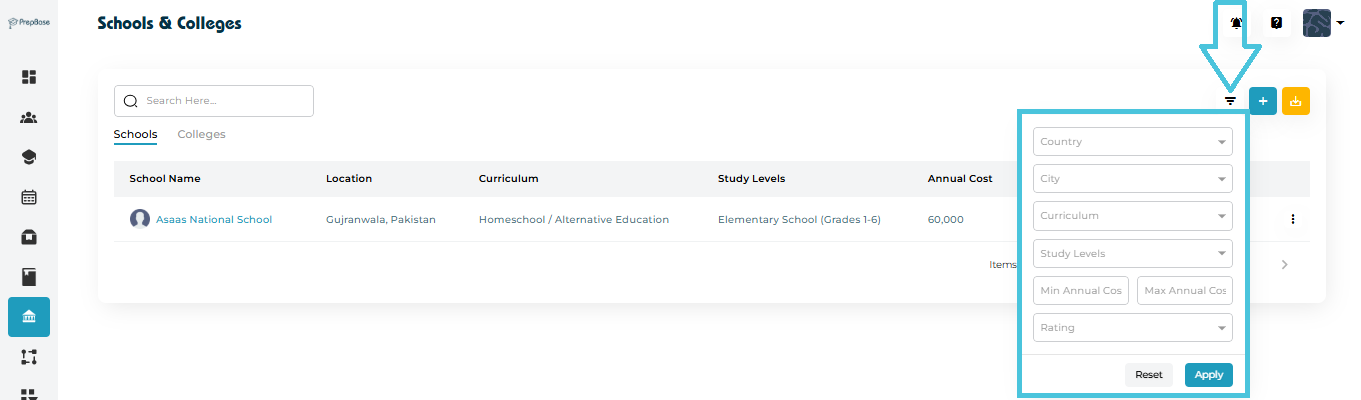
Click the Filter icon beside the Add button.
Available filters include:
Country
City
Curriculum
Study Levels
Min/Max Annual Cost
Rating
Click Apply to filter results or Reset to clear filters.
There are two ways to open a school/college profile:
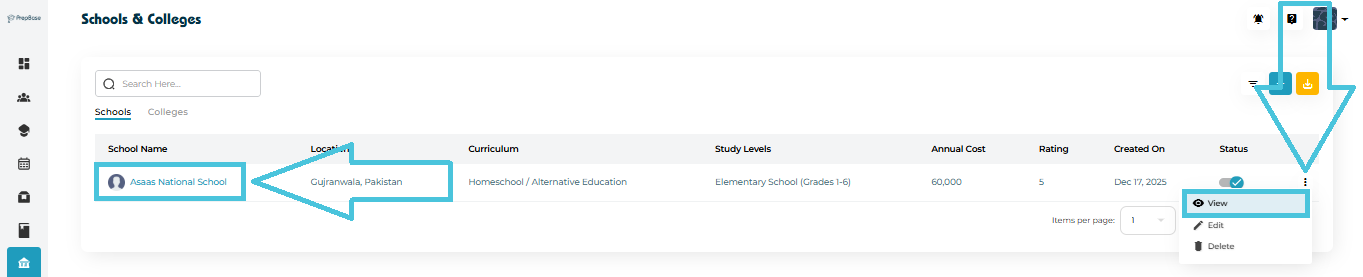
Method 1: Click the Institution Name
Clicking the institution name (e.g., Asaas National School) opens the full profile.
Method 2: Via Action Menu
Click the three-dot menu (⋮) next to the institution.
Select View.
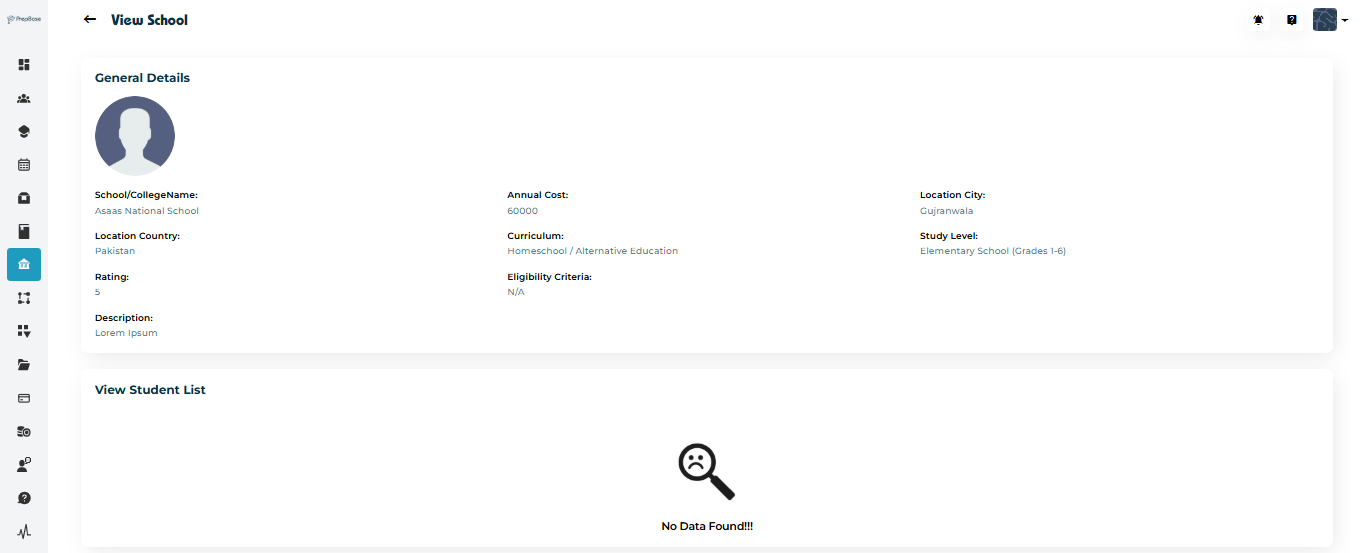
View Page Includes:
Image/Logo
School/College Name
Location Country & City
Annual Cost
Rating
Curriculum
Study Levels
Eligibility Criteria
Description
Associated Students List
If no students are linked, the system shows “No Data Found”.
To edit:
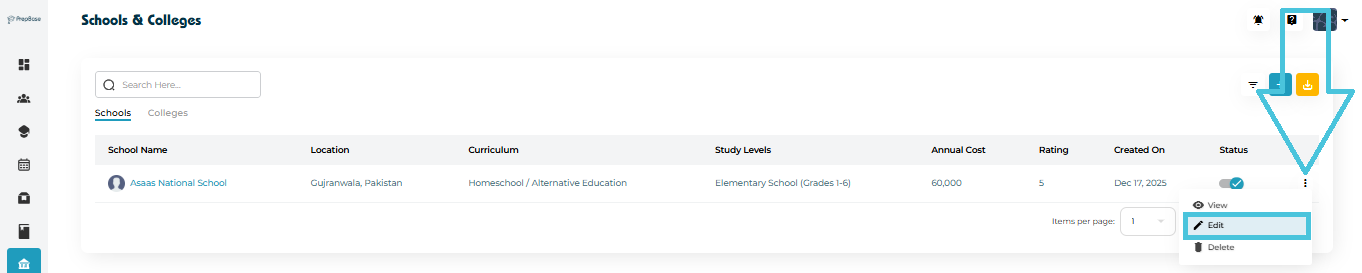
Click the three-dot menu (⋮) next to the entry.
Select Edit.
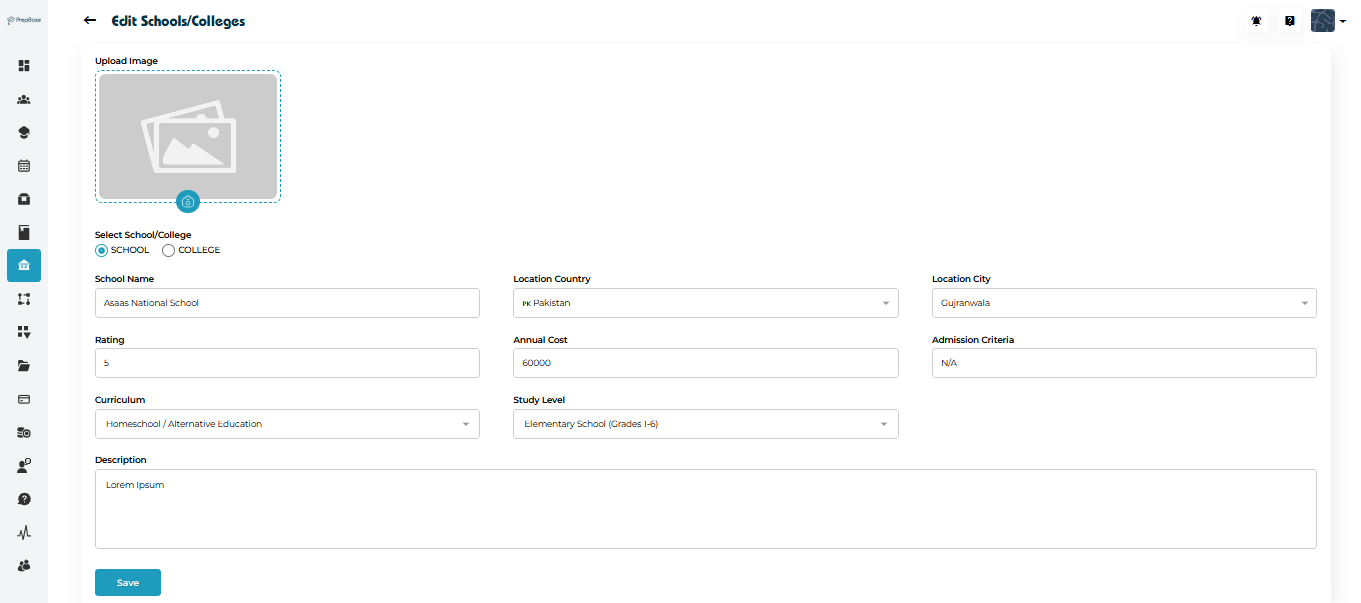
The Edit Schools/Colleges form allows updates to:
Image
School/College selection
Name
Country & city
Rating
Annual Cost
Curriculum
Study Levels
Admission Criteria
Description
Click Save to update the record.
You can remove an institution when necessary:
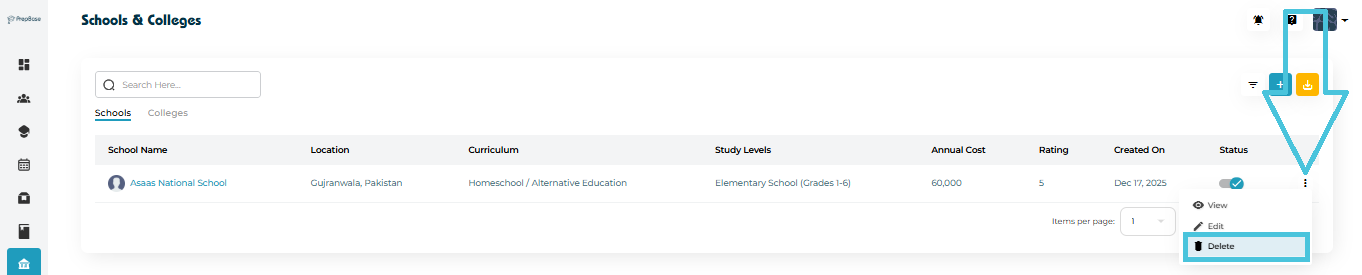
Open the three-dot menu (⋮) next to the institution.
Click Delete.
Confirm deletion.
Note: Deleted records cannot be recovered.
To download the data:
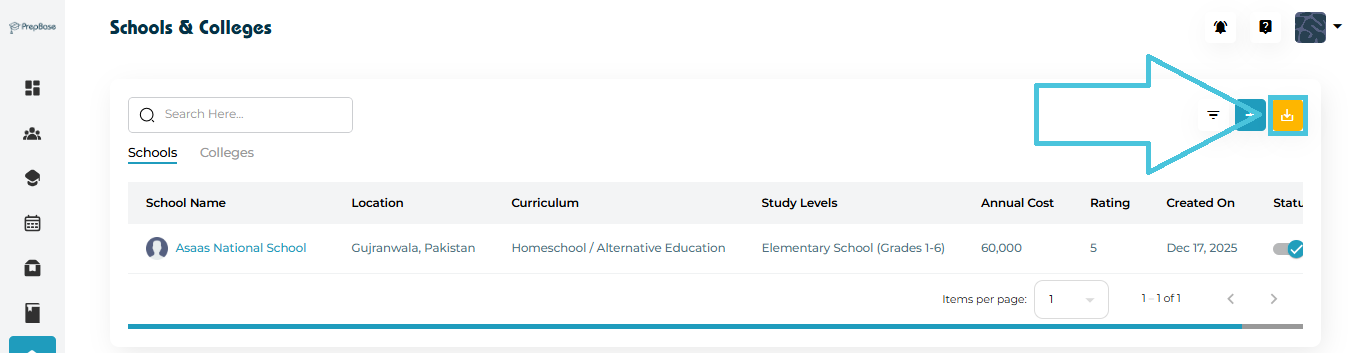
Click the Export icon (yellow download button).
A CSV file containing all visible records will be downloaded.
This is useful for:
Reports
External analysis
Backups
Use the Search Here… bar at the top to find schools or colleges quickly.
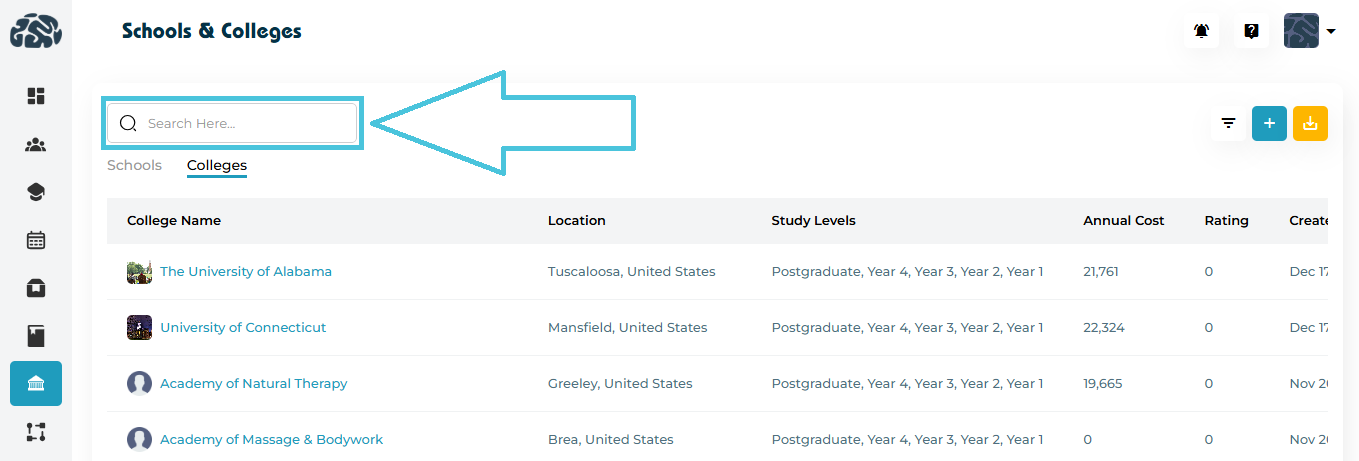
You can search by:
Name
City
Curriculum
Any keyword associated with the institution