To begin managing your tutoring subjects:
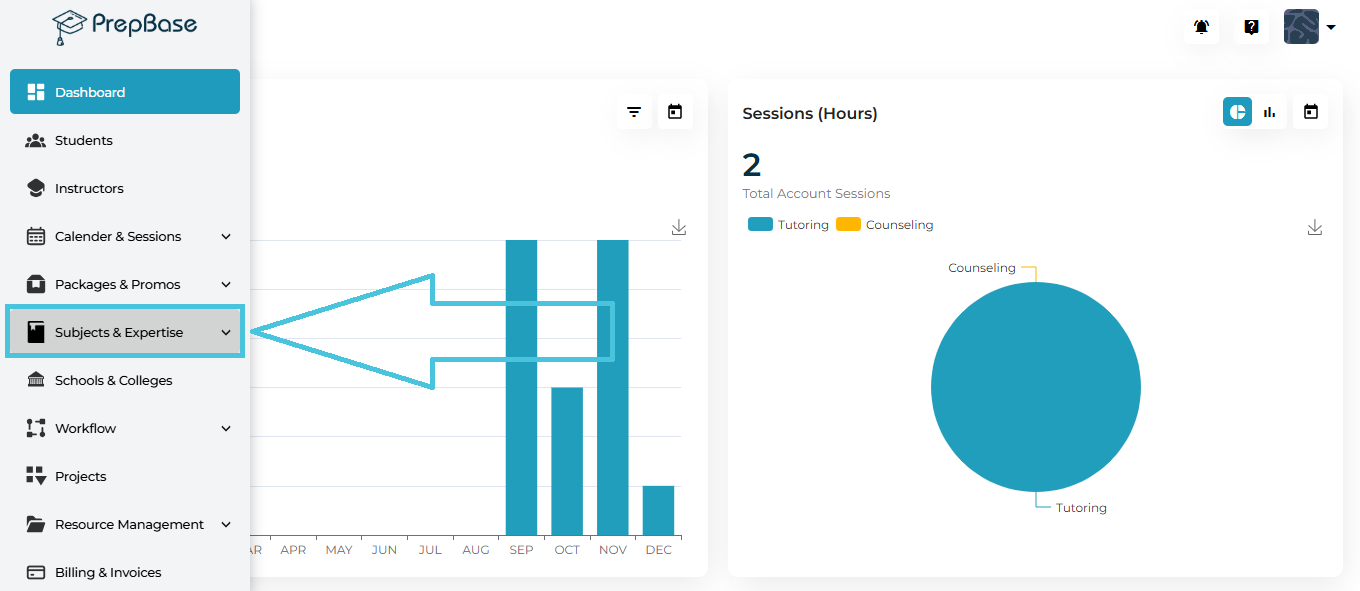
Open the Subjects & Expertise section from the left navigation panel.
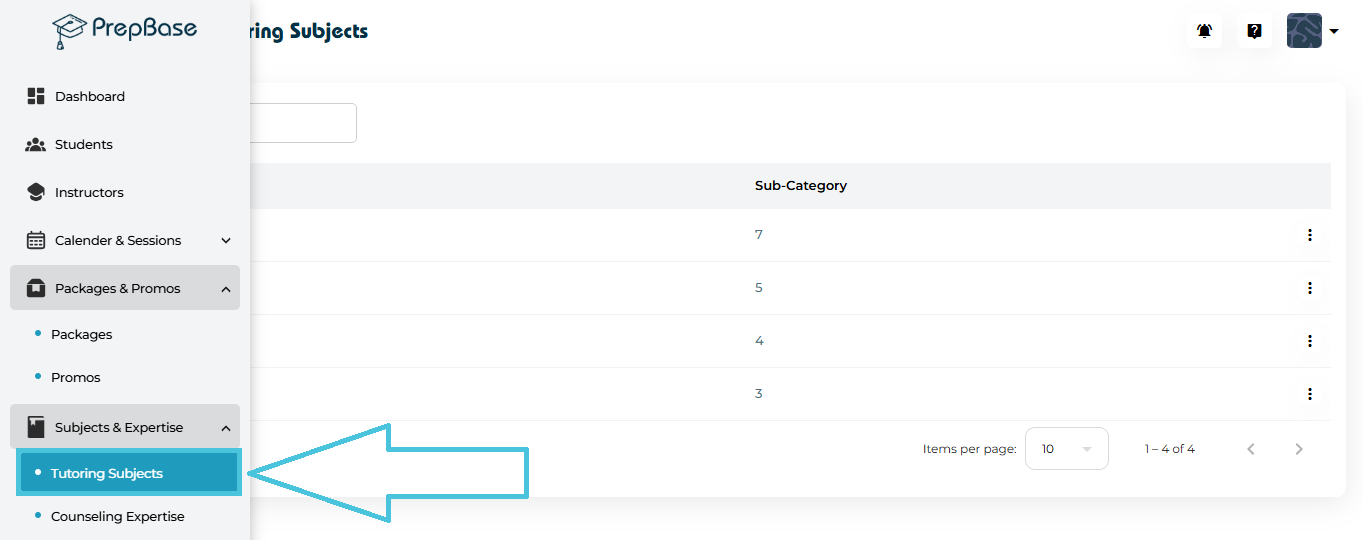
Select Tutoring Subjects to view all existing subject categories and the number of sub-categories assigned to each.
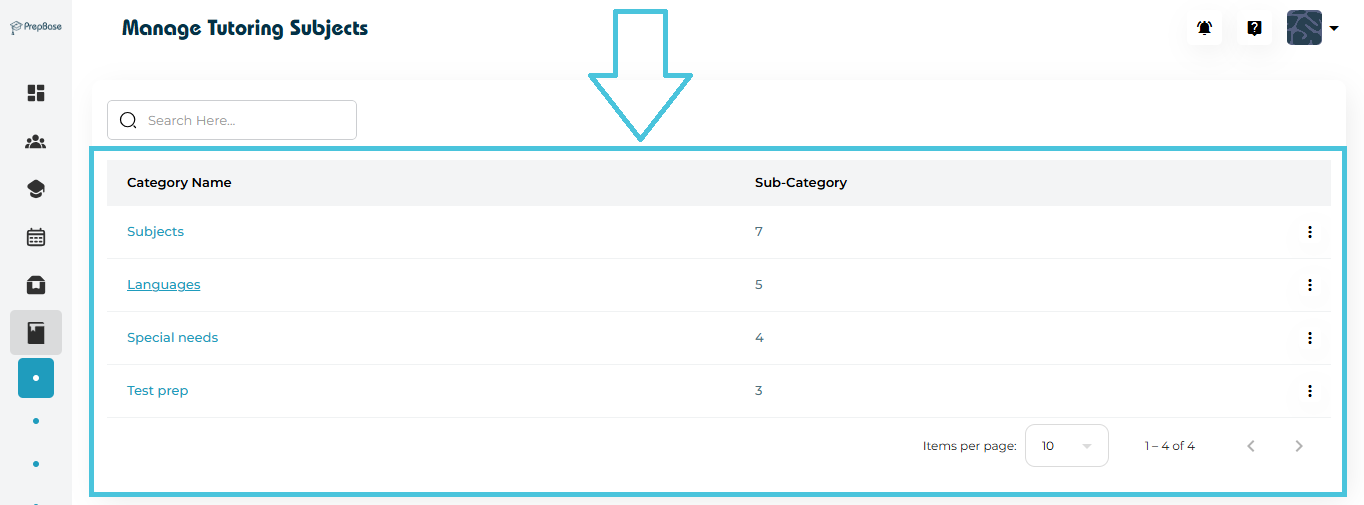
You will now see a list of predefined categories including Subjects, Languages, Special Needs, and Test Prep, along with their associated sub-subjects.
A category acts as a parent grouping—helpful for organizing subjects logically.
Examples include:
Subjects → Math, Biology, Chemistry, English
Languages → French, Arabic, Spanish
Special Needs → Dyslexia support, Learning difficulties
Test Prep → SAT, IELTS, GED
The category list page displays:
Category Name
Total Sub-Categories
Actions Menu (⋮) for viewing details
PrepBase provides two convenient methods to open detailed Category information:
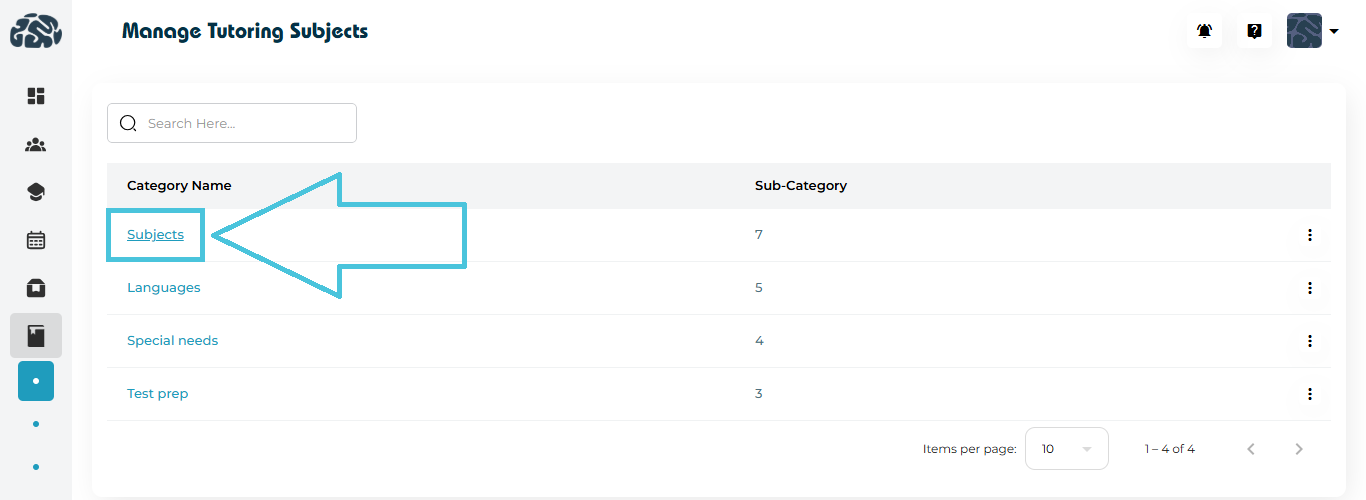
1. Clicking the Category Name (direct open)
Simply click on the Category name (e.g., Subjects) to open the sub-category detail page.
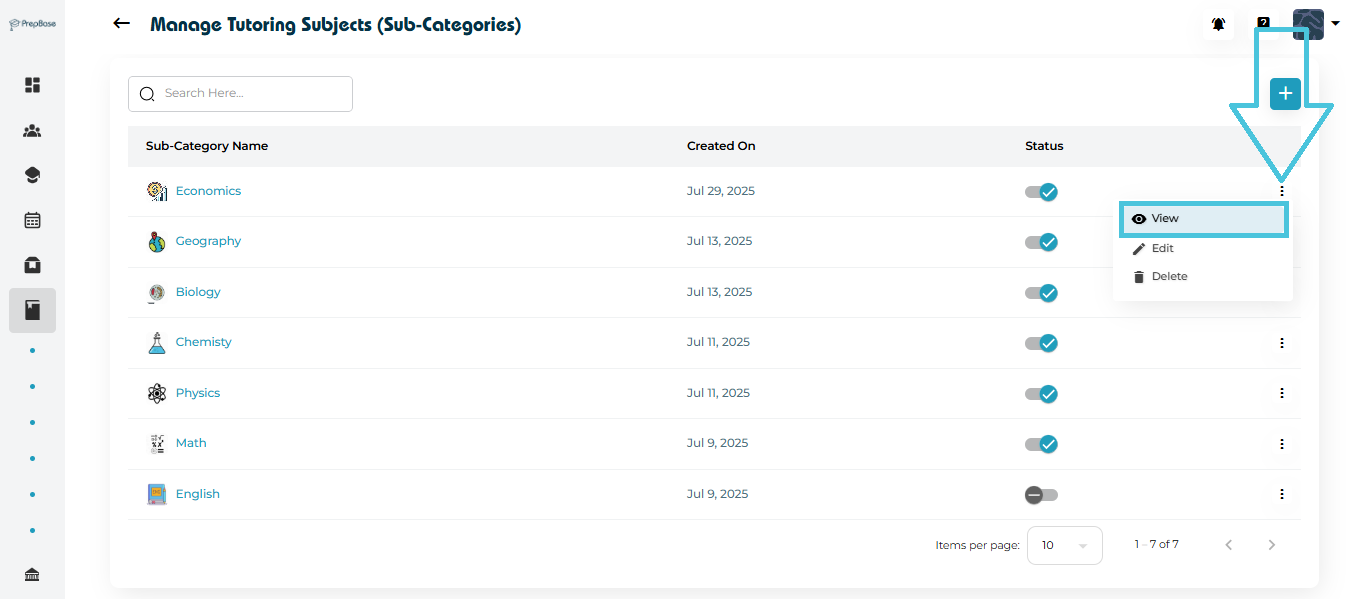
2. Using the Three-Dot Menu (⋮) → View
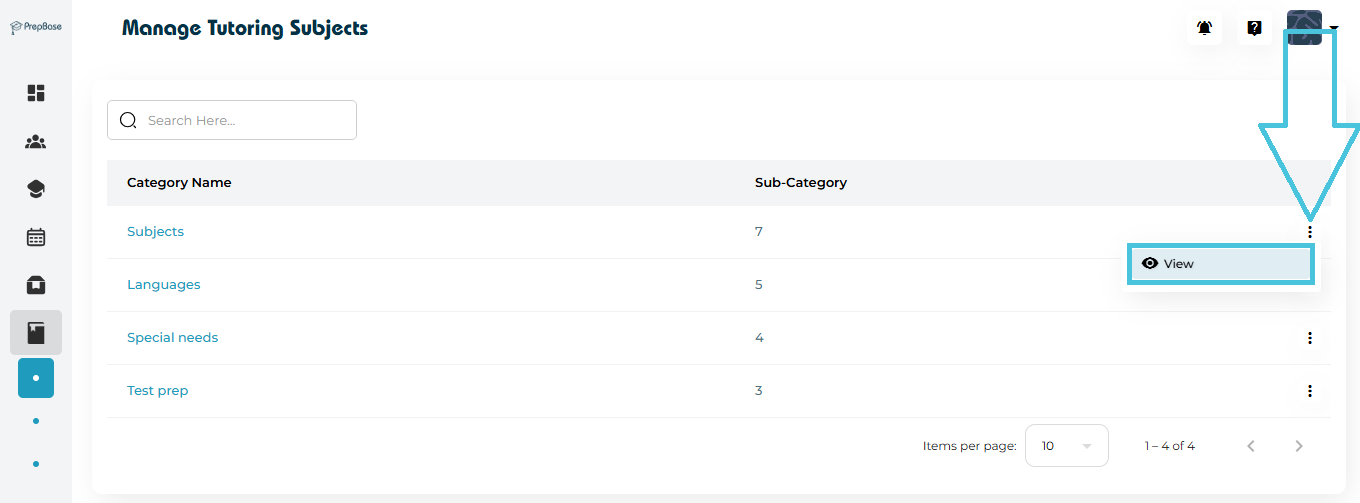
Open the action menu beside the Sub-category and select View.
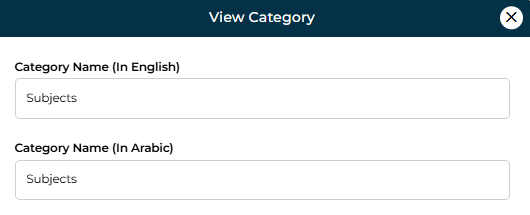
View Form Includes:
Category Name (English)
Category Name (Arabic)
This screen is read-only and is ideal for quickly reviewing stored details.
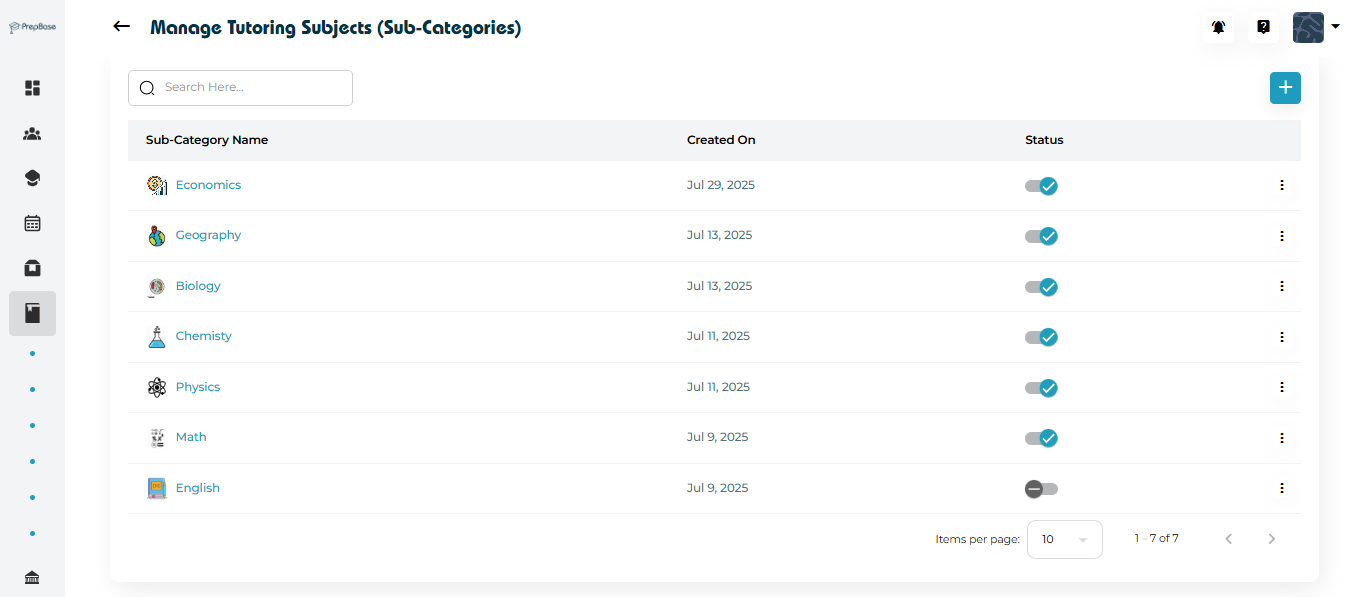
Sub-categories represent the actual subjects students enroll in and instructors teach (e.g., Physics, Math, Economics).
On the Manage Tutoring Subjects (Sub-Categories) page, you can:
Add new subjects
Assign subject icons
Edit subject names
Activate or deactivate subjects
Delete subjects
To create a new tutoring subject:
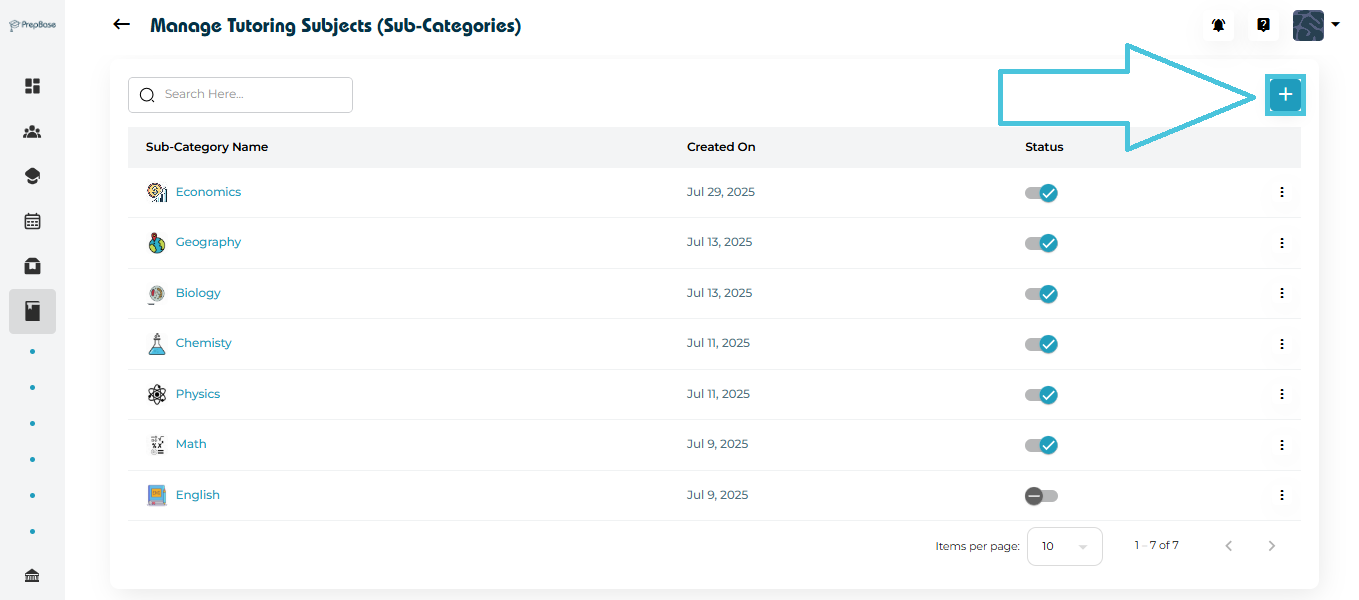
Click the “+” button in the top right corner.
The Add Sub-Category form will appear.
Fill in the following details:

- Icon
- Sub-Category Name (English)
- Sub-Category Name (Arabic)
- Save the Subject
Click Save to finalize.
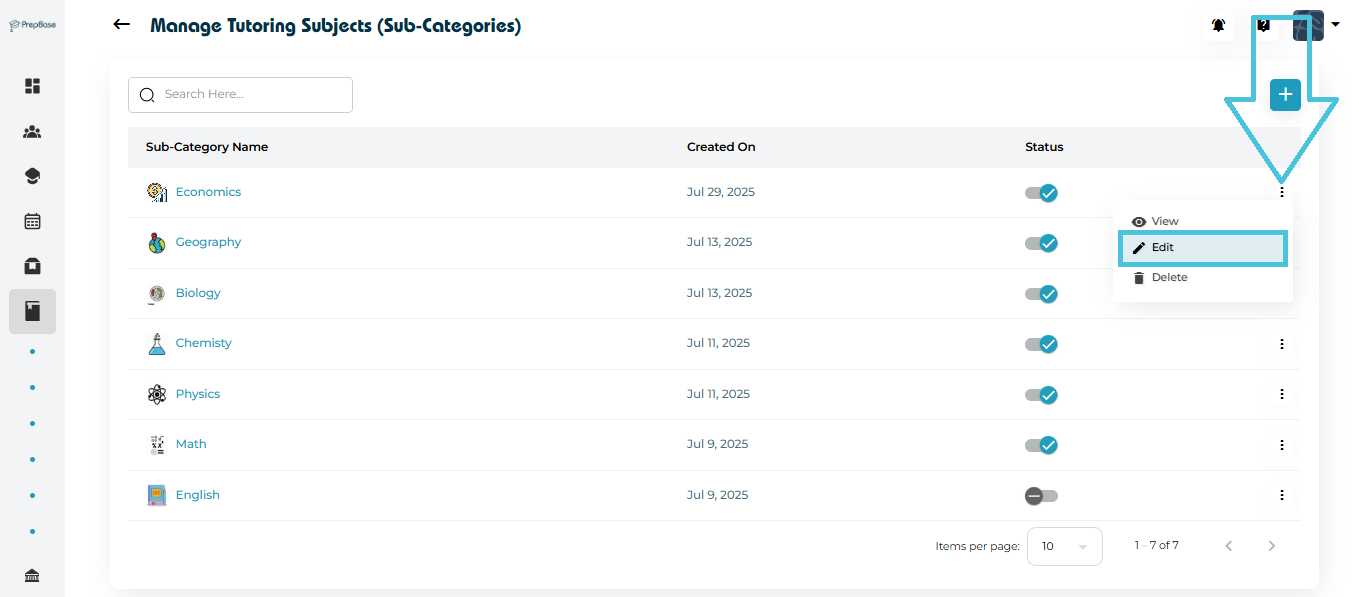
If a subject name needs correction or rebranding:
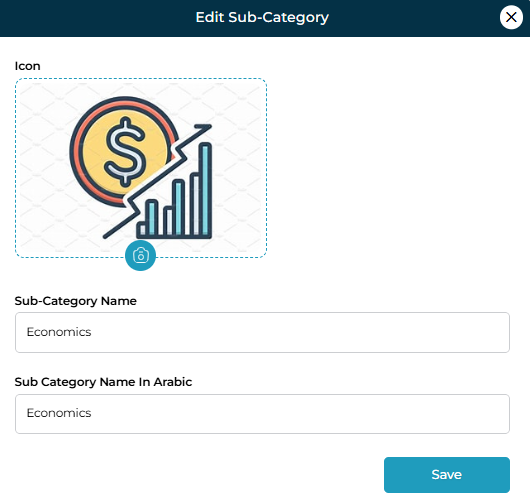
Open the Actions Menu (⋮) next to the subject.
Click Edit.
Update the English name, Arabic name, or icon.
Save your changes.
The View option shows a simplified detail view of the subject including:
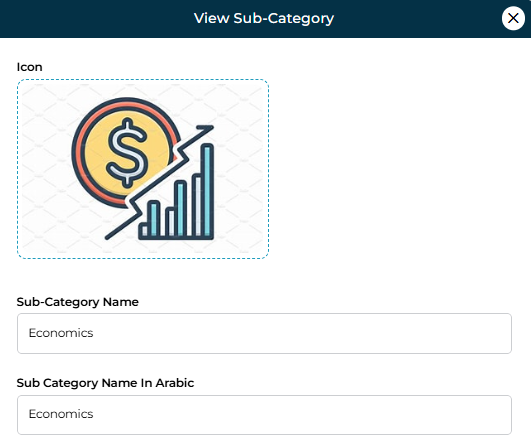
Icon
- English name
Arabic name
This is helpful when cross-checking naming standards or auditing category structure.
Every subject includes a status toggle, allowing admins to control its visibility:
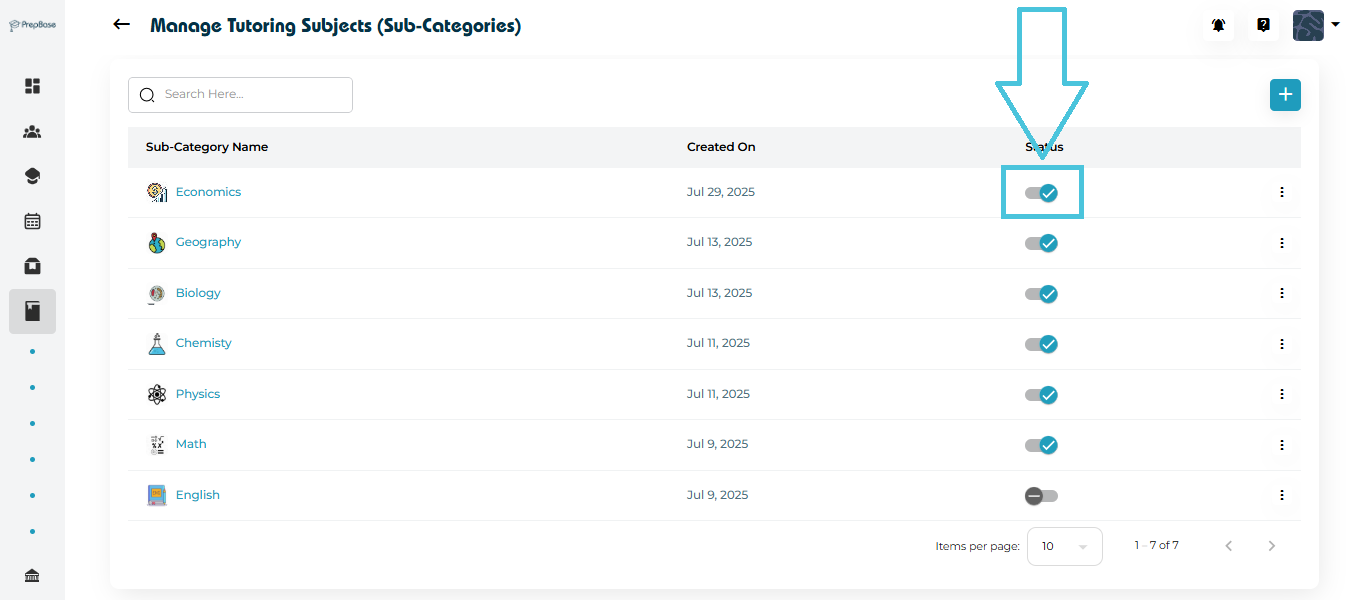
Active (blue) → Students and instructors can see and use the subject
Inactive (gray) → Hidden from selection menus but preserved in your database
This feature is useful when phasing out outdated subjects or temporarily limiting availability.
If a subject is no longer needed:
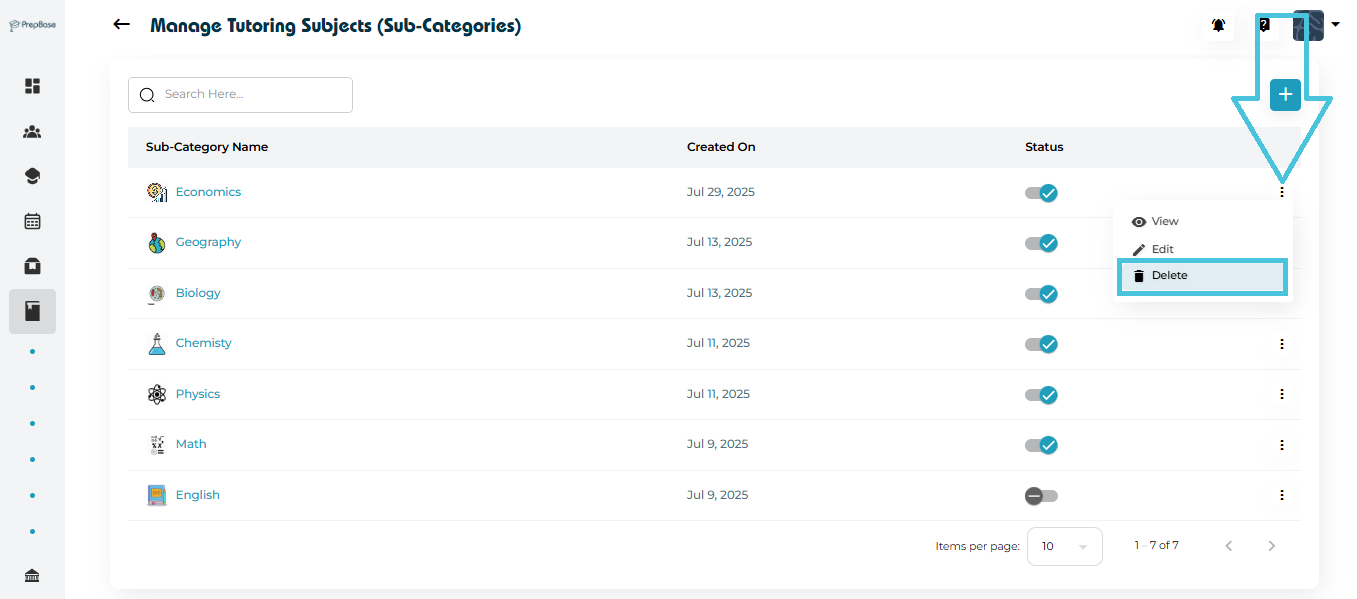
Click the Actions Menu (⋮).
Select Delete.
Confirm the deletion.