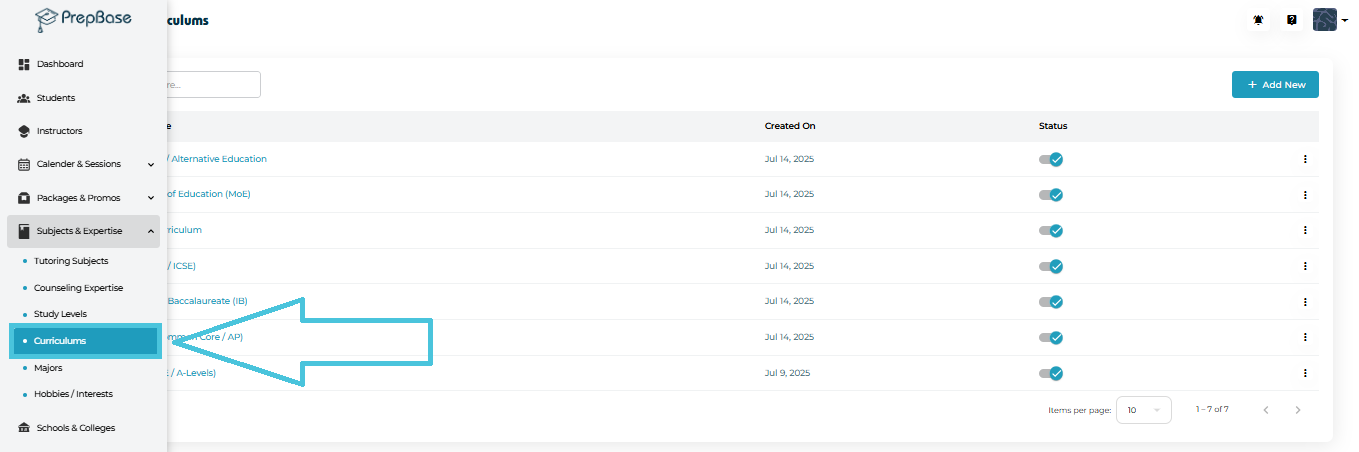
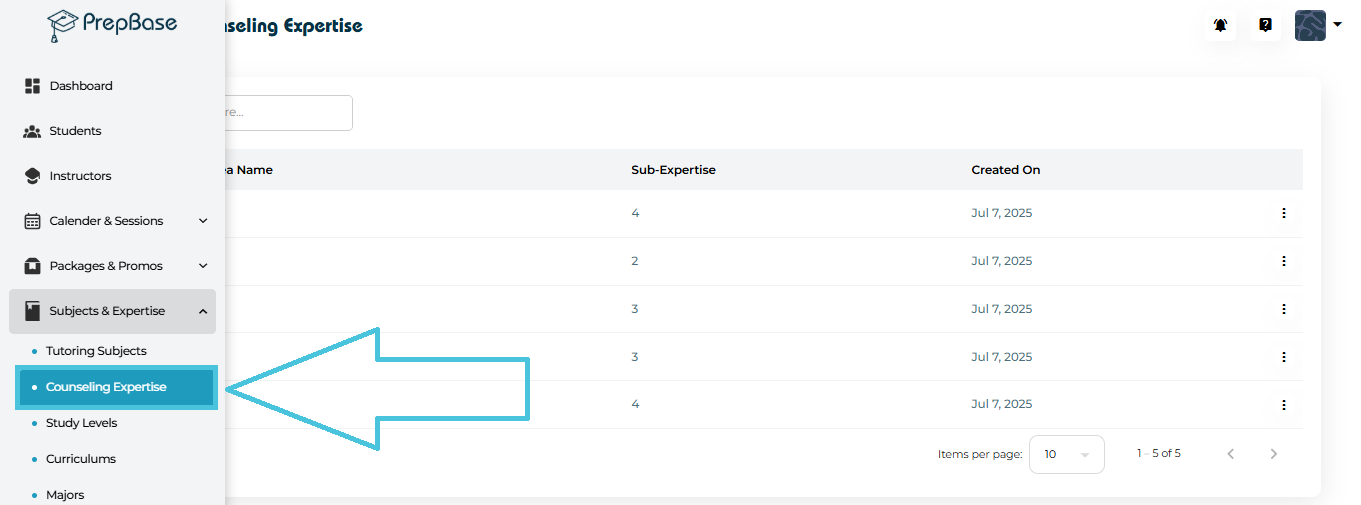
 Navigate to:
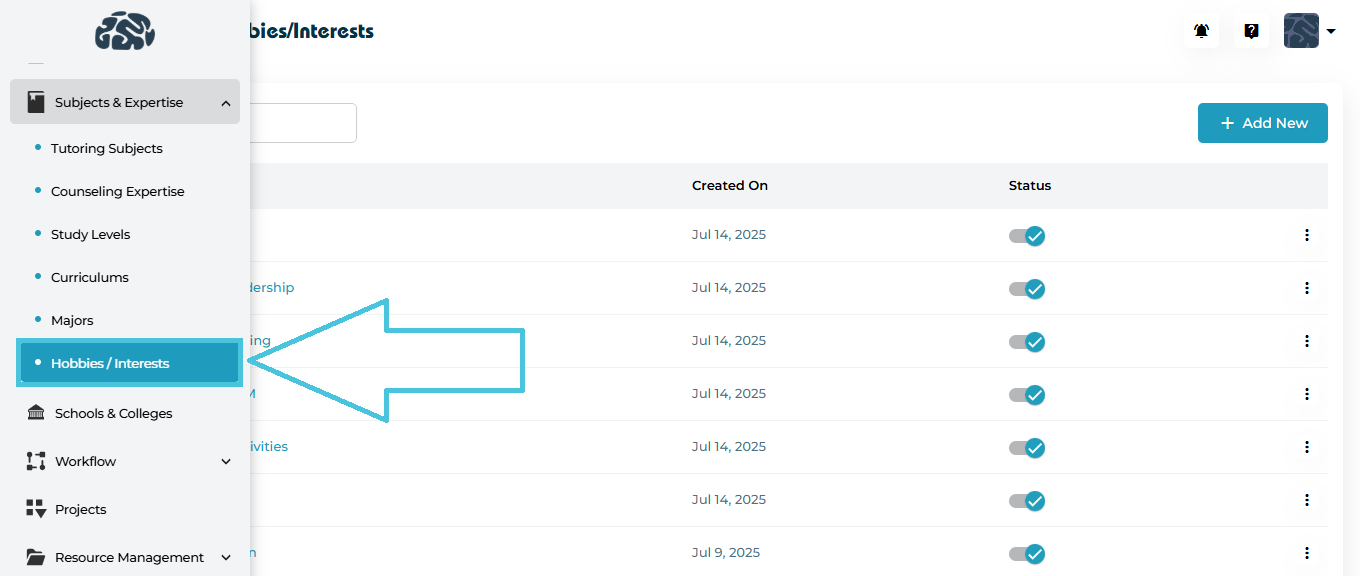
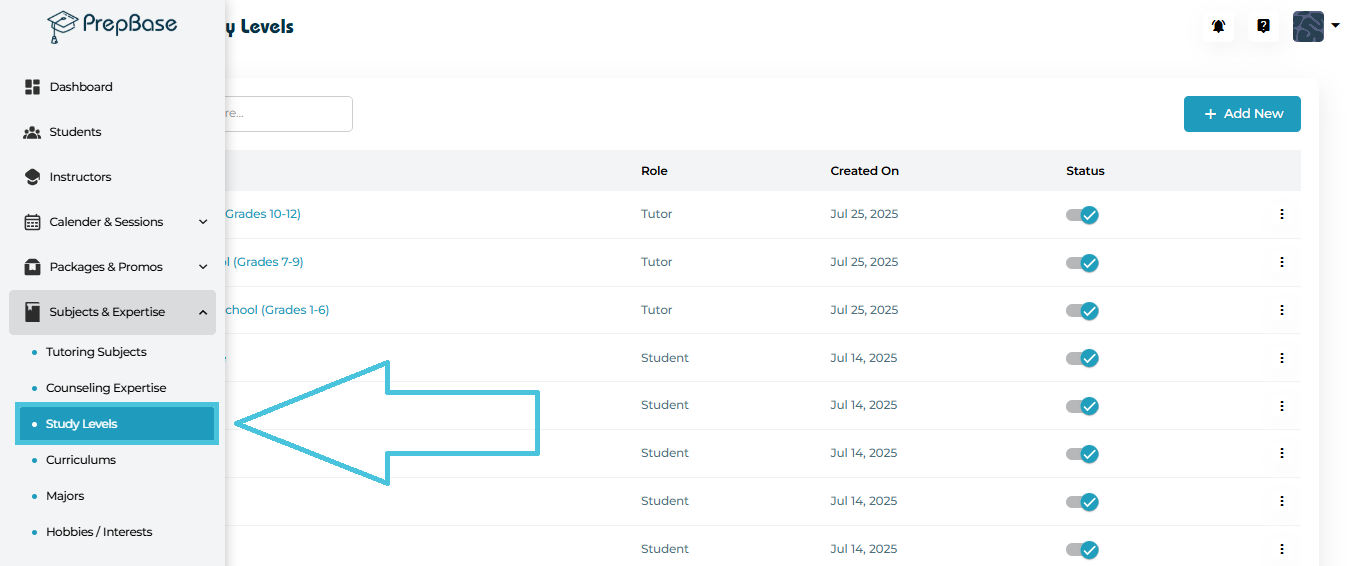
Subjects & Expertise → Hobbies / Interests
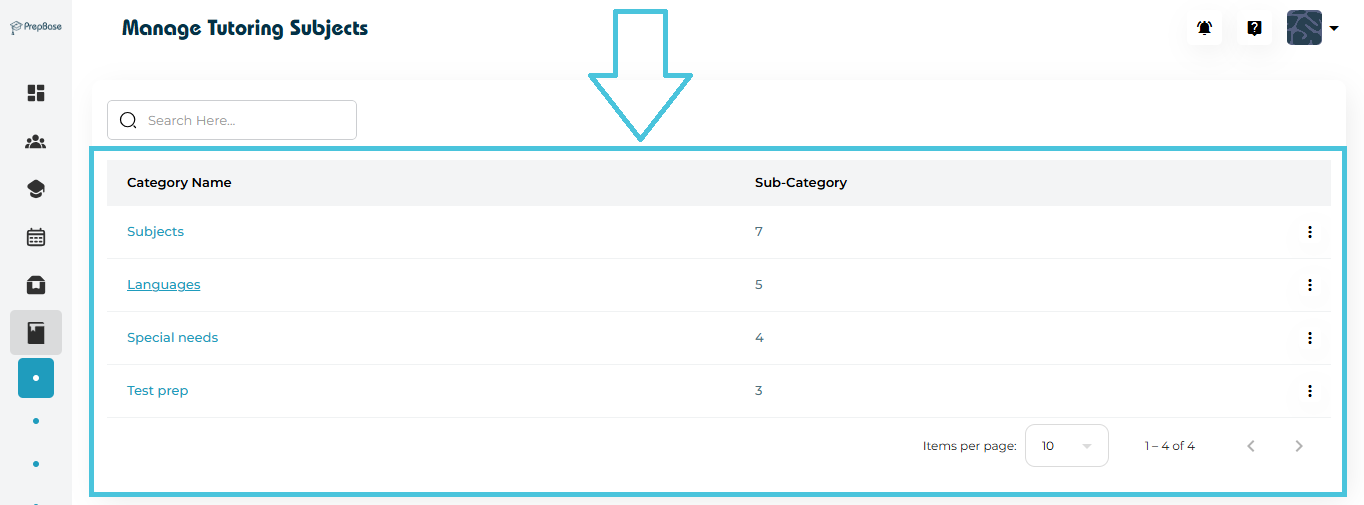
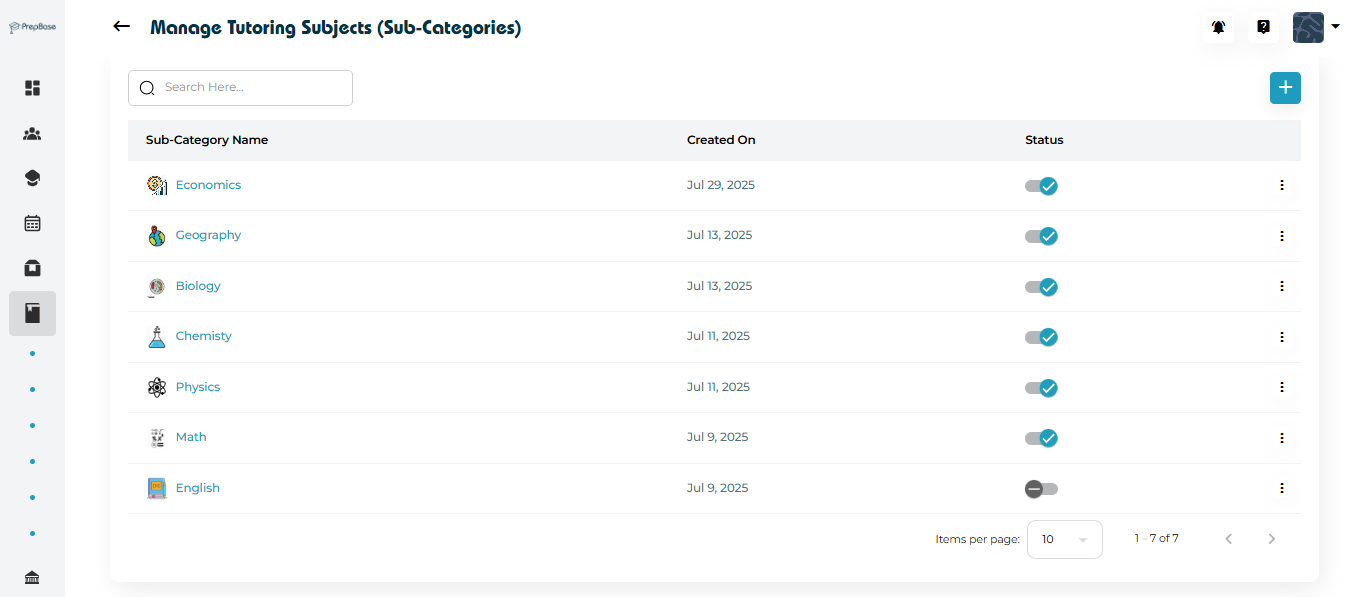
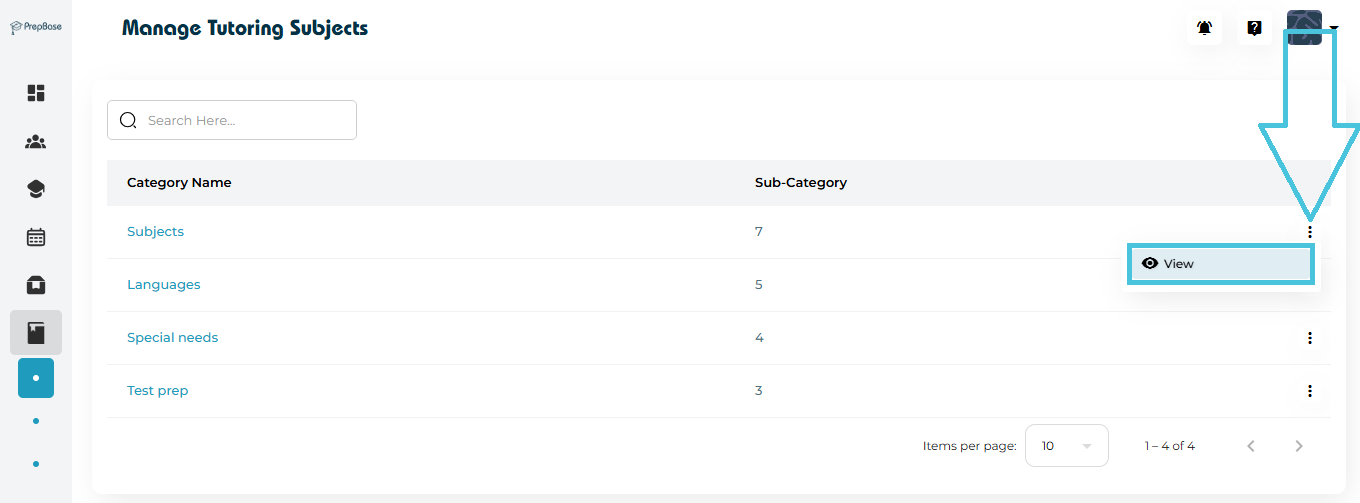
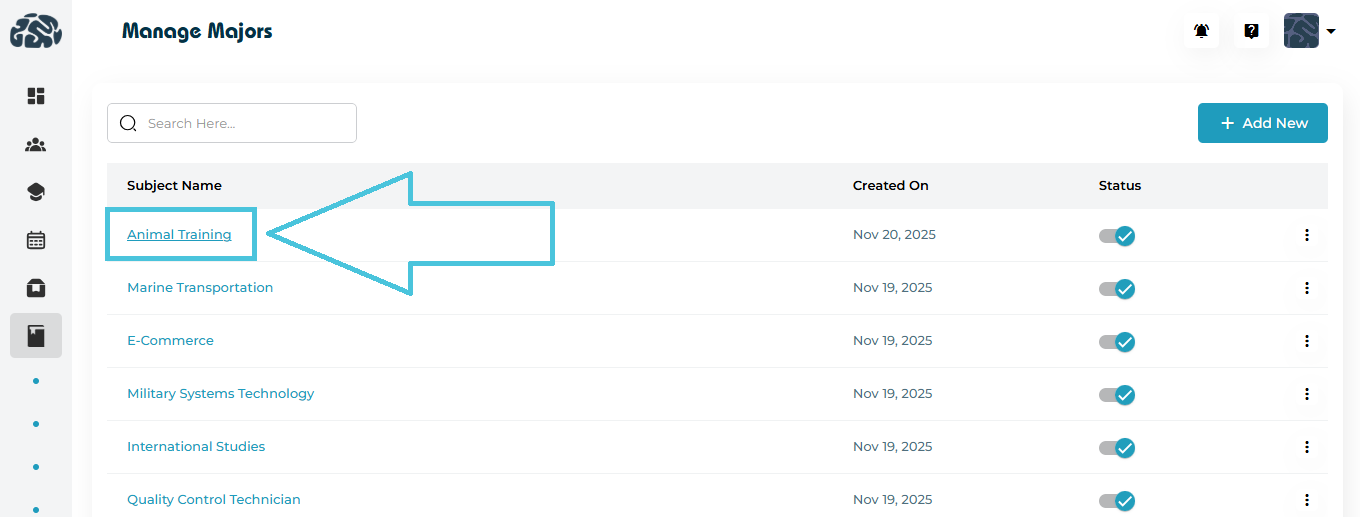
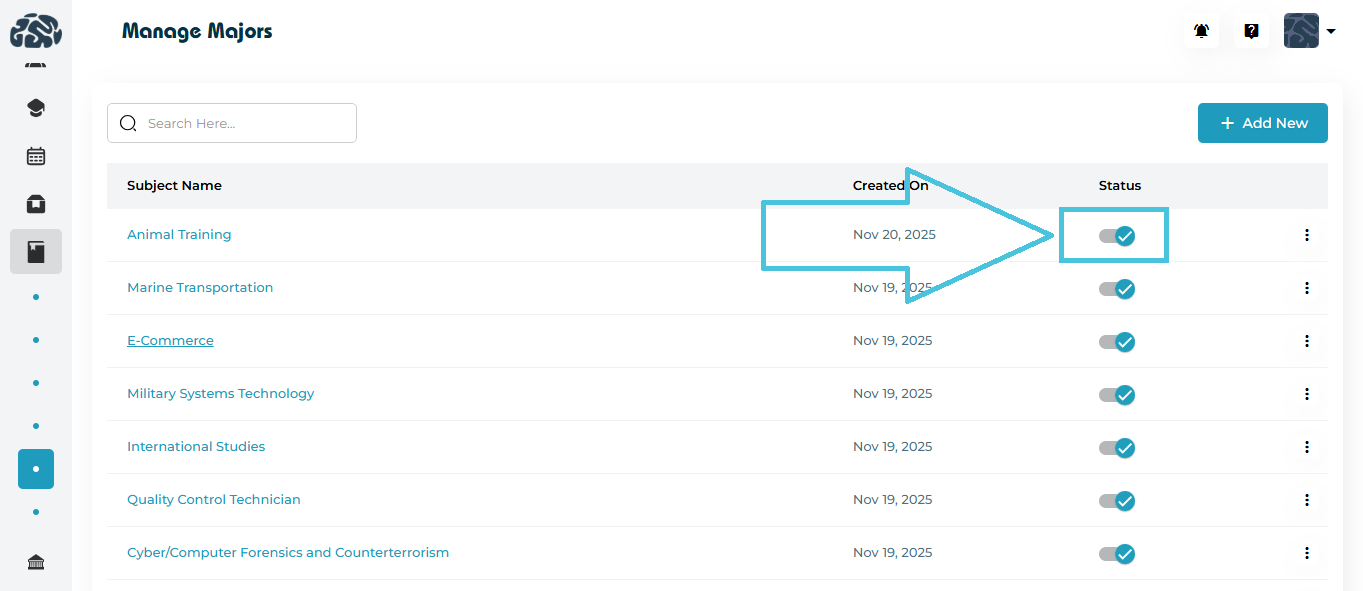
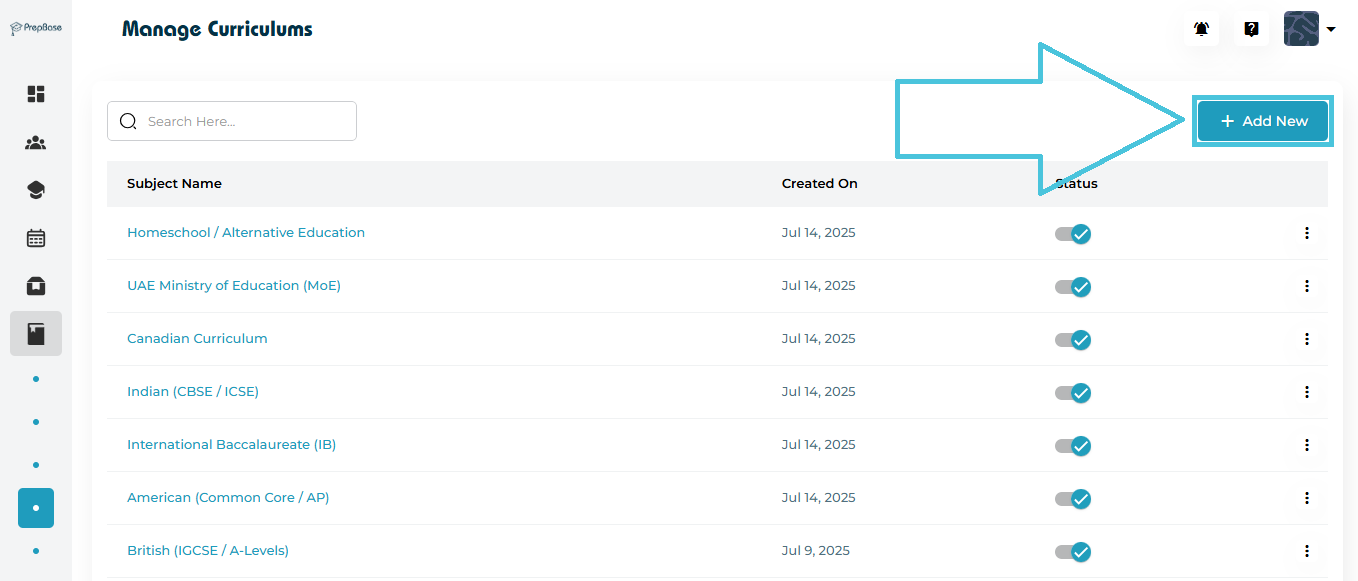
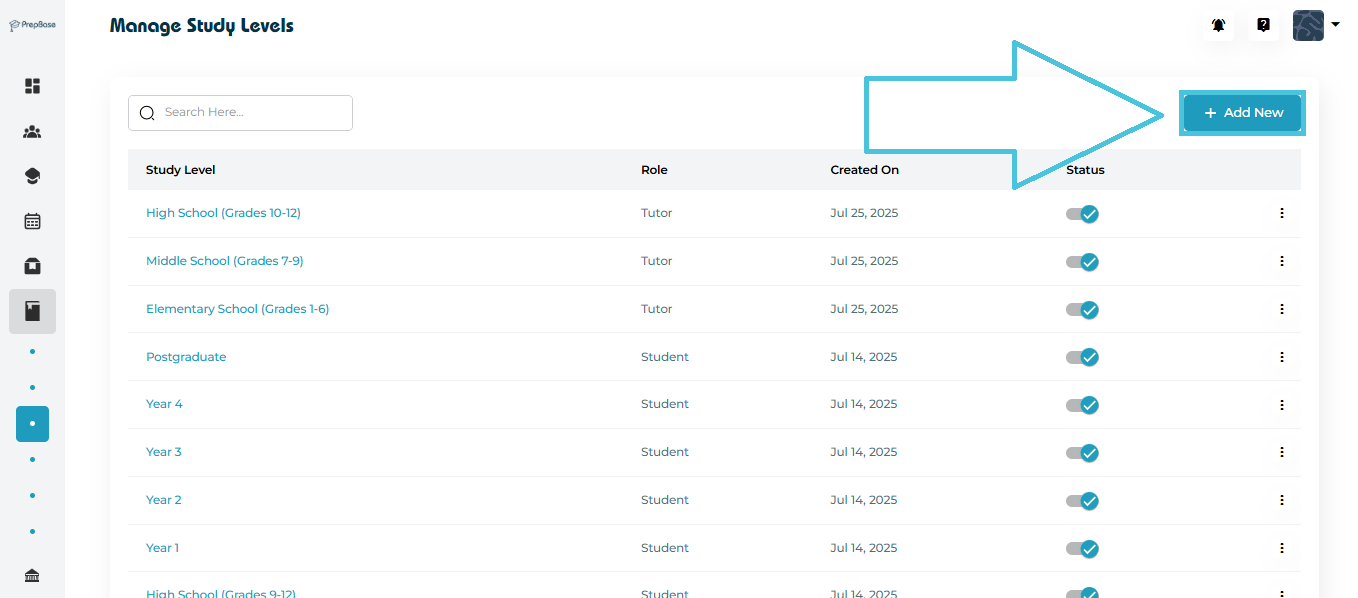
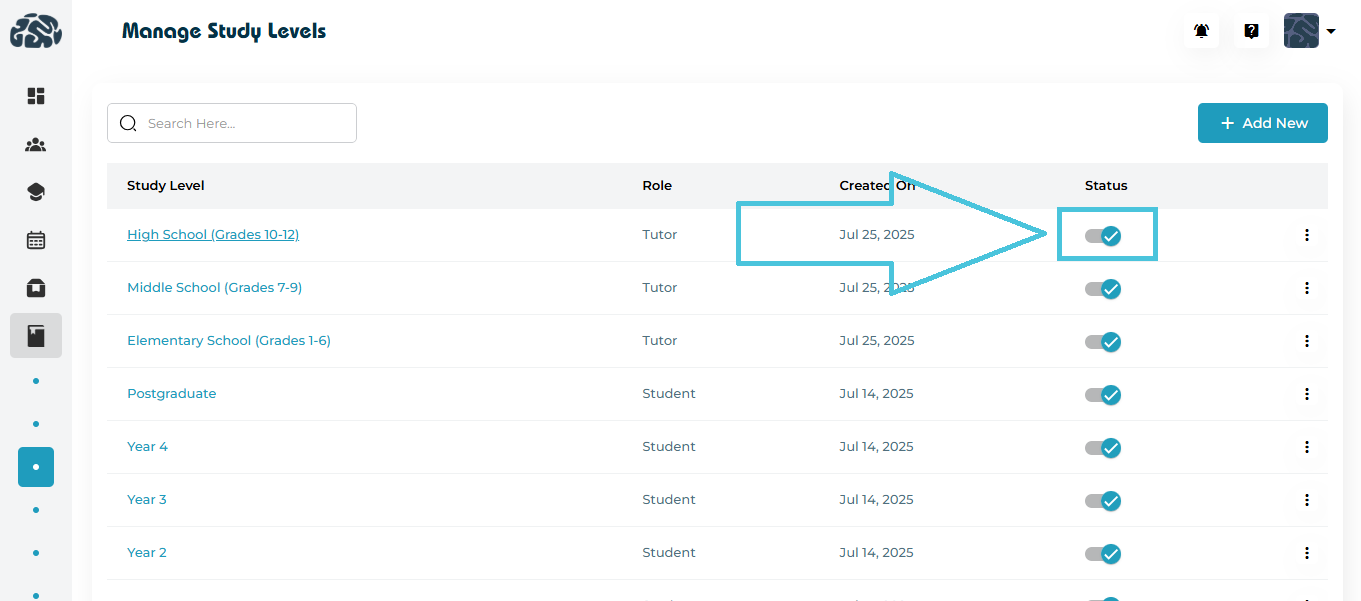
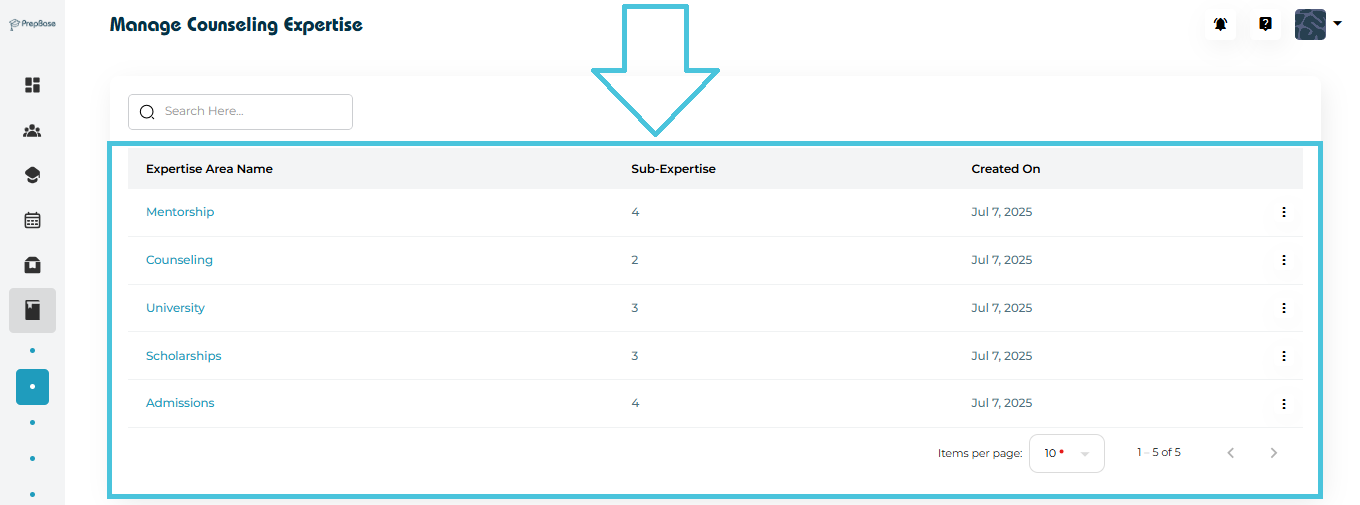
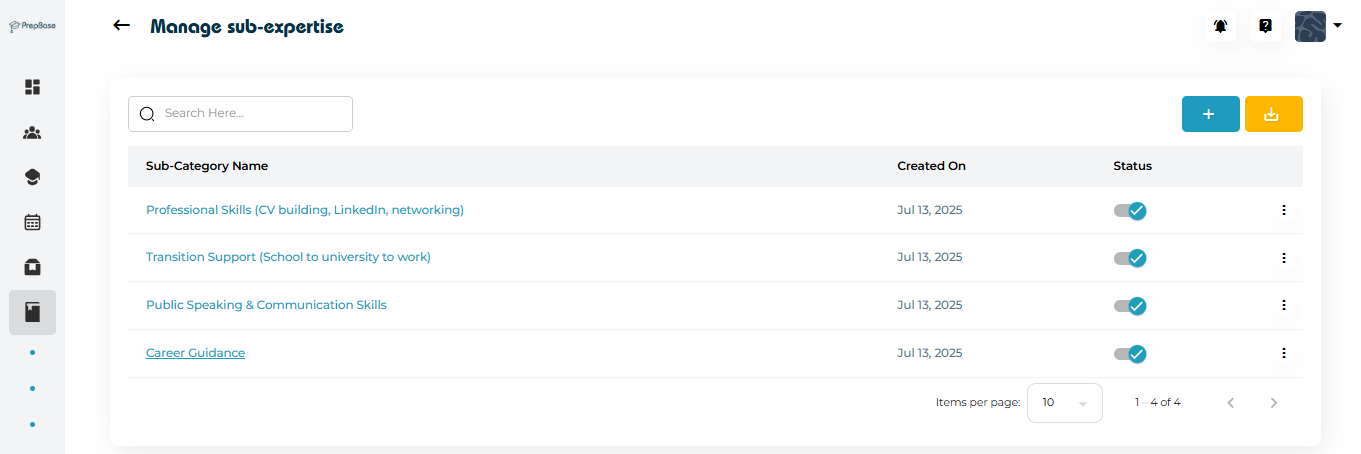
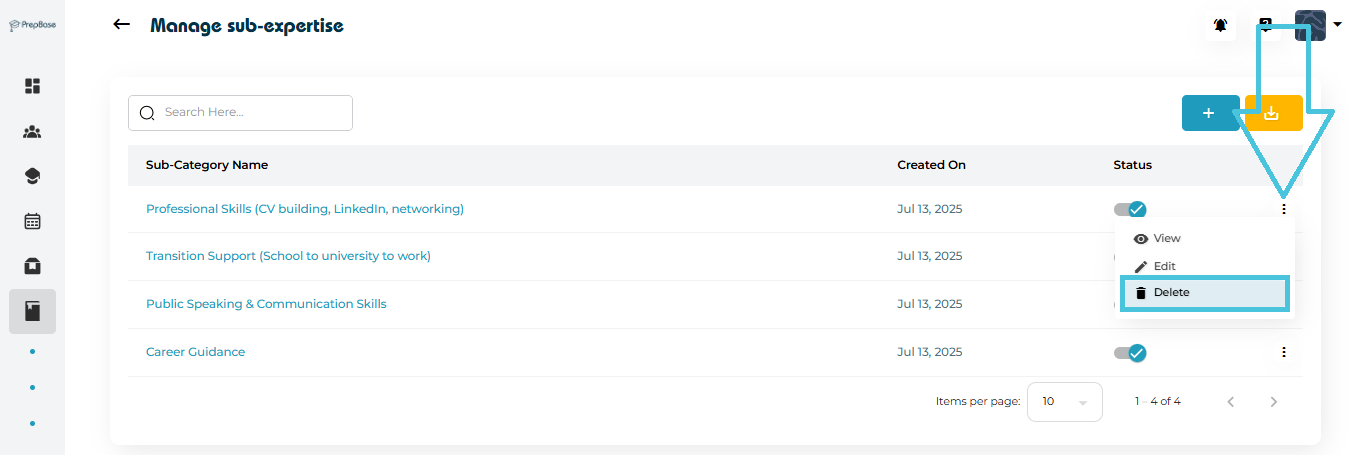
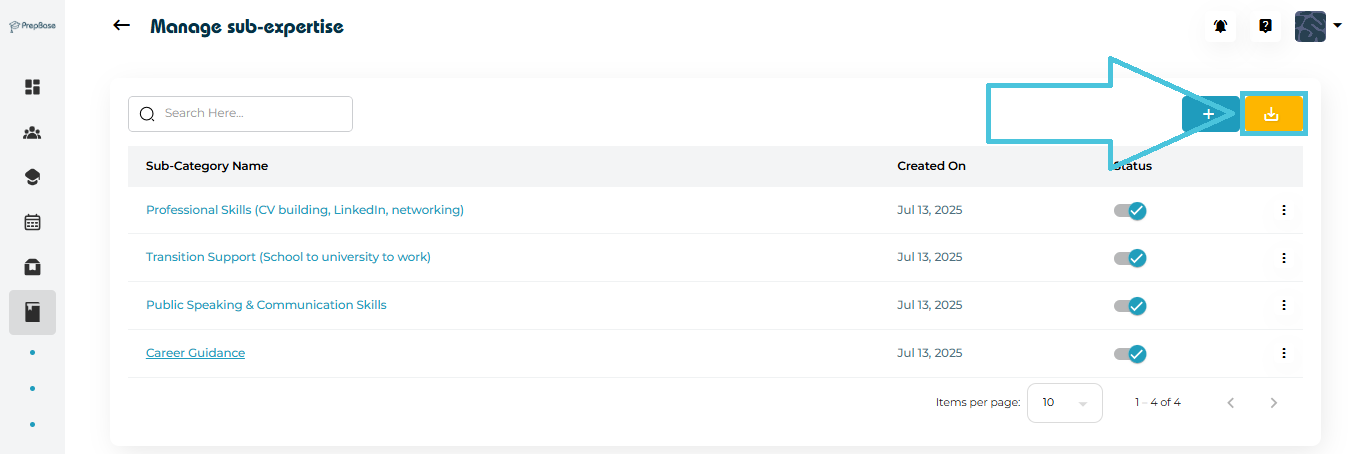
Here you will see the complete list of existing hobbies, along with their:
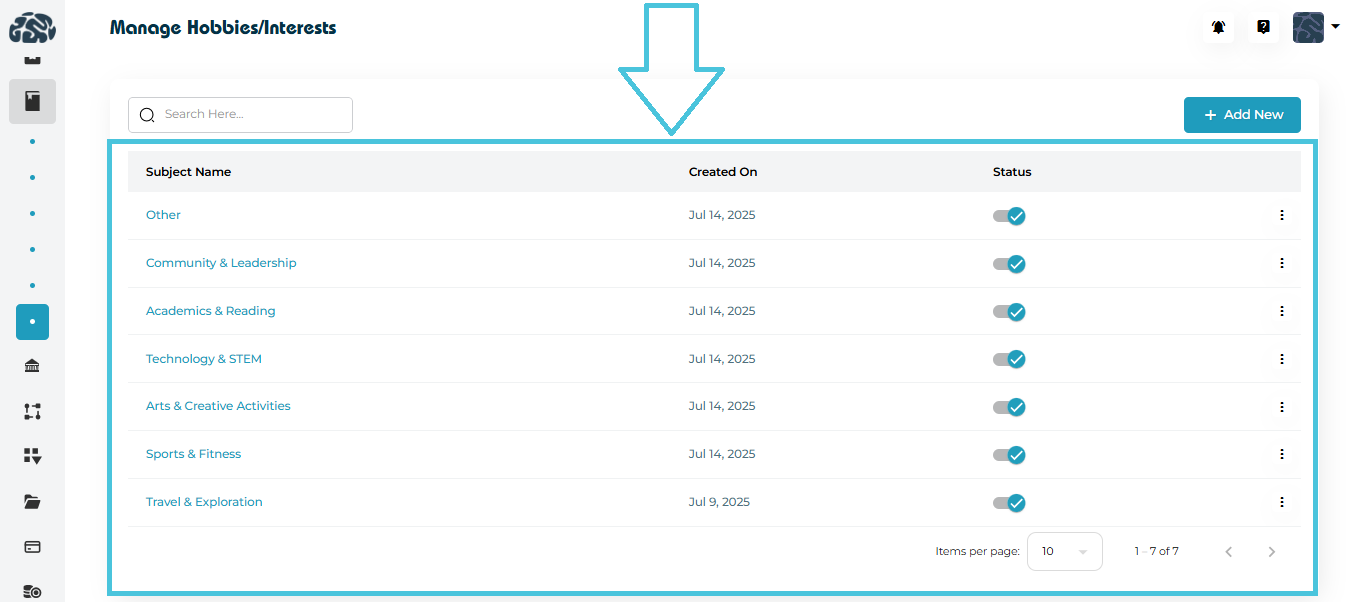
Subject Name
Created On
Status (Active/Inactive)
Actions menu (View, Edit, Delete)
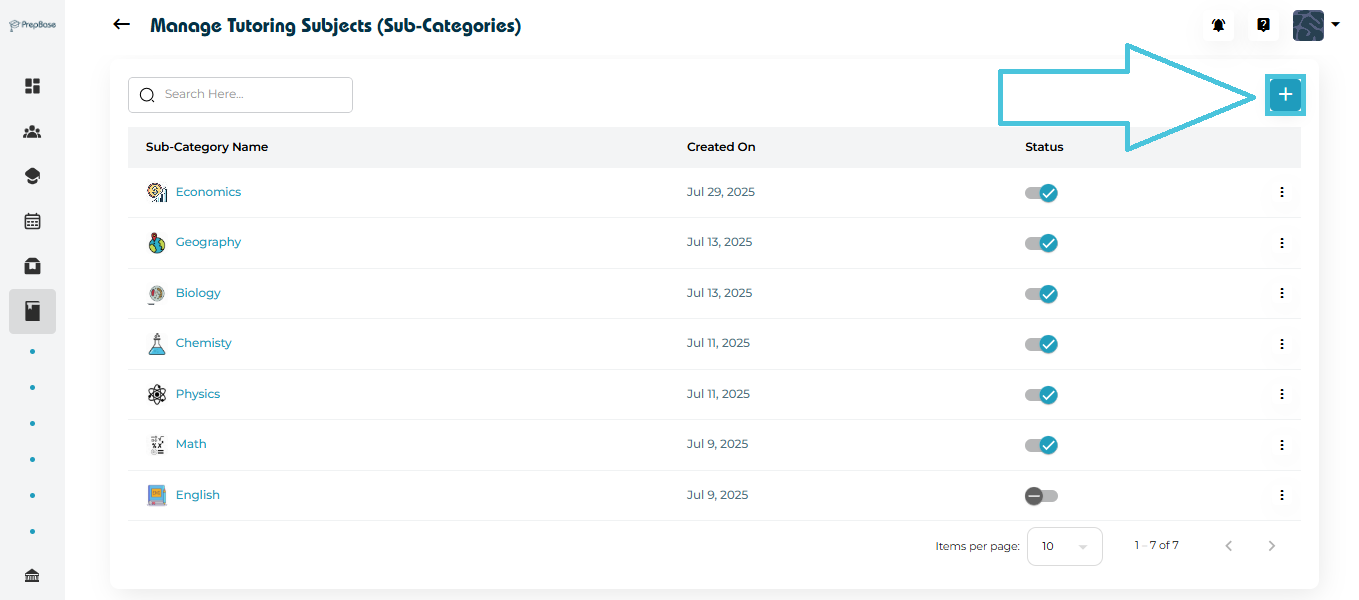
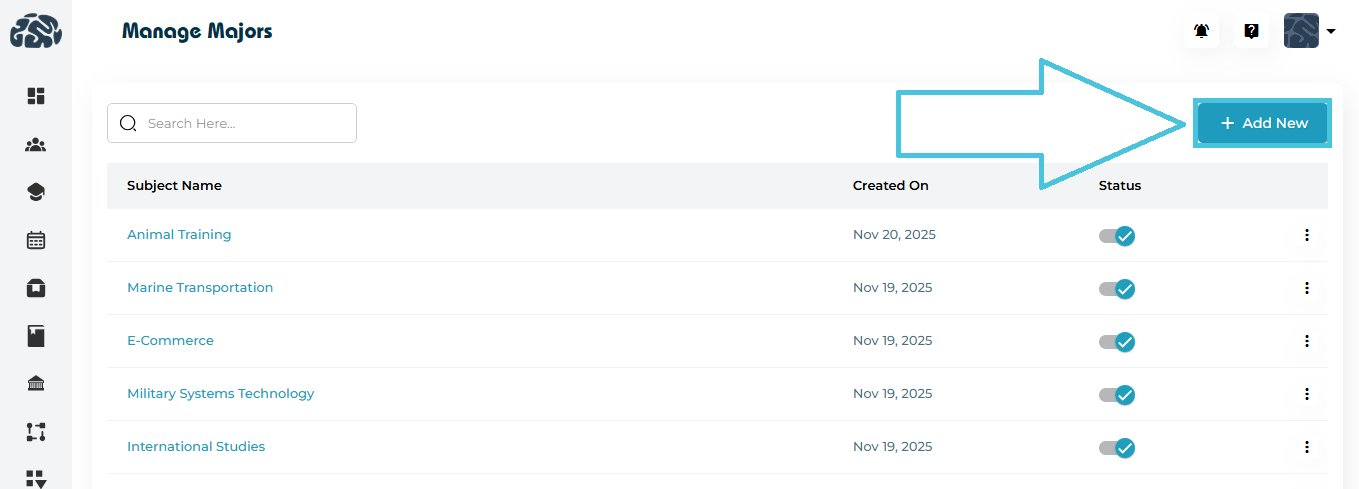
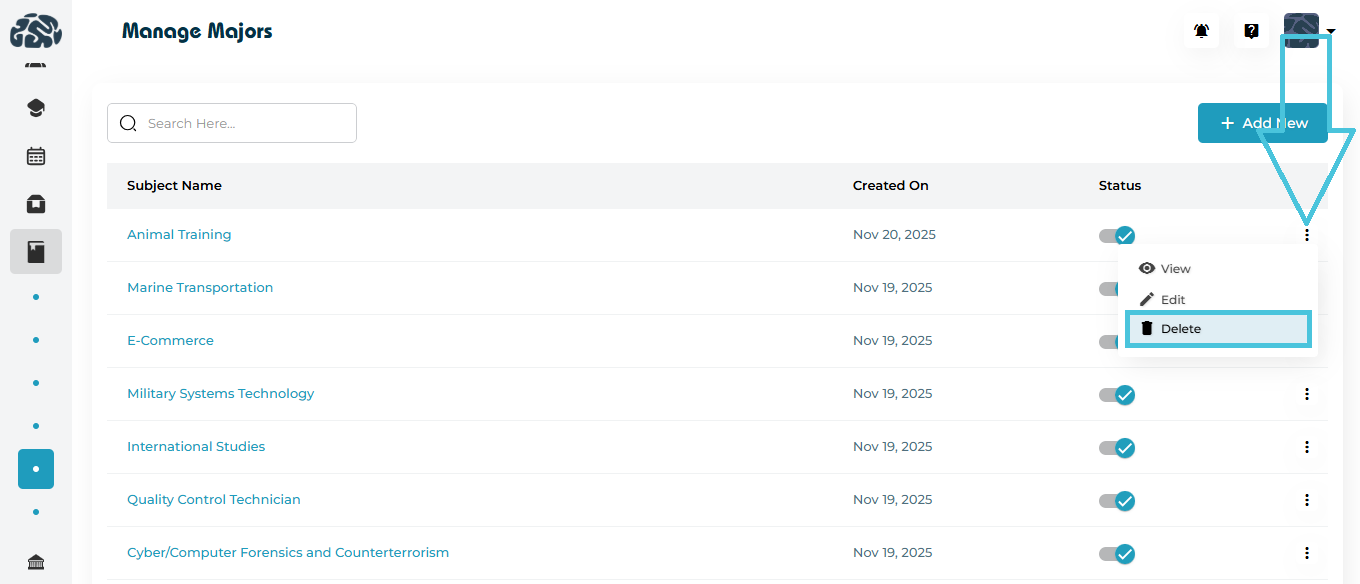
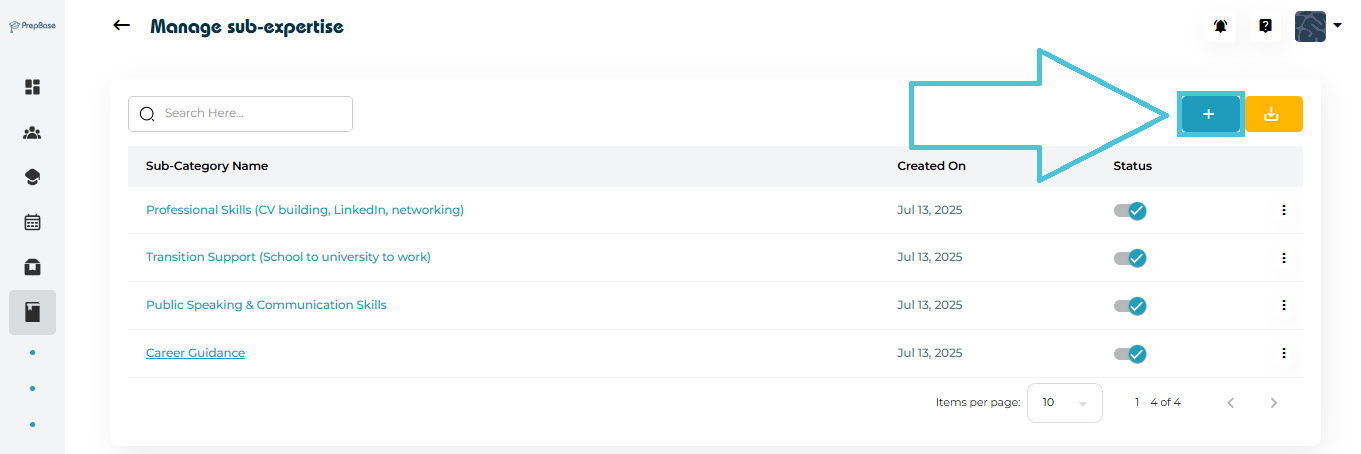
Click + Add New at the top right of the hobbies list.
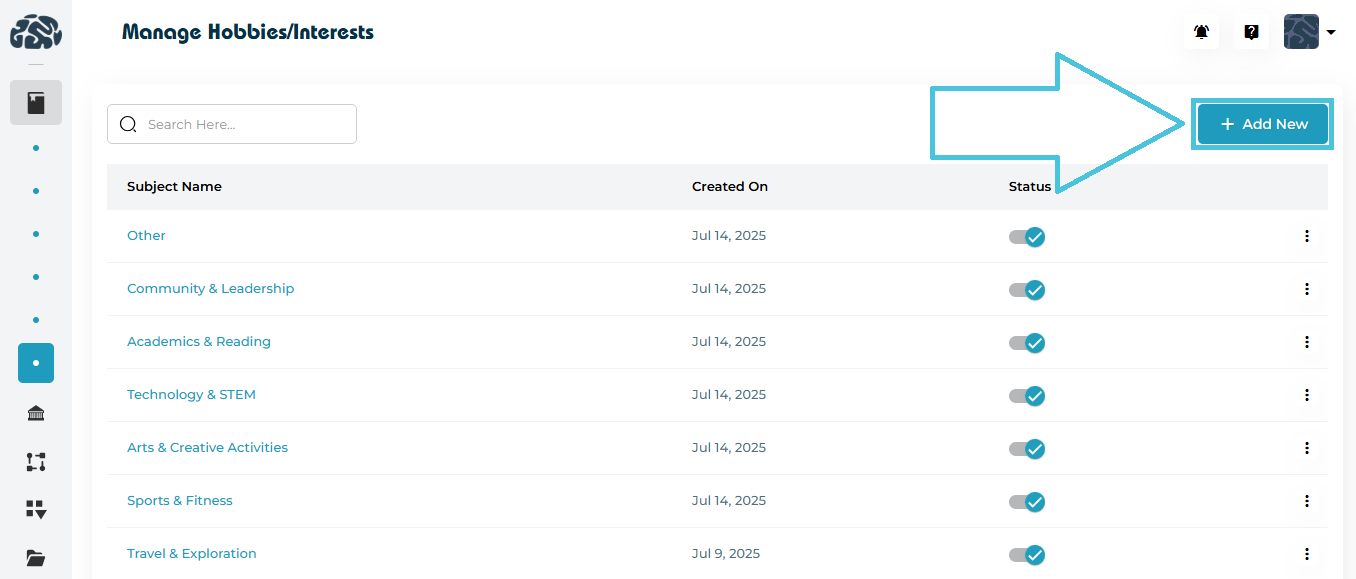
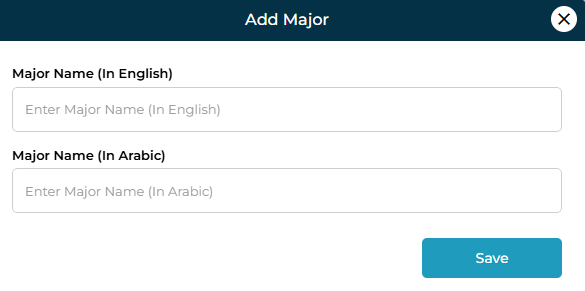
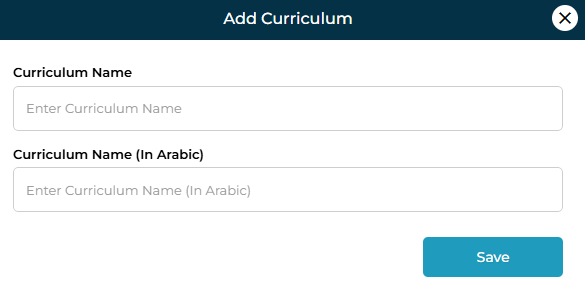
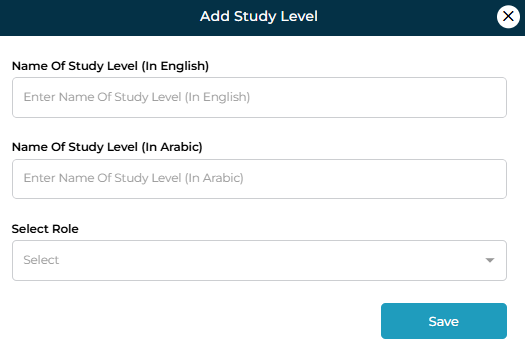
This opens the Add Hobby form.
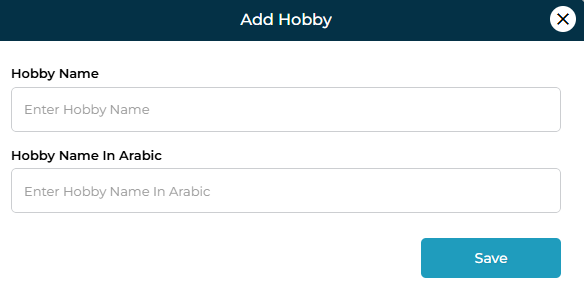
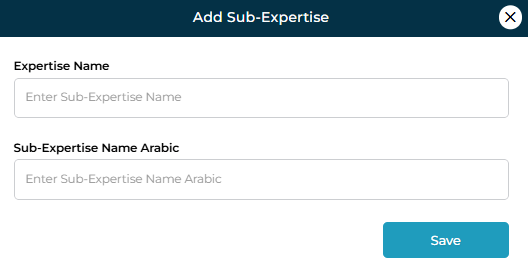
Fields Included
| Field | Description |
|---|---|
| Hobby Name | Enter the hobby/interest in English. |
| Hobby Name in Arabic | Enter the Arabic translation of the hobby (optional but recommended for bilingual platforms). |
Once completed, click Save to add the hobby to the list.
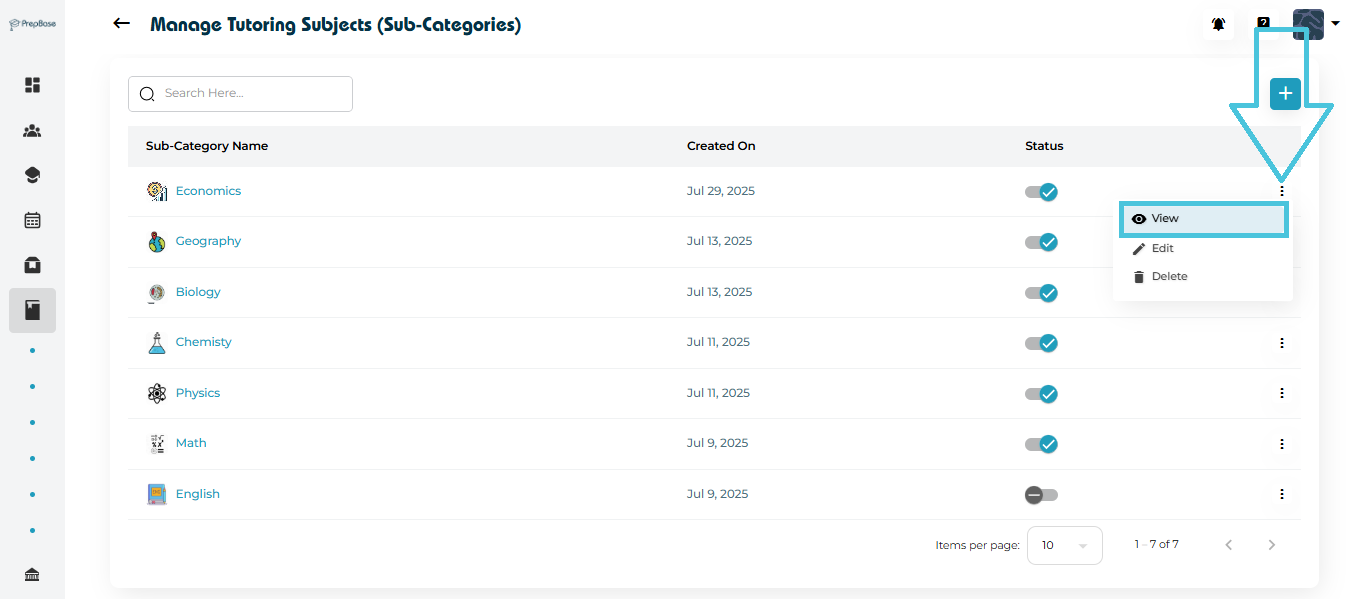
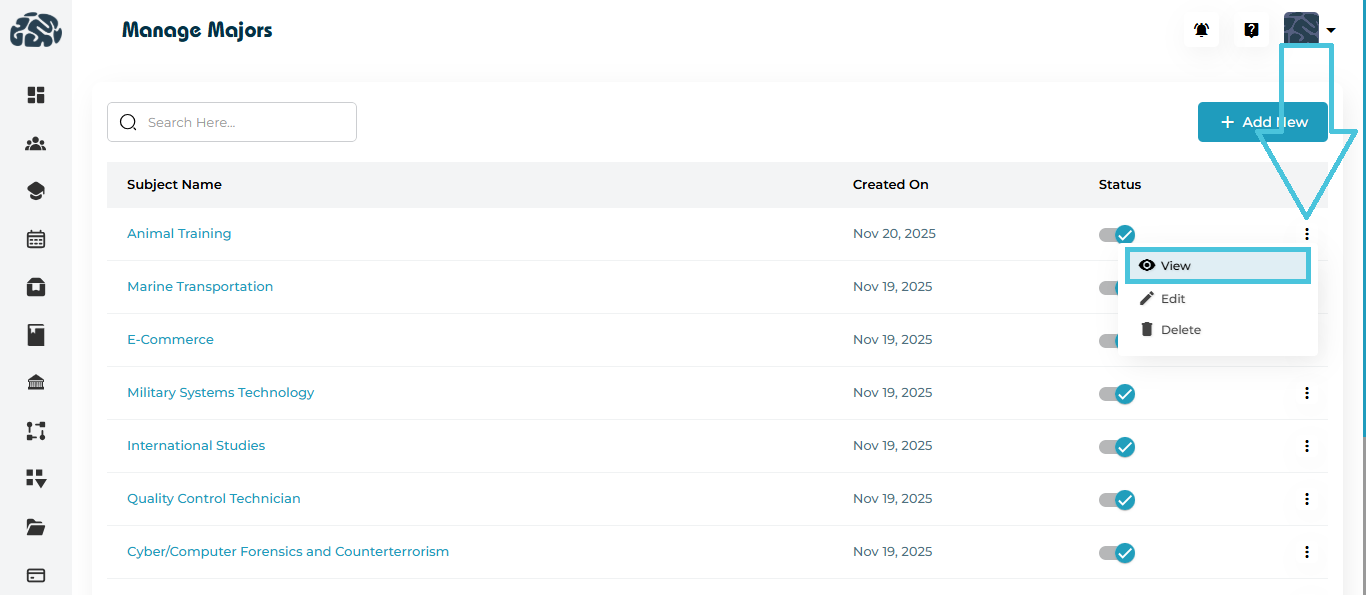
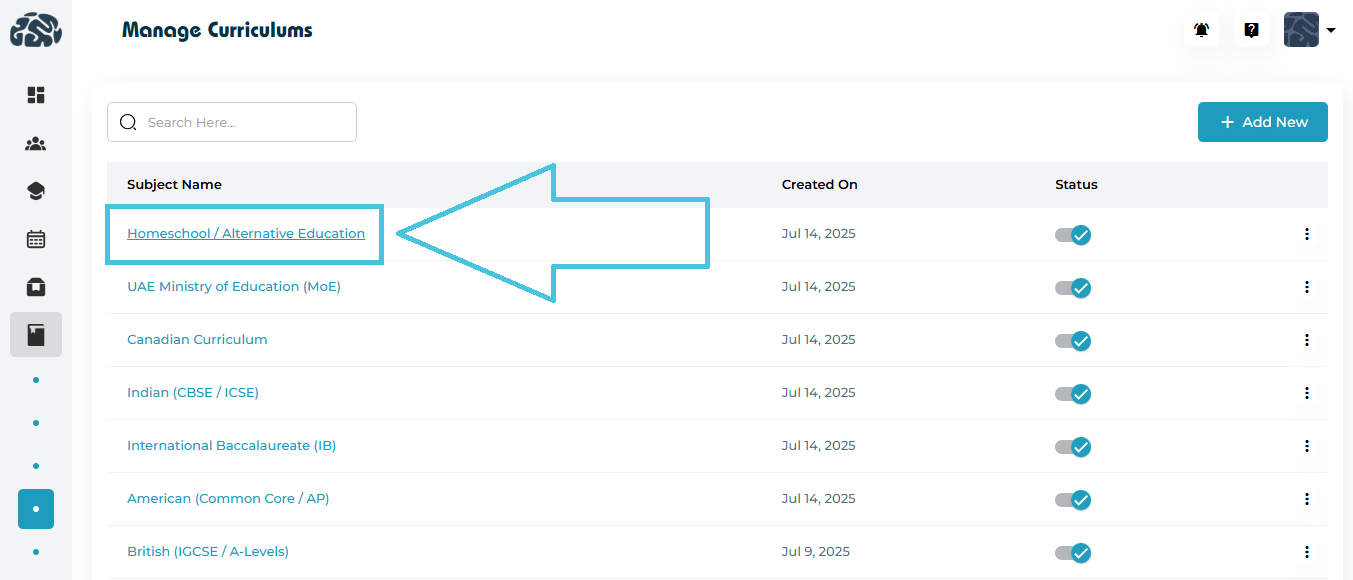
There are two methods to view hobby details:
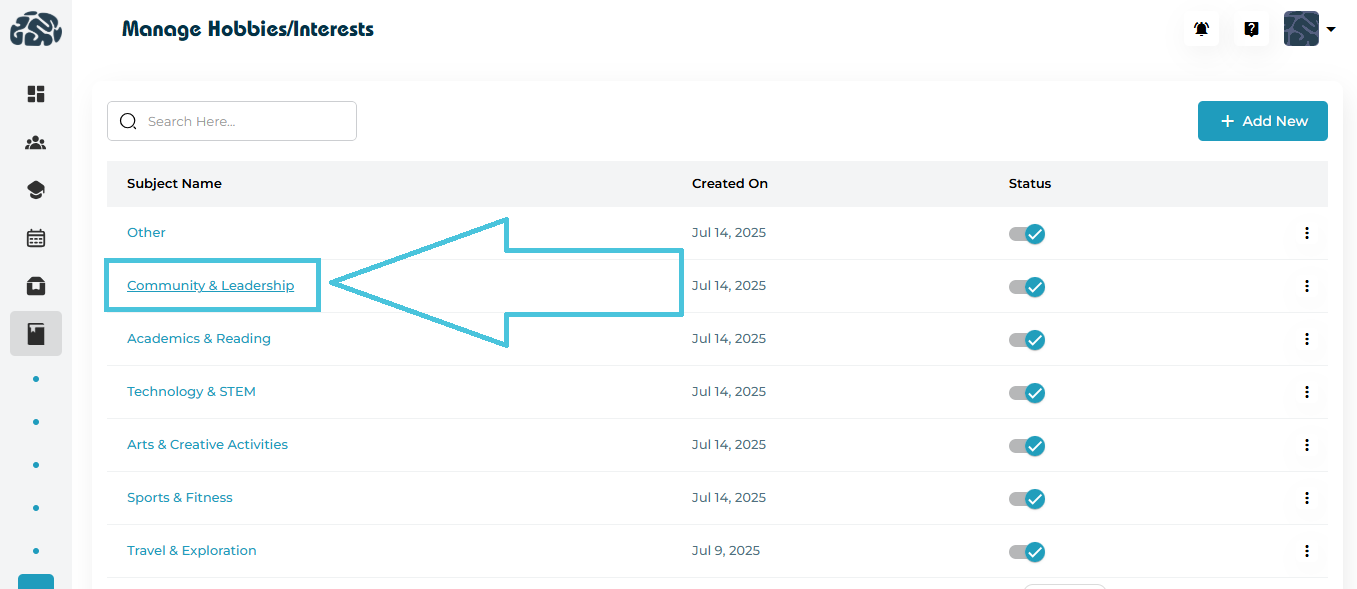
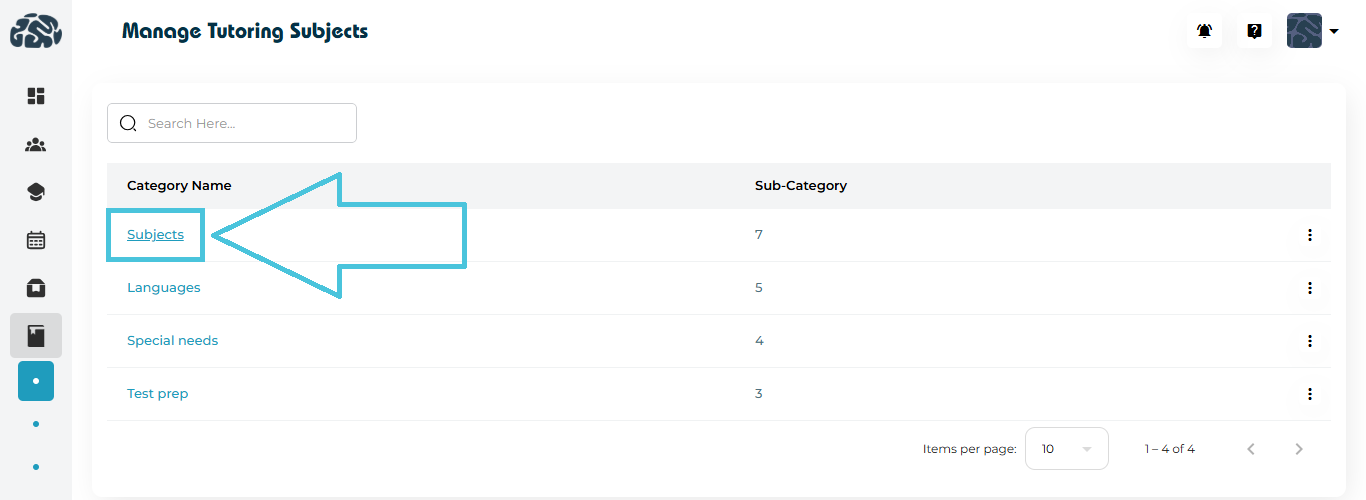
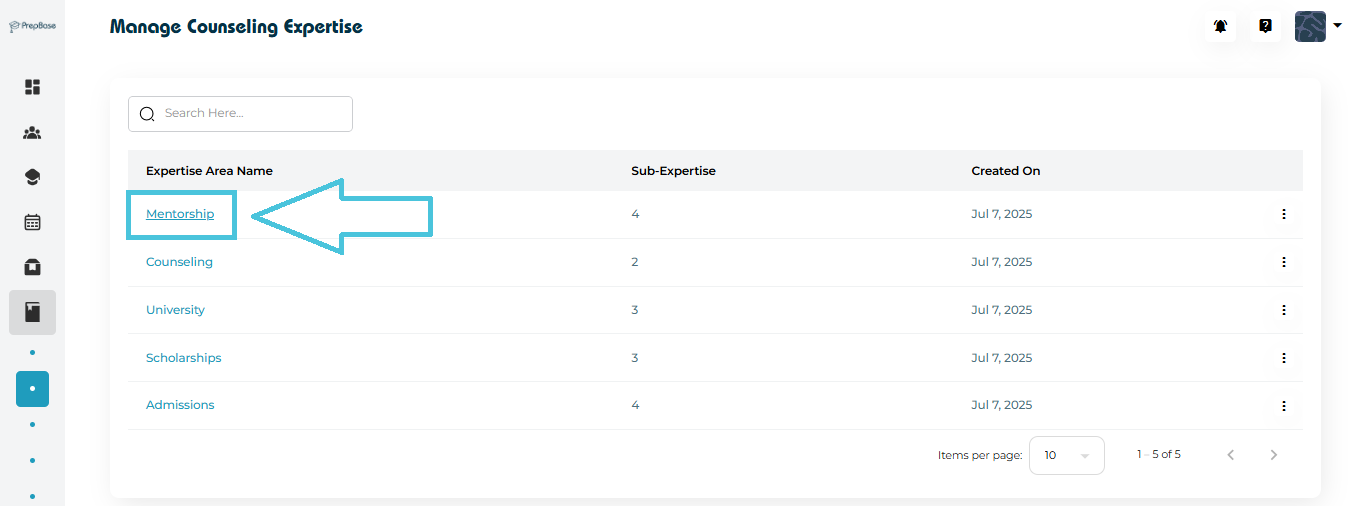
Method 1: Click the Hobby Name Directly
Simply click on any hobby listed under Subject Name to open its detailed view.
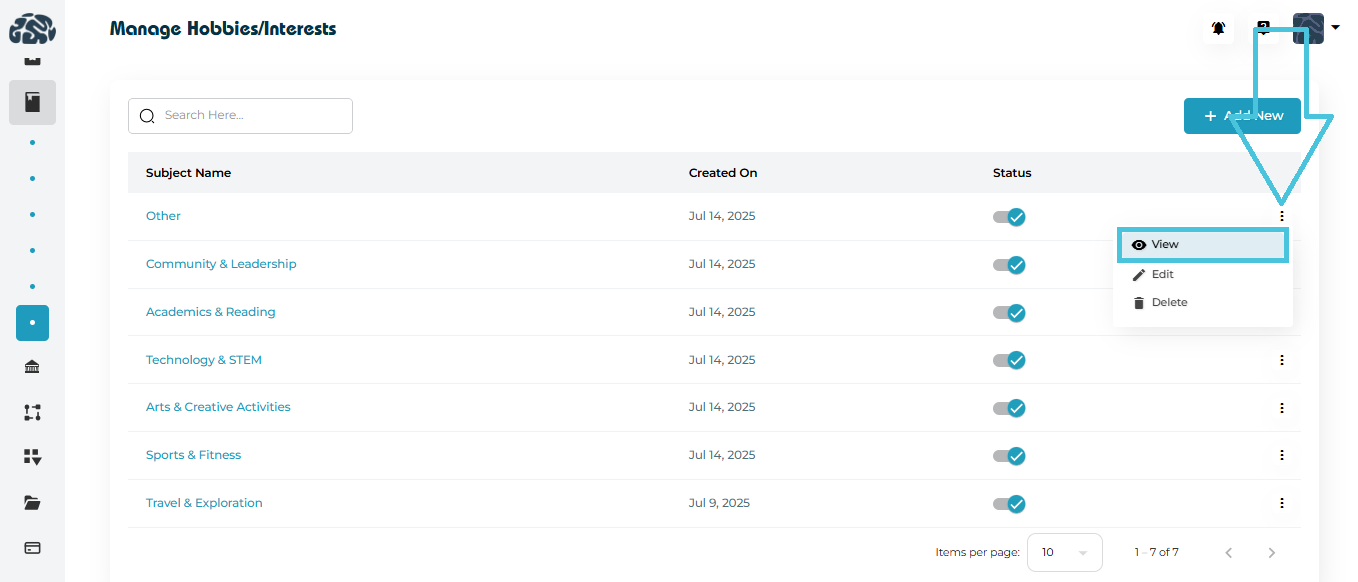
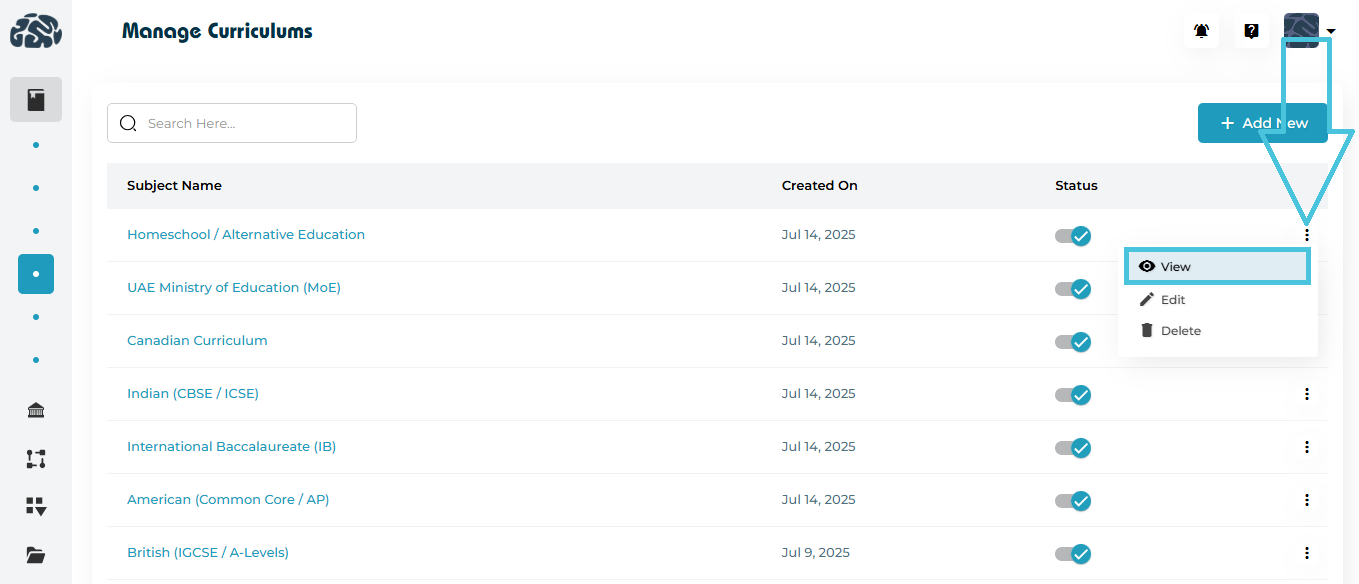
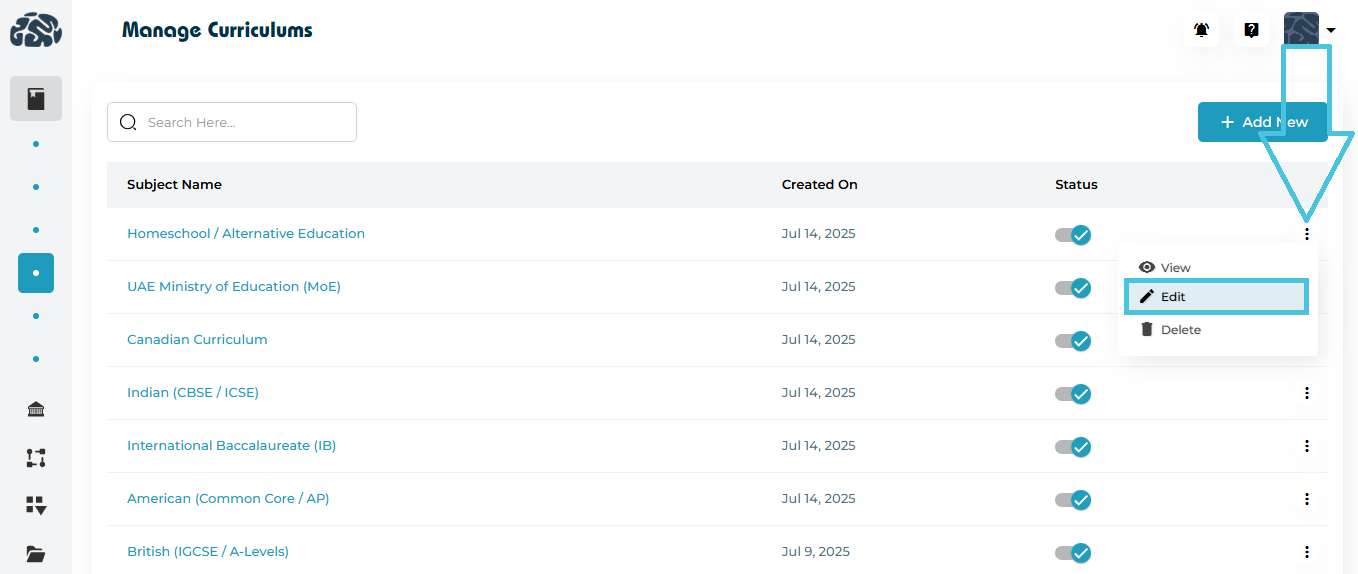
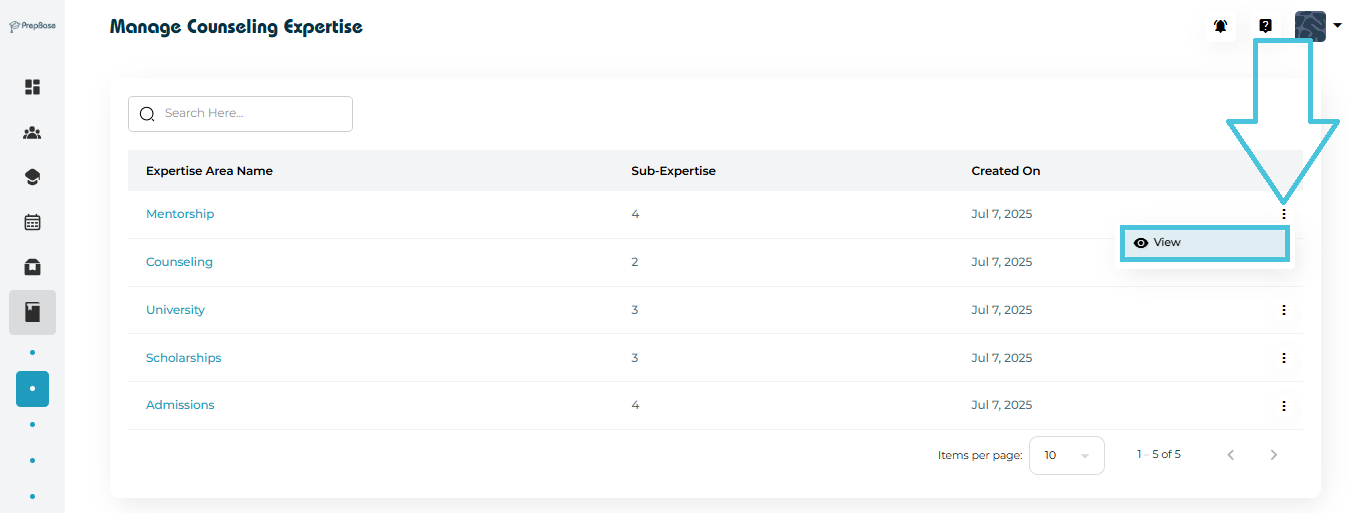
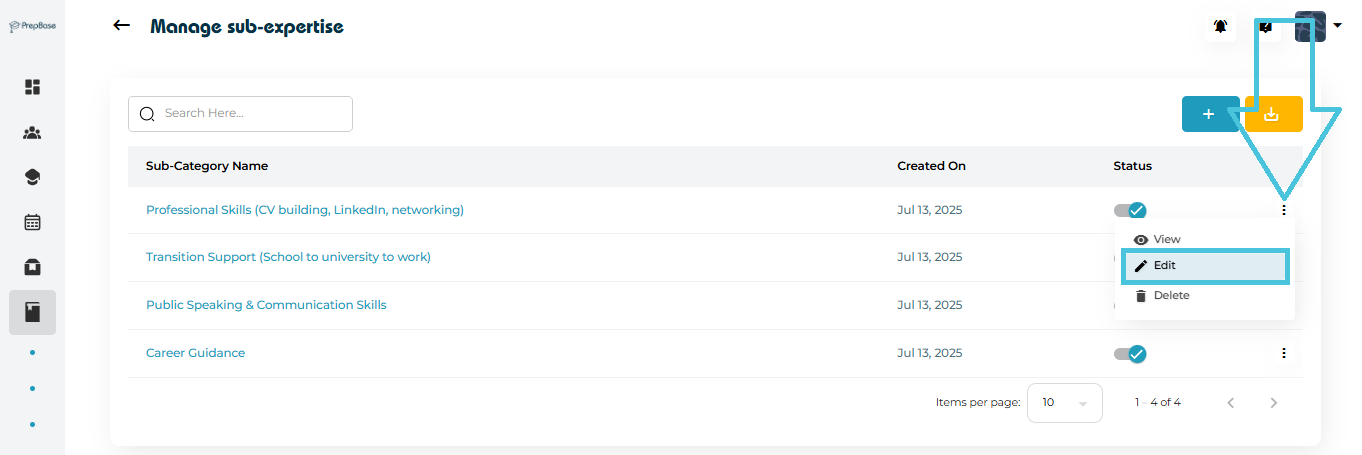
Method 2: Using the Three-Dot Menu
Locate the hobby row.
Click the three-dot menu on the right side.
Select View.
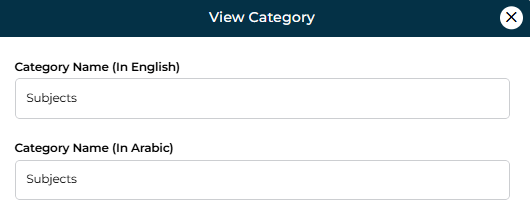
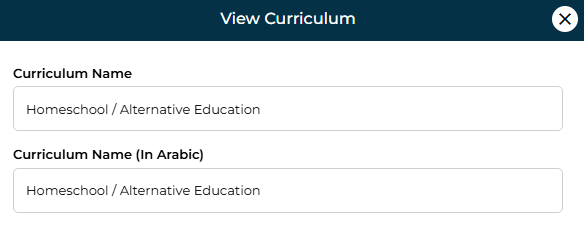
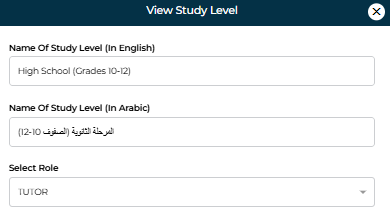
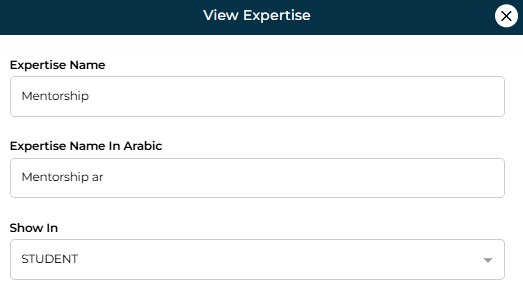
The View Hobby Form displays:
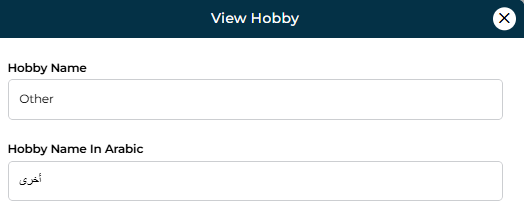
Hobby Name (English)
Hobby Name (Arabic)
This method ensures quick access without accidentally editing data.
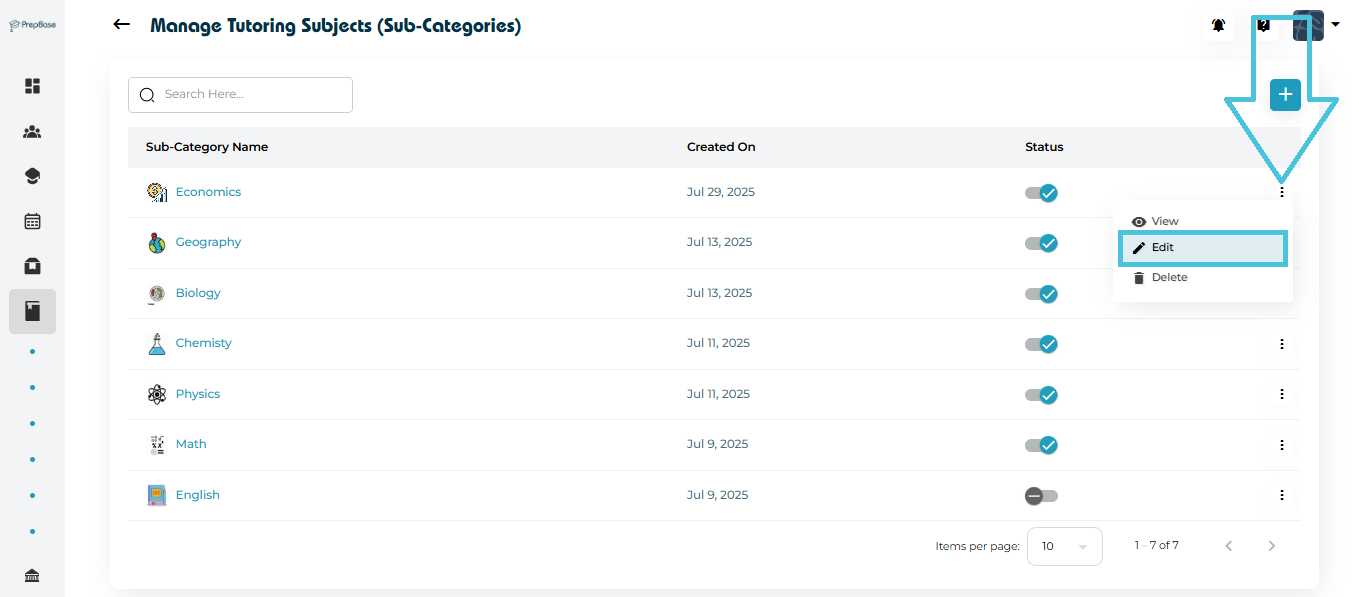
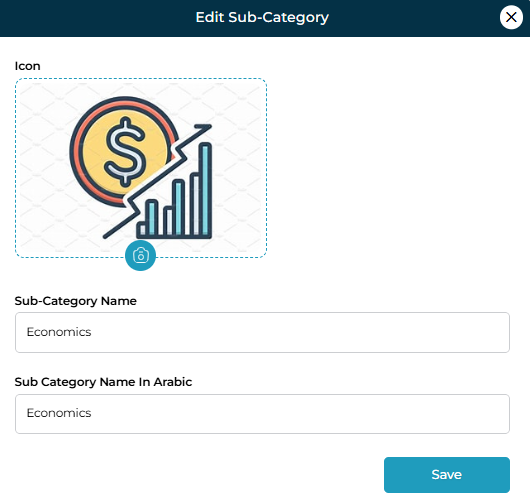
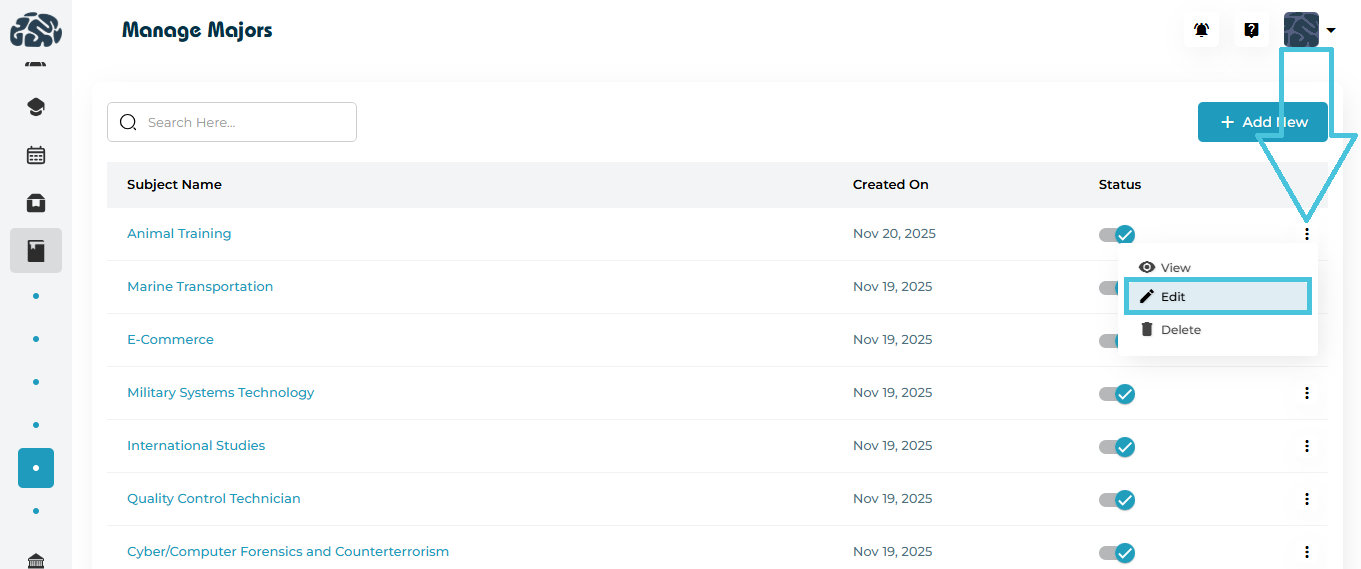
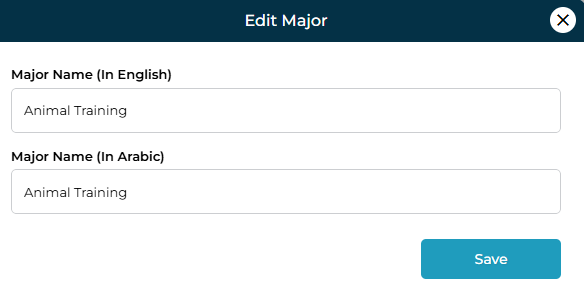
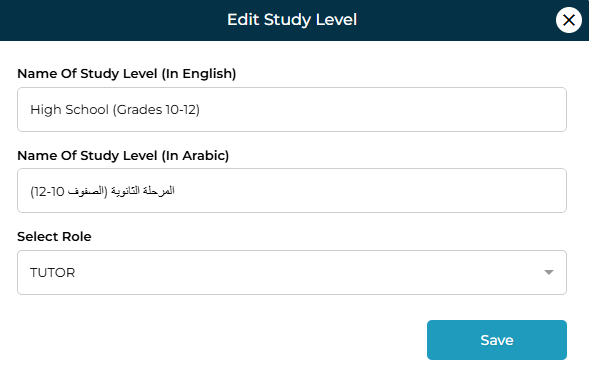
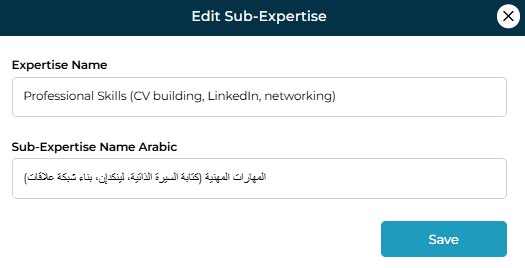
To update an existing hobby:
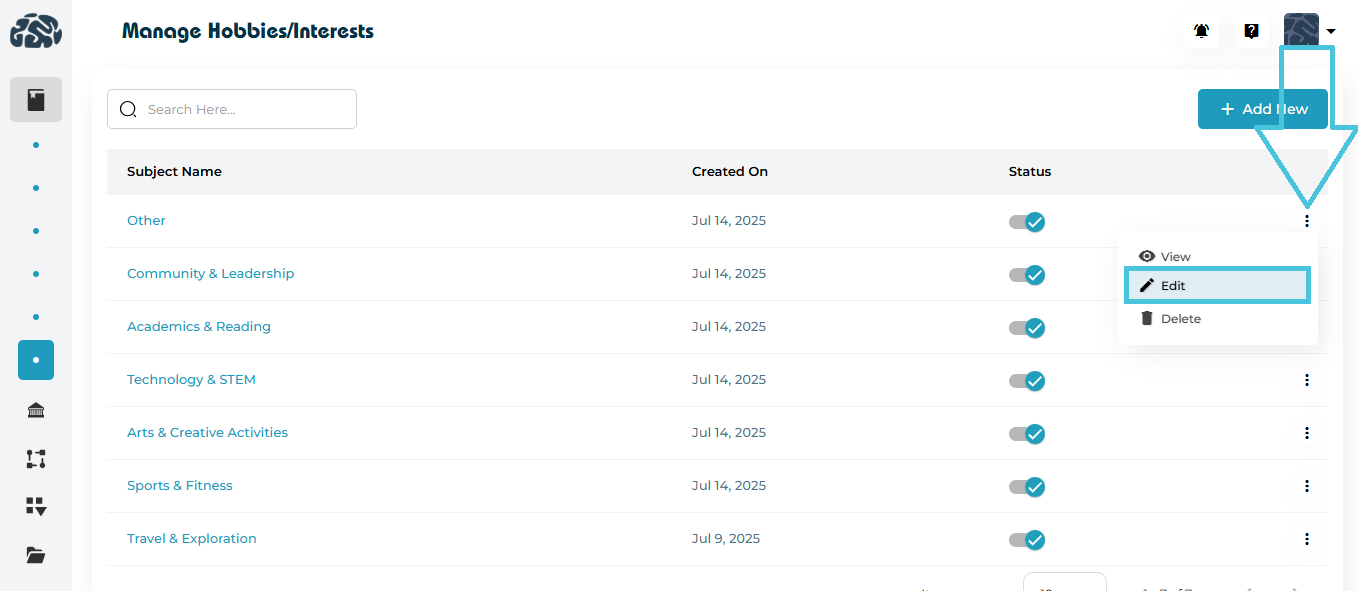
Open the three-dot menu next to the hobby.
Click Edit.
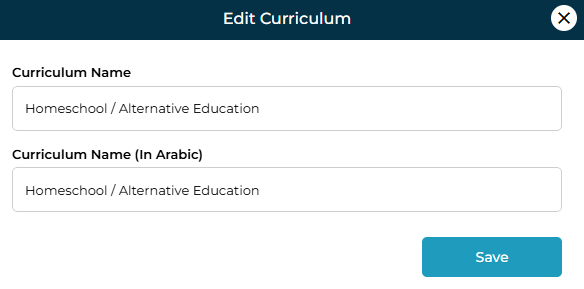
You can modify:
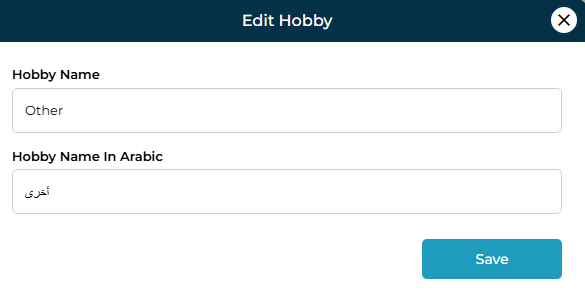
English Name
Arabic Name
Click Save to apply changes.
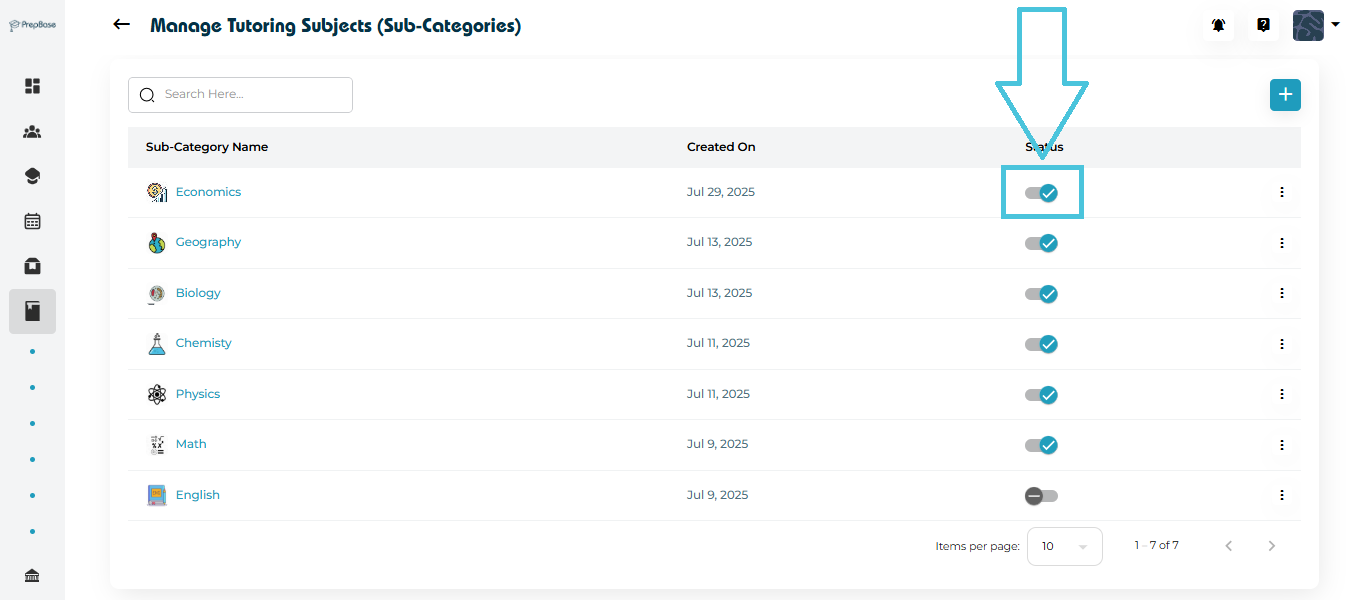
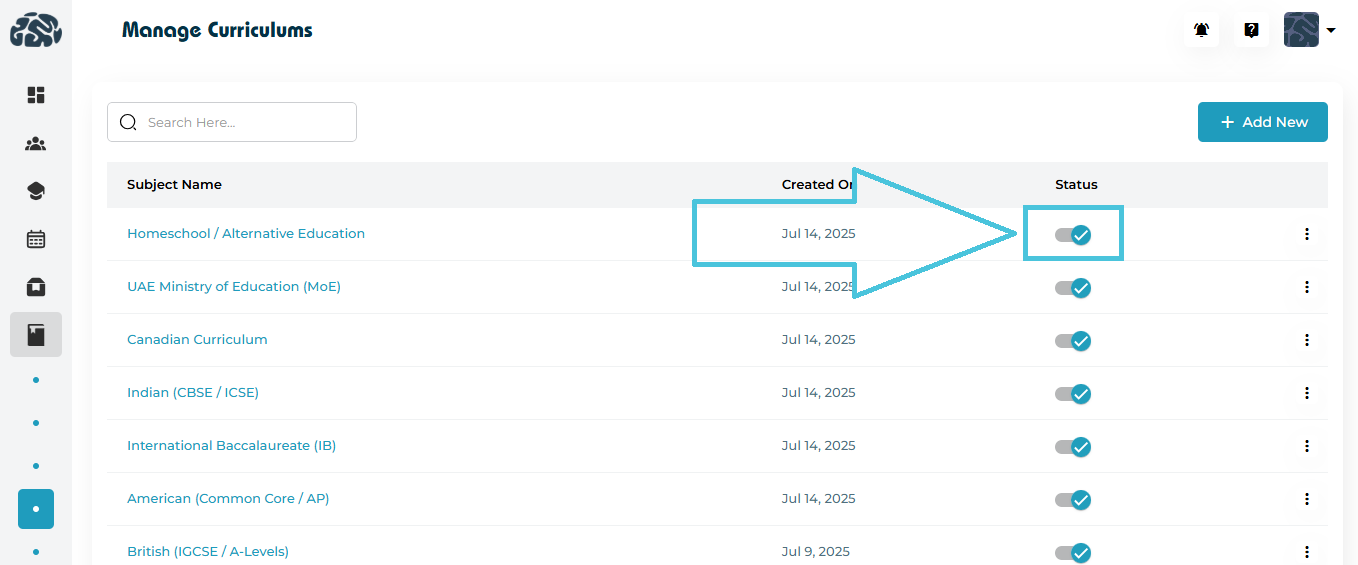
Each hobby row includes a status toggle.
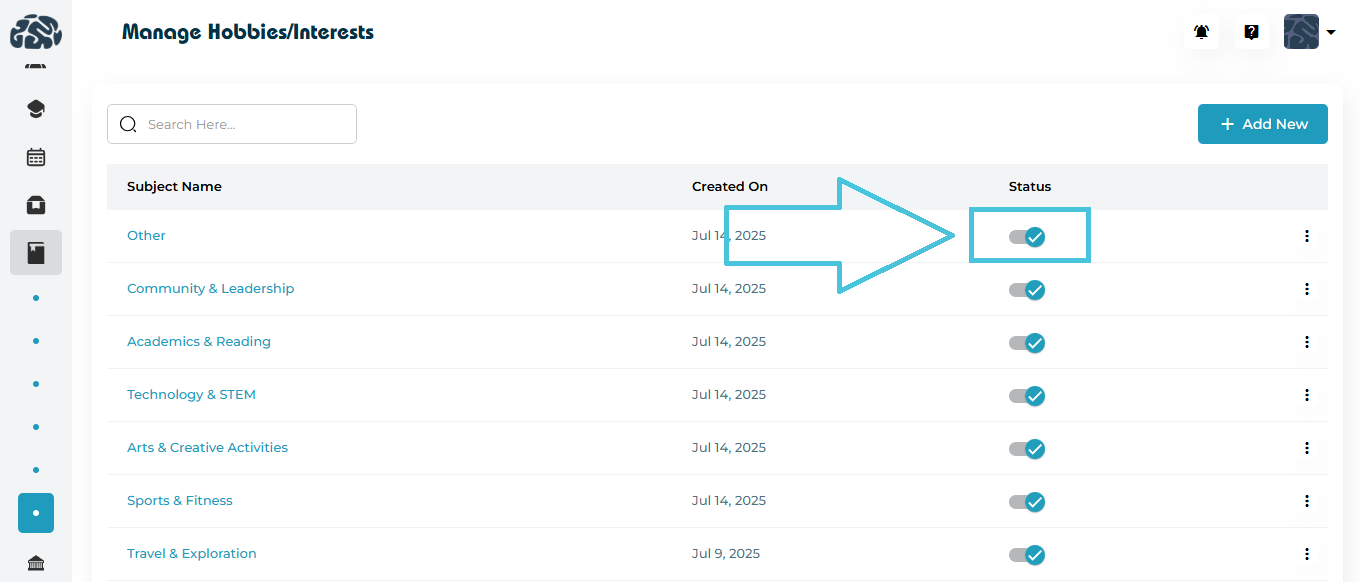
Blue checkmark → Active
Grey toggle → Inactive
Inactive hobbies will not appear in student-facing dropdowns but remain stored in the system.
Use this when a hobby is temporarily irrelevant or no longer offered.
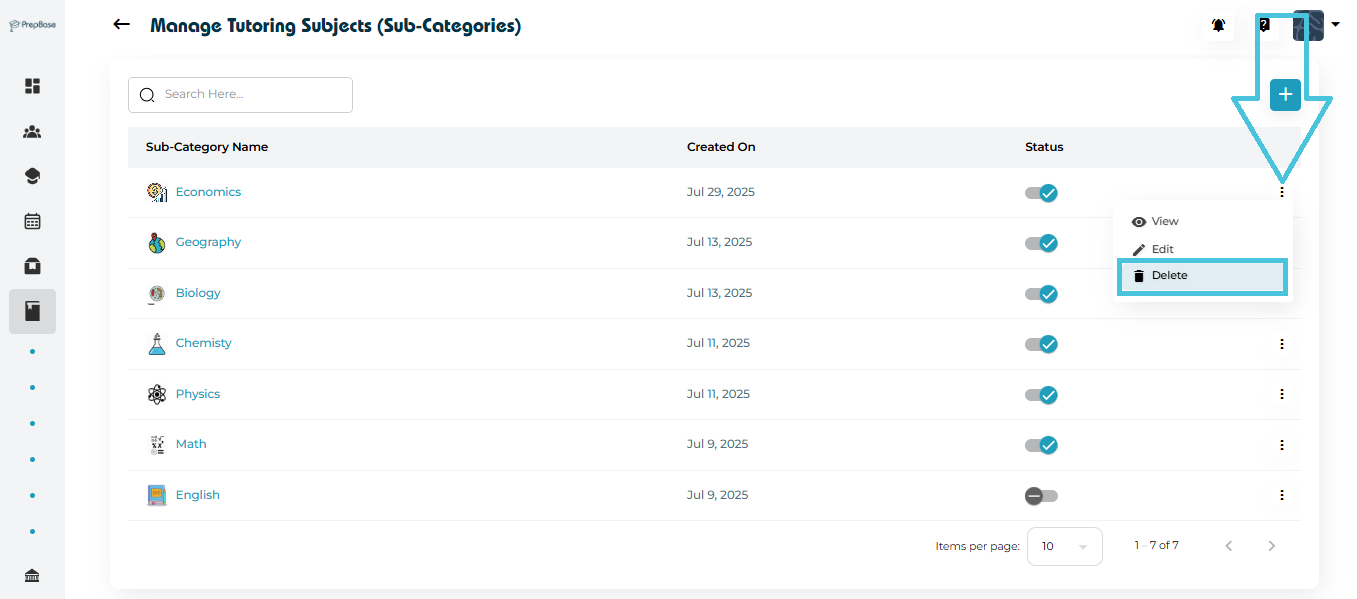
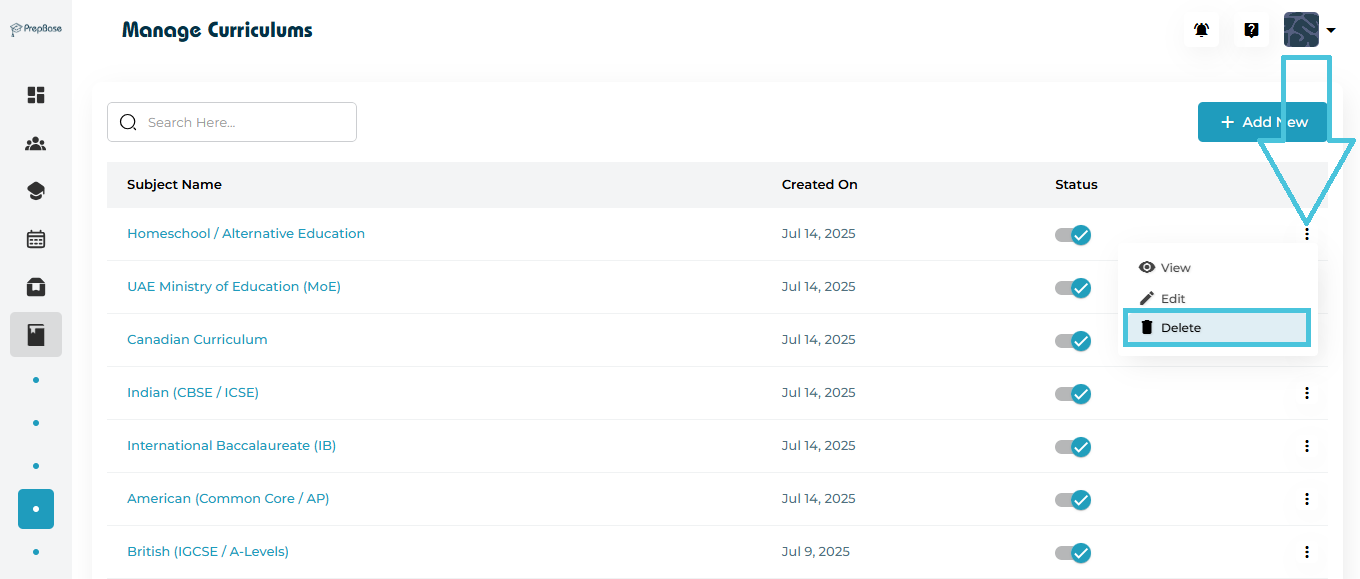
If a category is no longer needed:
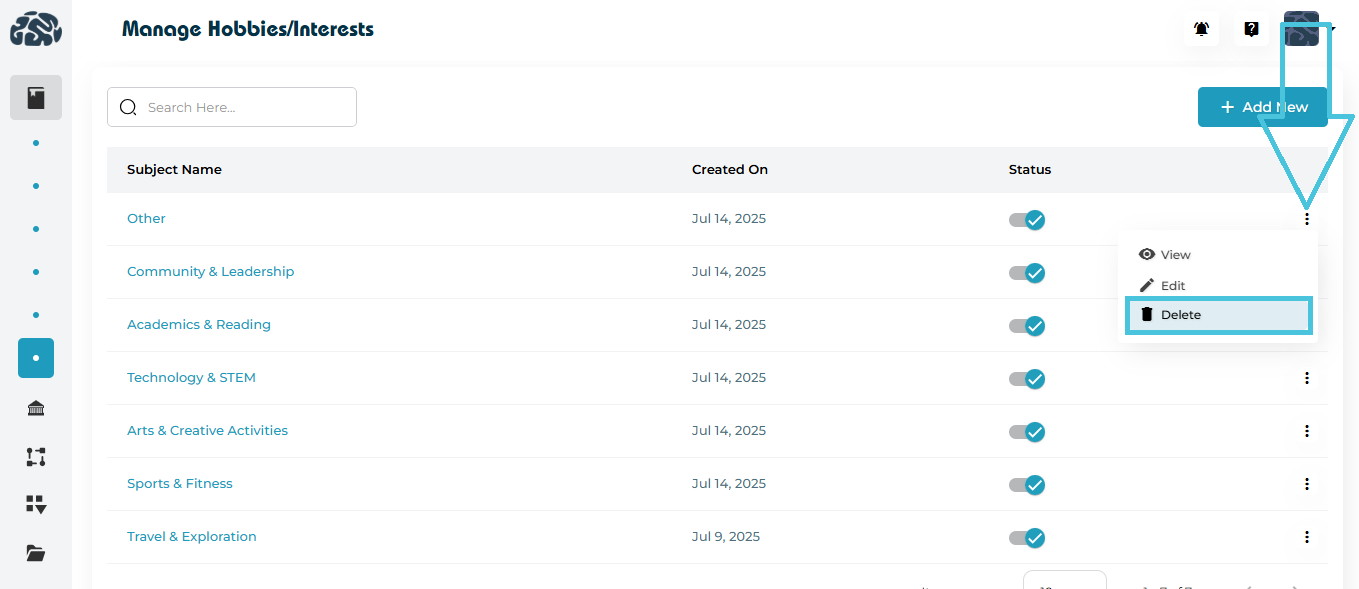
Click the three-dot menu.
Select Delete.
Confirm the deletion.
⚠️ Note: Deleted hobbies cannot be recovered unless re-created manually.


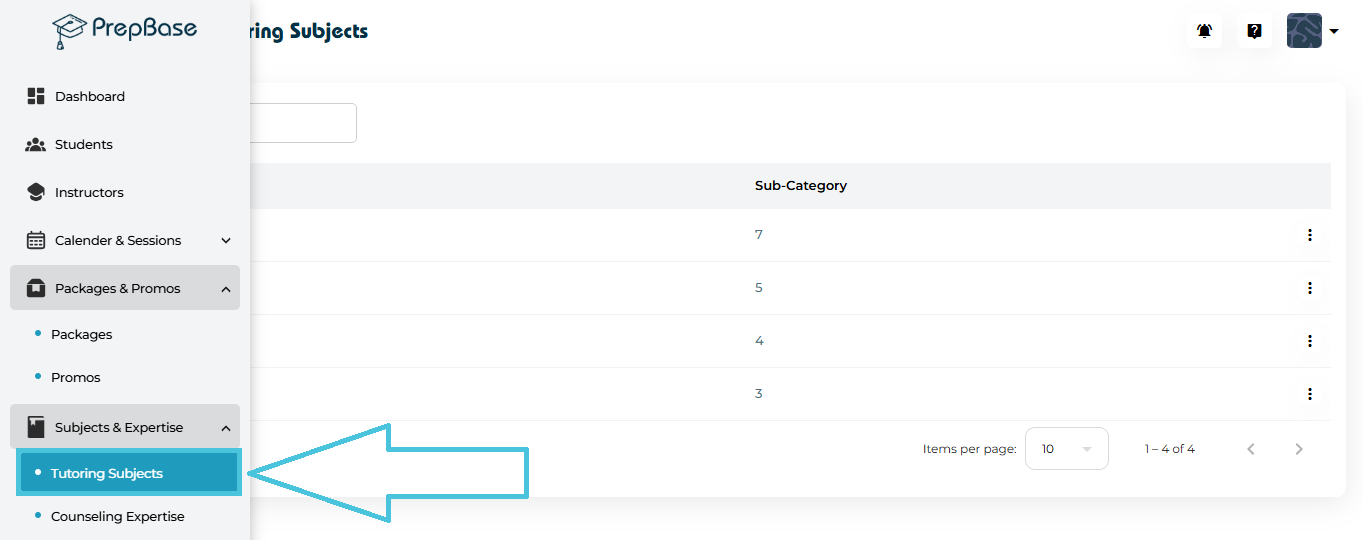
 To begin managing your tutoring subjects: