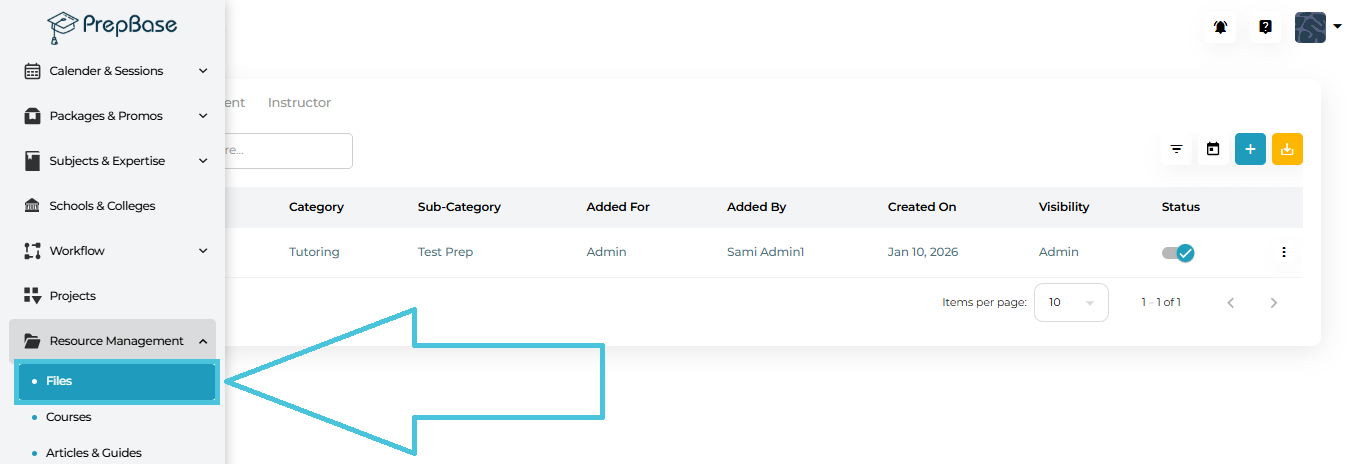
From the left navigation, go to Resource Management → Files.
You’ll land on the Manage Files page with three tabs at the top:
Admin
Student
Instructor
1) Admin Tab (Primary Control Center)
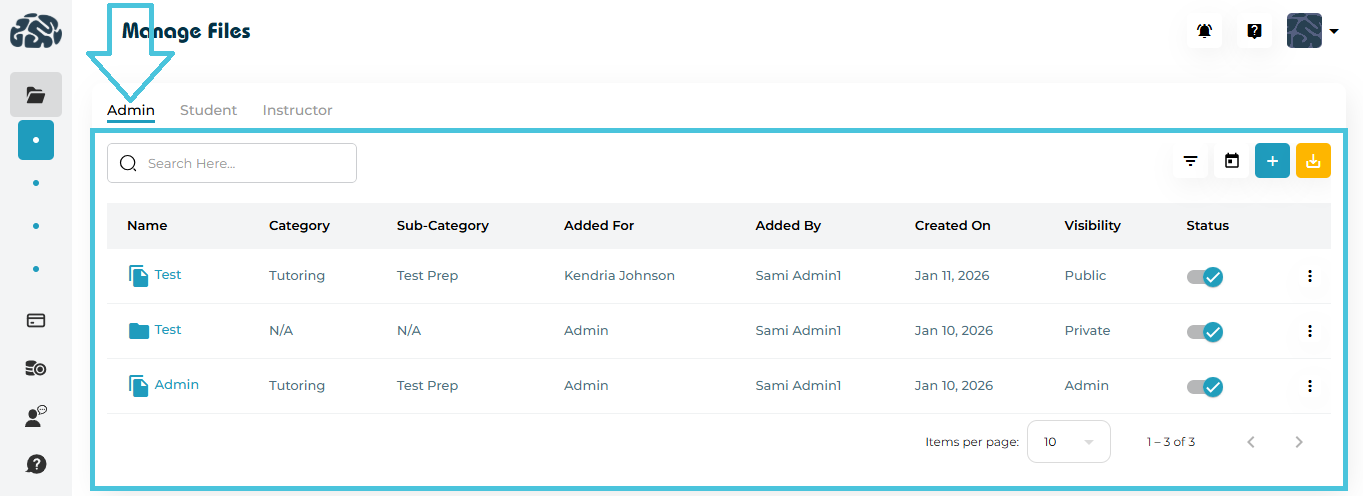
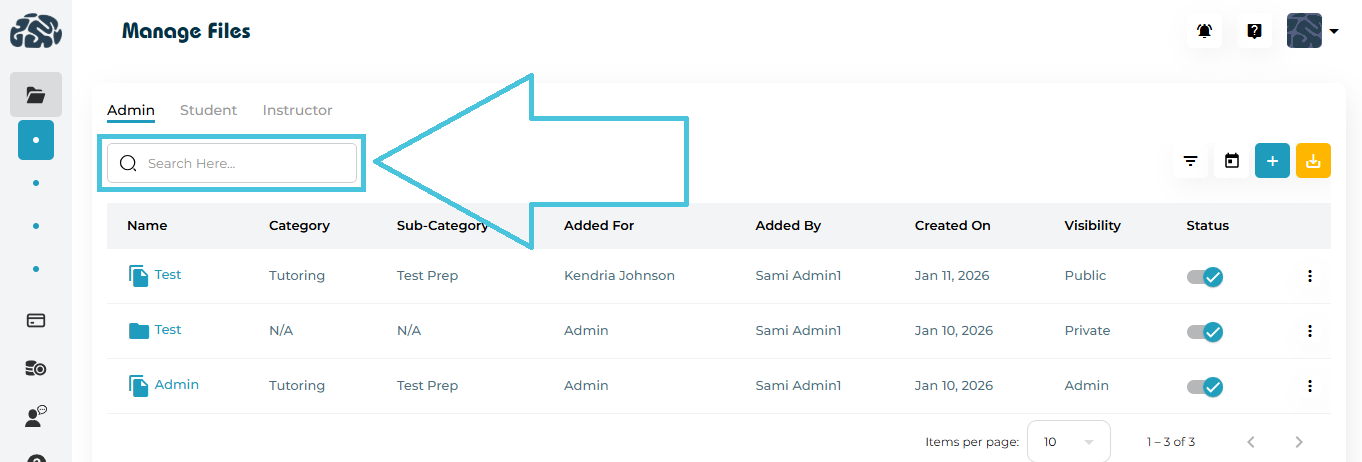
The Admin tab shows all the files that are uploaded by admin and is where all file and folder management happens.
Admins can:
Add new files
Create folders
Edit file or folder details
Set visibility and accessibility
Download files
Delete files or folders
Filter and export file data
Columns you’ll see:
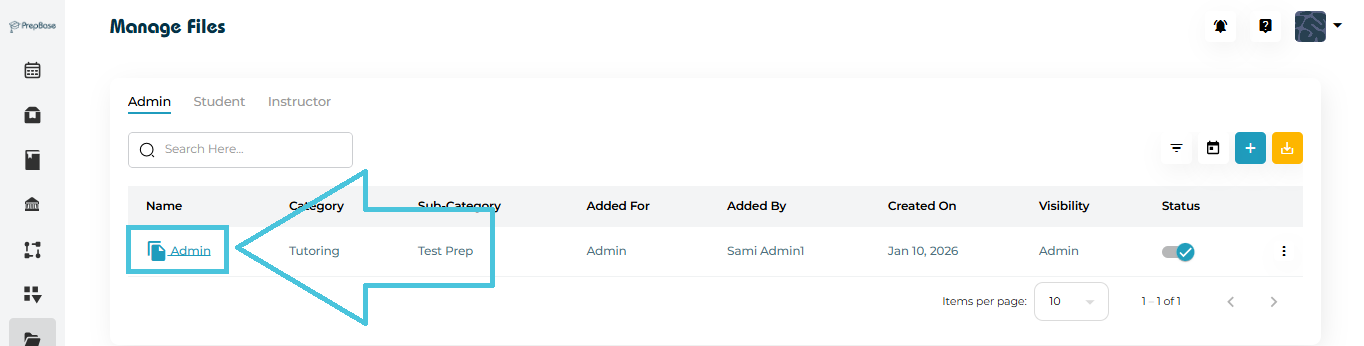
Name – File or folder name (clickable)
Category / Sub-Category – For structured organization
Added For – Admin / Student / Instructor
Added By – Who uploaded the file
Created On – Upload date
Visibility – Admin Only / Private / Public
Status – Active / Inactive
2) Student Tab
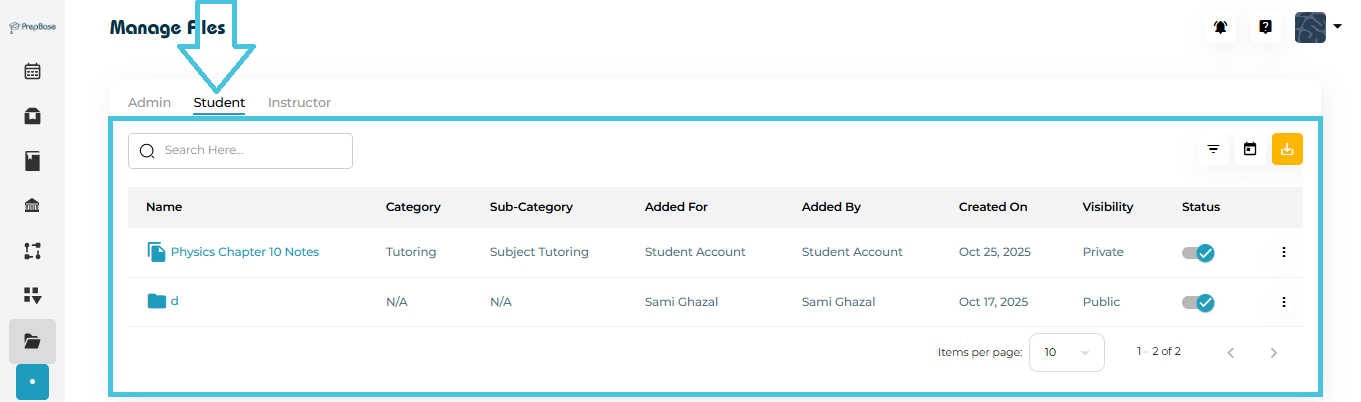
The Student tab shows:
Files uploaded by Students
Files uploaded by admin for Students
Admin can:
View files
Download files
Use filters and search
Admin cannot add or create folders from this tab.
3) Instructor Tab

The Instructor tab behaves the same as the Student tab:
Displays Files added by instructors or by admin for instructors
Supports viewing, downloading, and filtering
No add or folder creation permissions
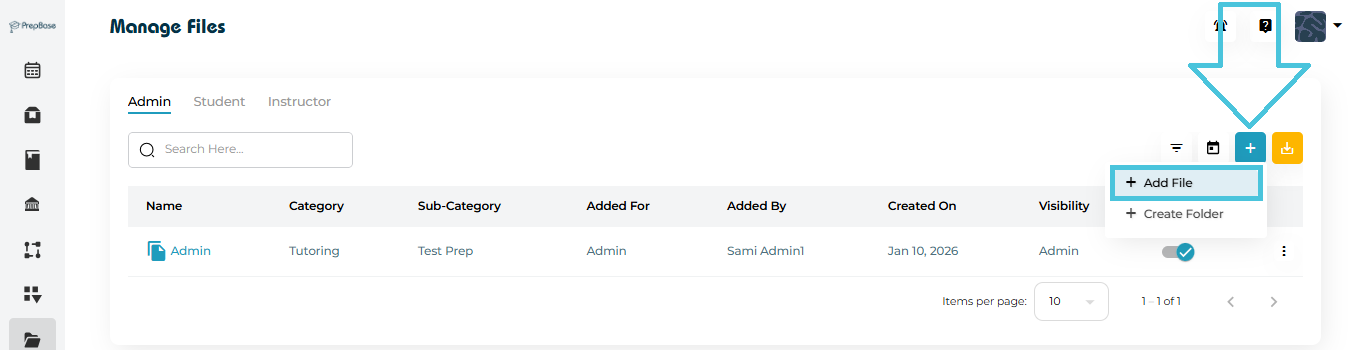
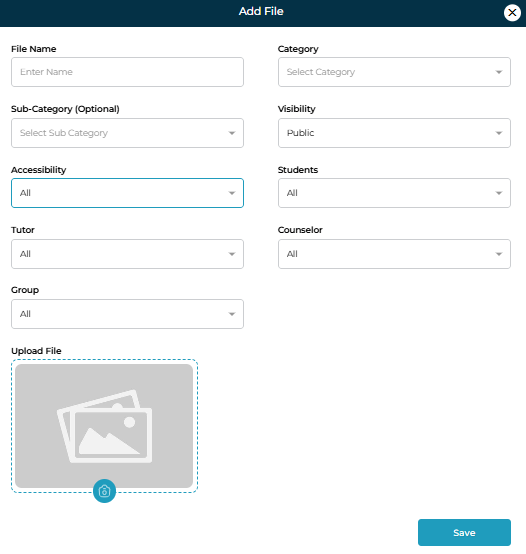
Adding a new file
Go to Admin Tab.
Click + Add File.
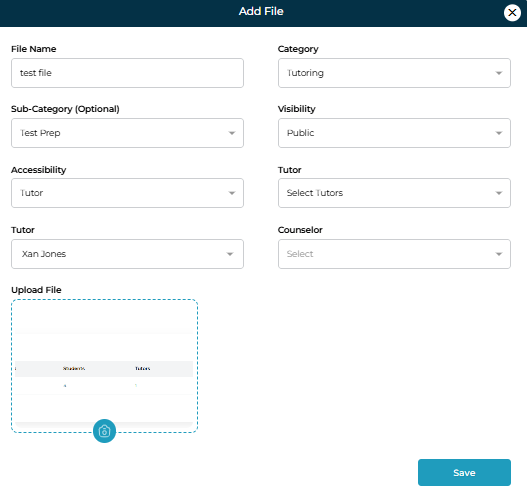
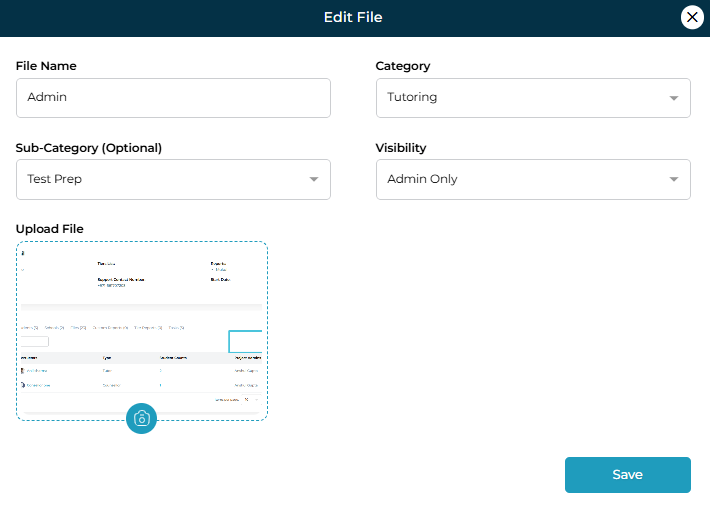
Fill in the form:
File Name
Category
Sub-Category (optional)
Visibility
Admin Only → Visible only to Admins
Public → Visible to the selected students and instructors linked to their profile and visible to the selected instrcutors and the students linked to their profile.
Private → Visible to the selected students and instructors only.
Accessibility
All Students / All Tutors / All Counselors
Or select specific users
Upload the file.
Click Save.
✅ The file immediately appears in the appropriate tabs based on visibility.
NOTE: In the case of students, Public files are visible to the student and all instrcutors linked to their profile. In the case of instructor, public files are visibile to them and all the students linked to their profile.
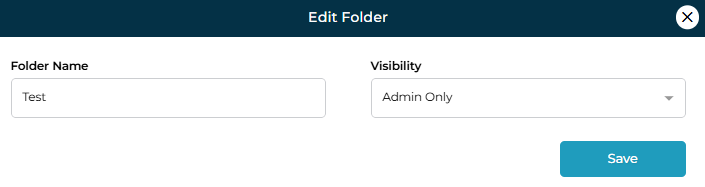
Creating a Folder
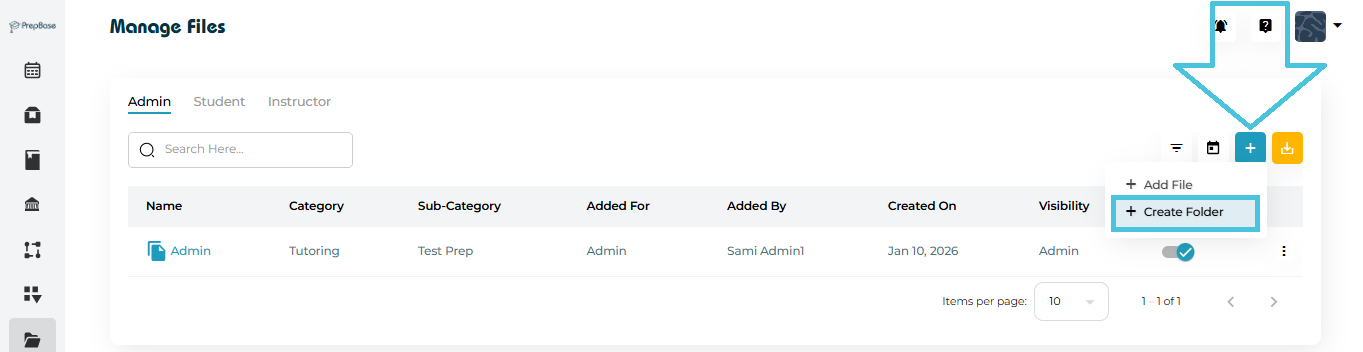
Click + Create Folder in the Admin tab.
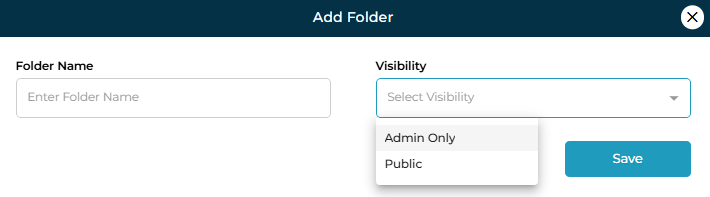
Enter:
Folder Name
Visibility (Admin Only / Public)
Save.
Folder Actions
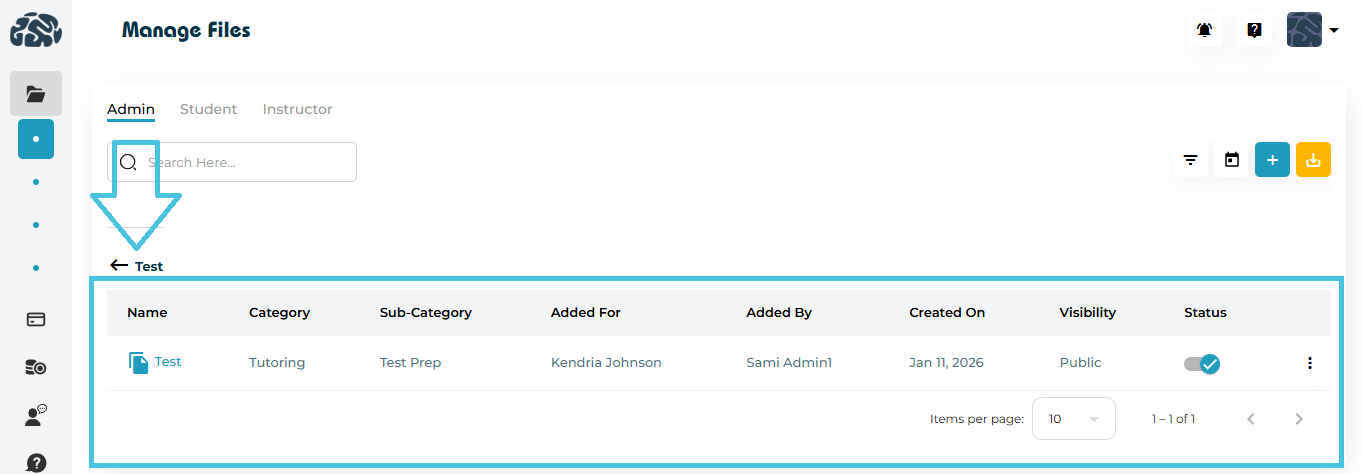
- View Files (open folder)
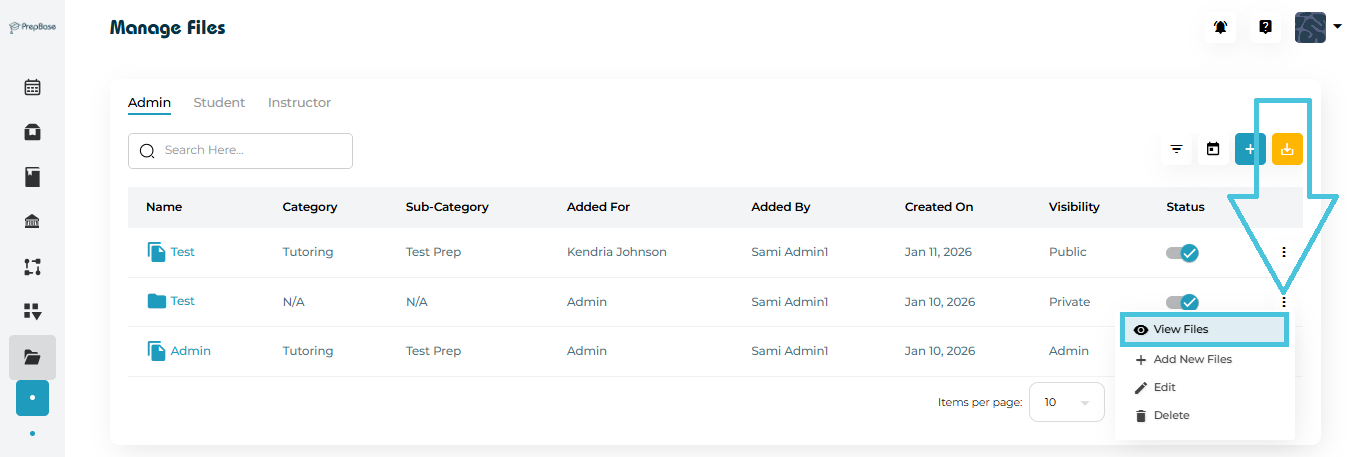
- View Files page in a folder
- Add New Files inside the folder
- Edit Folder
- Delete Folder

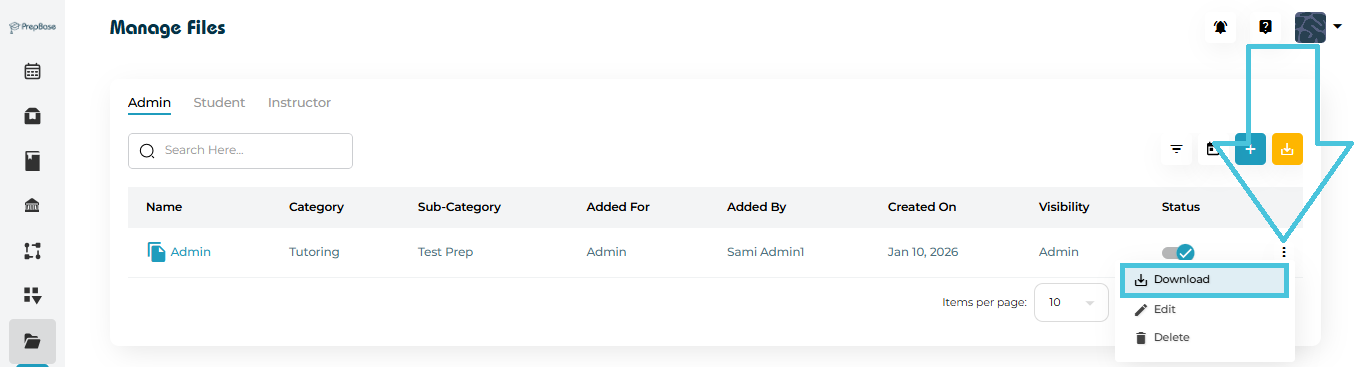
- Use the Download option from the three-dot menu to save the file locally.
Click a file name to open it in a new browser tab.
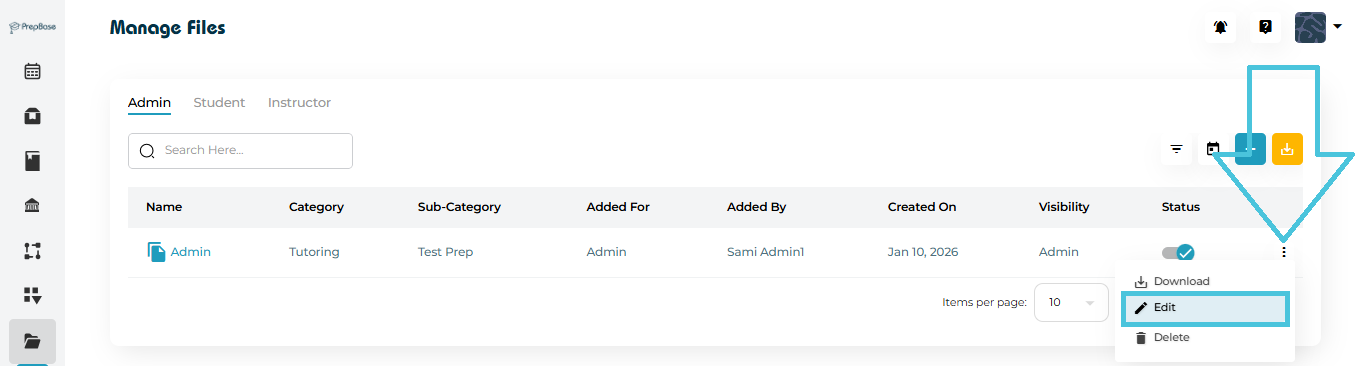
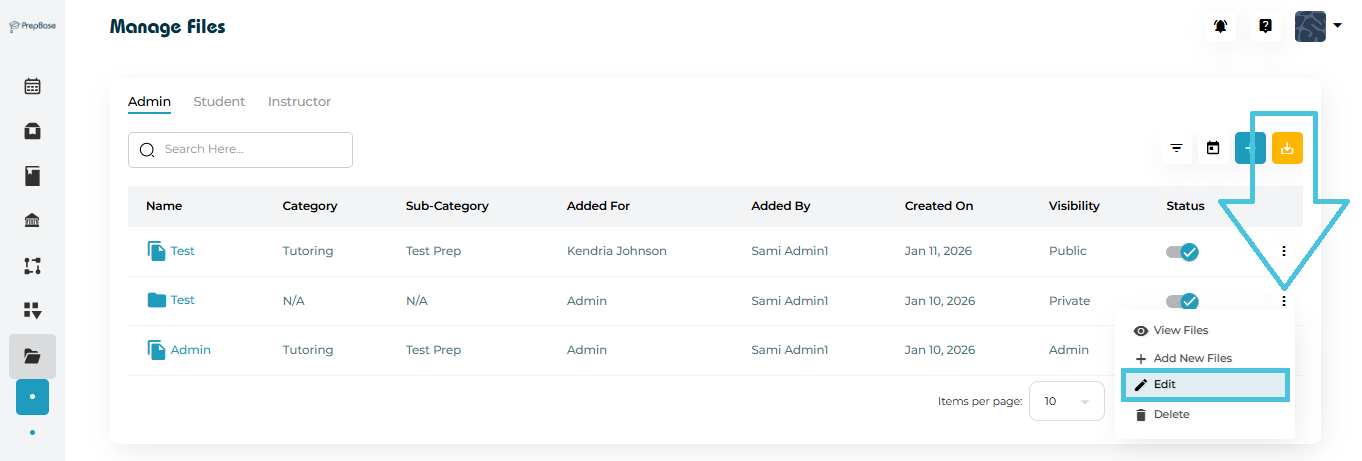
Admins can update:
File name
Category / Sub-category
Visibility & accessibility
Replace uploaded file

Use the Delete option from the three-dot menu.
Deleting a folder removes all files inside it.
This action is permanent.
Search
- Use the Search bar to quickly locate files or folders.
Filters
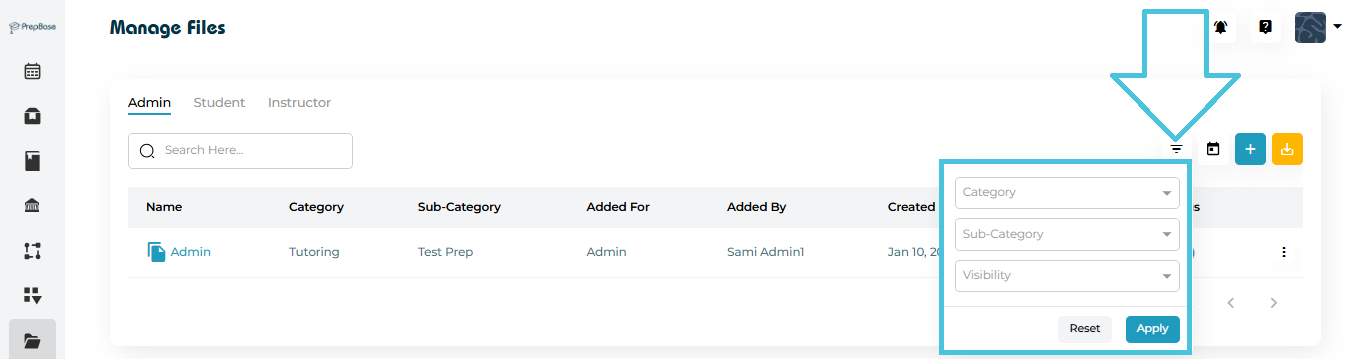
Filter by:
Category
Sub-Category
Visibility
Added By
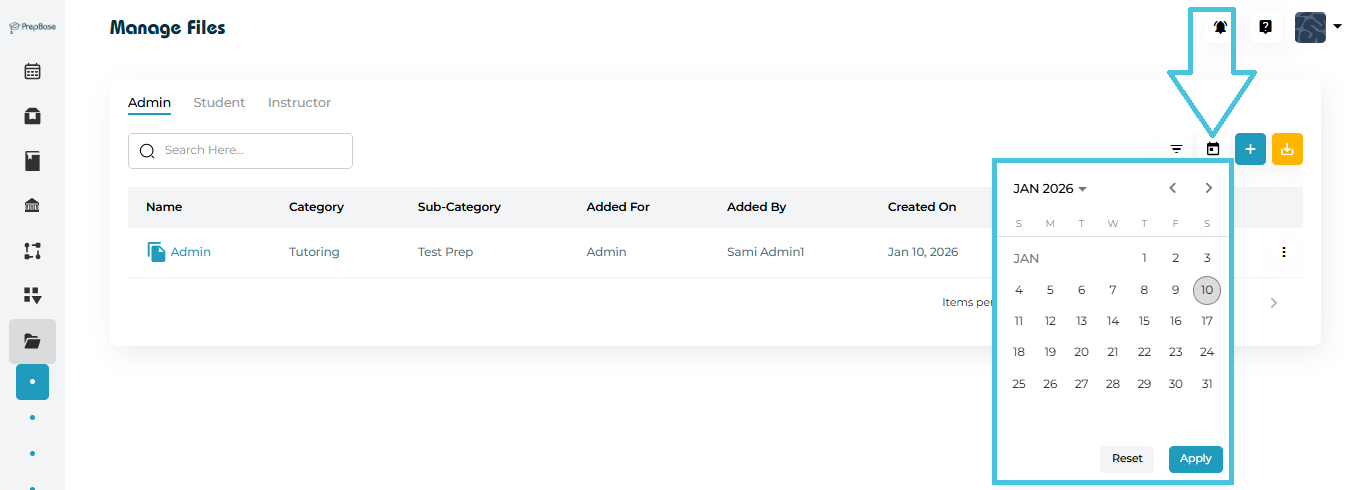
Date (via calendar picker)
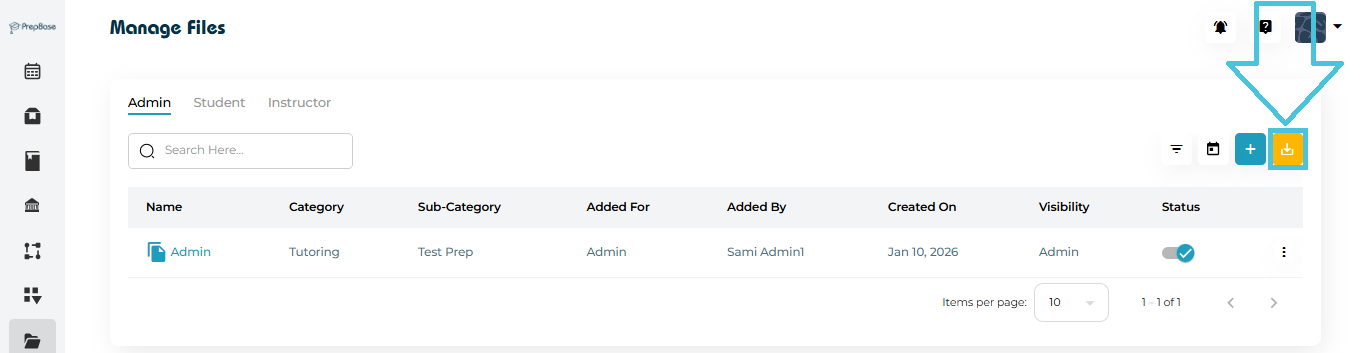
Export
- Admins can export file data to CSV for reporting or audits.