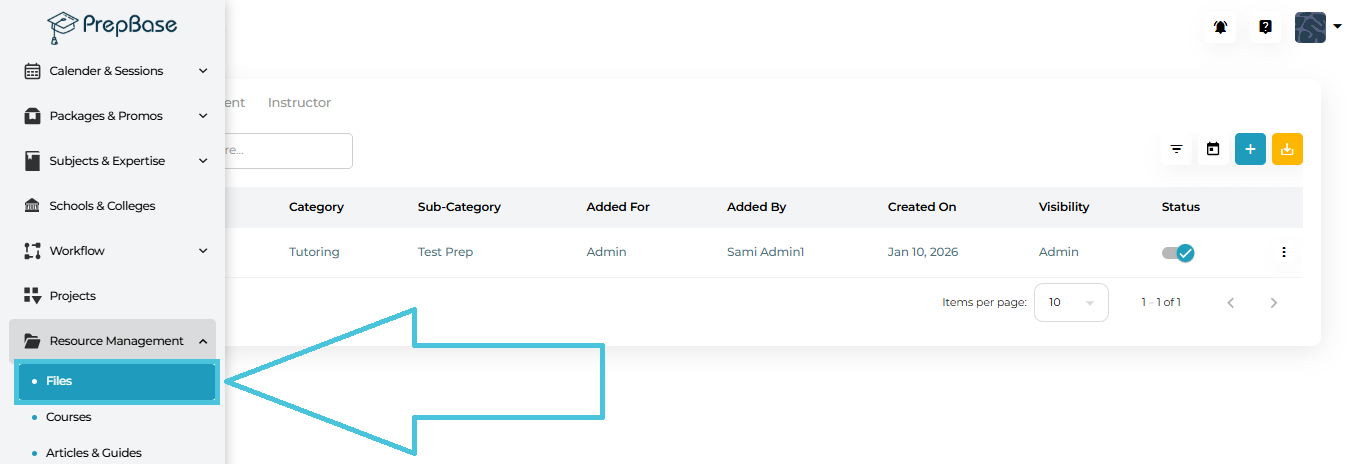
From the left navigation, go to Resource Management → Files.
You’ll land on the Manage Files page with three tabs at the top:
Admin
Student
Instructor
1) Admin Tab (Primary Control Center)
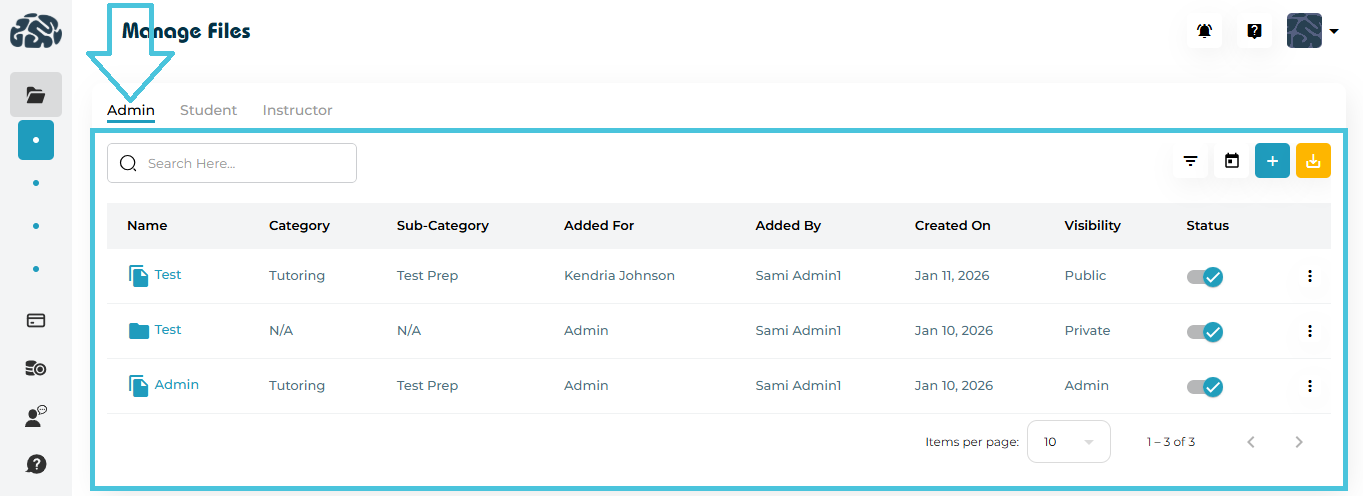
The Admin tab is where all file and folder management happens.
Admins can:
Add new files
Create folders
Edit file or folder details
Set visibility and accessibility
Download files
Delete files or folders
Filter and export file data
Columns you’ll see:
Name – File or folder name (clickable)
Category / Sub-Category – For structured organization
Added For – Admin / Student / Instructor
Added By – Who uploaded the file
Created On – Upload date
Visibility – Admin Only or Public
Status – Active / Inactive
2) Student Tab (Read-Only, Public Files)
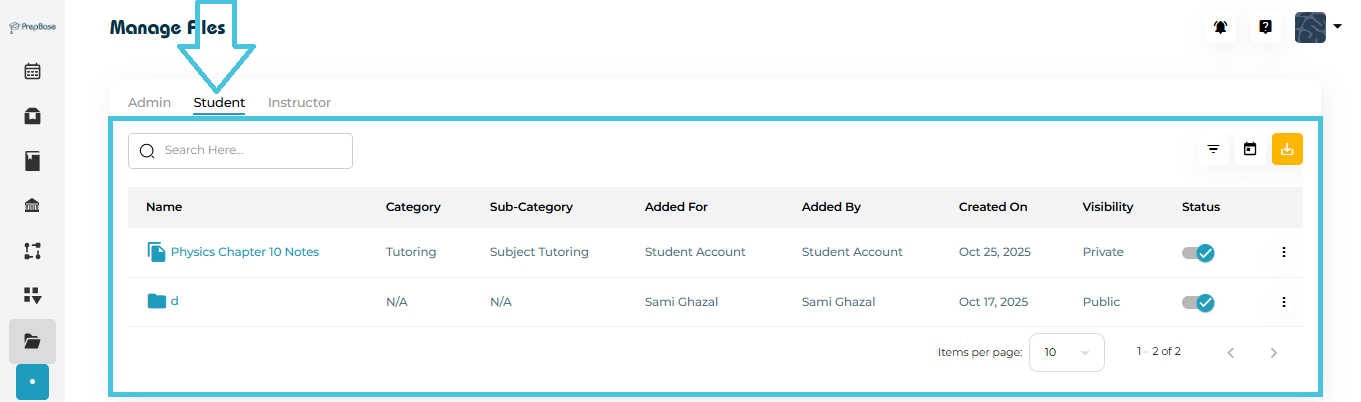
The Student tab shows:
Files uploaded by Admins, Students, or Instructors
Only files marked as Public
Students can:
View files
Download files
Use filters and search
Students cannot add or create folders from this tab.
3) Instructor Tab (Read-Only, Public Files)

Displays Public files only
Supports viewing, downloading, and filtering
No add or folder creation permissions
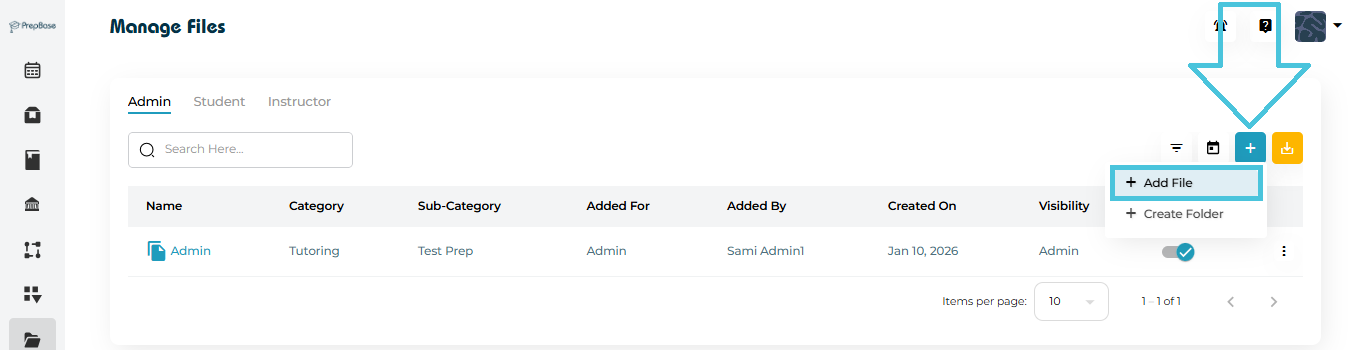
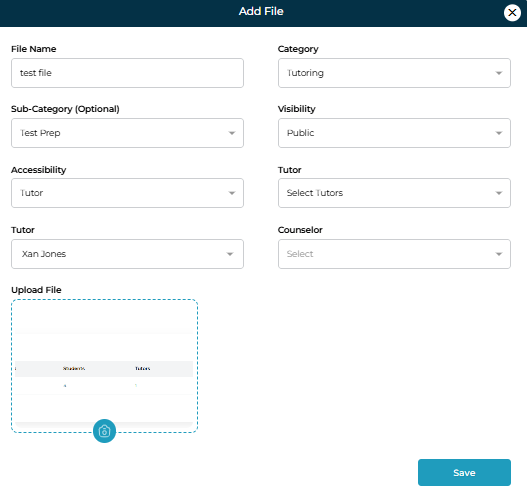
Adding a new file
Go to Admin → Files.
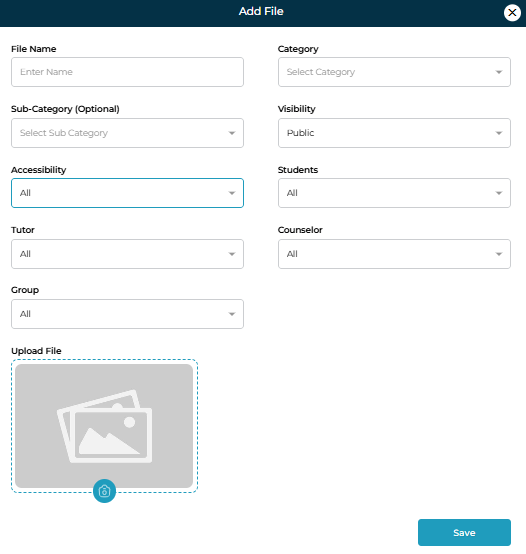
Click + Add File.
Fill in the form:
File Name
Category
Sub-Category (optional)
Visibility
Admin Only → Visible only to Admins
Public → Visible in Student & Instructor tabs
Accessibility (shown when Visibility = Public)
All Students / All Tutors / All Counselors
Or select specific users
Upload the file.
Click Save.
✅ The file immediately appears in the appropriate tabs based on visibility.
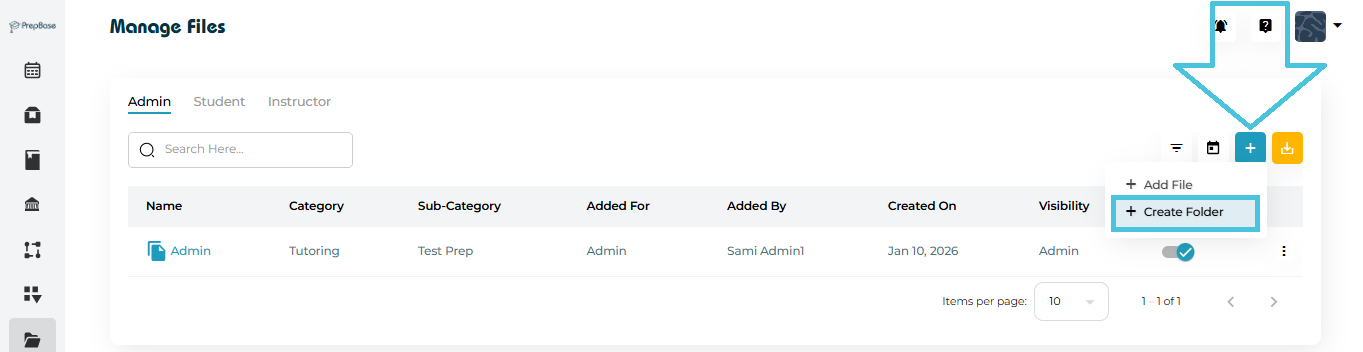
Create a Folder
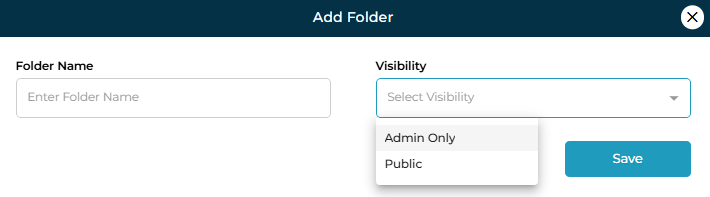
Click + Create Folder in the Admin tab.
Enter:
Folder Name
Visibility (Admin Only / Public)
Save.
Folder Actions
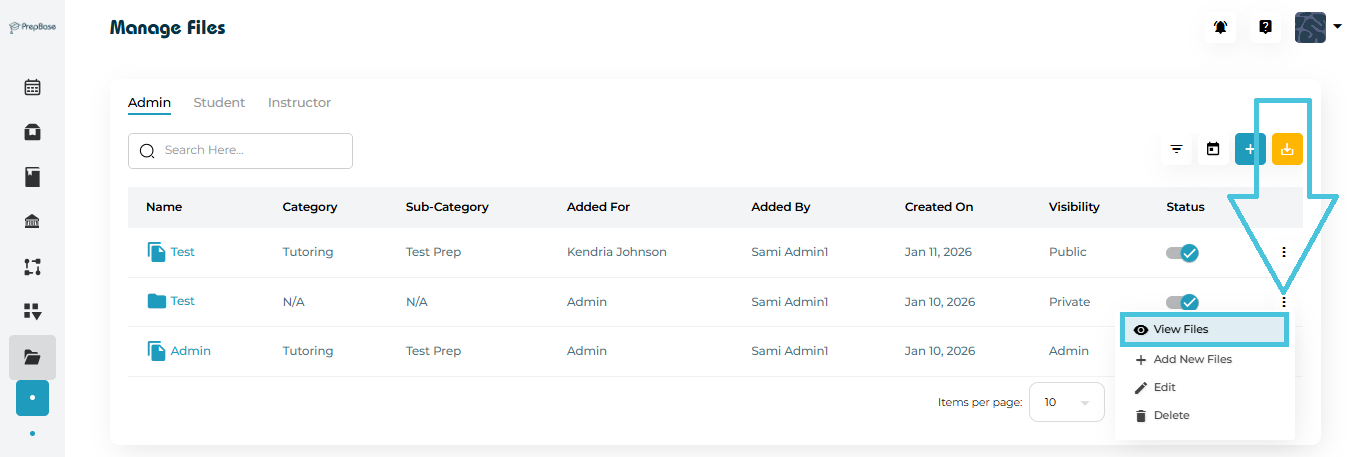
View Files (open folder)
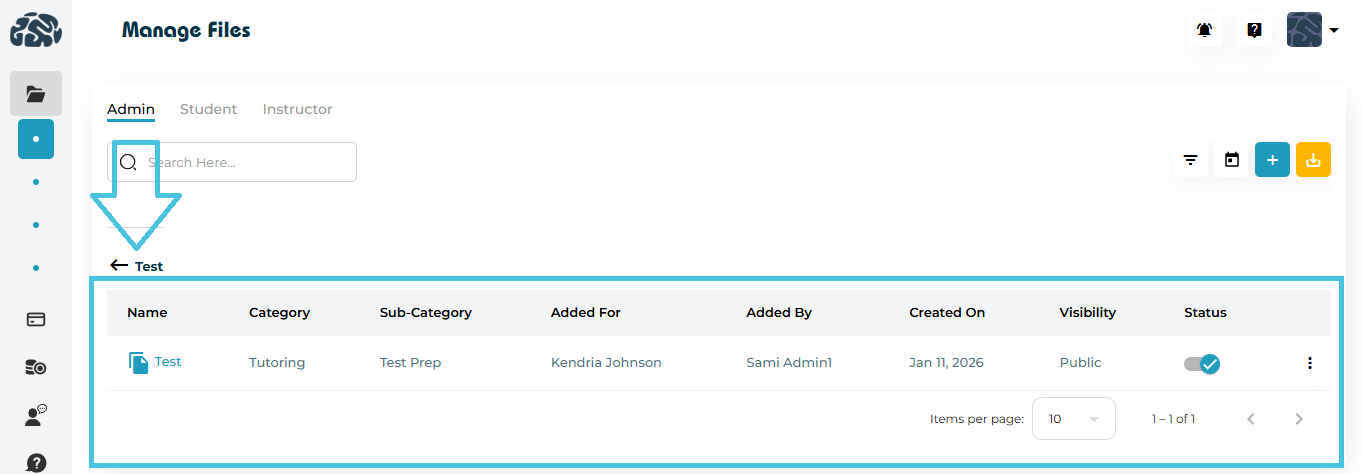
- View Files page in a folder
Add New Files inside the folder
- Add New Files Form inside the folder
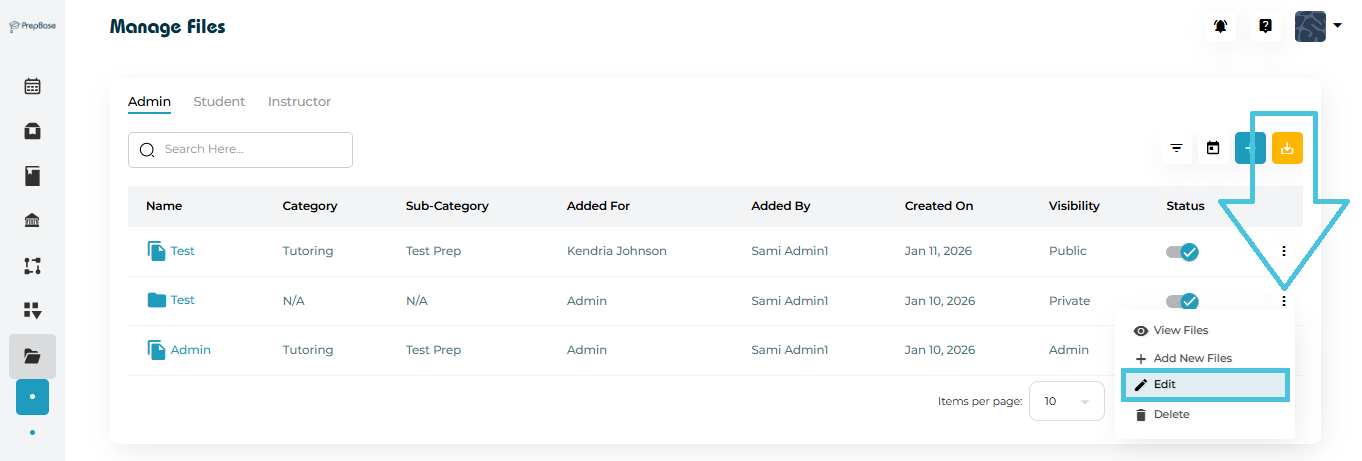
Edit Folder
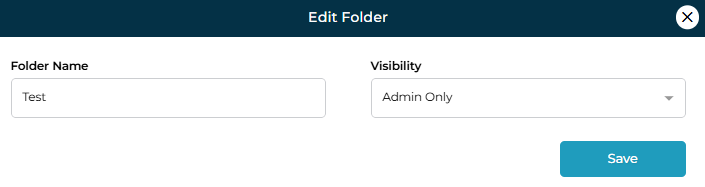
- Edit Folder Form

Delete Folder
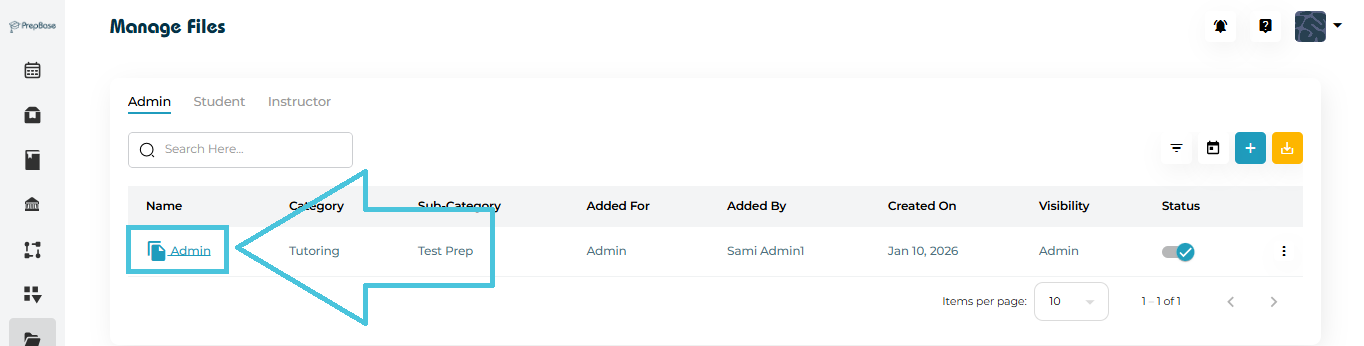
Click a file name to open it in a new browser tab.
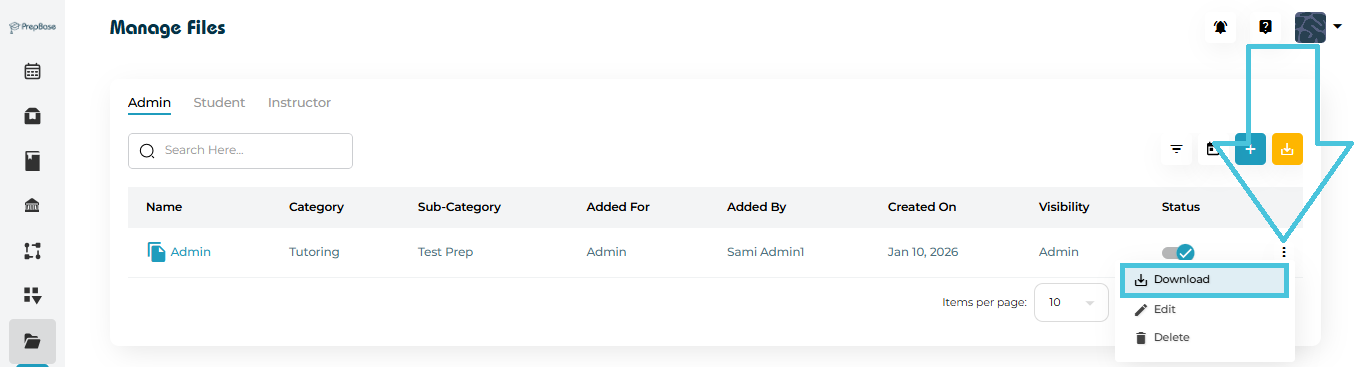
Use the Download option from the three-dot menu to save the file locally.
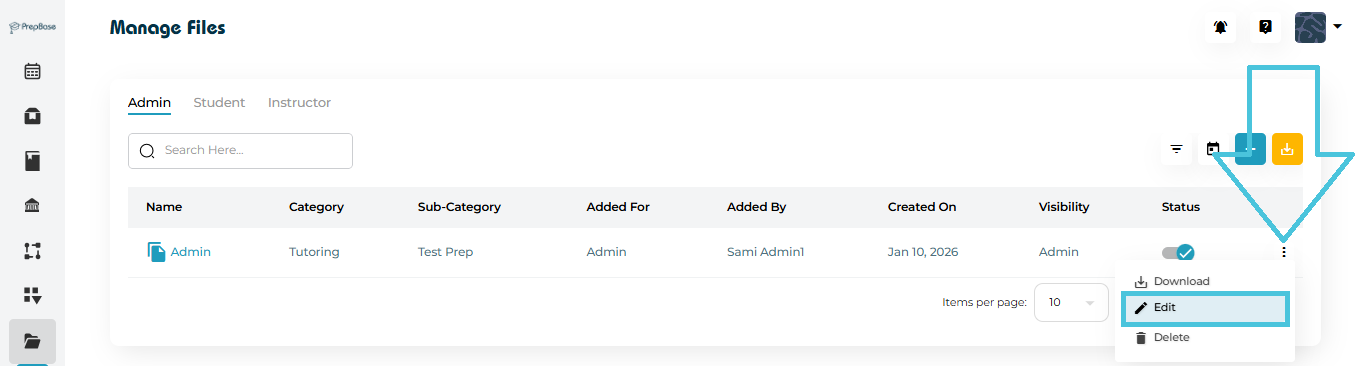
Admins can update:
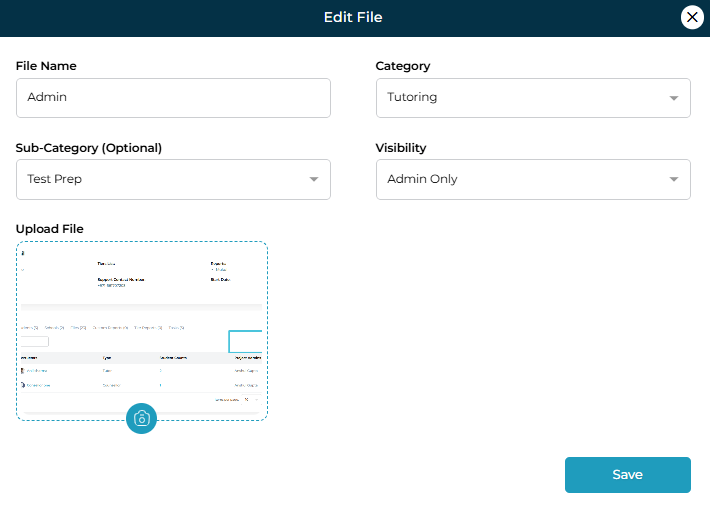
File name
Category / Sub-category
Visibility & accessibility
Replace uploaded file
Editing availability in Student/Instructor tabs depends on system permissions, but Admins always retain full control.

Use the Delete option from the three-dot menu.
Deleting a folder removes all files inside it.
This action is permanent.
Search
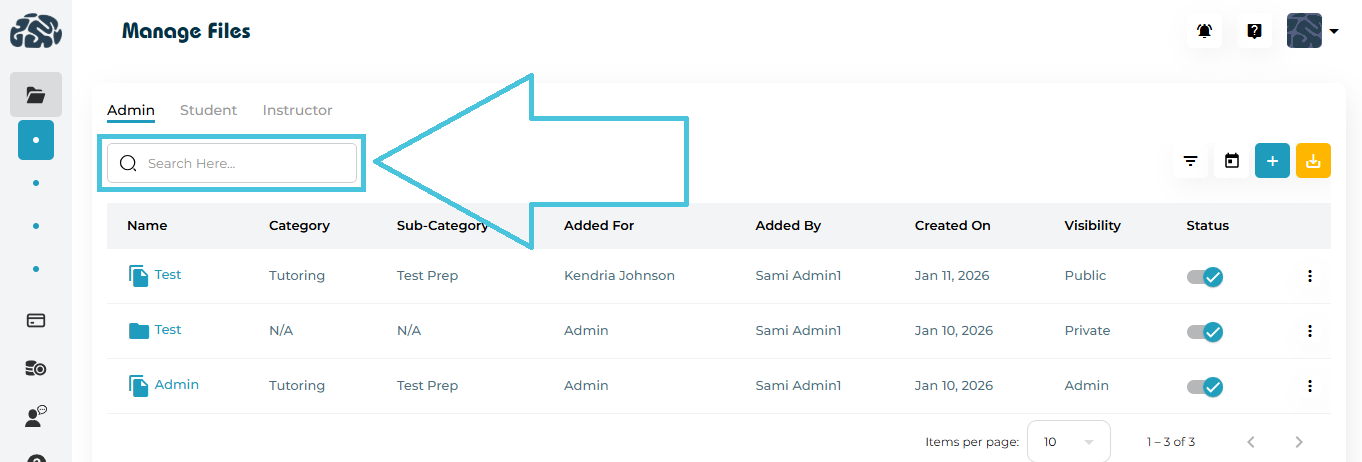
Use the Search bar to quickly locate files or folders.
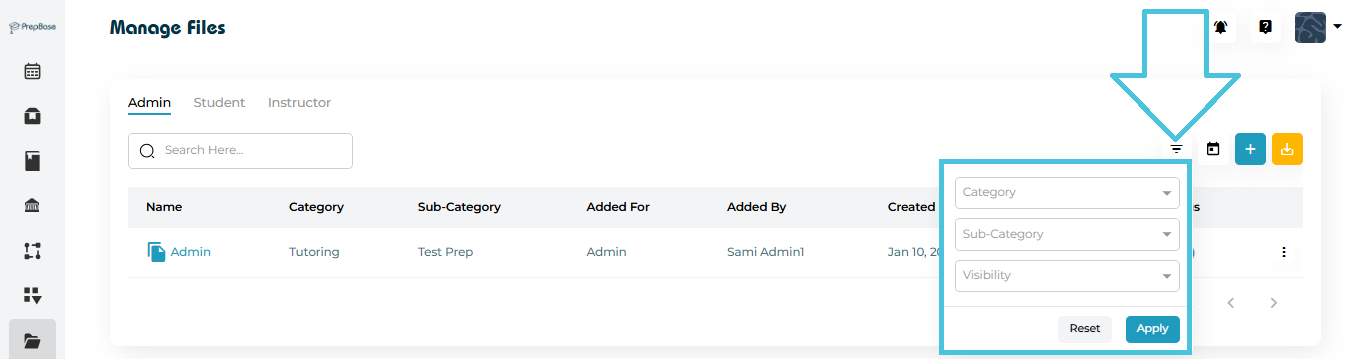
Filters
Filter by:
Category
Sub-Category
Visibility
Added By
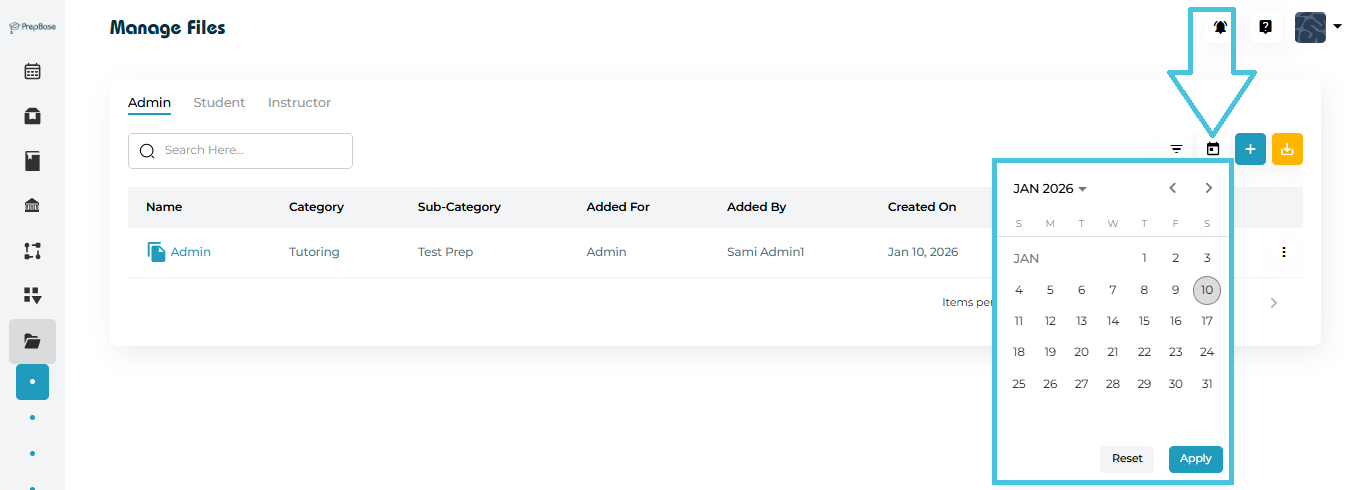
Date (via calendar picker)
Export
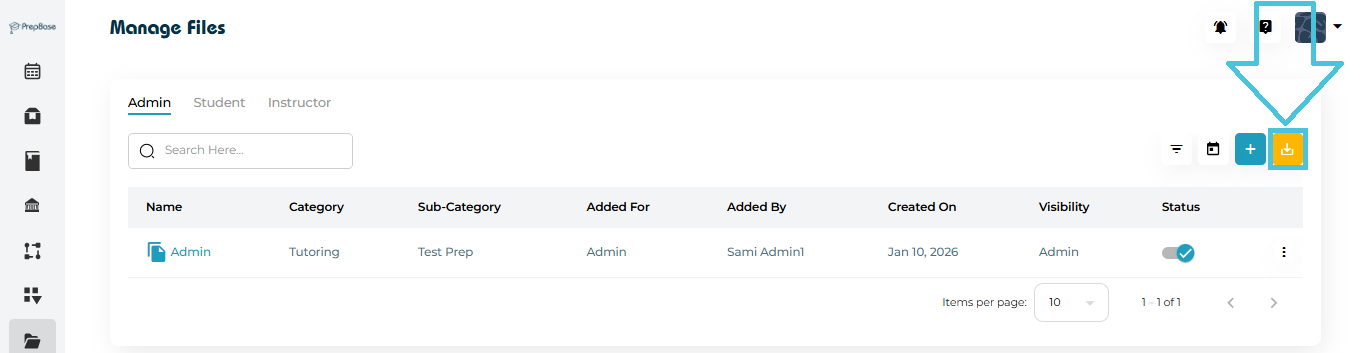
Admins can export file data to CSV for reporting or audits.