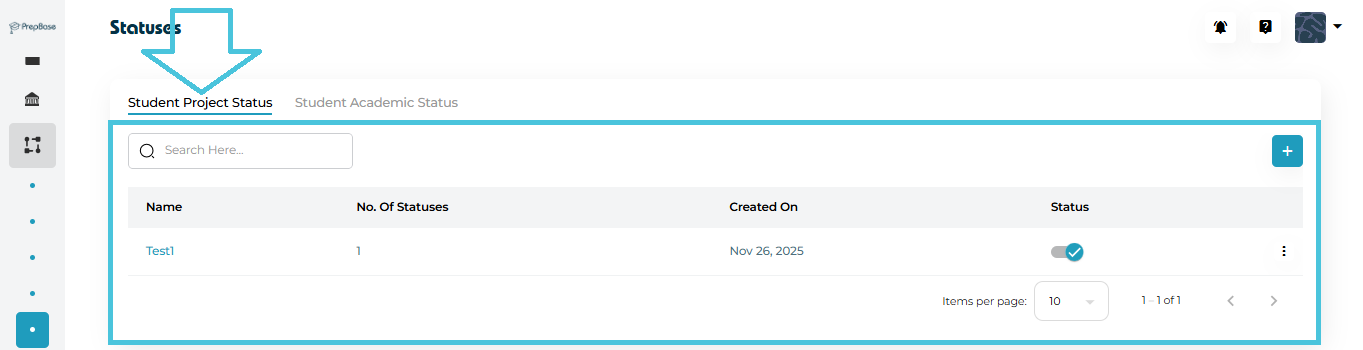
1. Student Project Status
Used to track the progress of a student’s project or workflow, such as counseling journeys, applications, or structured tasks.
Examples:
Not Started
In Progress
On Hold
Completed
These statuses are typically applied to:
College application projects
Counseling workflows
Long-term student initiatives
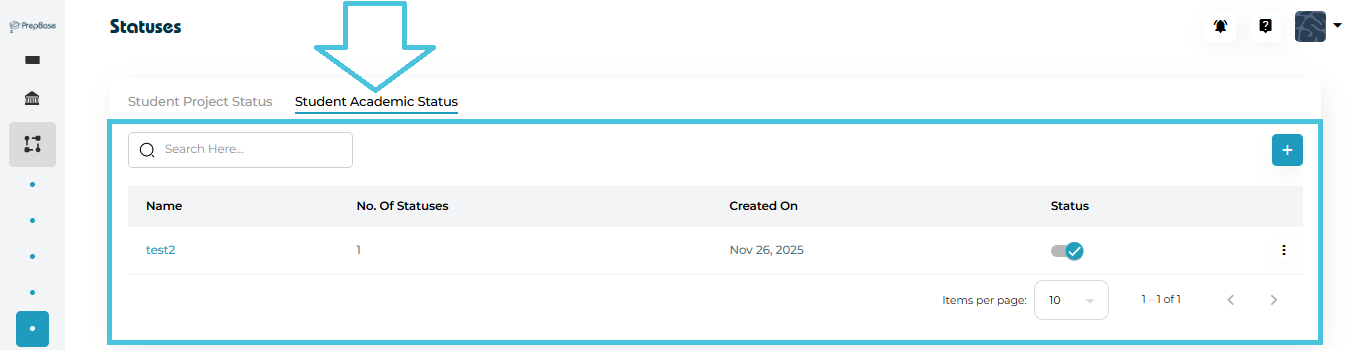
2. Student Academic Status
Used to describe a student’s academic standing or learning state at a given time.
Examples:
Active
Academic Review
Probation
Completed
Withdrawn
These statuses help counselors and admins quickly understand a student’s academic position without reviewing detailed records.
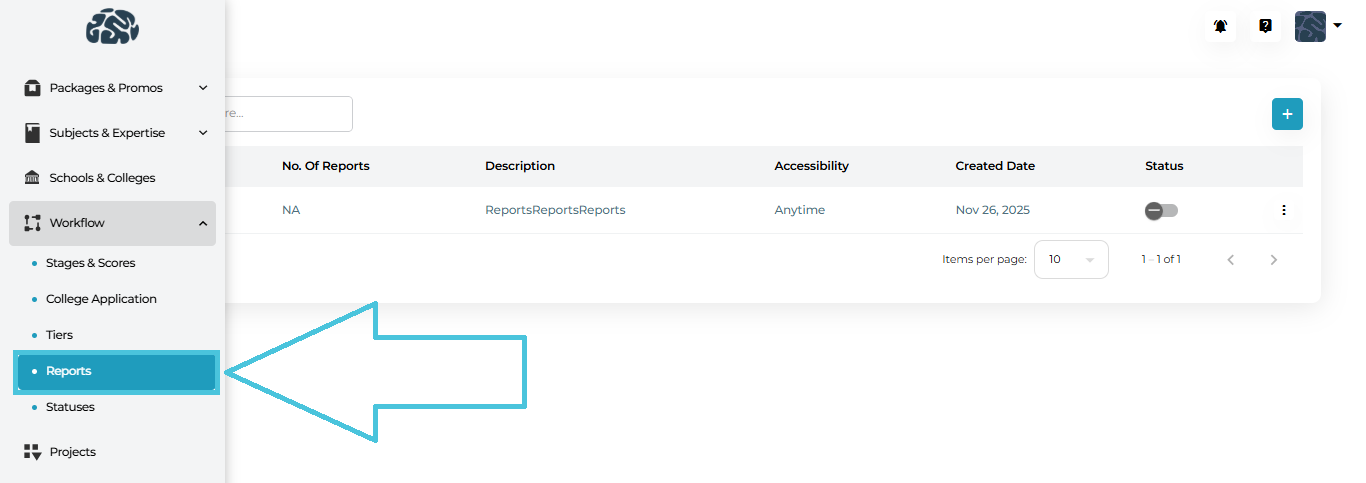
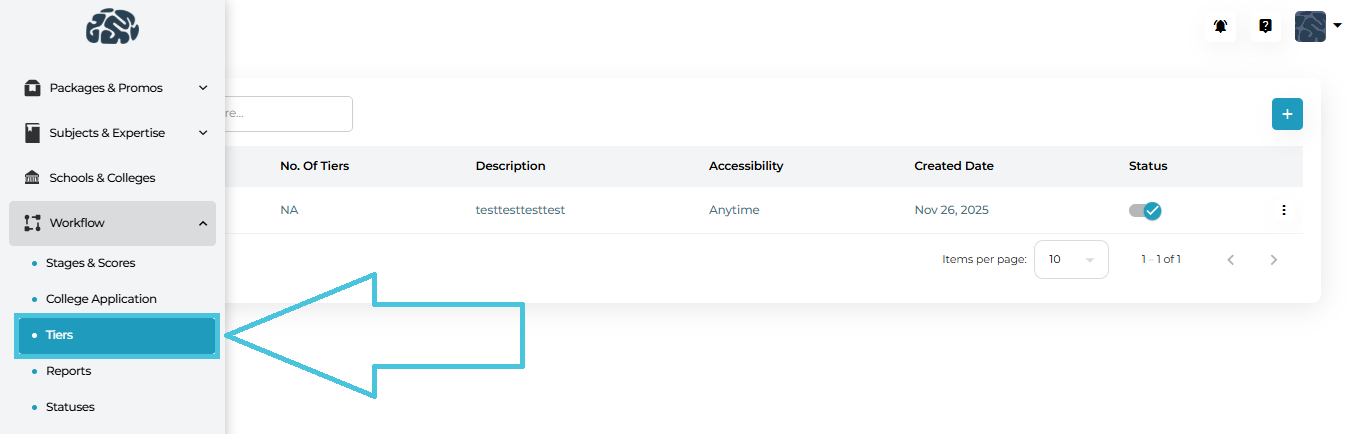
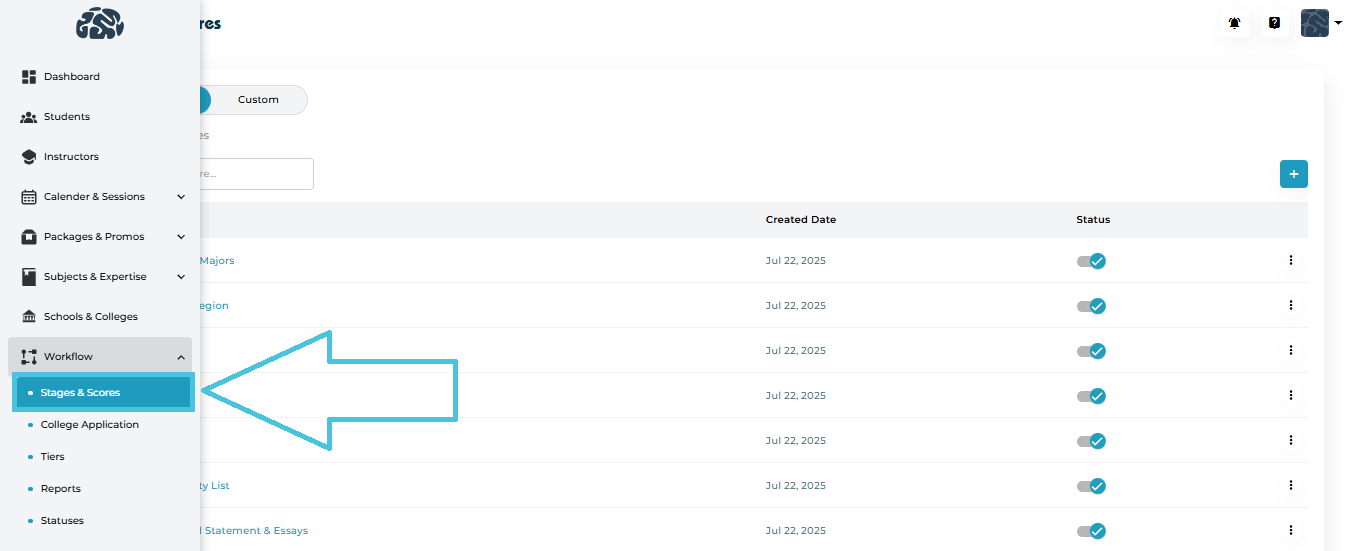
Navigate to:
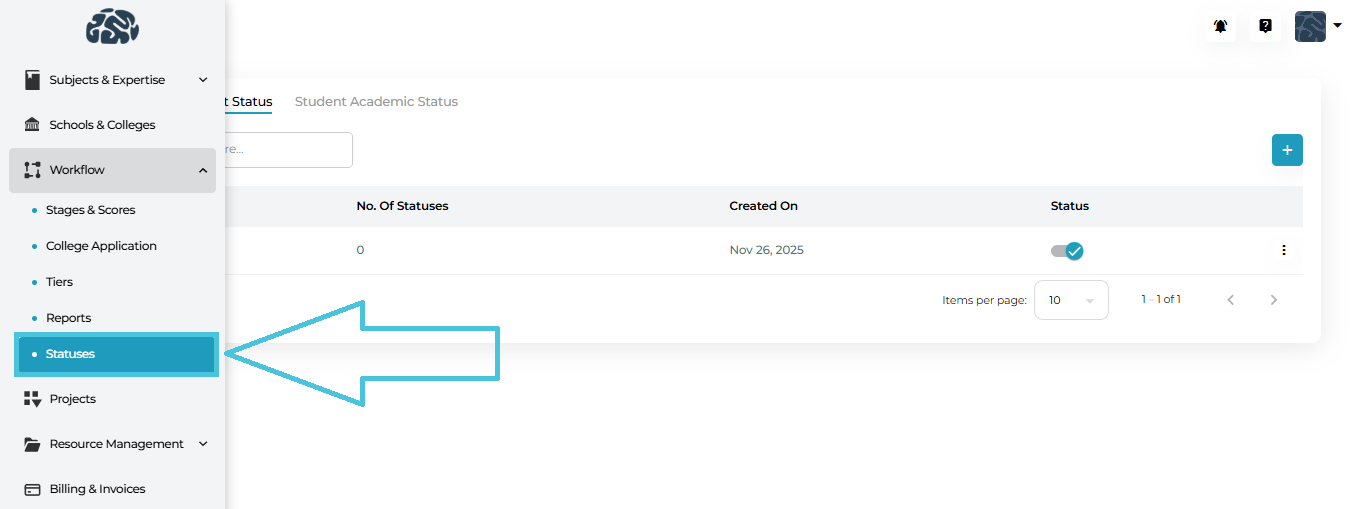
Admin Panel → Workflow → Statuses
You will see two tabs:
Student Project Status
Student Academic Status
Each tab operates independently but follows the same management logic.
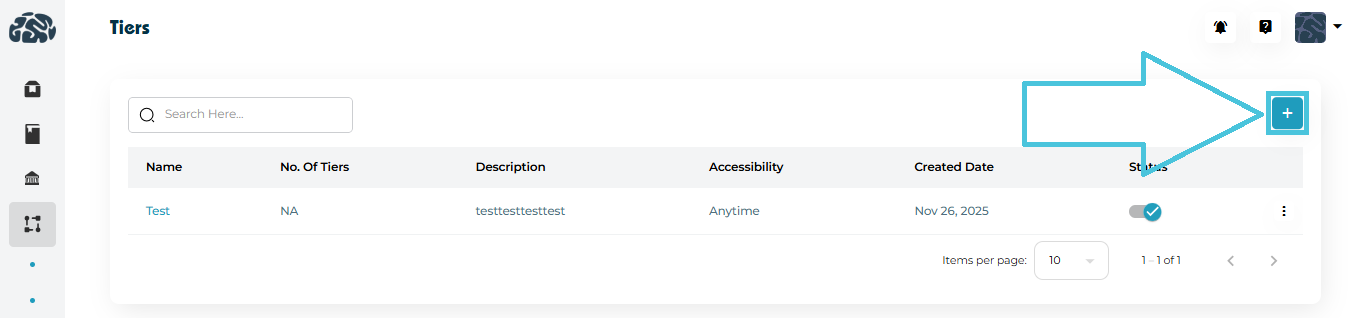
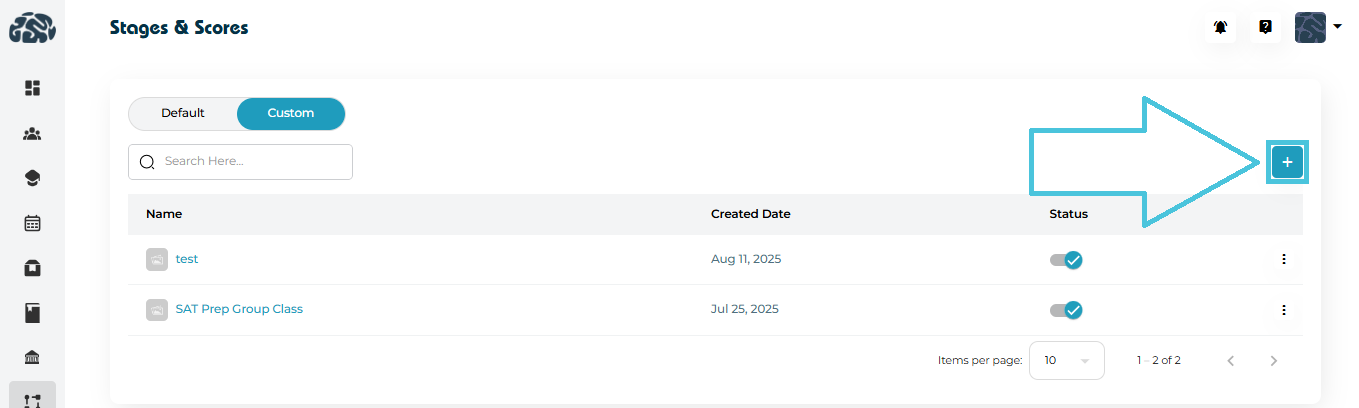
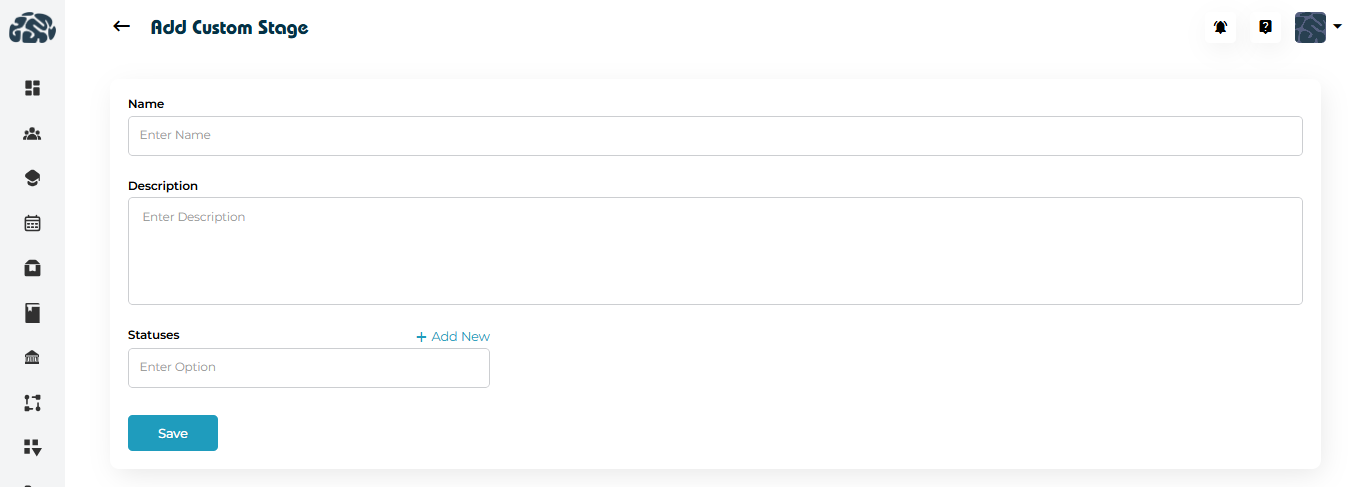
A status group acts as a container for related statuses.
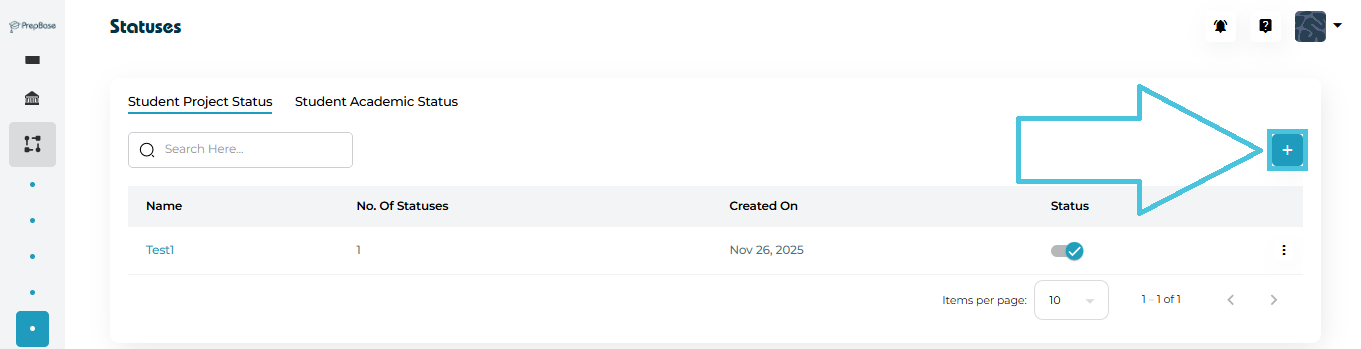
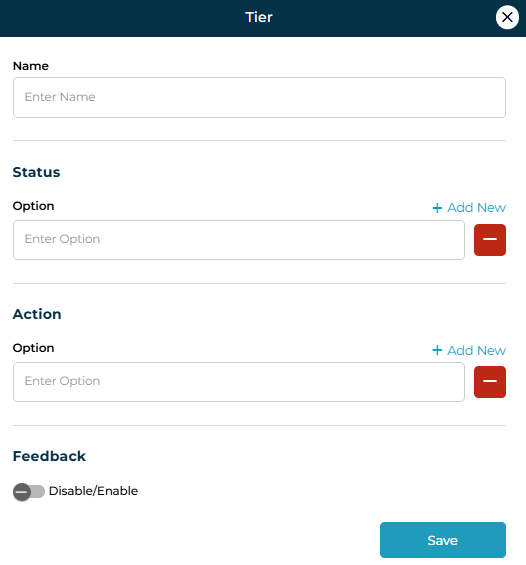
Steps:

Select either Student Project Status or Student Academic Status
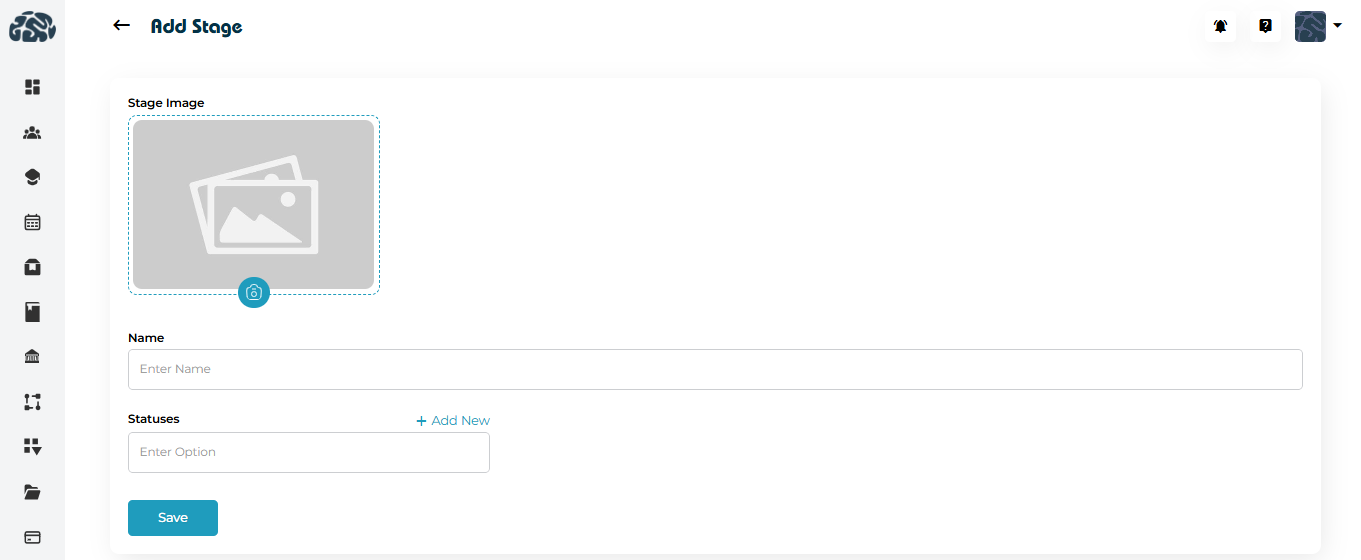
Click
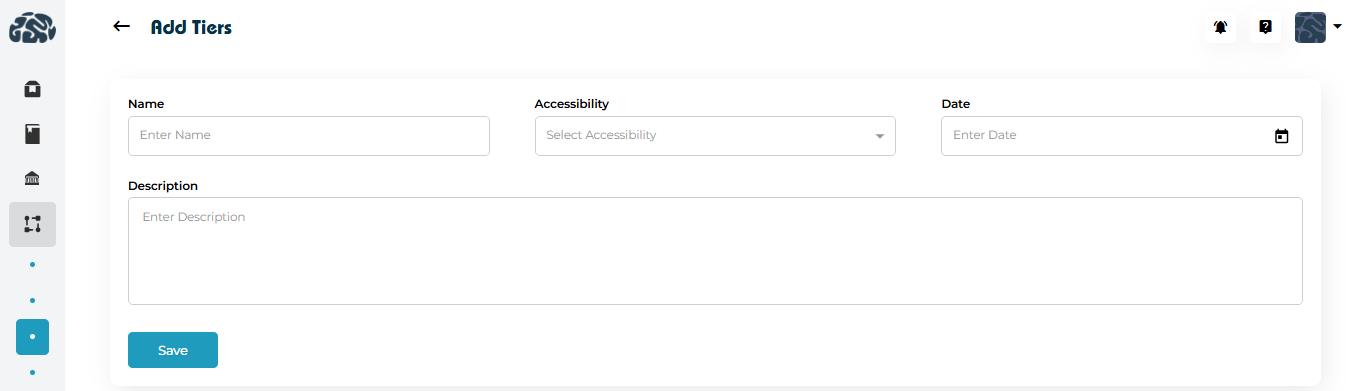
 Add New
Enter a Status Group Name
Save the group
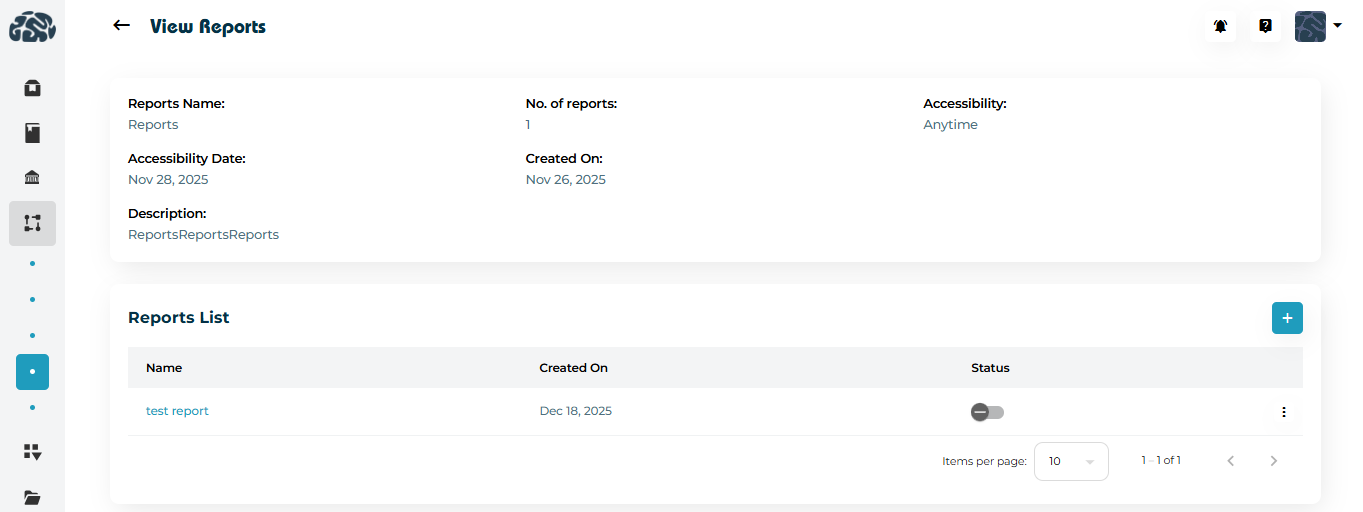
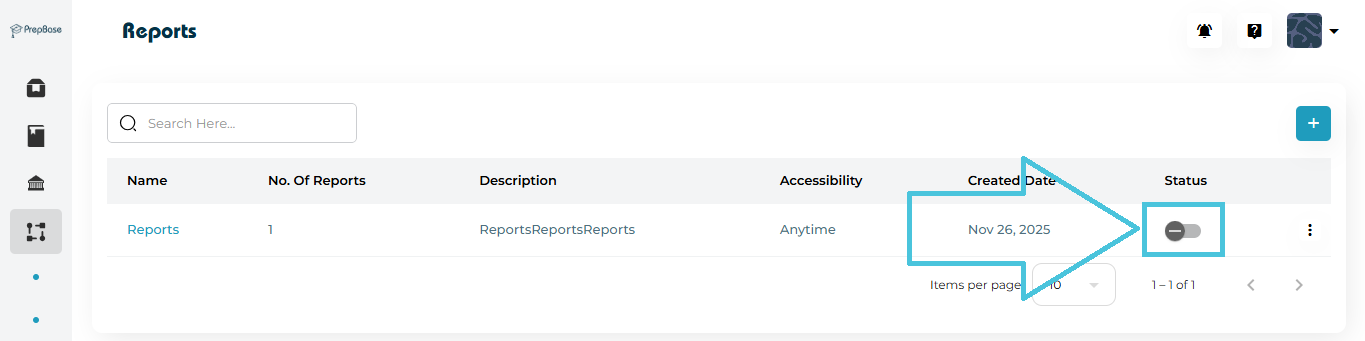
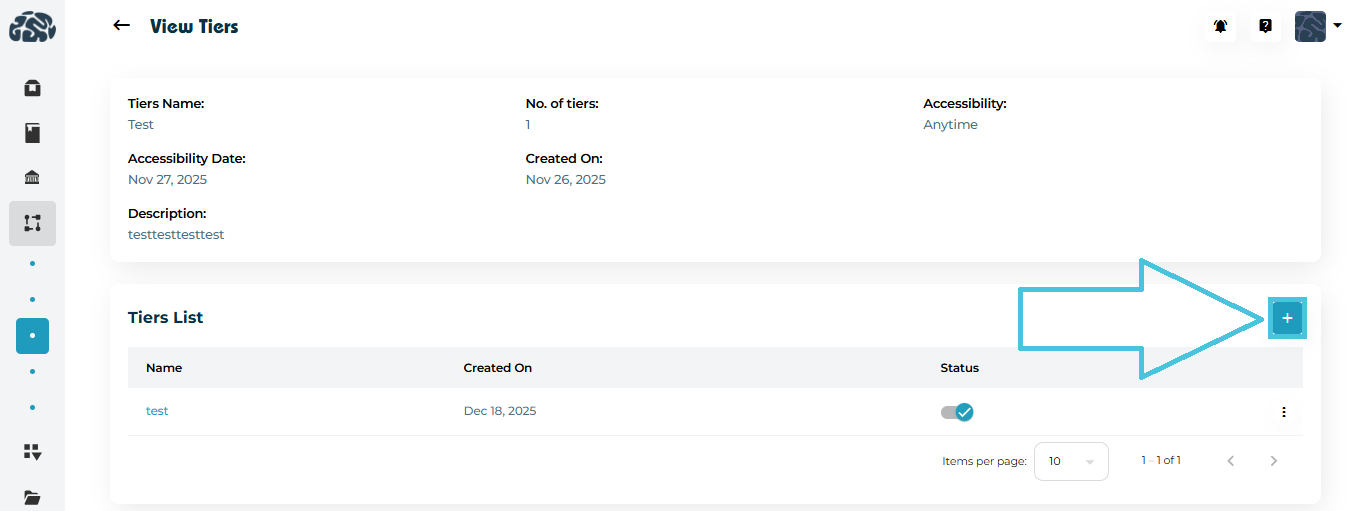
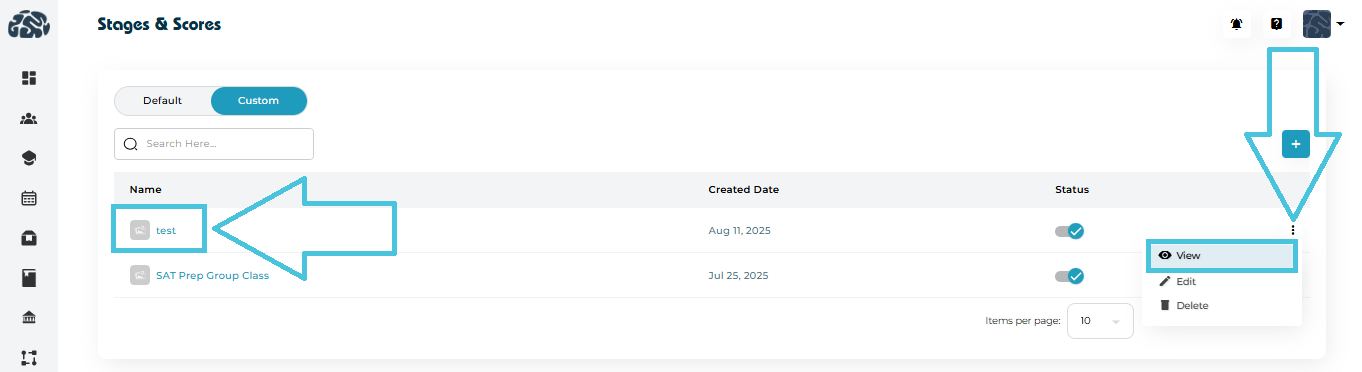
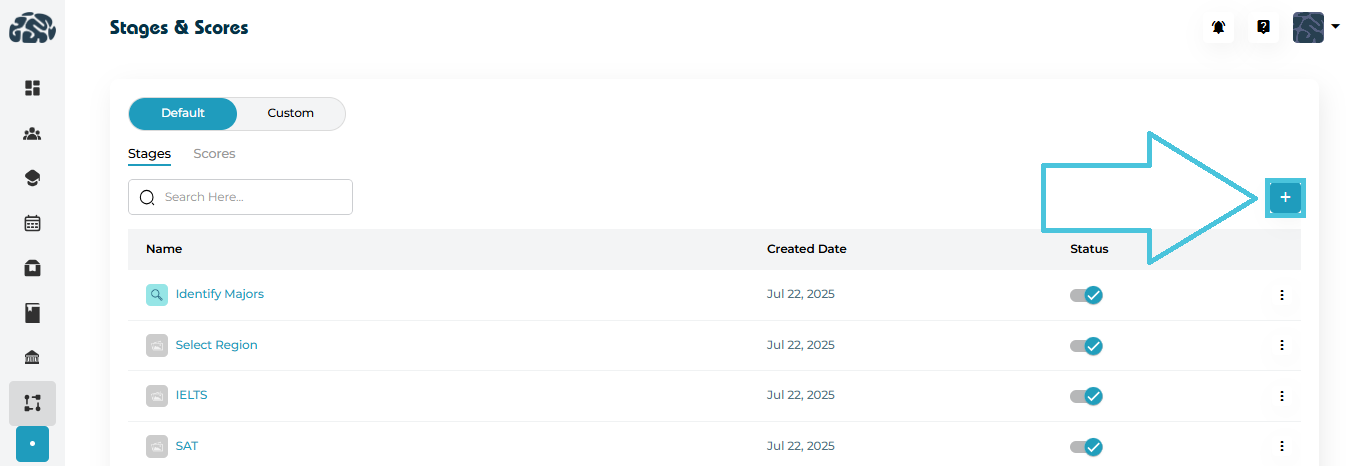
Once created, the group will appear in the main list with:
Number of statuses inside it
Created date
Status
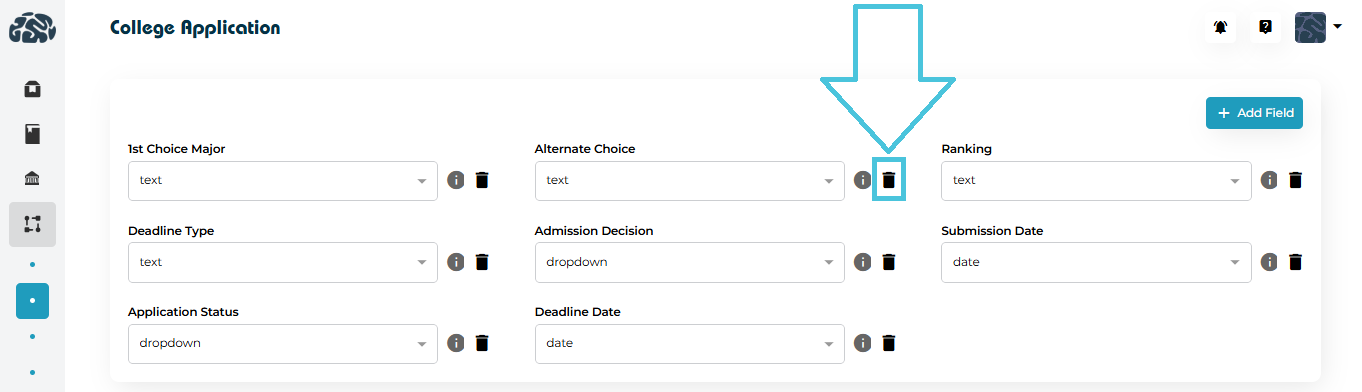
Each status group can contain multiple individual statuses.
Steps:
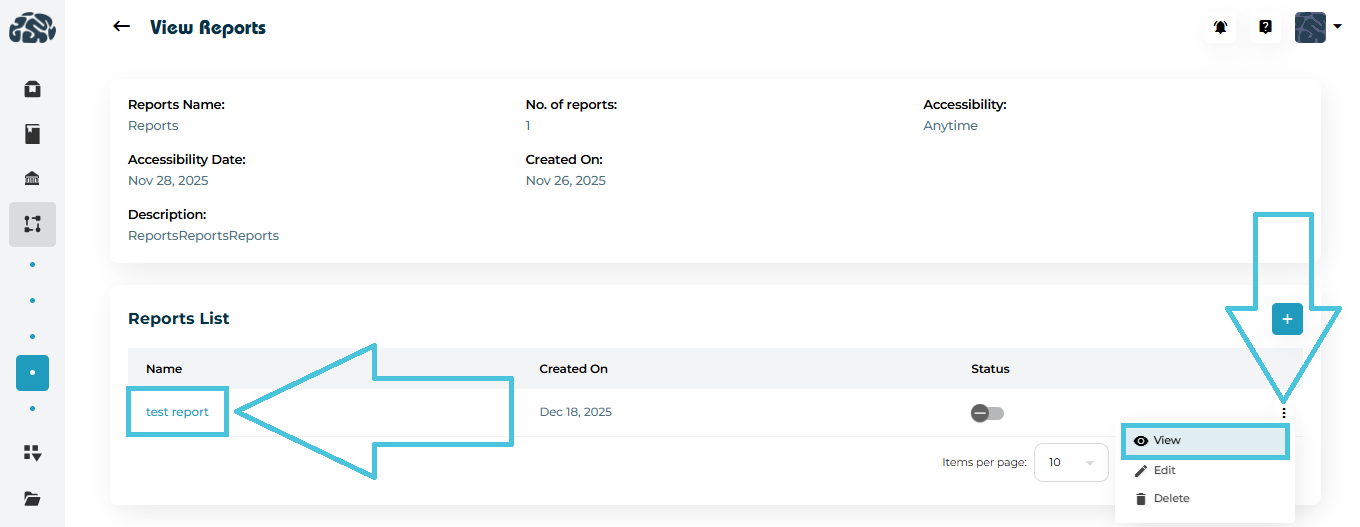
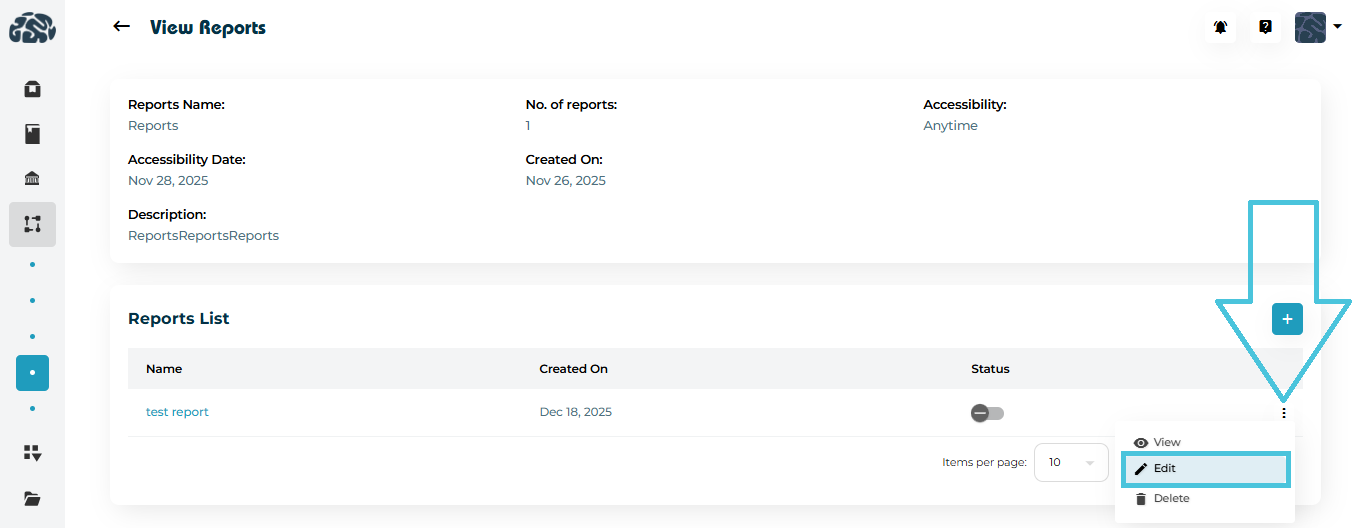
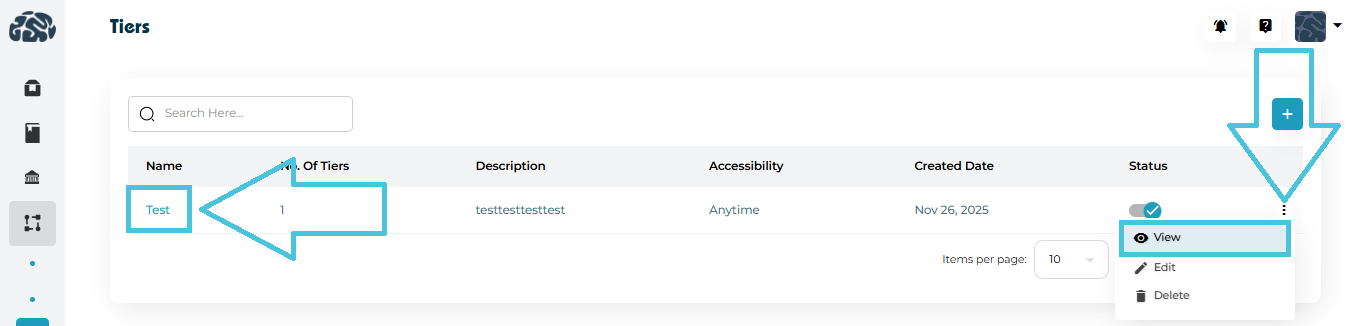
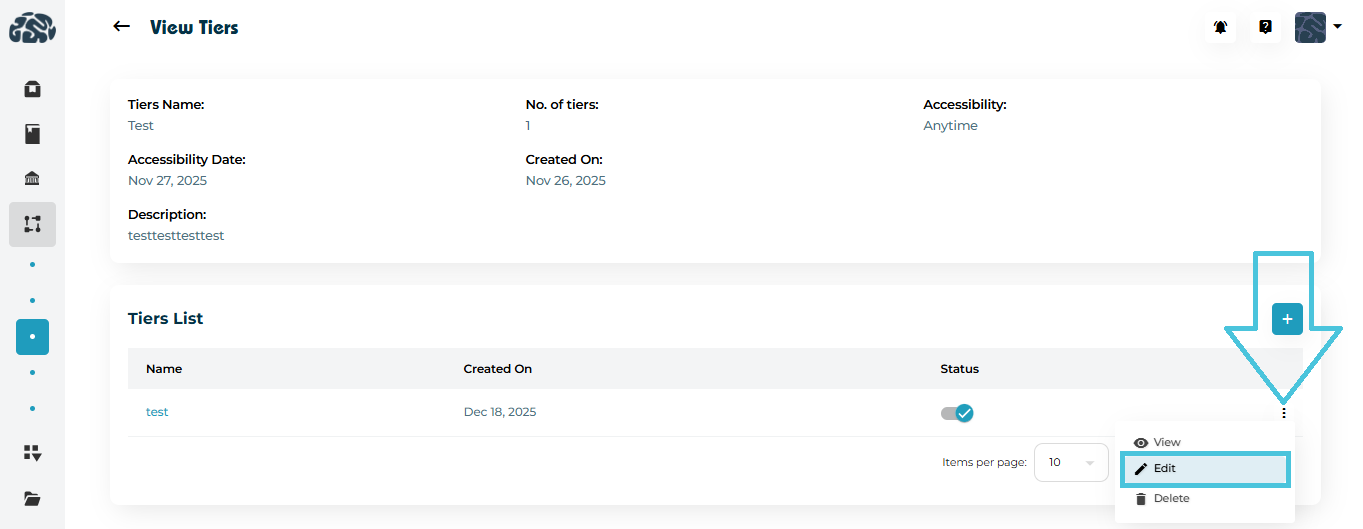
Open a status group using either:
View from the three-dot menu
Clicking directly on the status group name
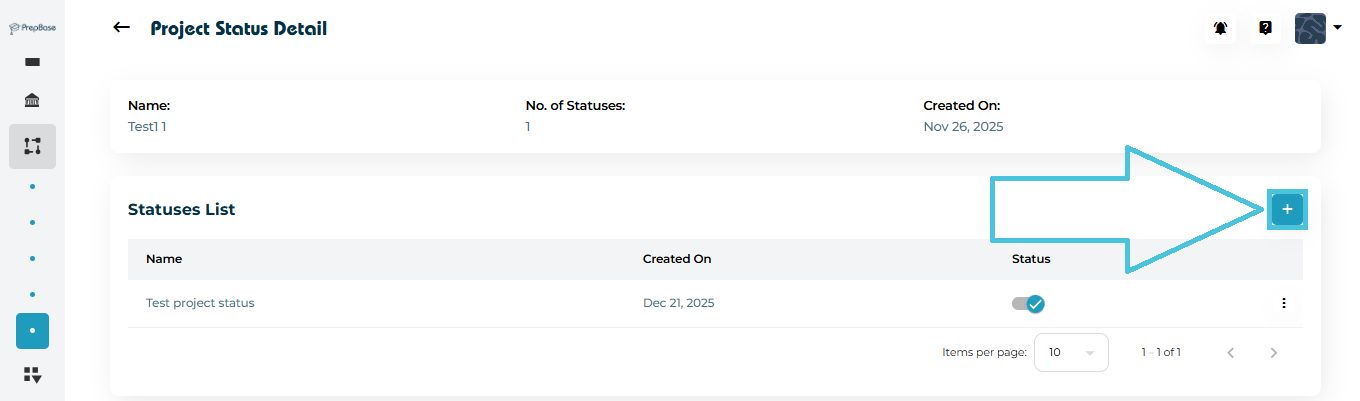
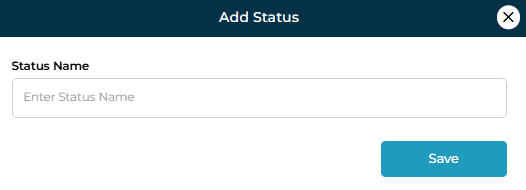
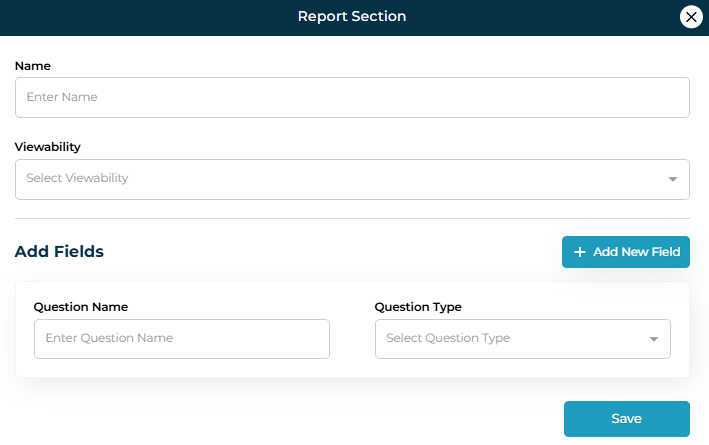
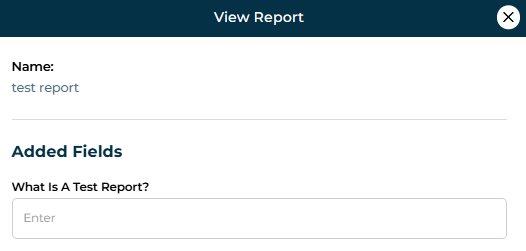
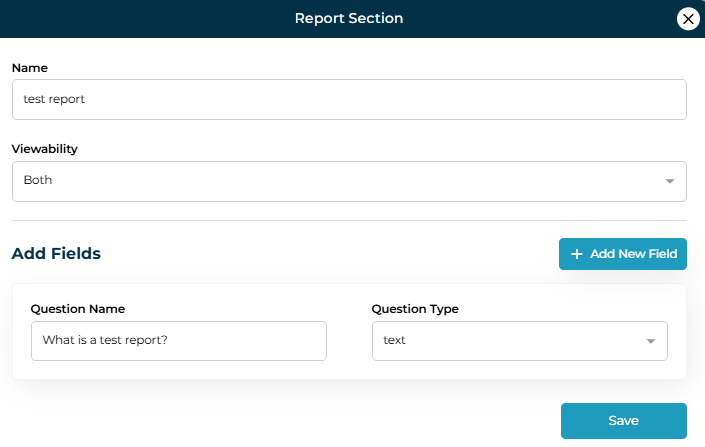
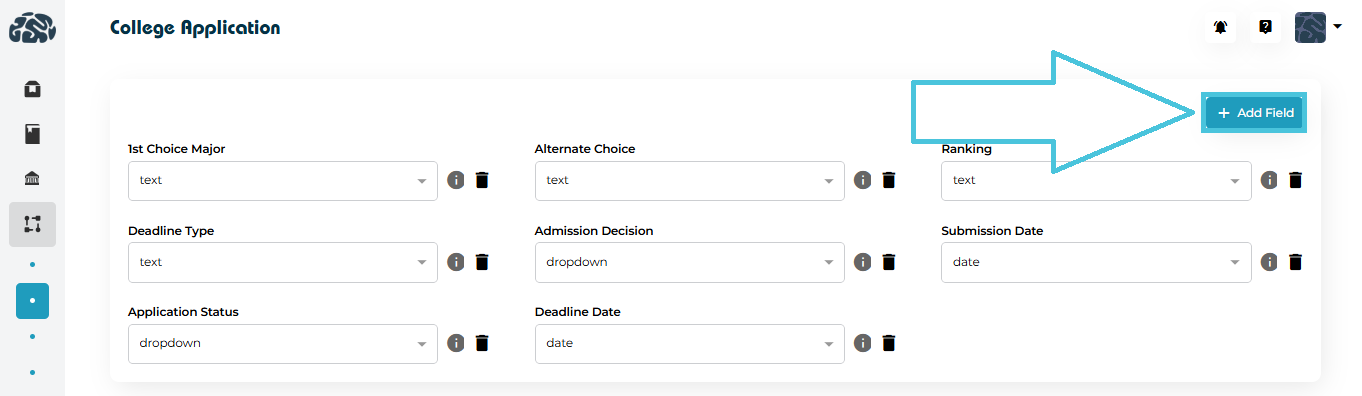
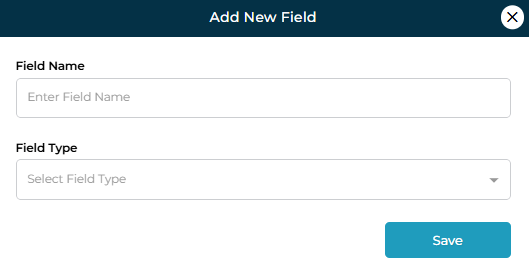
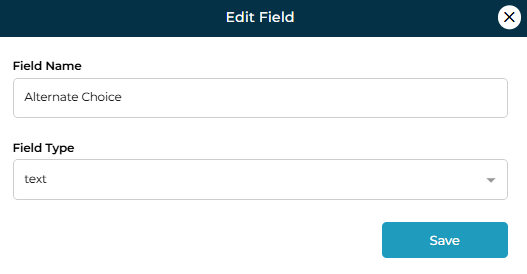
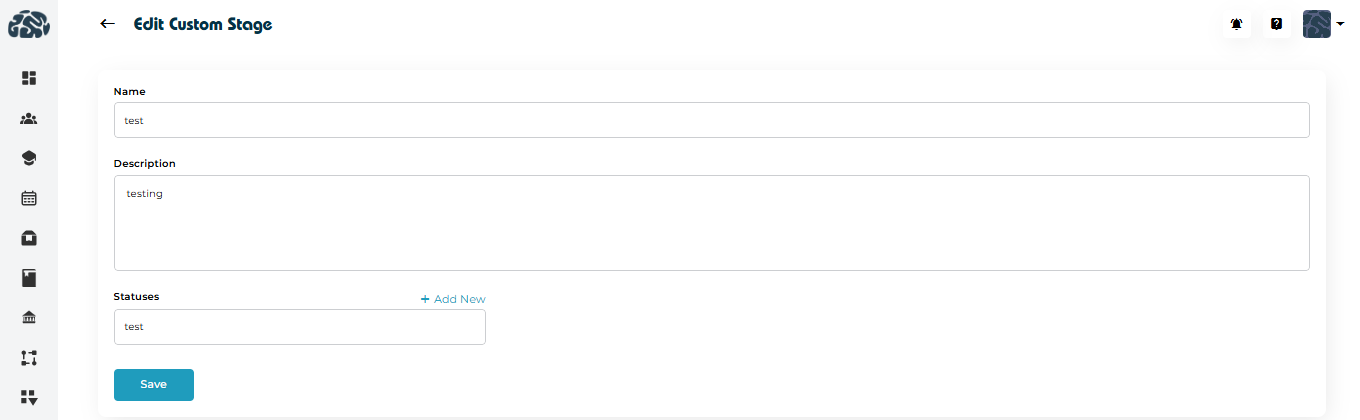
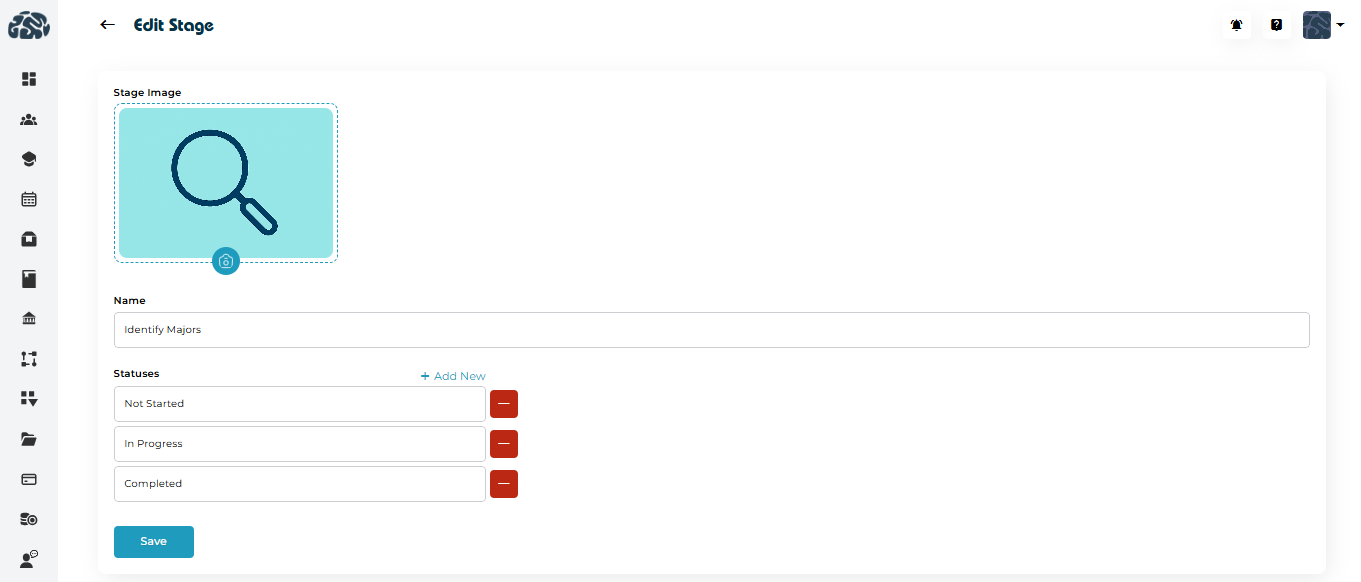
In the Statuses List section, click ➕ Add New
Enter the Status Name
Save
These individual statuses represent the actual labels used across student profiles and projects.
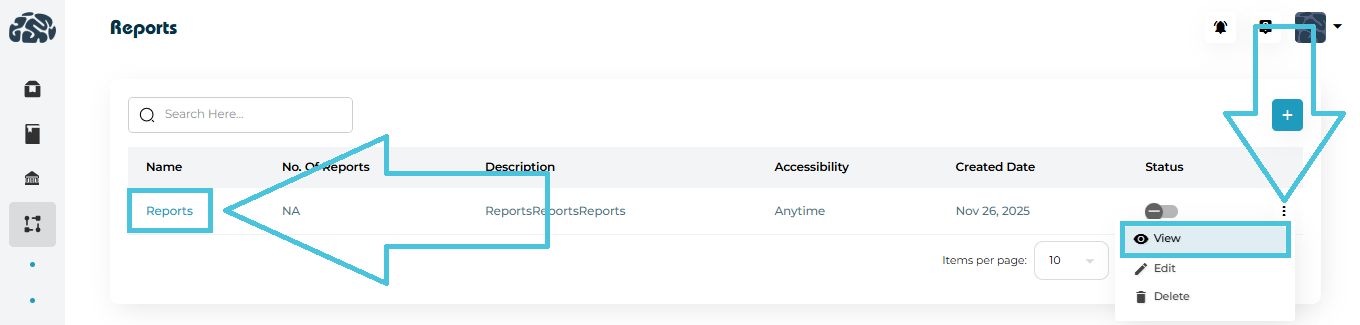
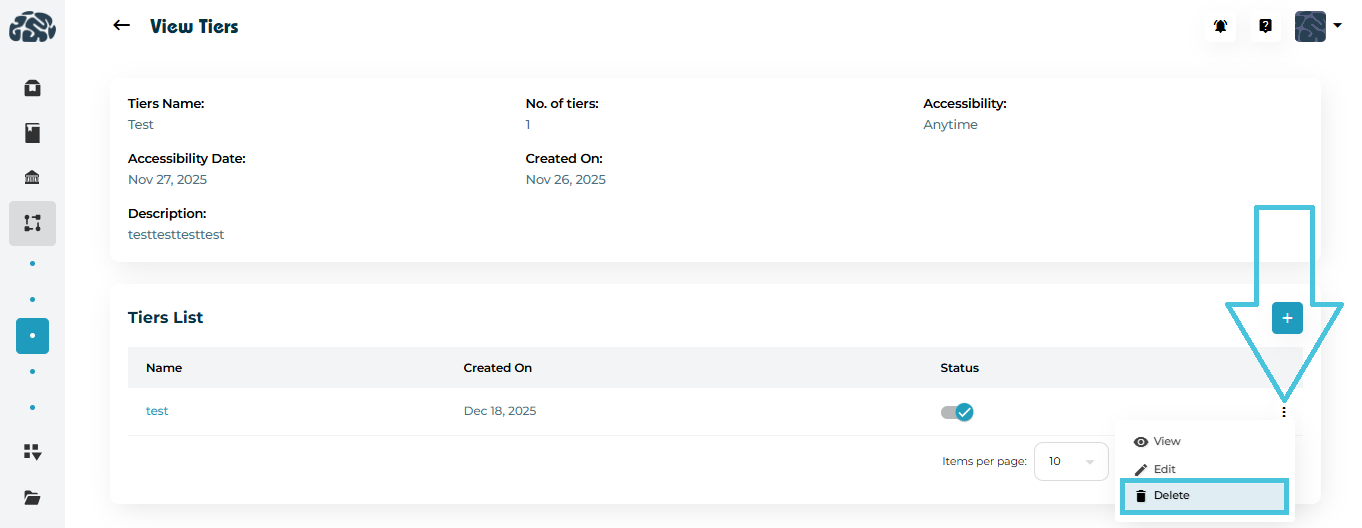
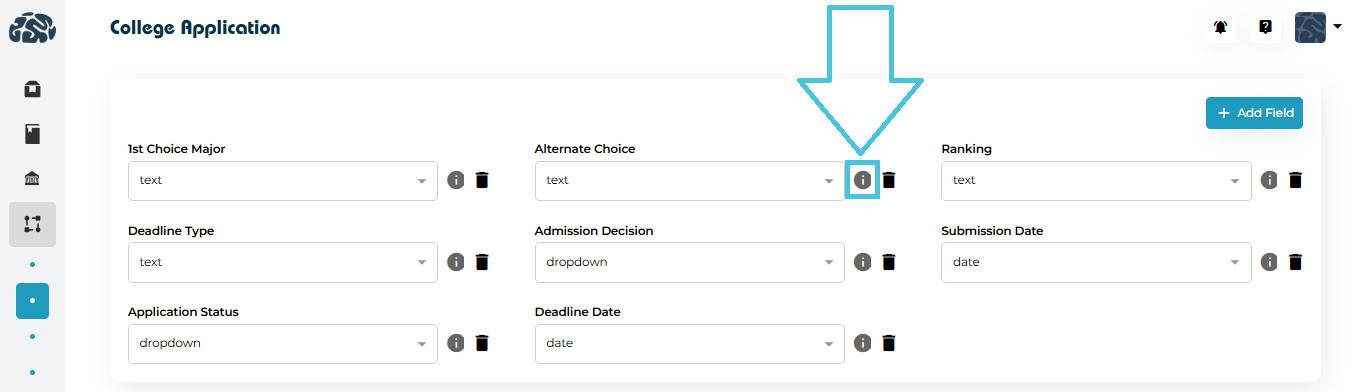
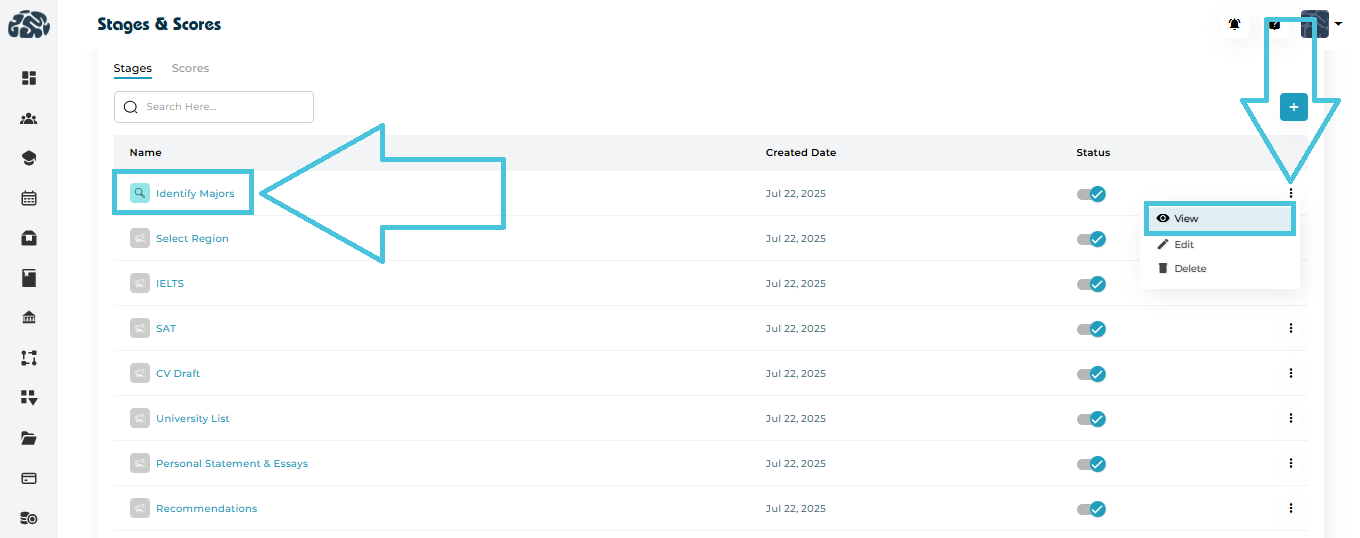
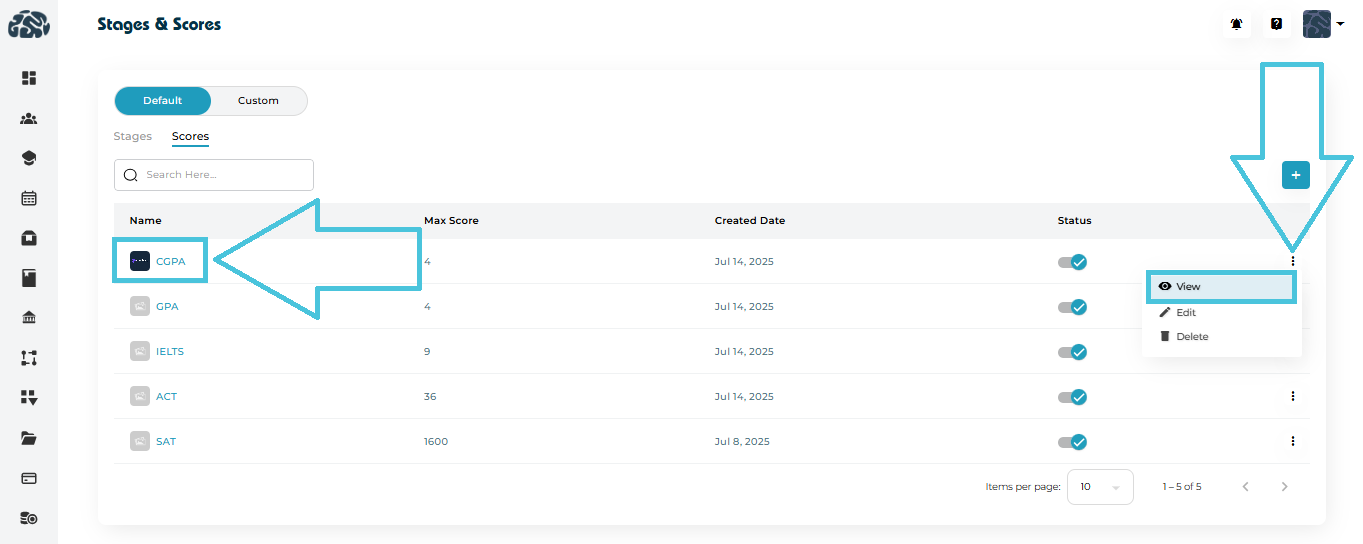
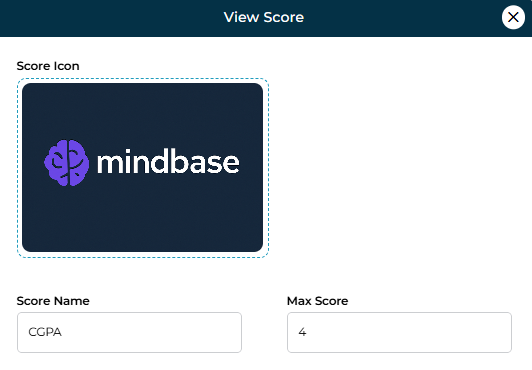
You can view details in two ways:
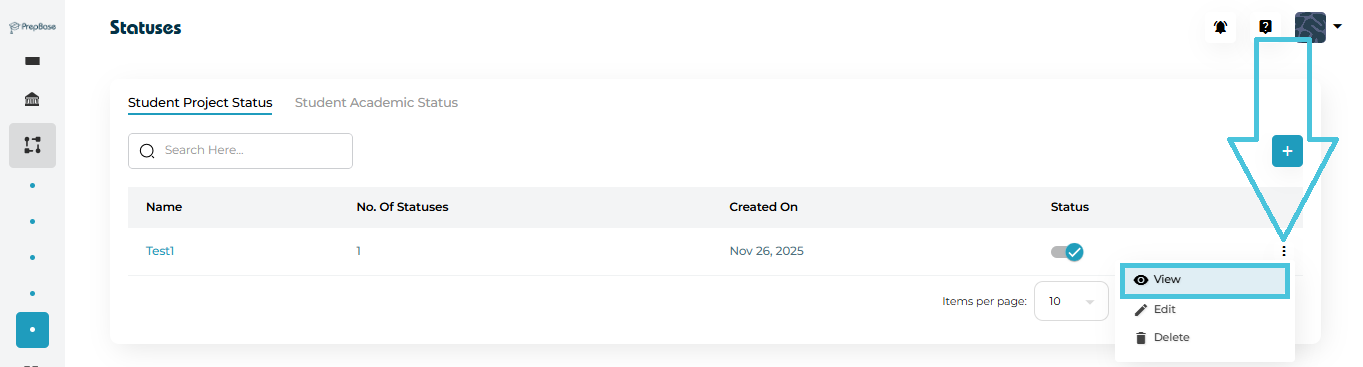
Click View from the three-dot menu
Click directly on the status group name
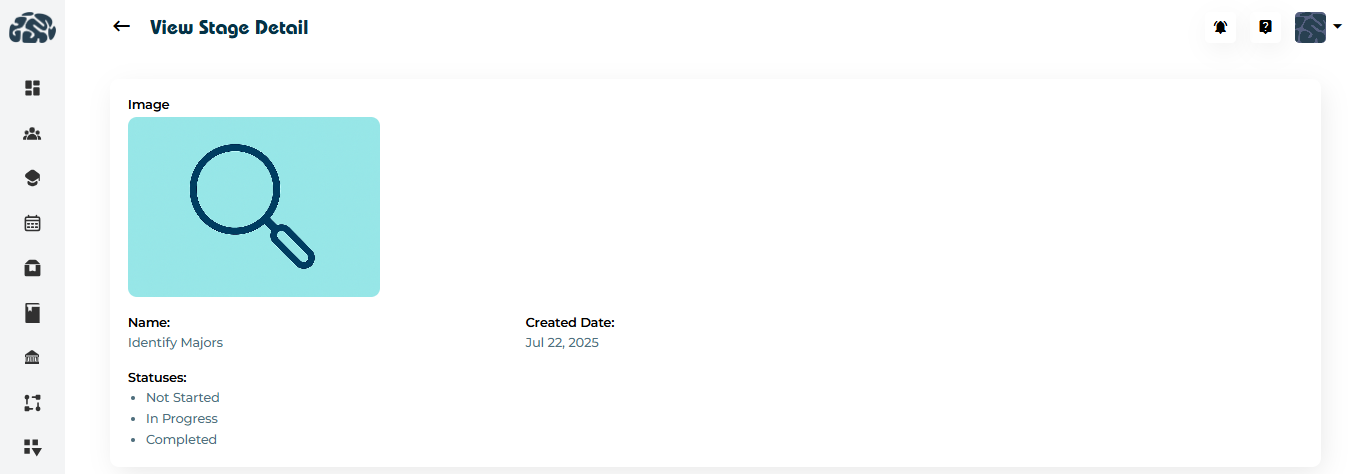
The detail view shows:
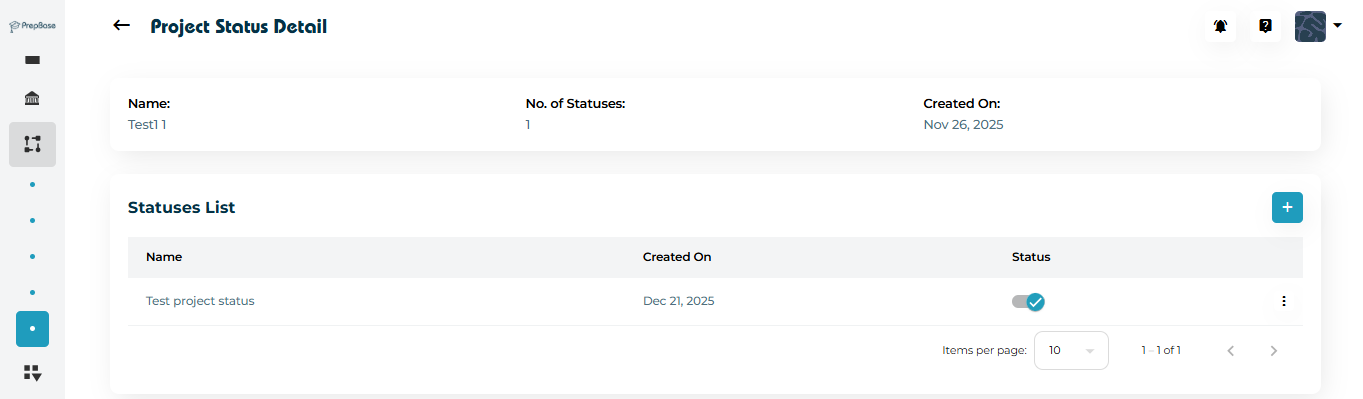
Status group name
Total number of statuses
Created date
List of all inner statuses with their current state
This makes it easy to audit and review how statuses are structured.
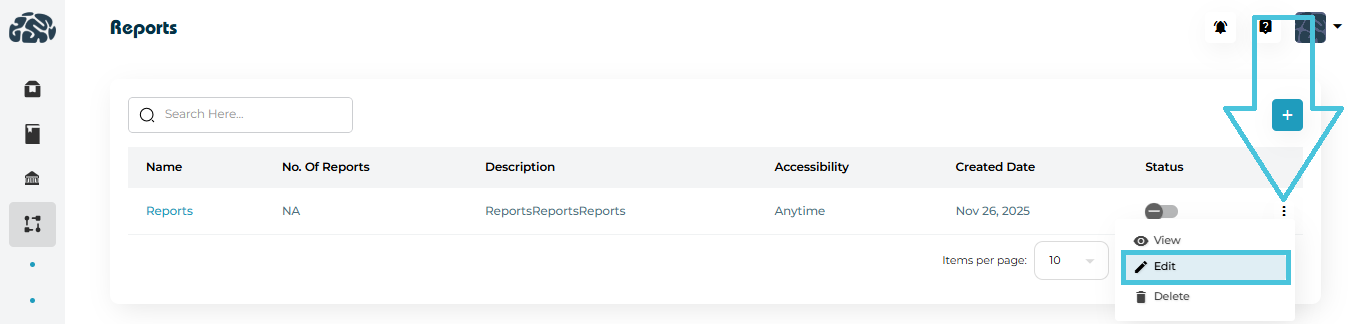
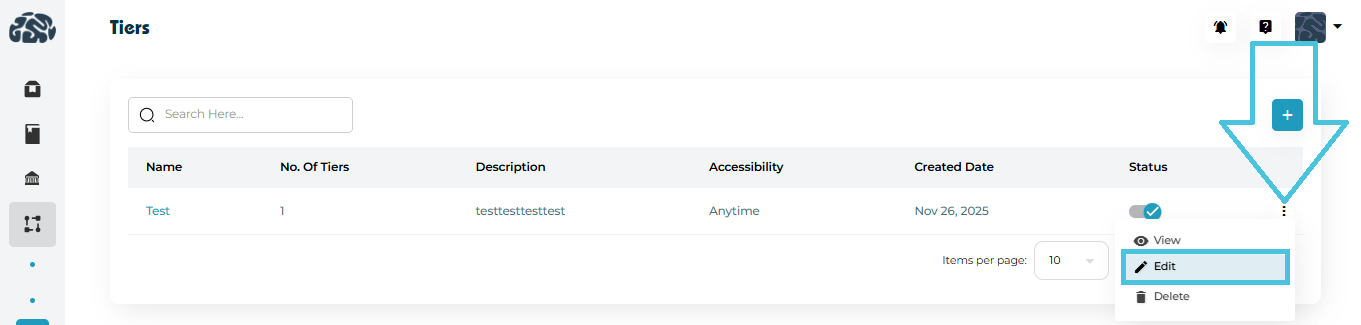
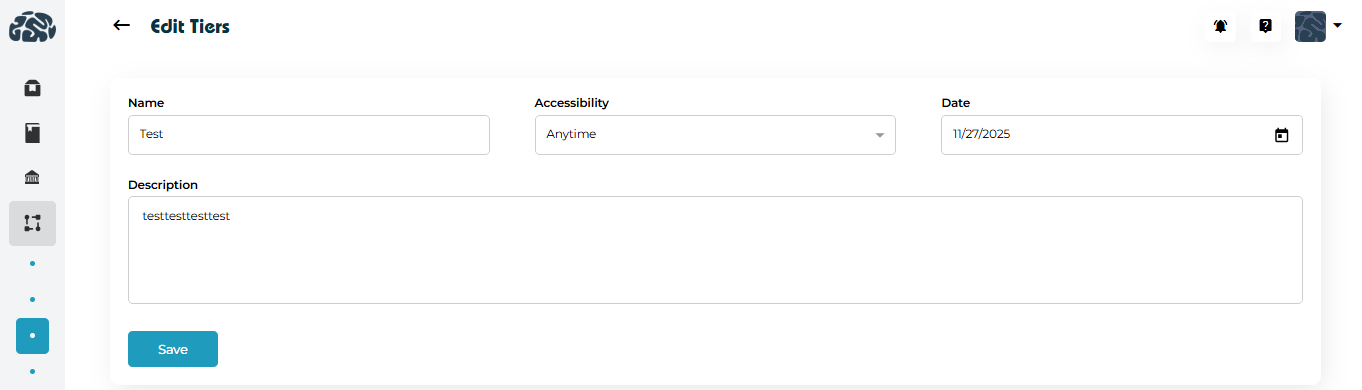
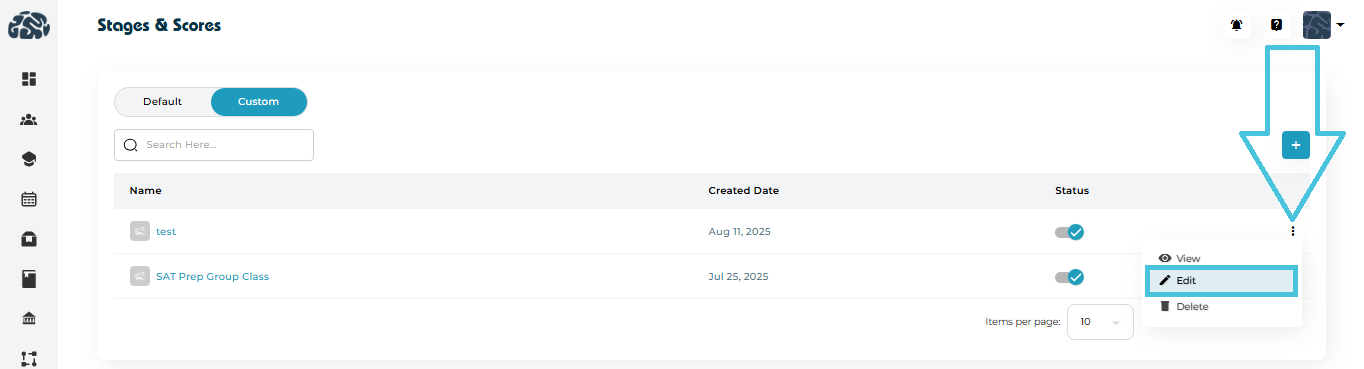
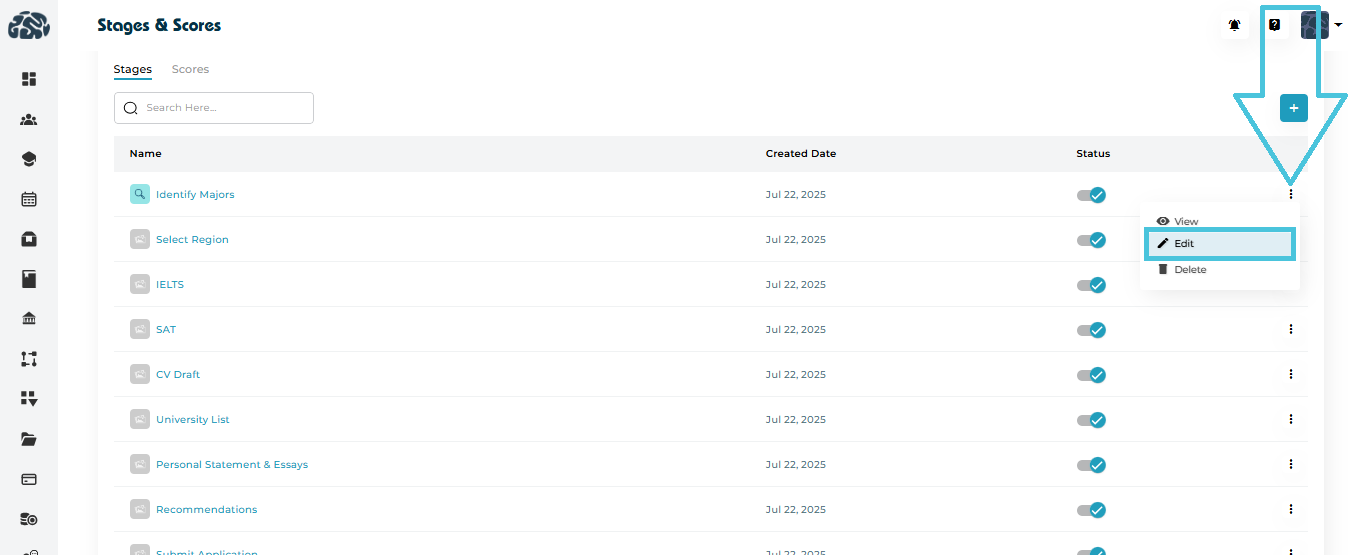
Edit a Status Group:
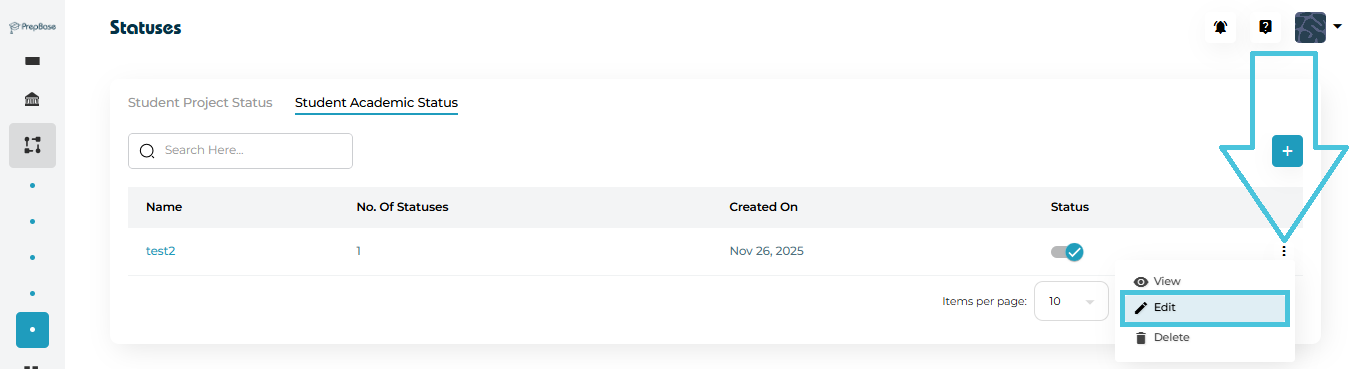
Open the three-dot menu
Select Edit
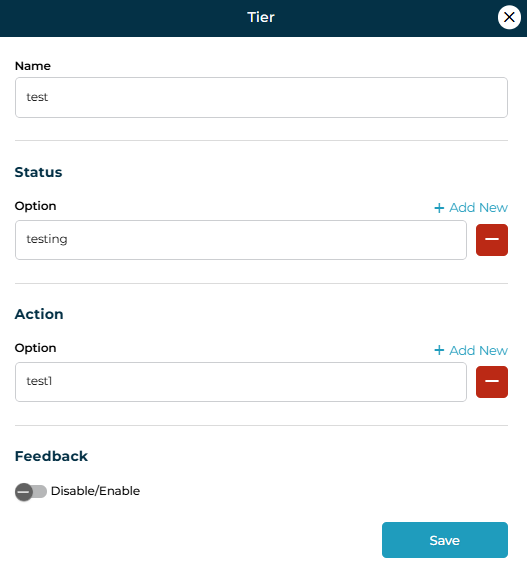
Update the name
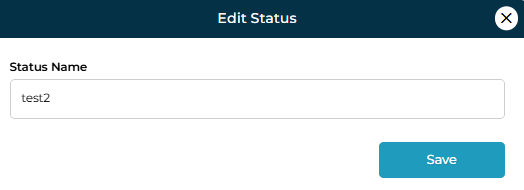
Save changes
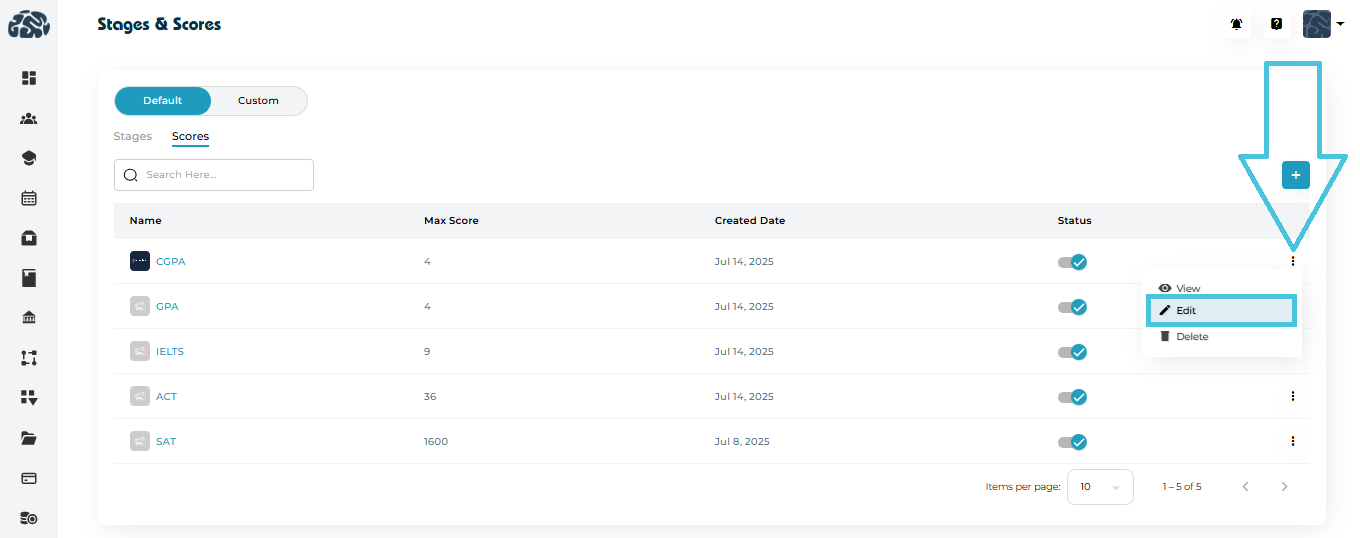
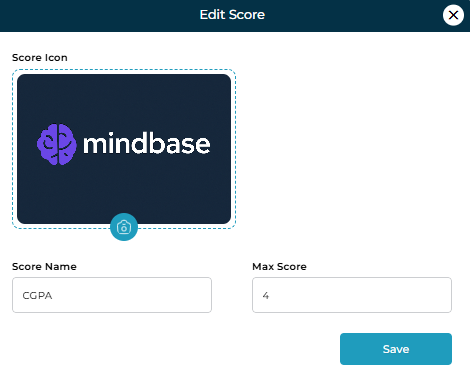
Edit an Individual Status:
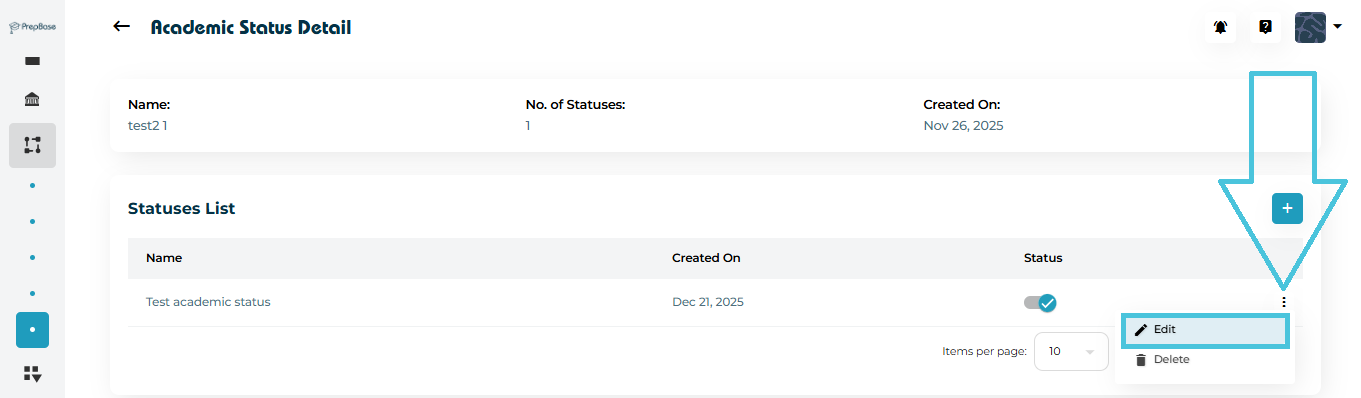
Open the status group
Use the three-dot menu next to the specific status
Select Edit
Update the name
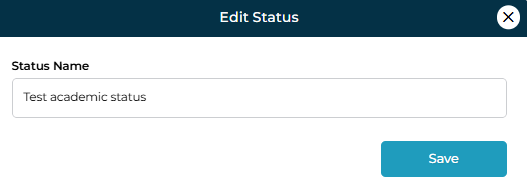
Save
Edits apply immediately across the system wherever the status is used.
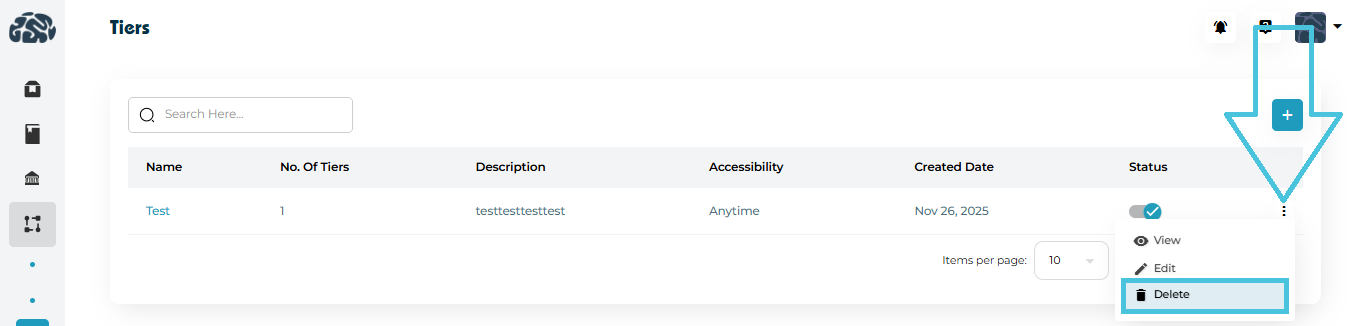
Each status and status group includes a status toggle.
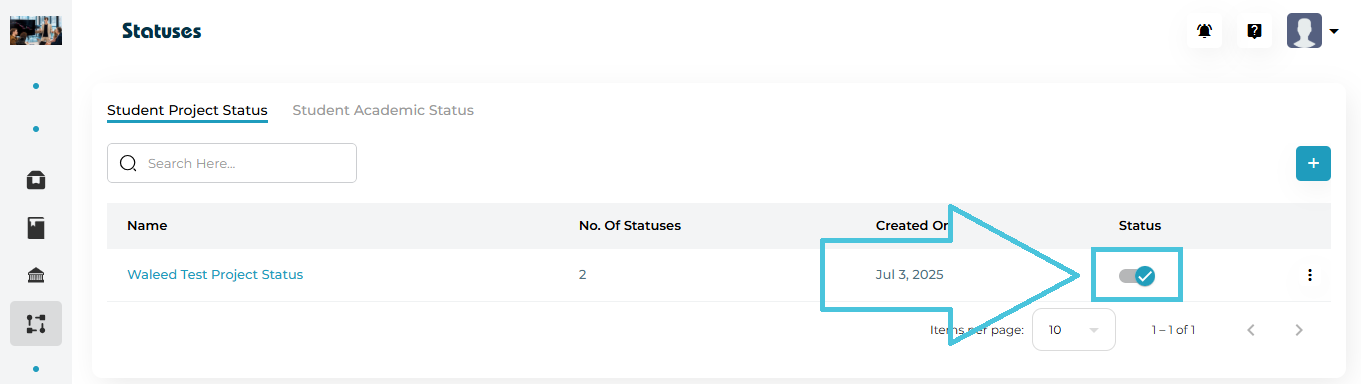
Enabled: Status is available for selection
Disabled: Status is hidden but not deleted
This is useful for:
Temporarily retiring old statuses
Maintaining historical data
Avoiding accidental usage
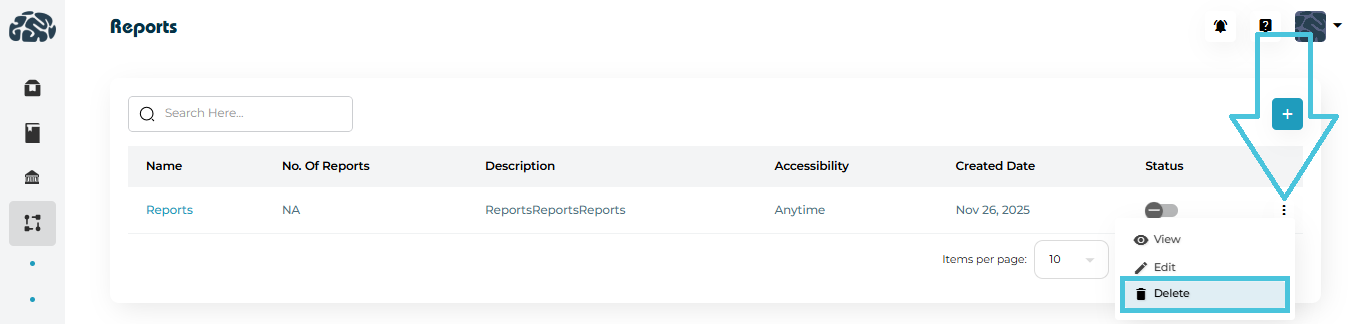
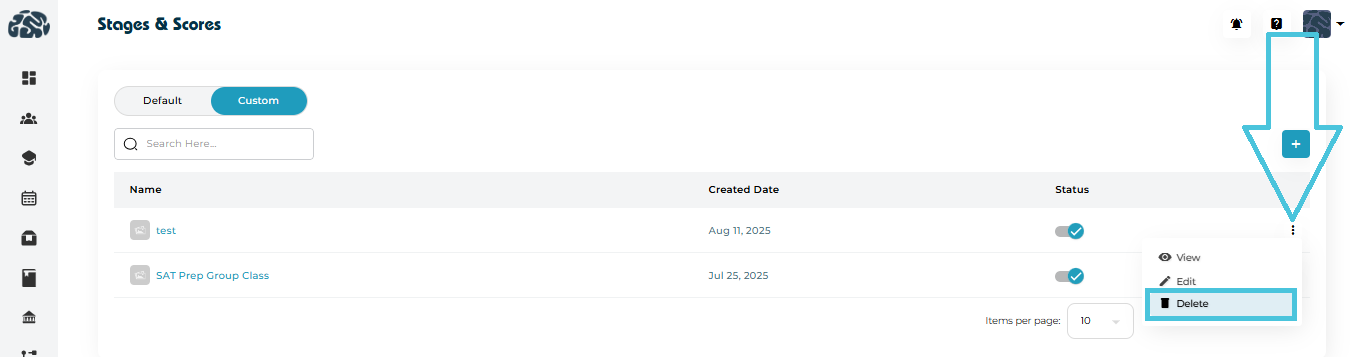
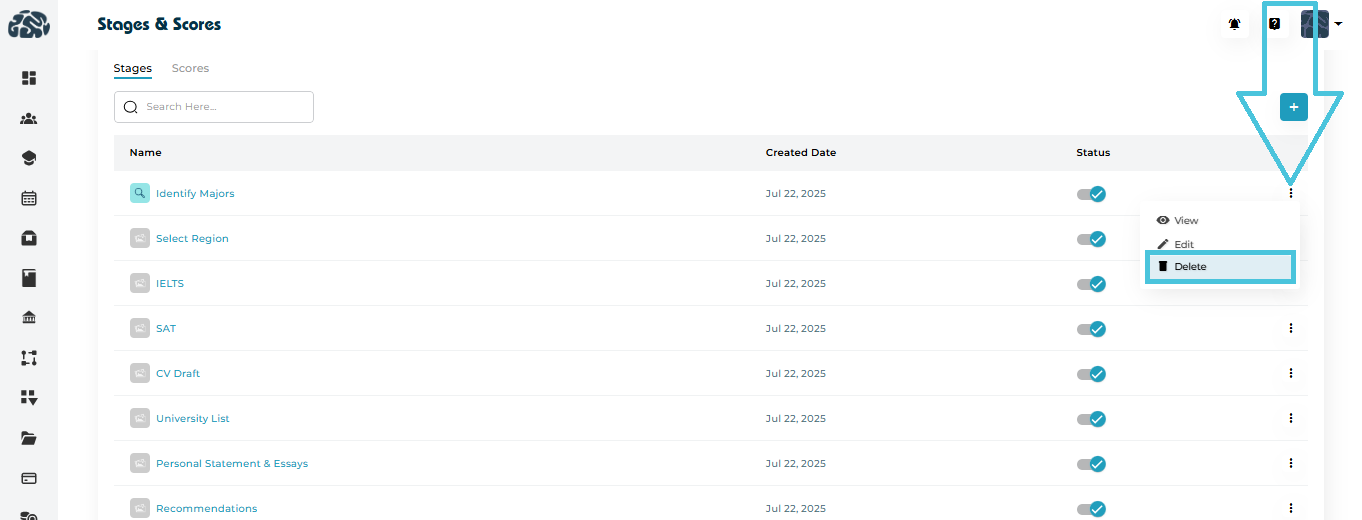
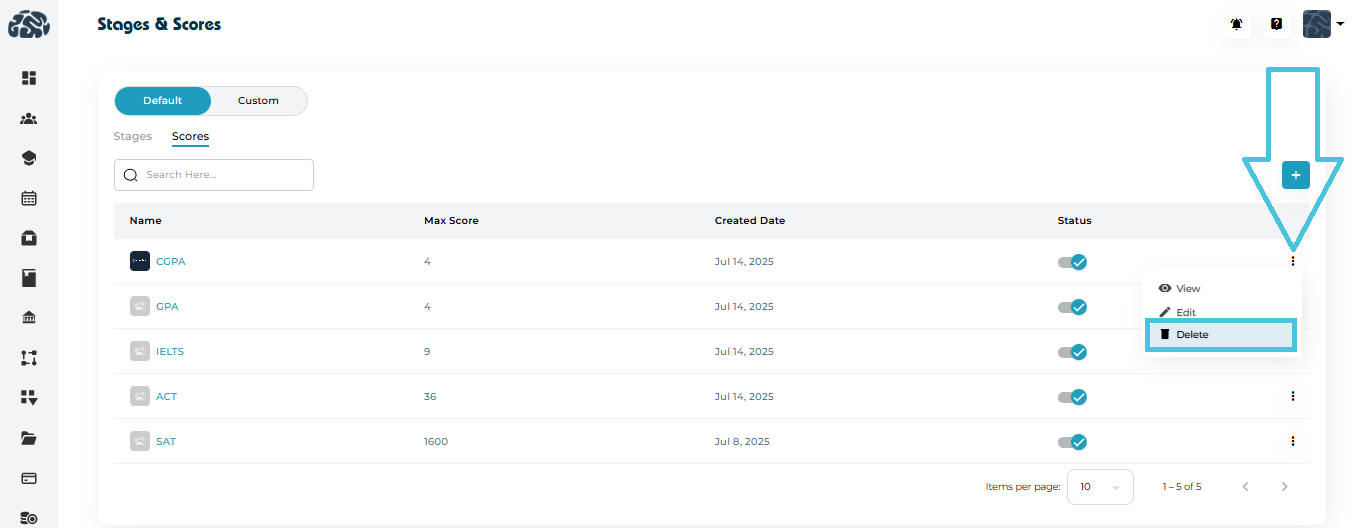
Admins can delete:
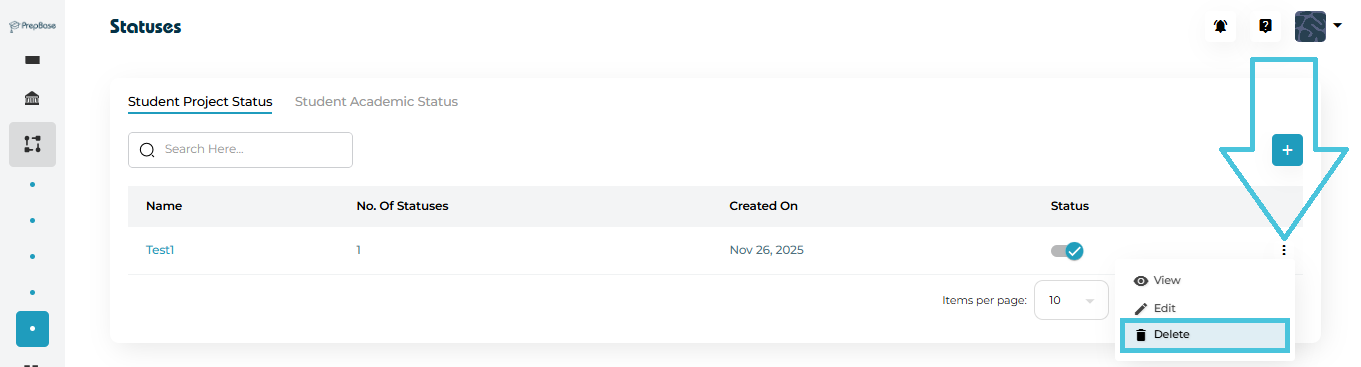
Entire status groups
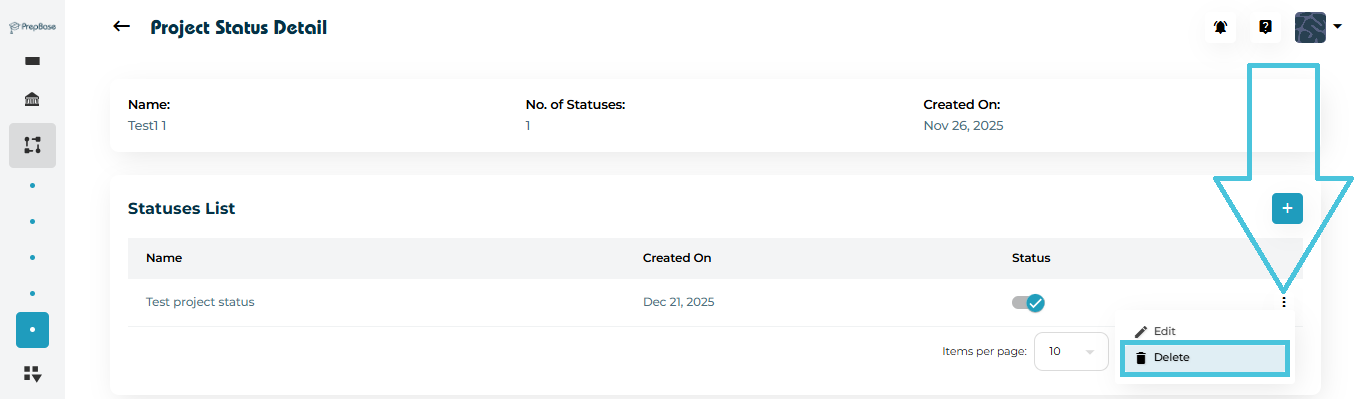
Individual statuses inside a group
⚠️ Best Practice:
Only delete statuses that are no longer in use, as removing active statuses may impact reporting or historical records.


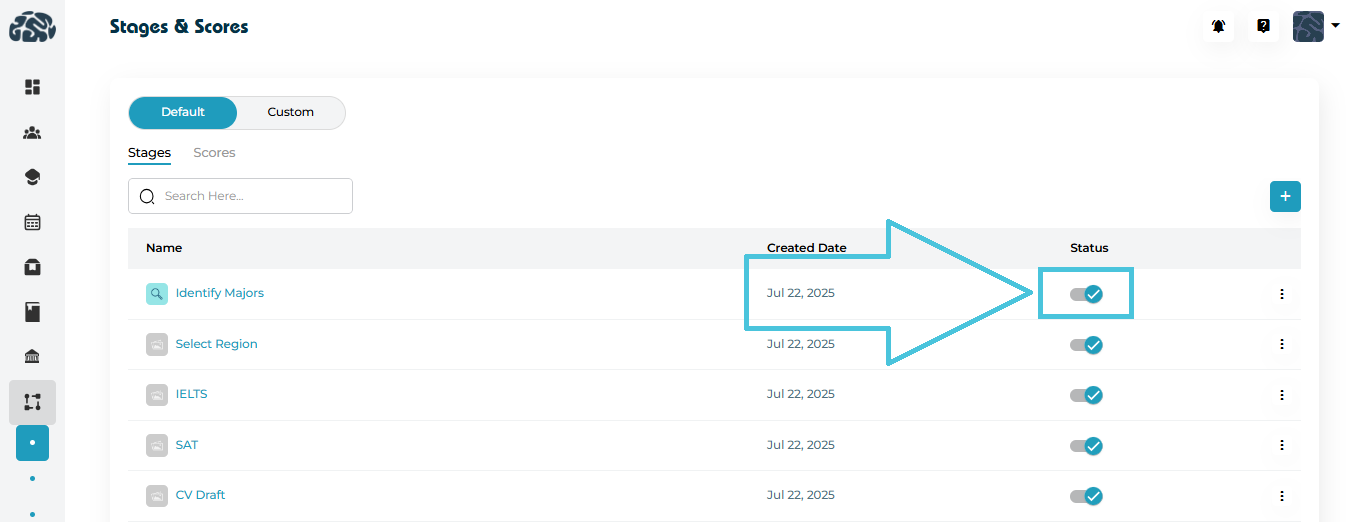 Each stage or score includes a status toggle: