General Purposes Reports provide flexible, cross-functional insights that are not tied to a specific project or role. These reports allow users to analyze operational, financial, academic, and communication-related data across the platform, supporting high-level monitoring and administrative reporting needs.
Accessing General Purposes Reports
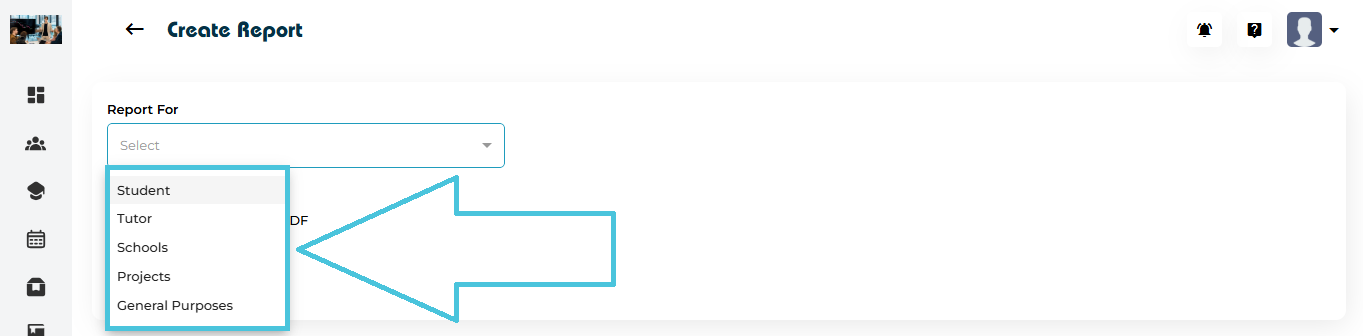
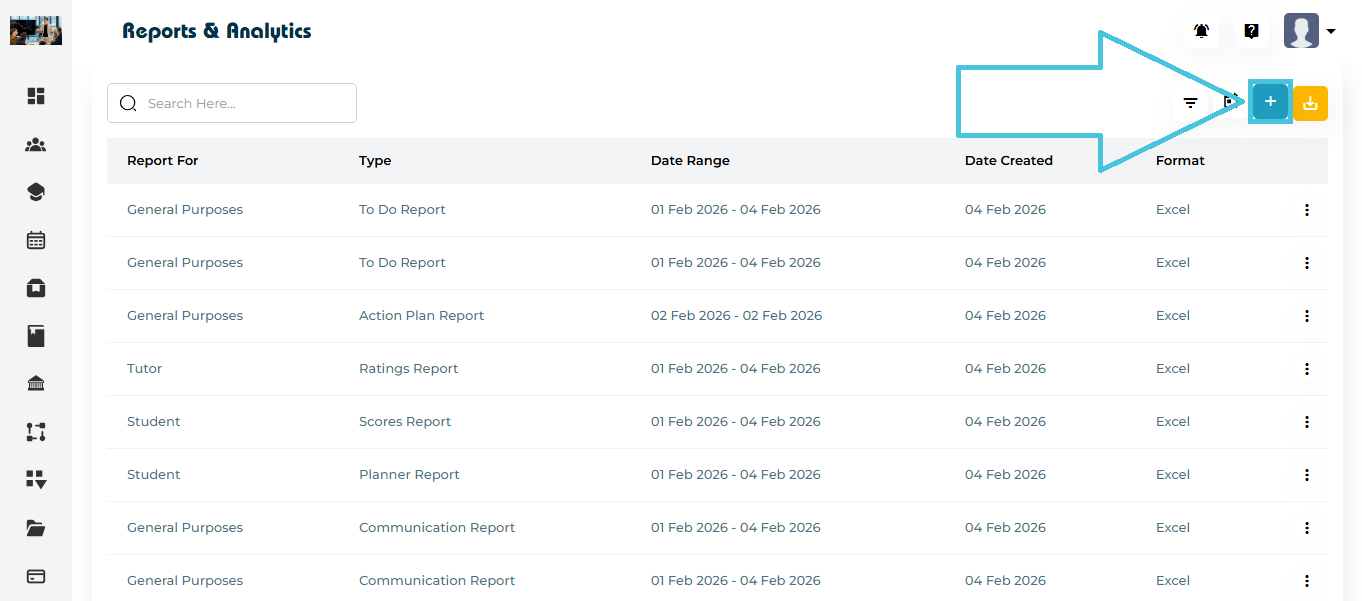
- Navigate to Reports
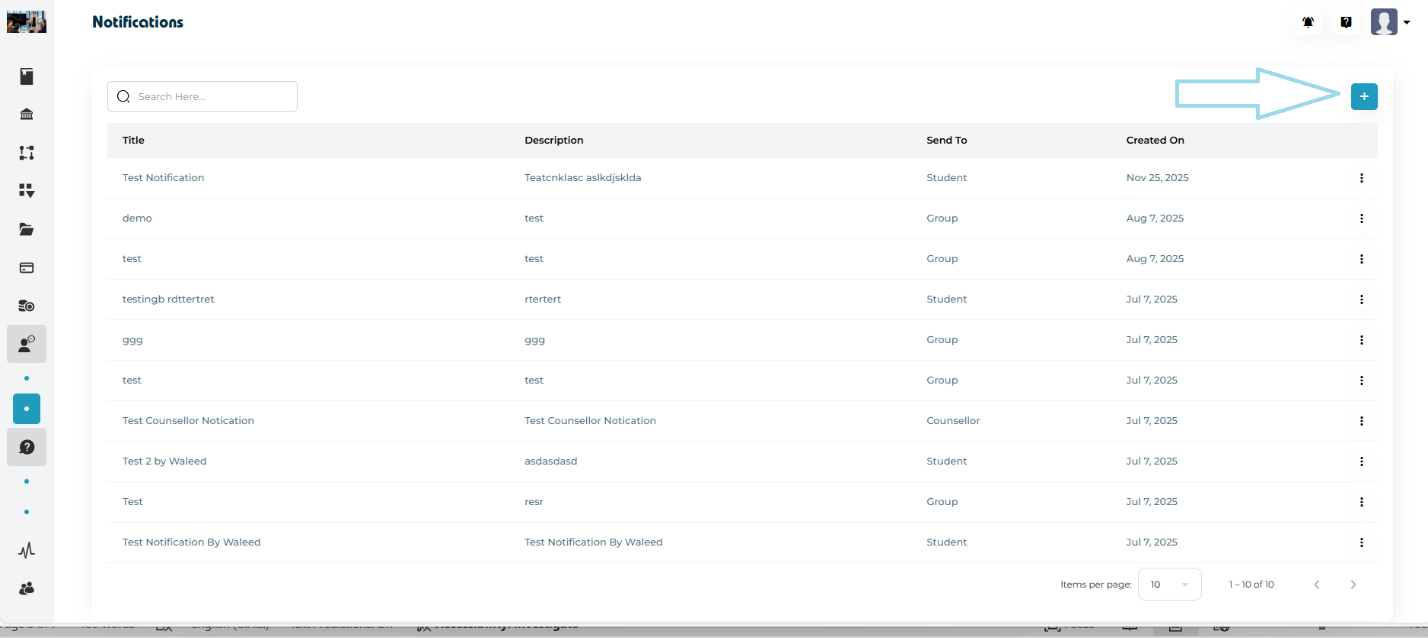
- Select Create Report
- From Report For, select General Purposes
Report Types
Under Report Type, users can select one of the following options. Each report type defines the available filters, grouping options, and output structure:
- Revenue Report
- Sales Tax Report
- Sessions Report
- Action Plan Report
- To Do Report
- Notes Report
- Files Report
- Communication Report
- Courses Report
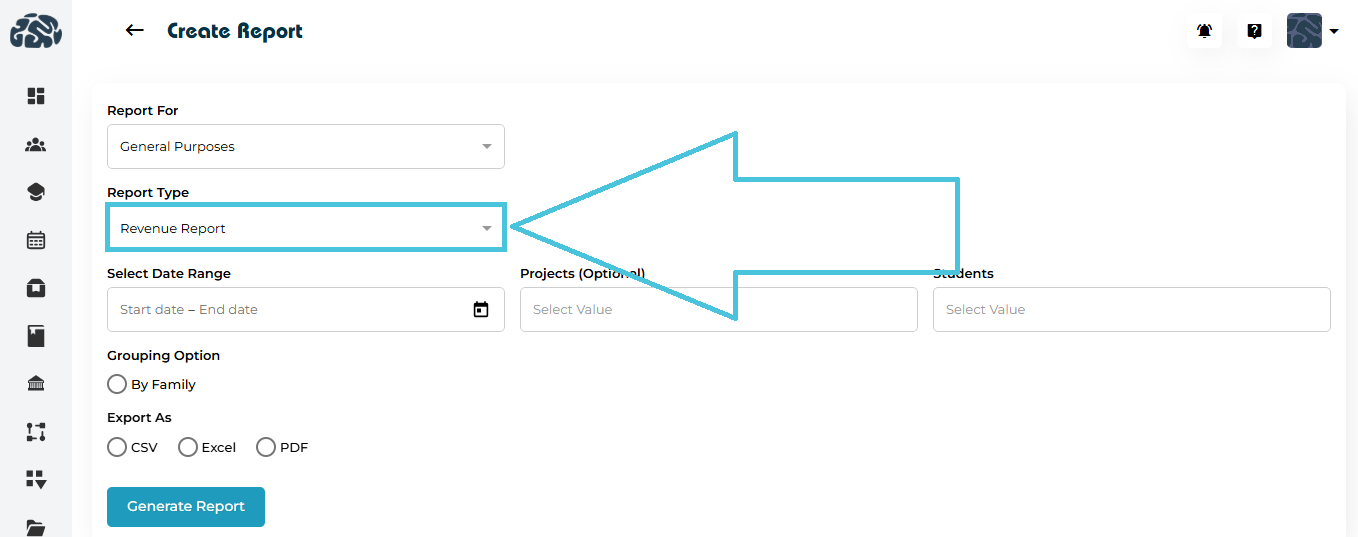
9.1 General Purposes – Revenue Report
The Revenue Report provides visibility into financial revenue generated across the platform over a selected period.
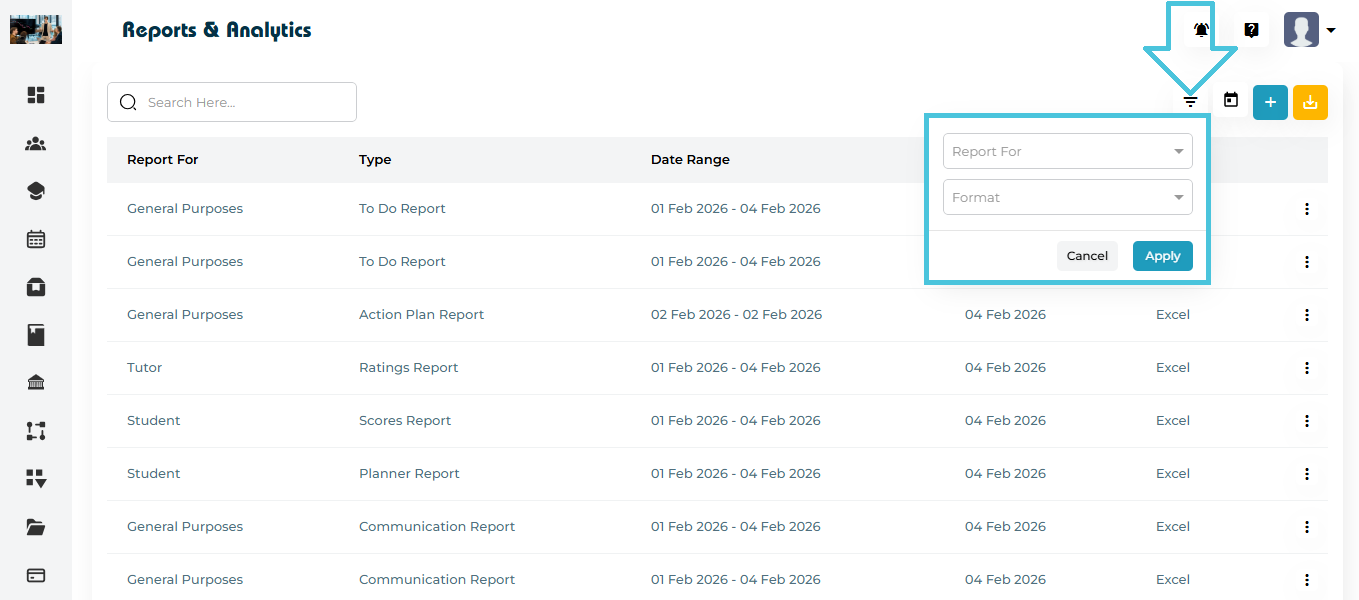
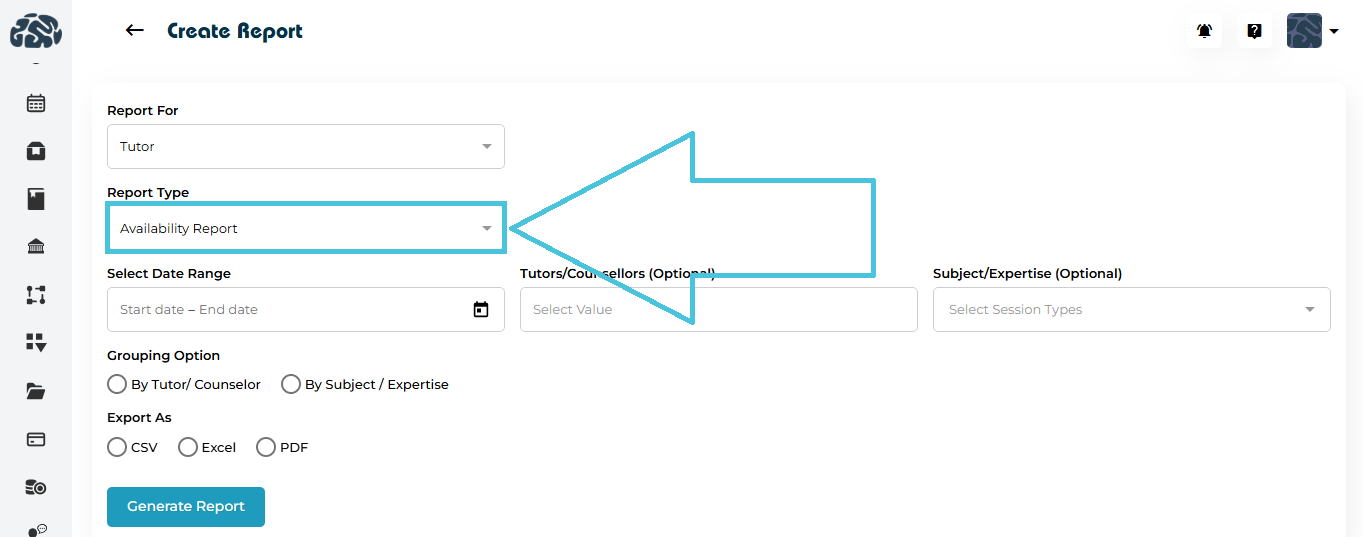
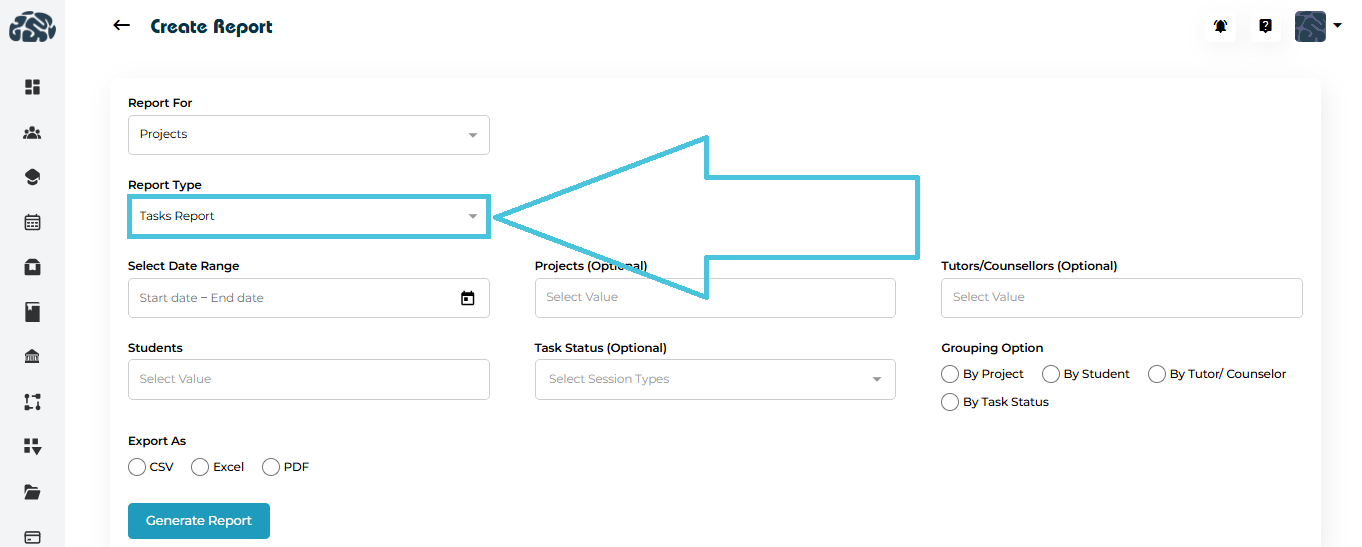
Available Filters & Options
When generating a Revenue Report, users can configure the following:
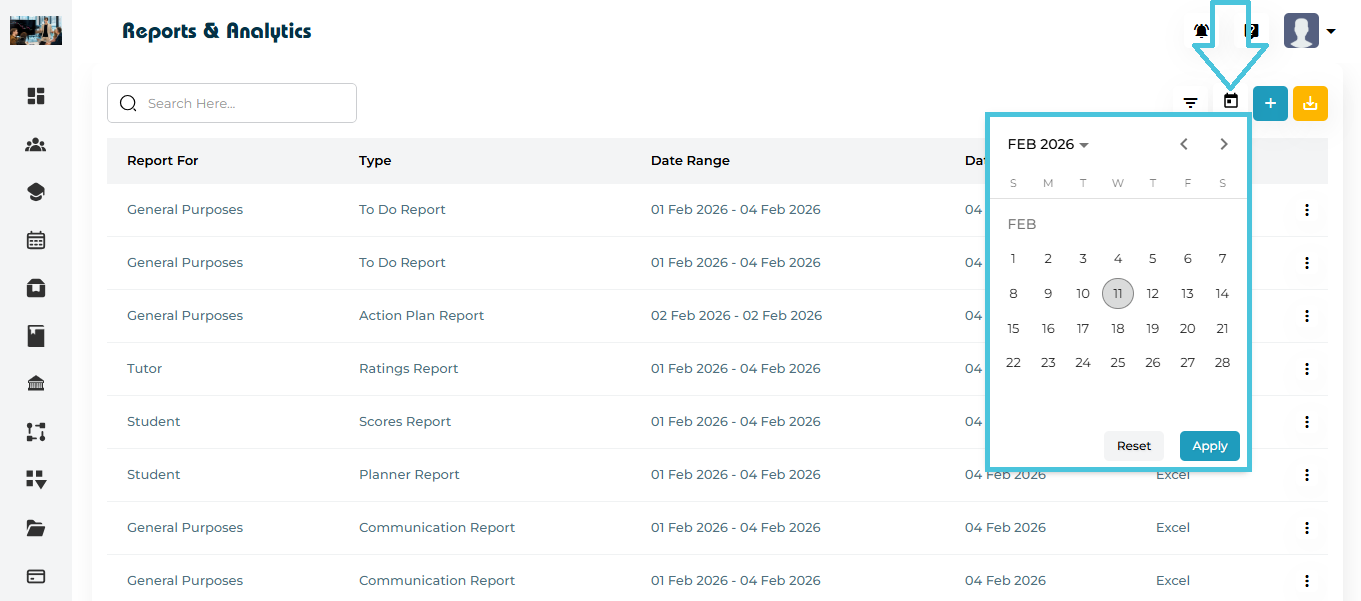
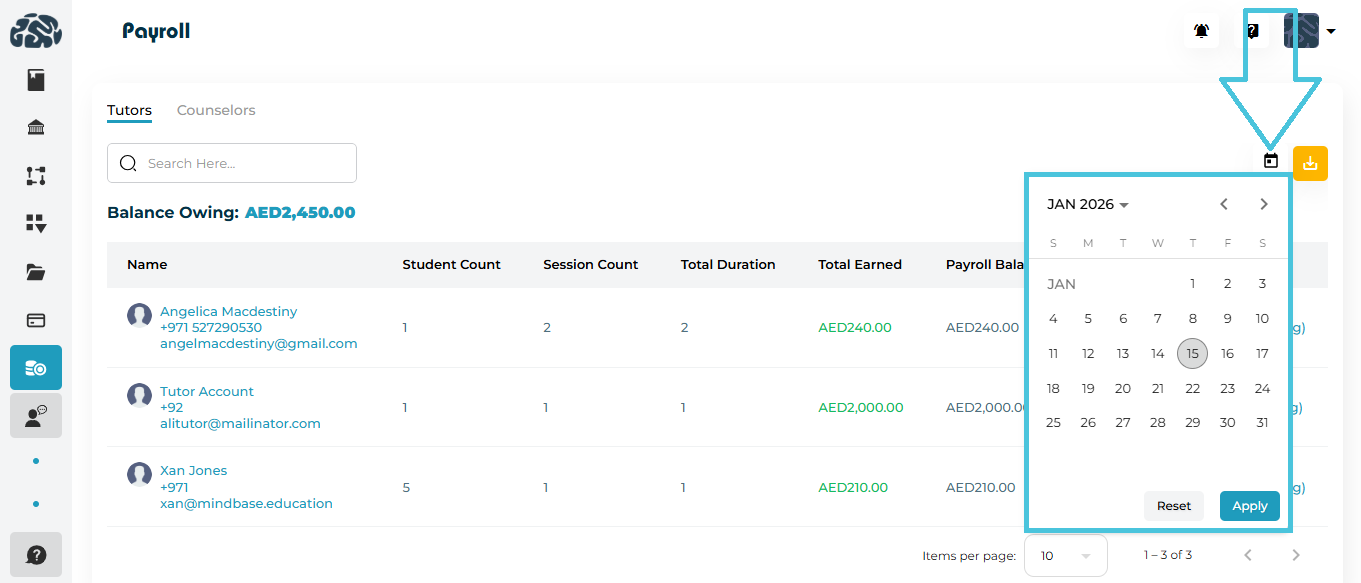
- Date Range (via calendar selection)
- Projects (Optional, may select one or more)
- Students (may select one or more)
Grouping Options
Export Formats
The Revenue Report can be generated in the following formats:
Generating the Report
- Select General Purposes as the report category
- Choose Revenue Report as the report type
- Apply the required filters and grouping option
- Select the export format
- Click Generate
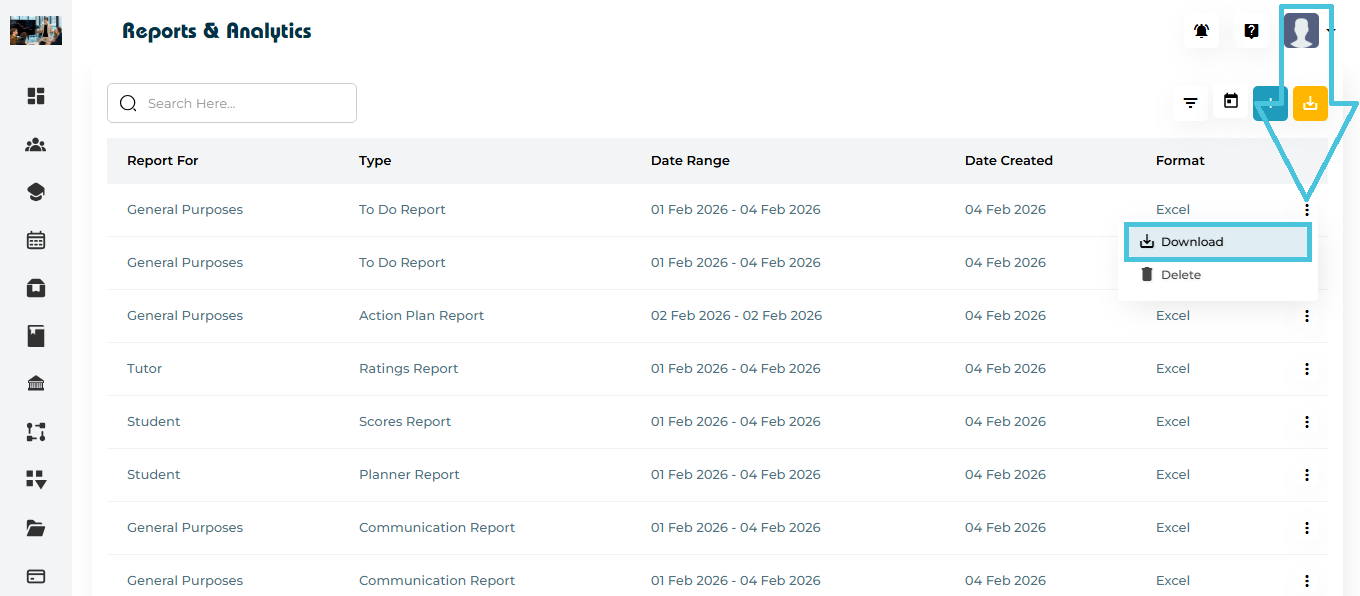
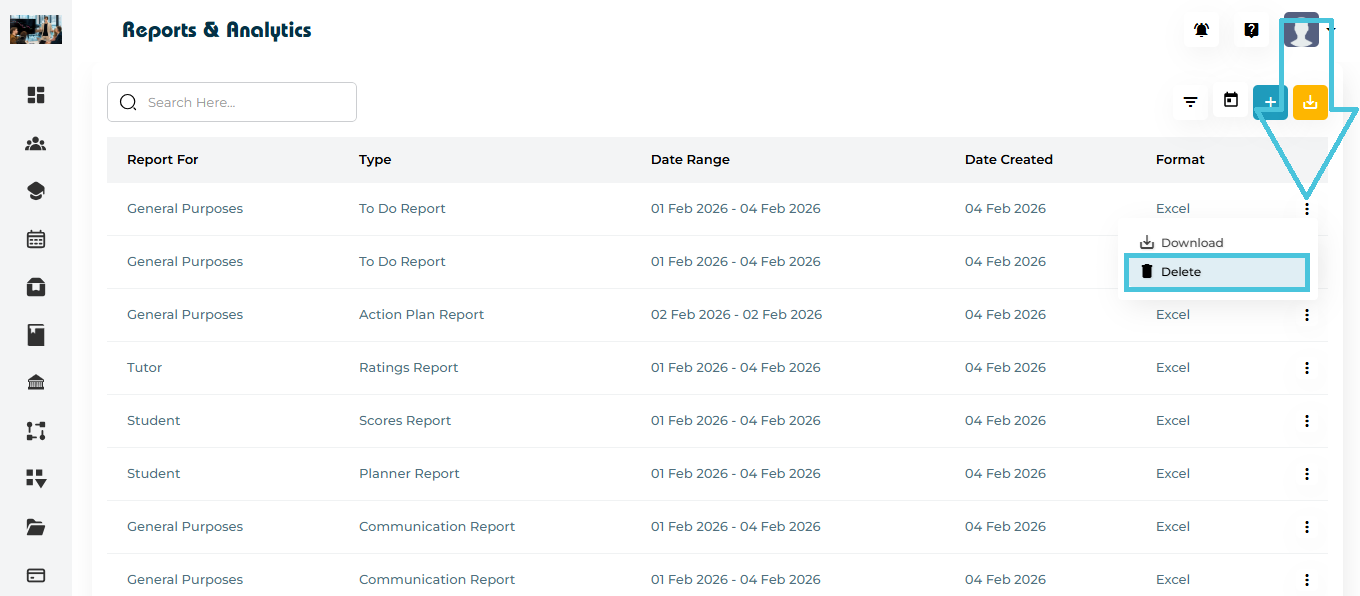
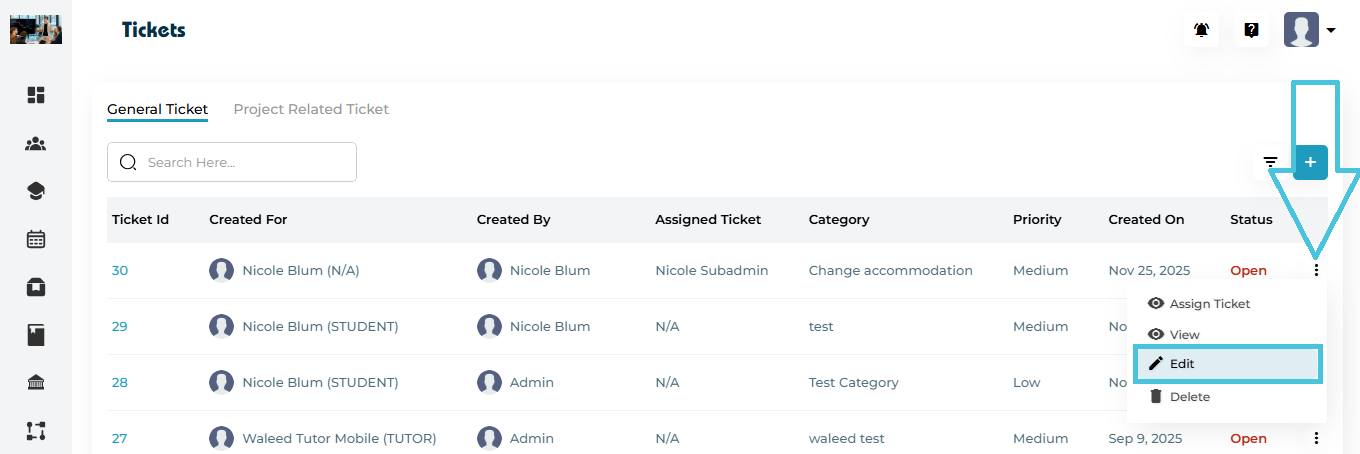
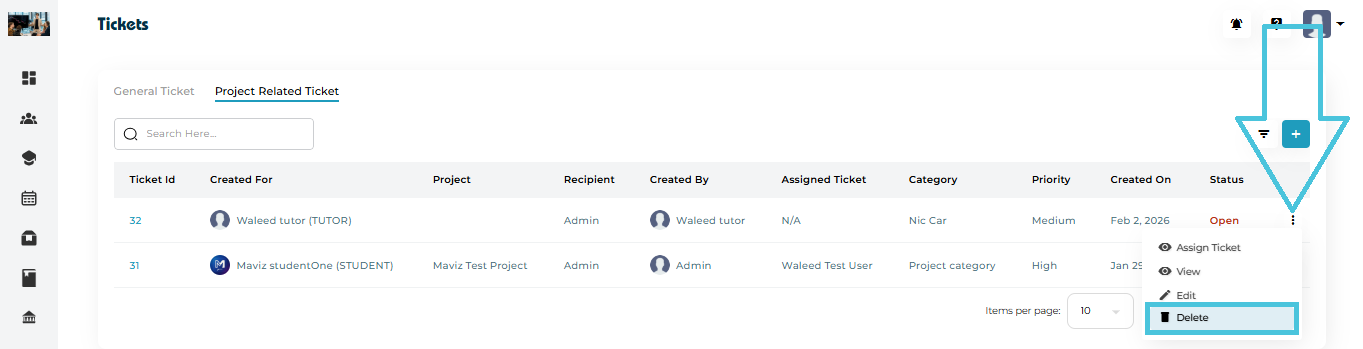
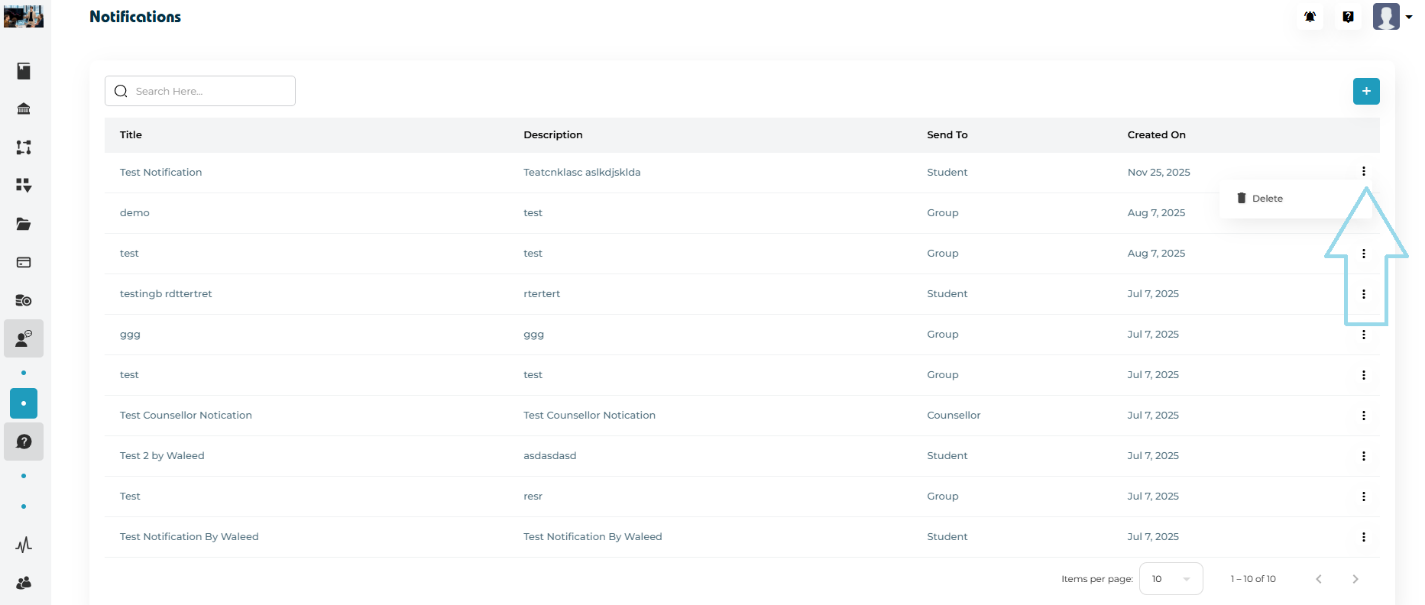
The generated report will appear on the main Reports page and can be downloaded or deleted using the action menu.
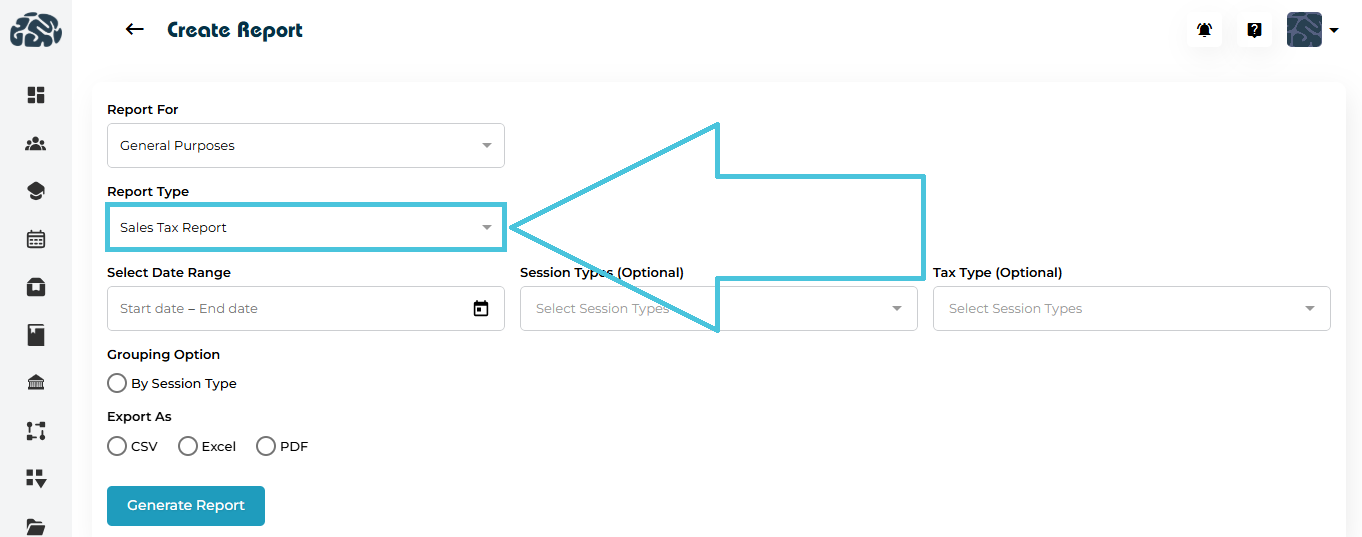
9.2 General Purposes – Sales Tax Report
The Sales Tax Report provides detailed visibility into tax amounts applied to sessions over a selected period. It allows users to review and analyze sales tax data by session type and tax classification, supporting financial compliance and reporting needs.
Available Filters & Options
When generating a Sales Tax Report, users can configure the following:
- Date Range (via calendar selection)
- Session Types (Optional, may select one or more)
- Tax Type (Optional, may select one or more)
Grouping Options
Export Formats
The Sales Tax Report can be generated in the following formats:
Generating the Report
- Select General Purposes as the report category
- Choose Sales Tax Report as the report type
- Apply the required filters and grouping option
- Select the export format
- Click Generate
The generated report will appear on the main Reports page and can be downloaded or deleted using the action menu.
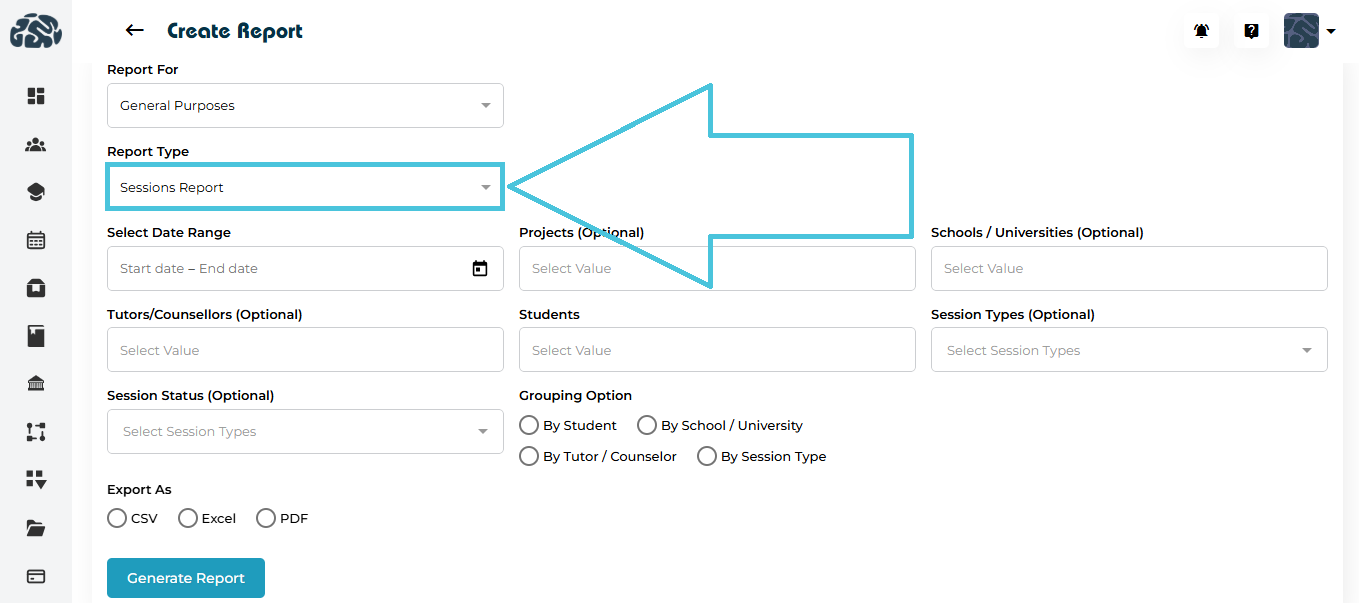
9.3 General Purposes – Session Report
The Sessions Report provides comprehensive visibility into tutoring and counseling sessions conducted over a selected period. It enables users to analyze session activity across projects, schools, students, tutors, and session classifications.
Available Filters & Options
When generating a Sessions Report, users can configure the following:
- Date Range (via calendar selection)
- Projects (Optional, may select one or more)
- Schools / Universities (Optional, may select one or more)
- Tutors / Counselors (Optional, may select one or more)
- Students (may select one or more)
- Session Types (Optional, may select one or more)
- Session Status (Optional, may select one or more)
Grouping Options
- By Student
- By School / University
- By Tutor / Counselor
- By Session Type
Export Formats
The Sessions Report can be generated in the following formats:
Generating the Report
- Select General Purposes as the report category
- Choose Sessions Report as the report type
- Apply the required filters and grouping option
- Select the export format
- Click Generate
The generated report will appear on the main Reports page and can be downloaded or deleted using the action menu.
9.4 General Purposes – Action Plan Report
The Action Plan Report provides visibility into action plans assigned to students over a selected period. It allows users to track progress, status, and ownership of action plans across tutors, counselors, and students.
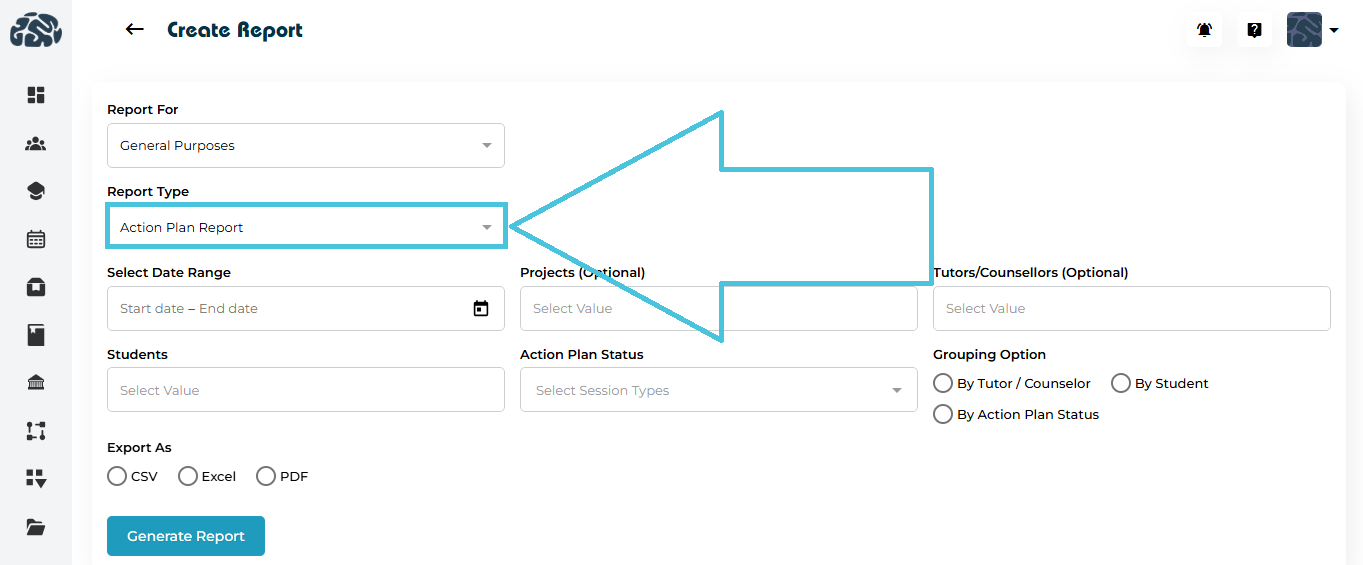
Available Filters & Options
When generating an Action Plan Report, users can configure the following:
- Date Range (via calendar selection)
- Projects (Optional, may select one or more)
- Tutors / Counselors (Optional, may select one or more)
- Students (may select one or more)
- Action Plan Status (Optional, may select one or more)
Grouping Options
- By Tutor / Counselor
- By Student
- By Action Plan Status
Export Formats
The Action Plan Report can be generated in the following formats:
Generating the Report
- Select General Purposes as the report category
- Choose Action Plan Report as the report type
- Apply the required filters and grouping option
- Select the export format
- Click Generate
The generated report will appear on the main Reports page and can be downloaded or deleted using the action menu.
9.5 General Purposes – To Do Report
The To Do Report provides visibility into to-do items assigned to students over a selected period. It allows users to monitor completion status, ownership, and outstanding tasks across tutors, counselors, and students.
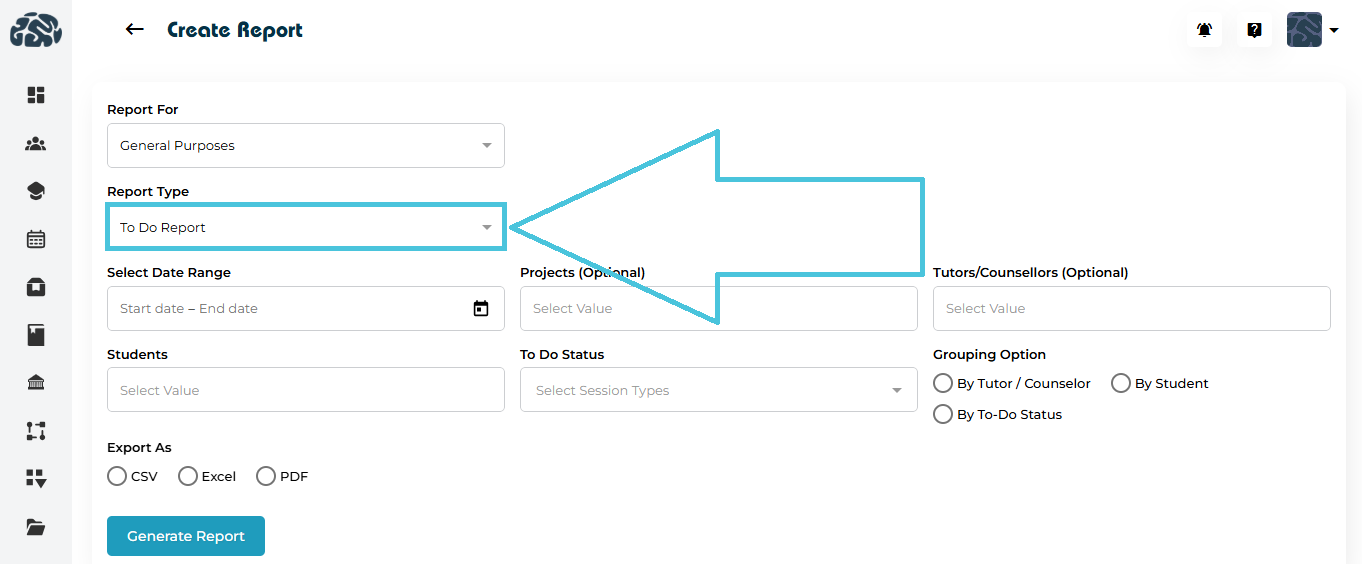
Available Filters & Options
When generating a To Do Report, users can configure the following:
- Date Range (via calendar selection)
- Projects (Optional, may select one or more)
- Tutors / Counselors (Optional, may select one or more)
- Students (may select one or more)
- To Do Status (Pending, Completed, Overdue)
Grouping Options
- By Tutor / Counselor
- By Student
- By To Do Status
Export Formats
The To Do Report can be generated in the following formats:
Generating the Report
- Select General Purposes as the report category
- Choose To Do Report as the report type
- Apply the required filters and grouping option
- Select the export format
- Click Generate
The generated report will appear on the main Reports page and can be downloaded or deleted using the action menu.
9.6 General Purposes – Notes Report
The Notes Report provides visibility into notes created for students over a selected period. It allows users to review documented interactions, observations, and follow-up records created by tutors or counselors across projects.
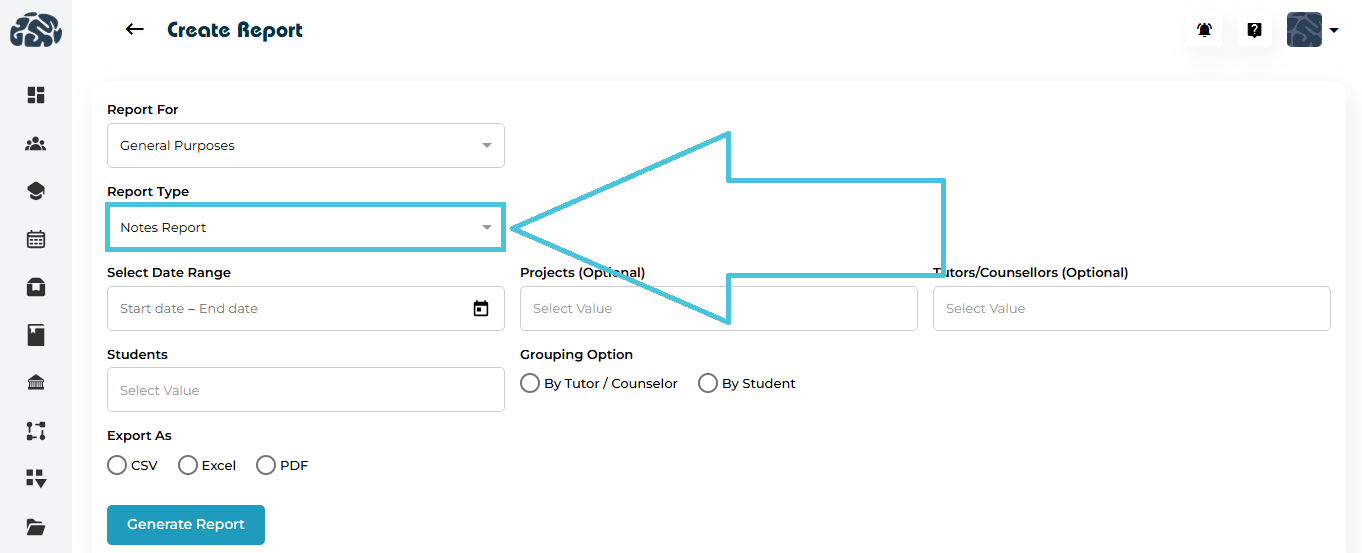
Available Filters & Options
When generating a Notes Report, users can configure the following:
- Date Range (via calendar selection)
- Projects (Optional, may select one or more)
- Tutors / Counselors (Optional, may select one or more)
- Students (may select one or more)
Grouping Options
- By Tutor / Counselor
- By Student
Export Formats
The Notes Report can be generated in the following formats:
Generating the Report
- Select General Purposes as the report category
- Choose Notes Report as the report type
- Apply the required filters and grouping option
- Select the export format
- Click Generate
The generated report will appear on the main Reports page and can be downloaded or deleted using the action menu.
9.7 General Purposes – Files Report
The Files Report provides visibility into files uploaded and associated with students over a selected period. It enables users to review documentation activity, file distribution, and file types shared by tutors or counselors across projects.
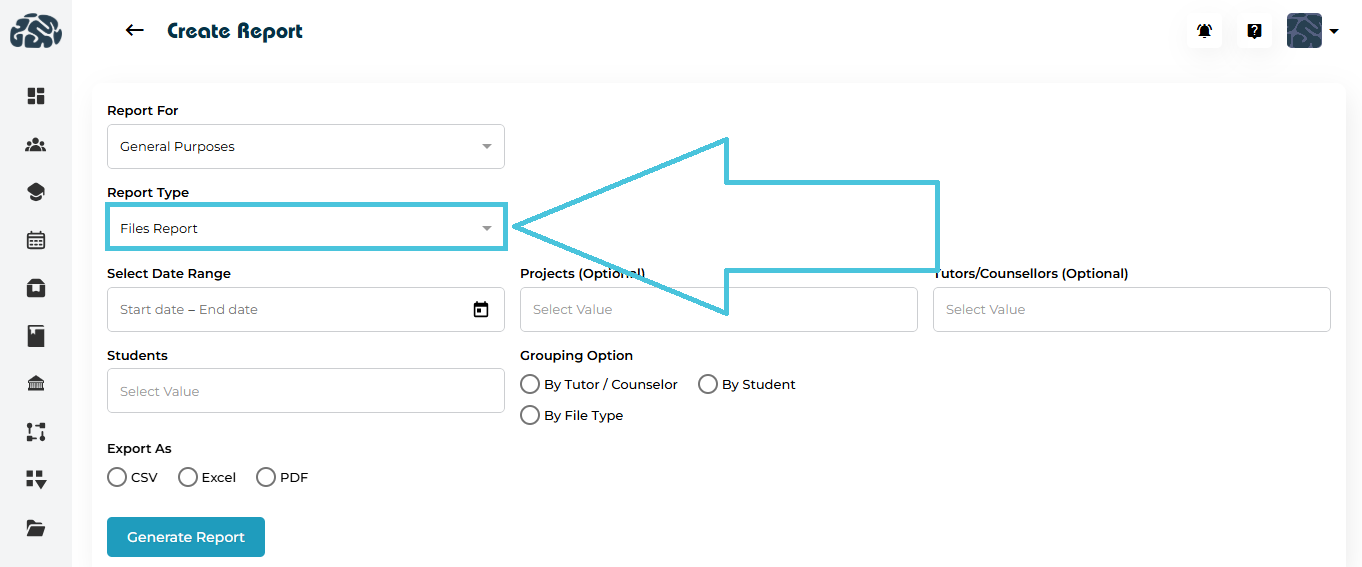
Available Filters & Options
When generating a Files Report, users can configure the following:
- Date Range (via calendar selection)
- Projects (Optional, may select one or more)
- Tutors / Counselors (Optional, may select one or more)
- Students (may select one or more)
Grouping Options
- By Tutor / Counselor
- By Student
- By File Type
Export Formats
The Files Report can be generated in the following formats:
Generating the Report
- Select General Purposes as the report category
- Choose Files Report as the report type
- Apply the required filters and grouping option
- Select the export format
- Click Generate
The generated report will appear on the main Reports page and can be downloaded or deleted using the action menu.
9.8 General Purposes – Communication Report
The Communication Report provides visibility into communication activities recorded within the system over a selected period. It allows users to review communication volume and types across projects and user groups.
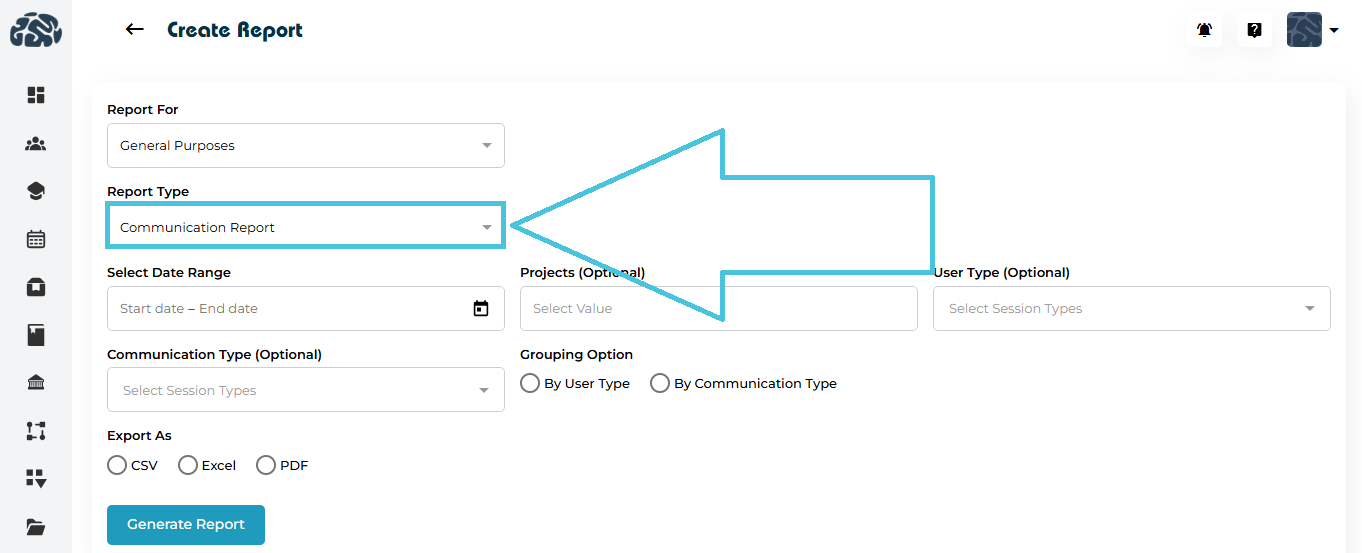
Available Filters & Options
When generating a Communication Report, users can configure the following:
- Date Range (via calendar selection)
- Projects (Optional, may select one or more)
- User Type (Optional)
- Communication Type (Optional)
Grouping Options
- By User Type
- By Communication Type
Export Formats
The Communication Report can be generated in the following formats:
Generating the Report
- Select General Purposes as the report category
- Choose Communication Report as the report type
- Apply the required filters and grouping option
- Select the export format
- Click Generate
The generated report will appear on the main Reports page and can be downloaded or deleted using the action menu.
9.9 General Purposes – Courses Report
The Courses Report provides visibility into course-related data across projects, allowing users to analyze course participation, categories, and completion status over a selected period.
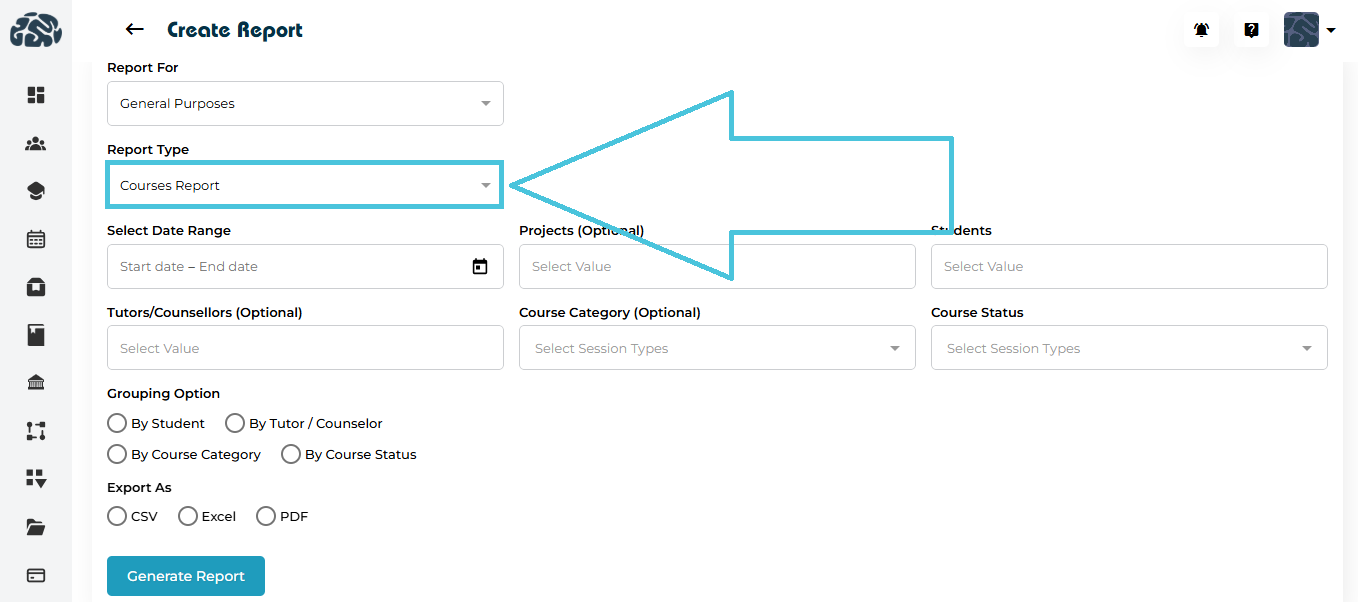
Available Filters & Options
When generating a Courses Report, users can configure the following:
- Date Range (via calendar selection)
- Projects (Optional, may select one or more)
- Students (may select one or more)
- Tutors / Counselors (Optional)
- Course Category (Optional)
- Course Status (Optional- In Progress/ Completed)
Grouping Options
- By Student
- By Tutor / Counselor
- By Course Category
- By Course Status
Export Formats
The Courses Report can be generated in the following formats:
Generating the Report
- Select General Purposes as the report category
- Choose Courses Report as the report type
- Apply the required filters and grouping option
- Select the export format
- Click Generate
The generated report will appear on the main Reports page and can be downloaded or deleted using the action menu.

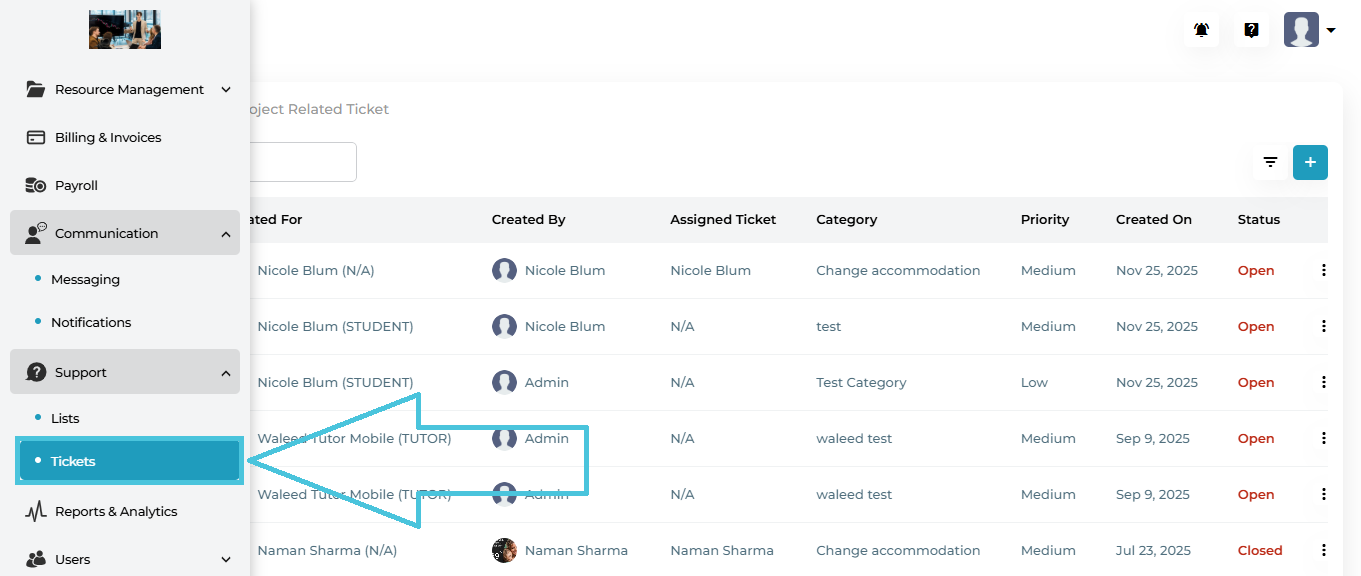
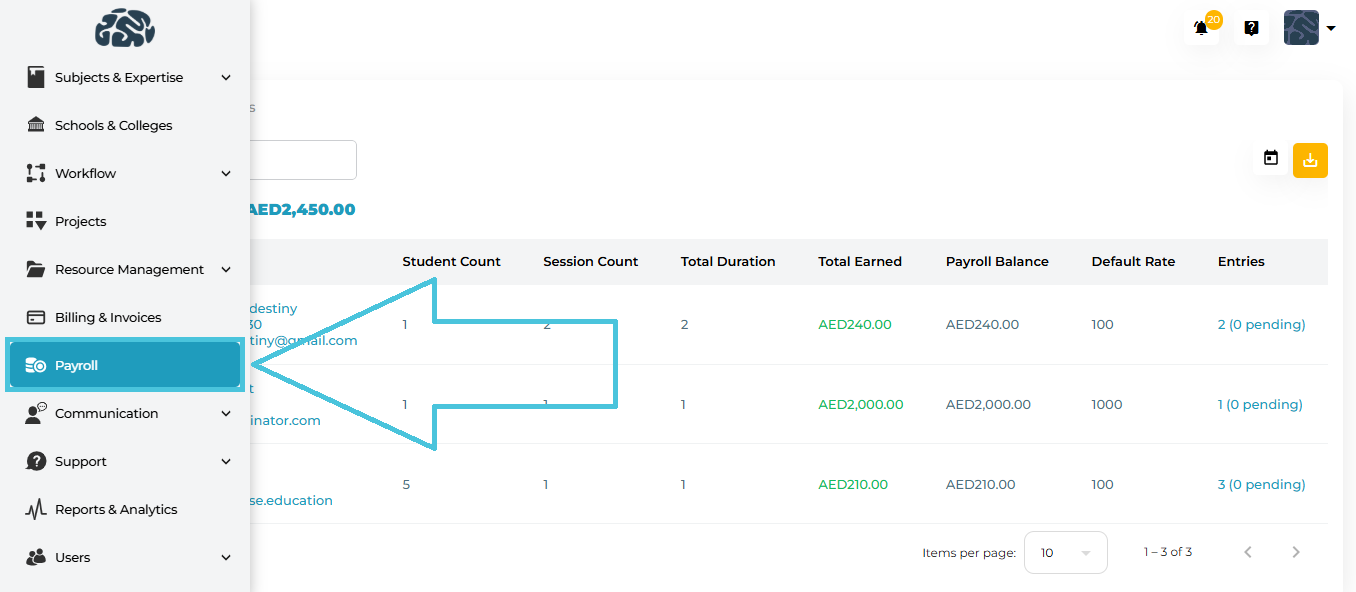
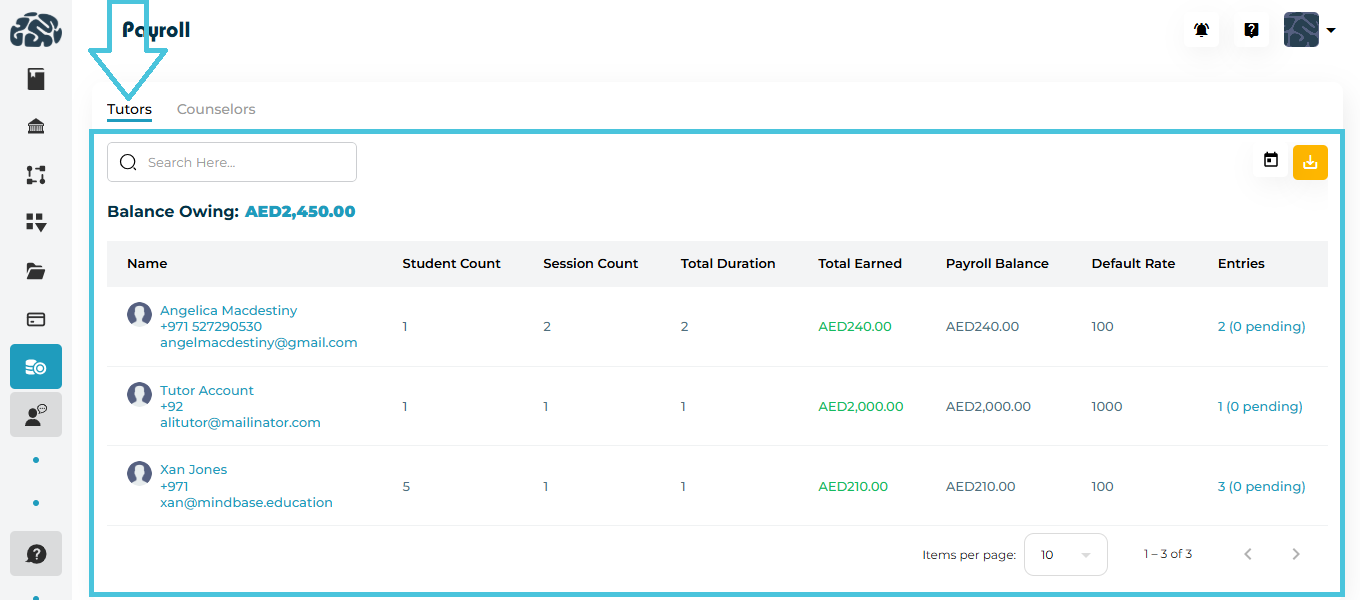
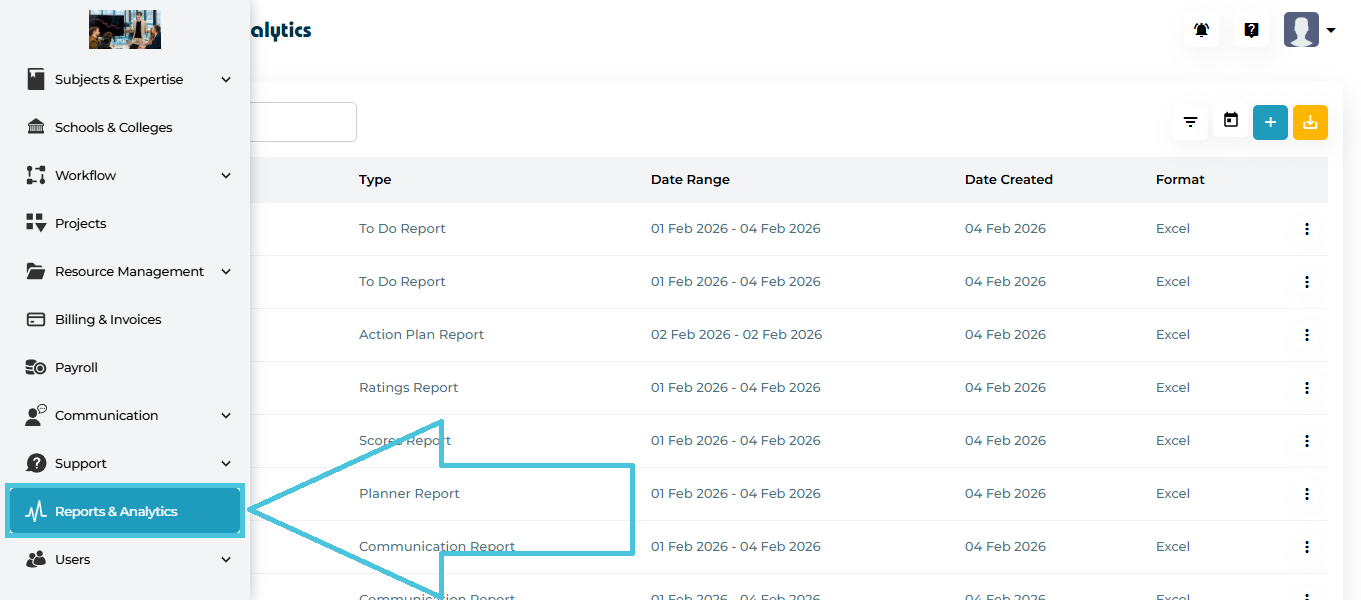 Left Sidebar → Reports & Analytics
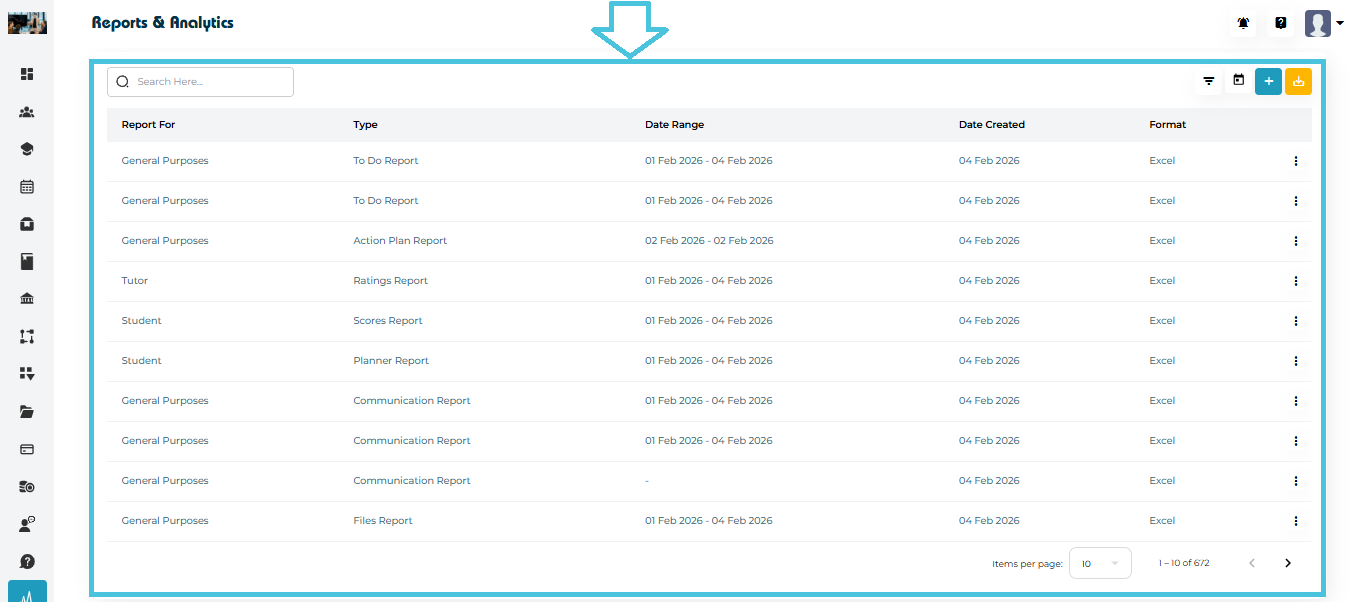
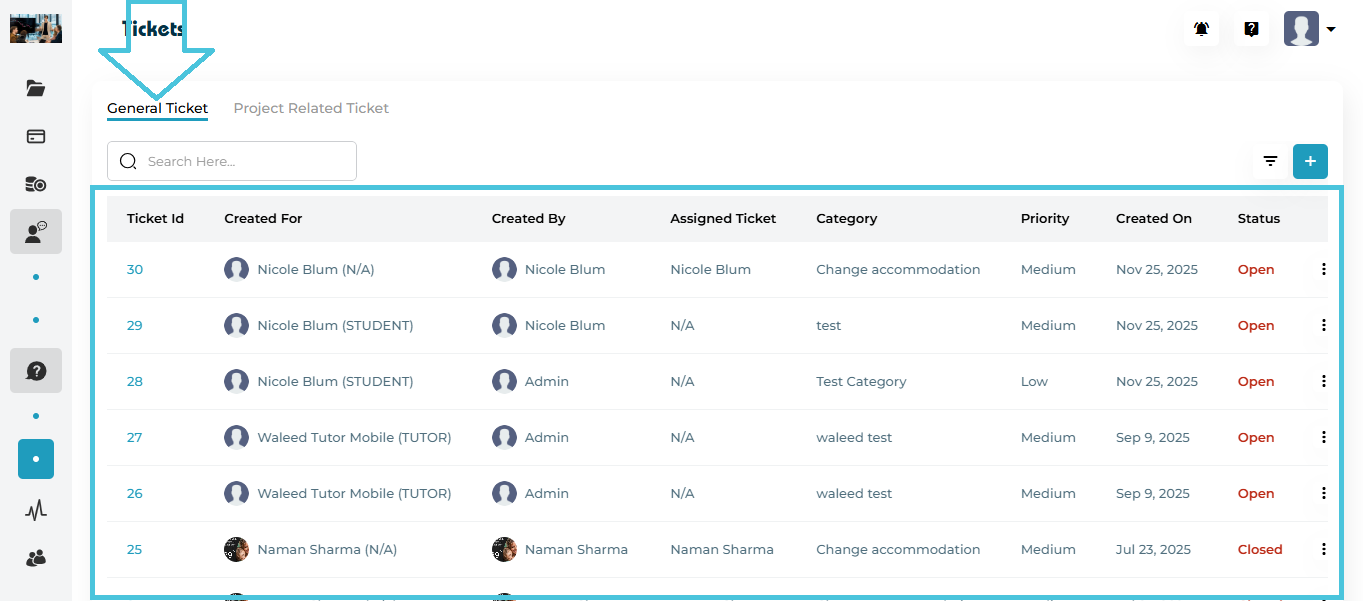
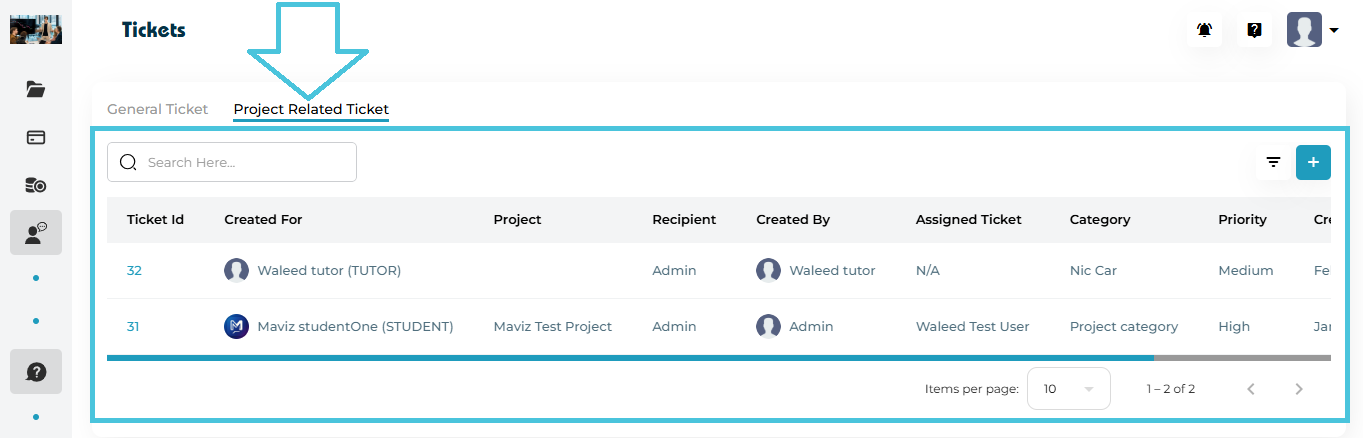
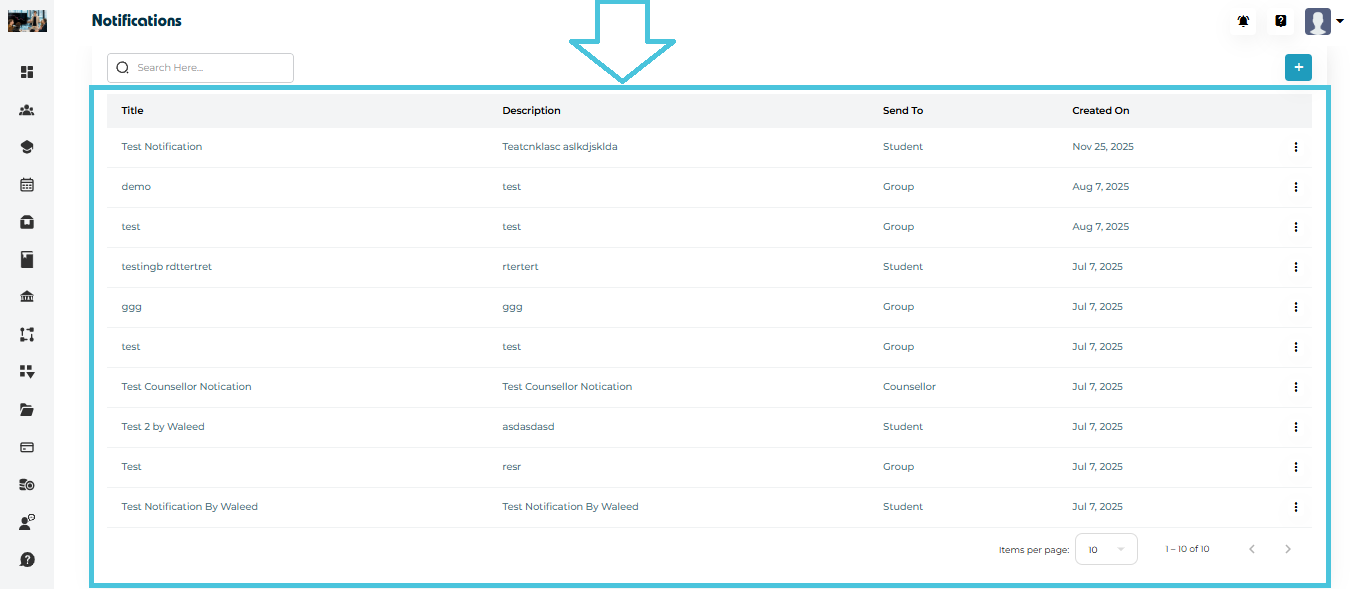
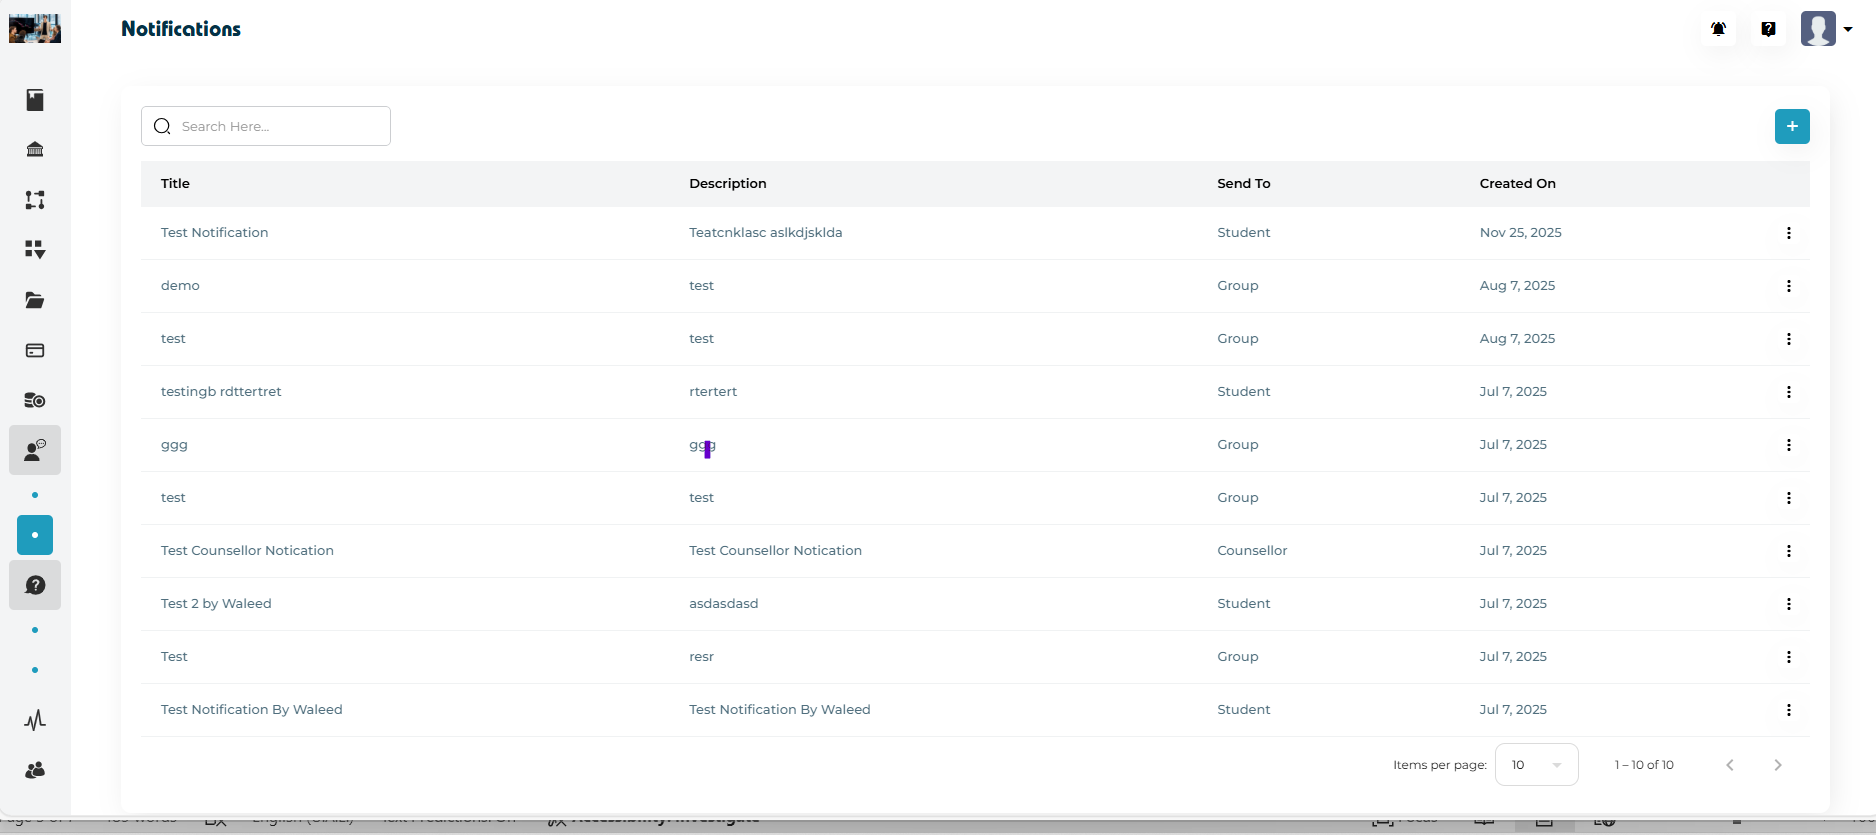
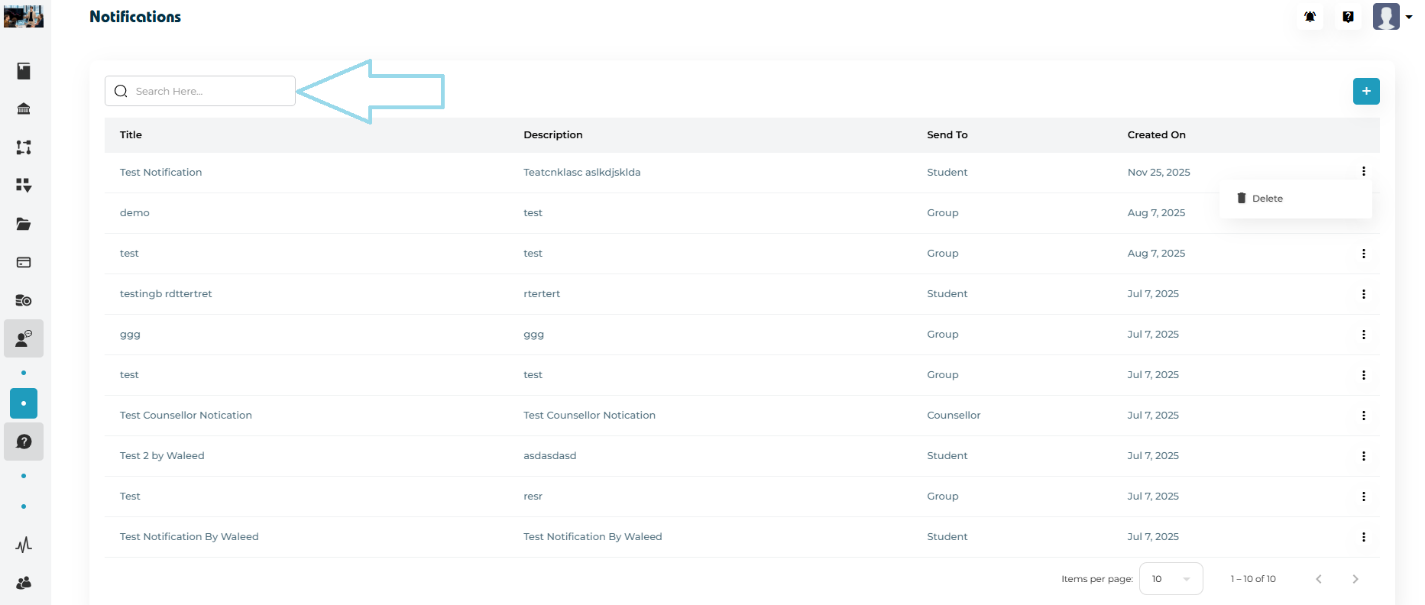
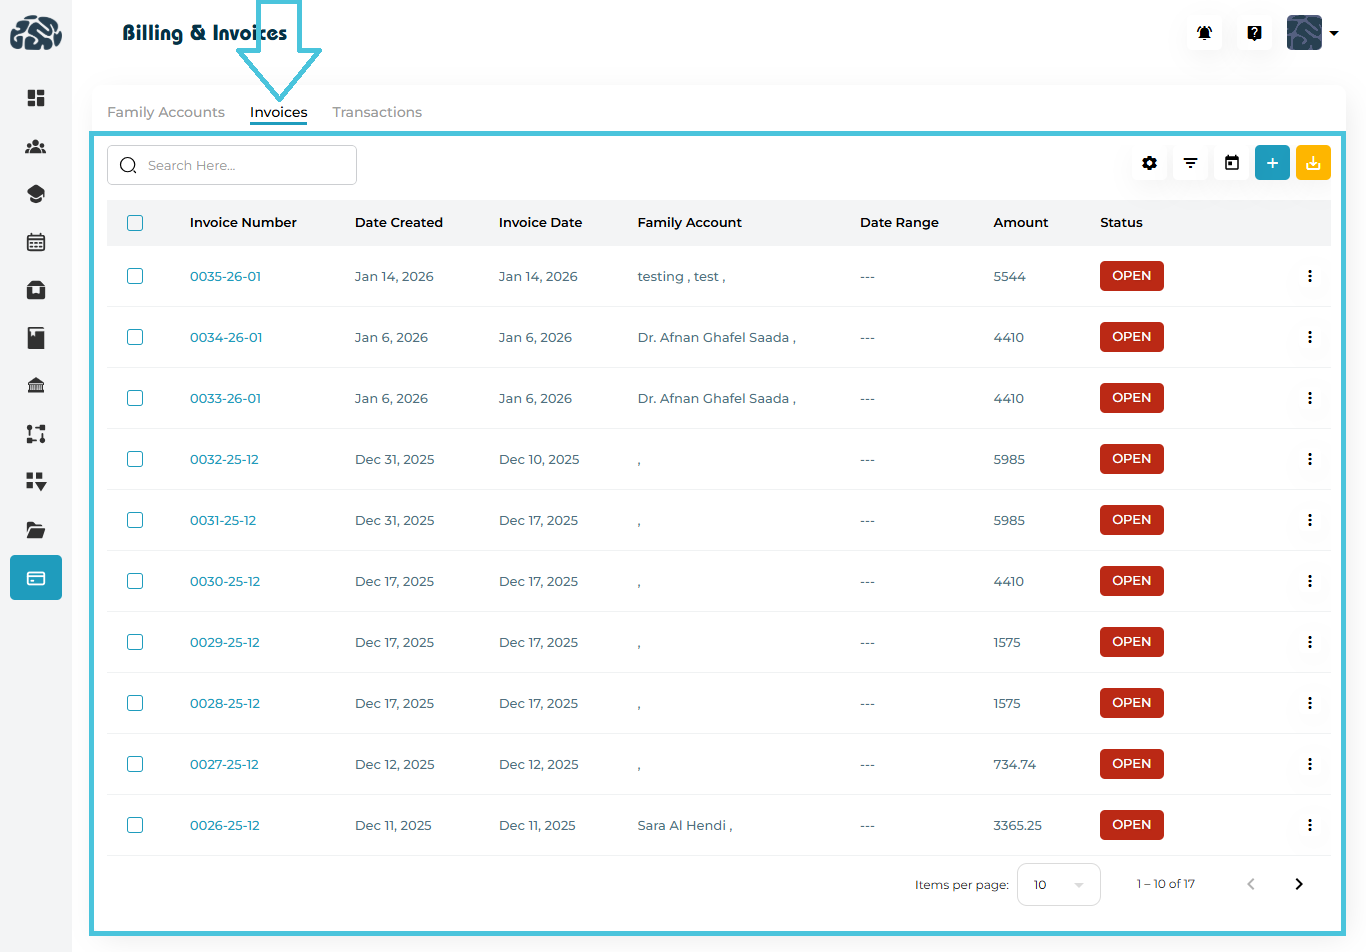
The Reports listing page includes:
Left Sidebar → Reports & Analytics
The Reports listing page includes:


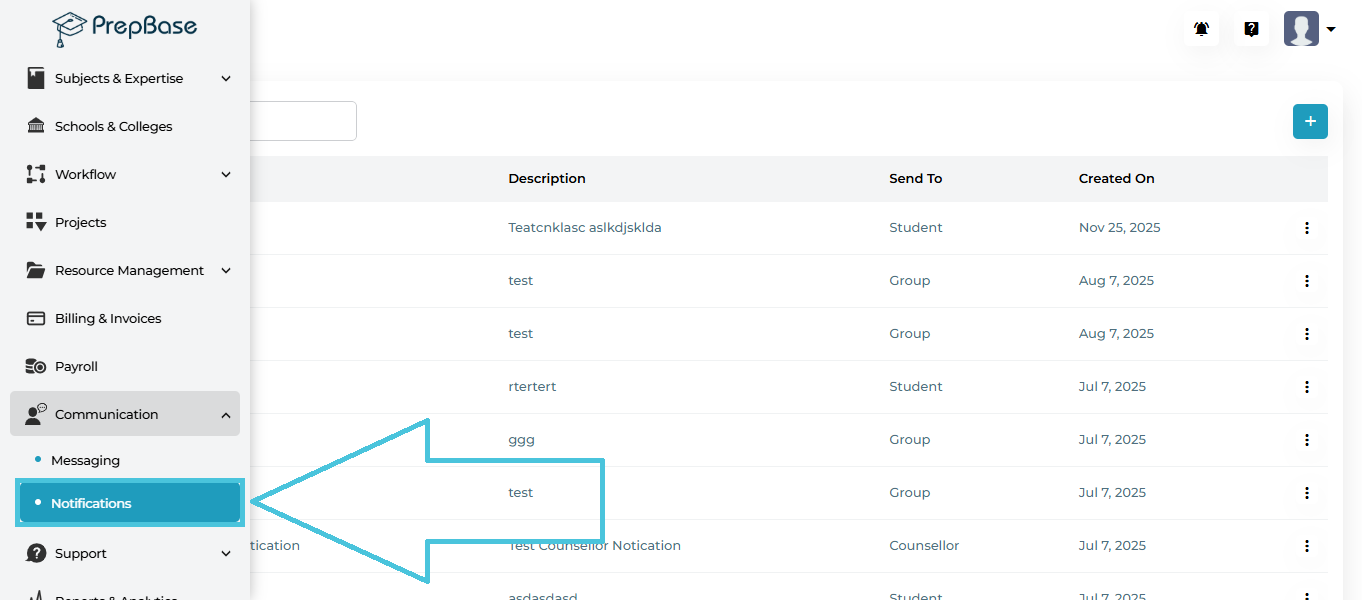
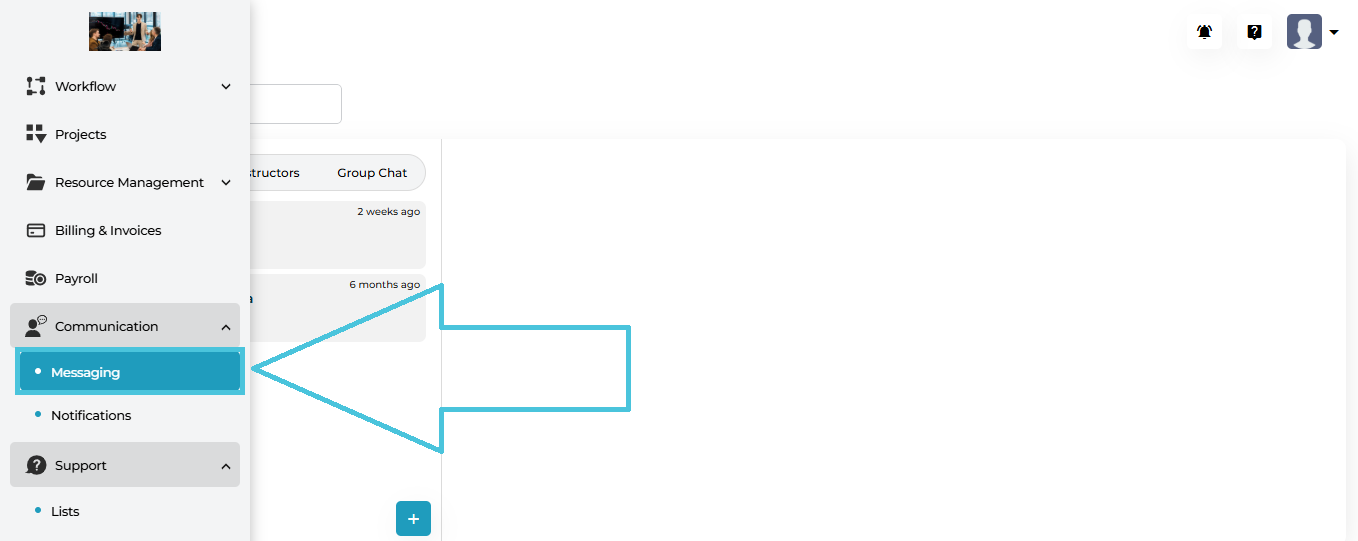
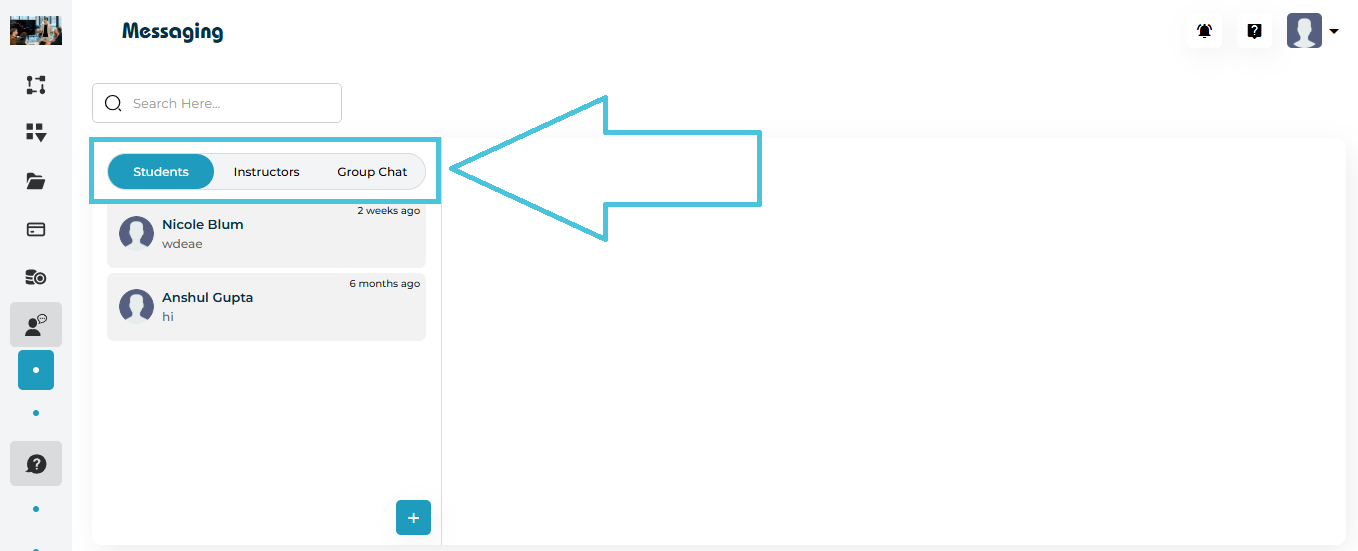
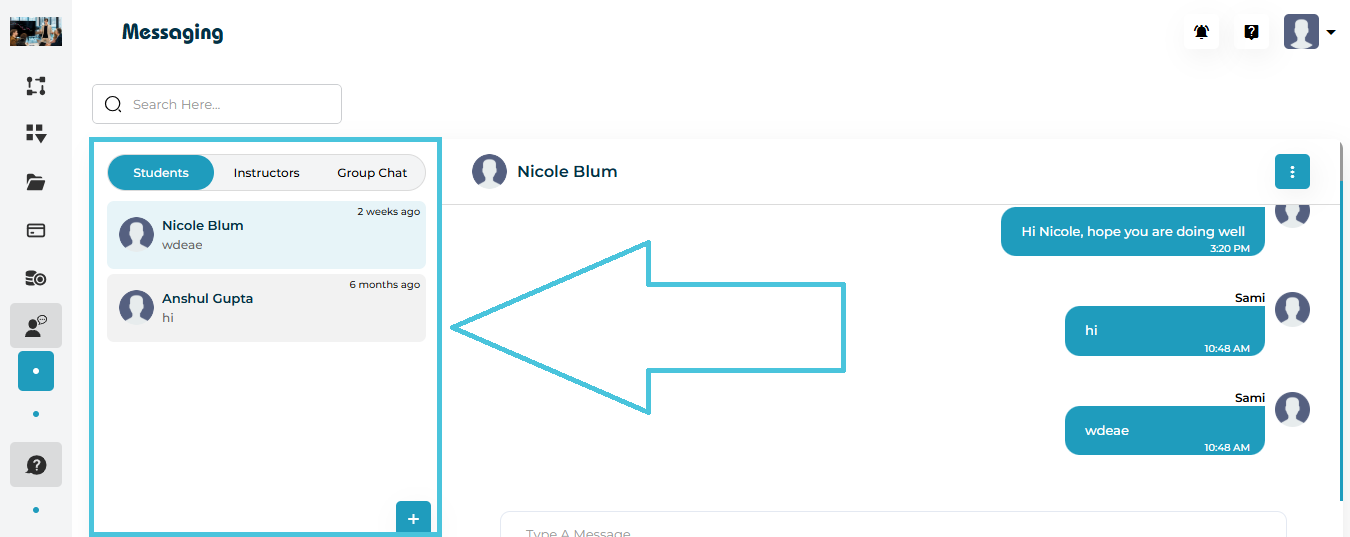
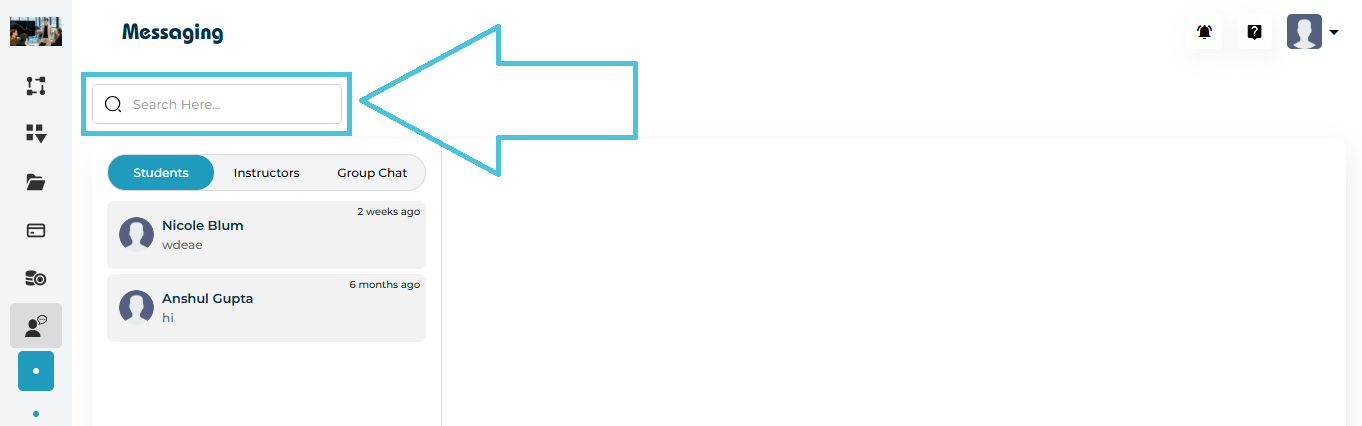
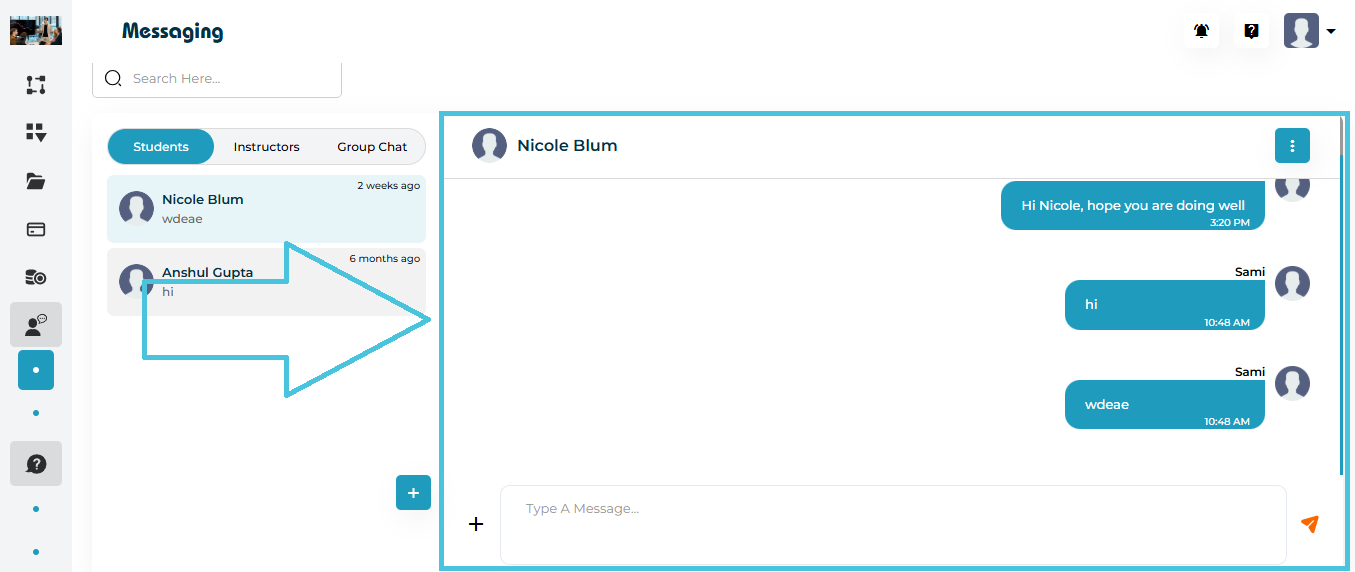
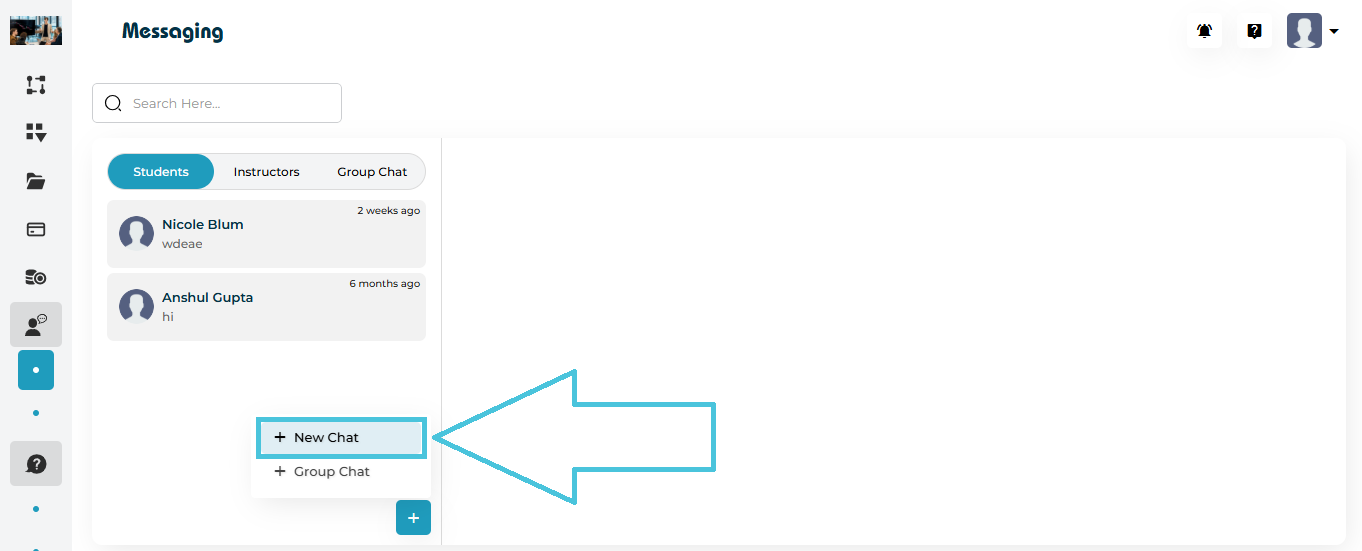
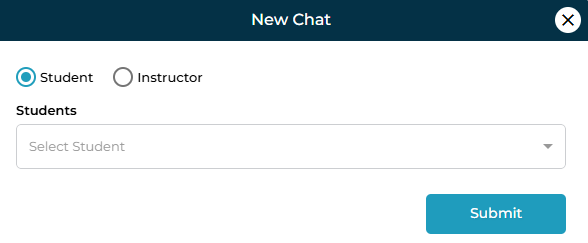

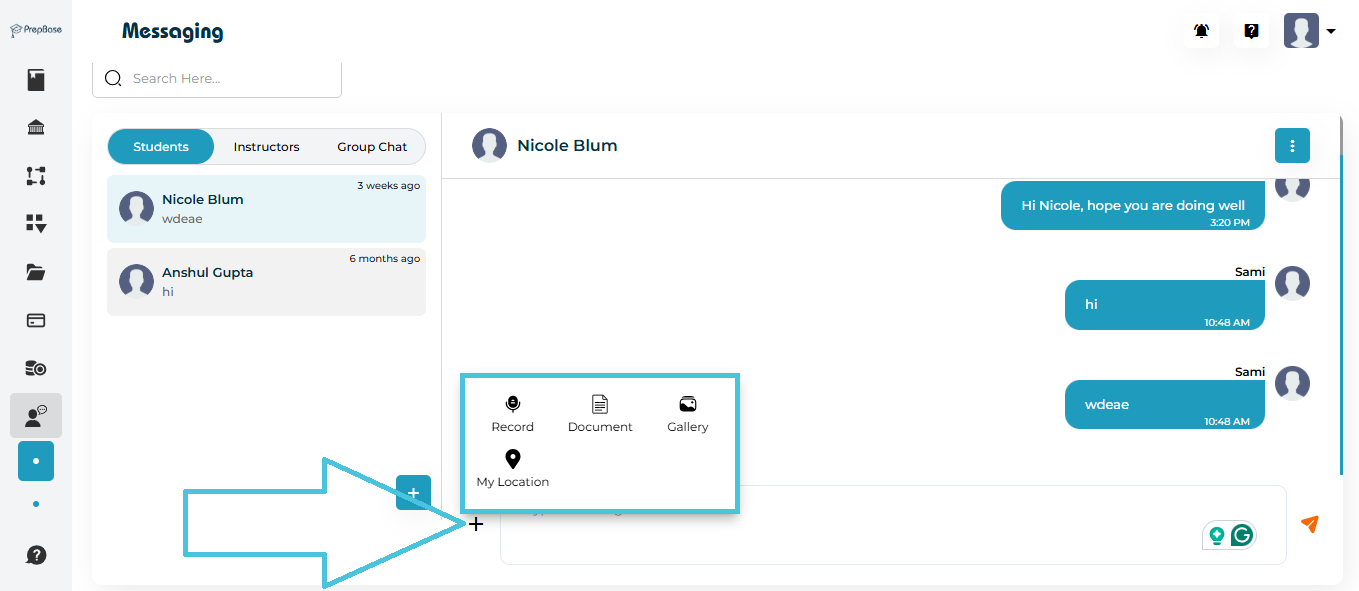
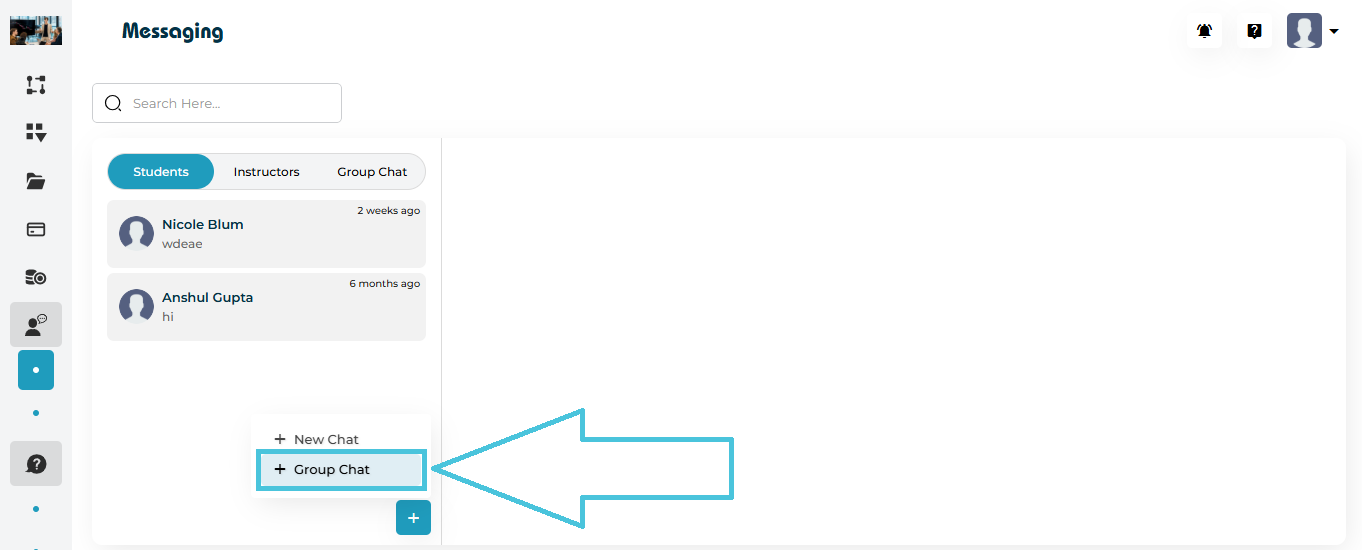
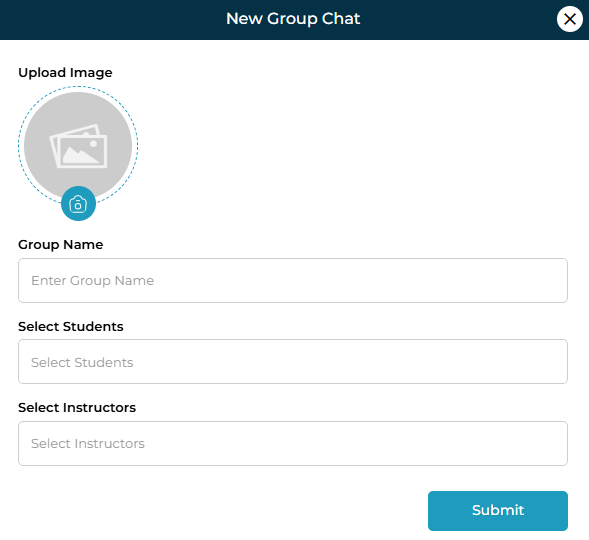
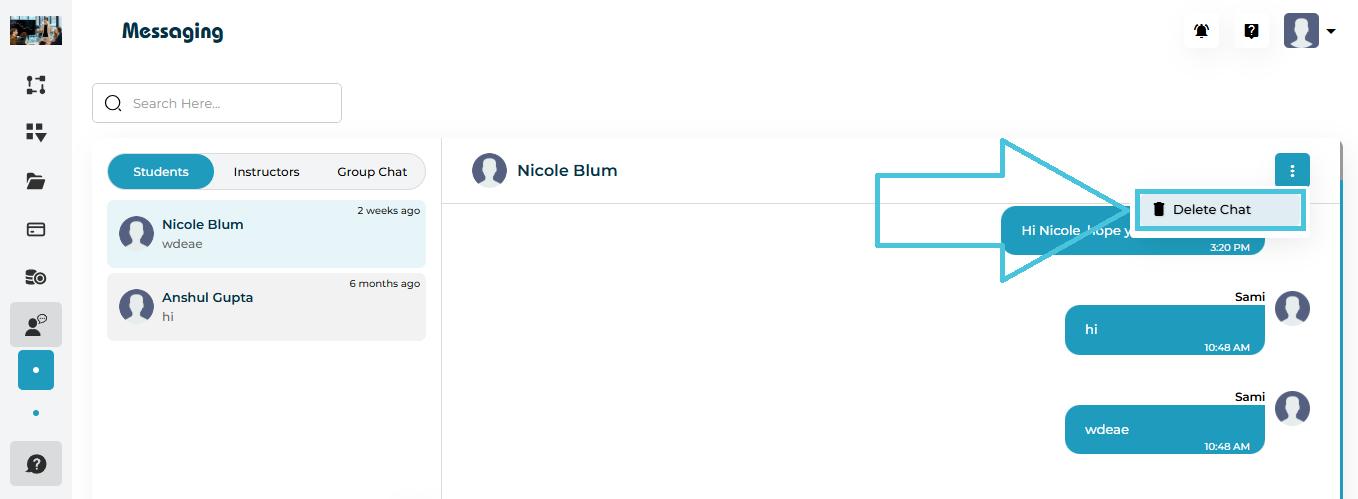
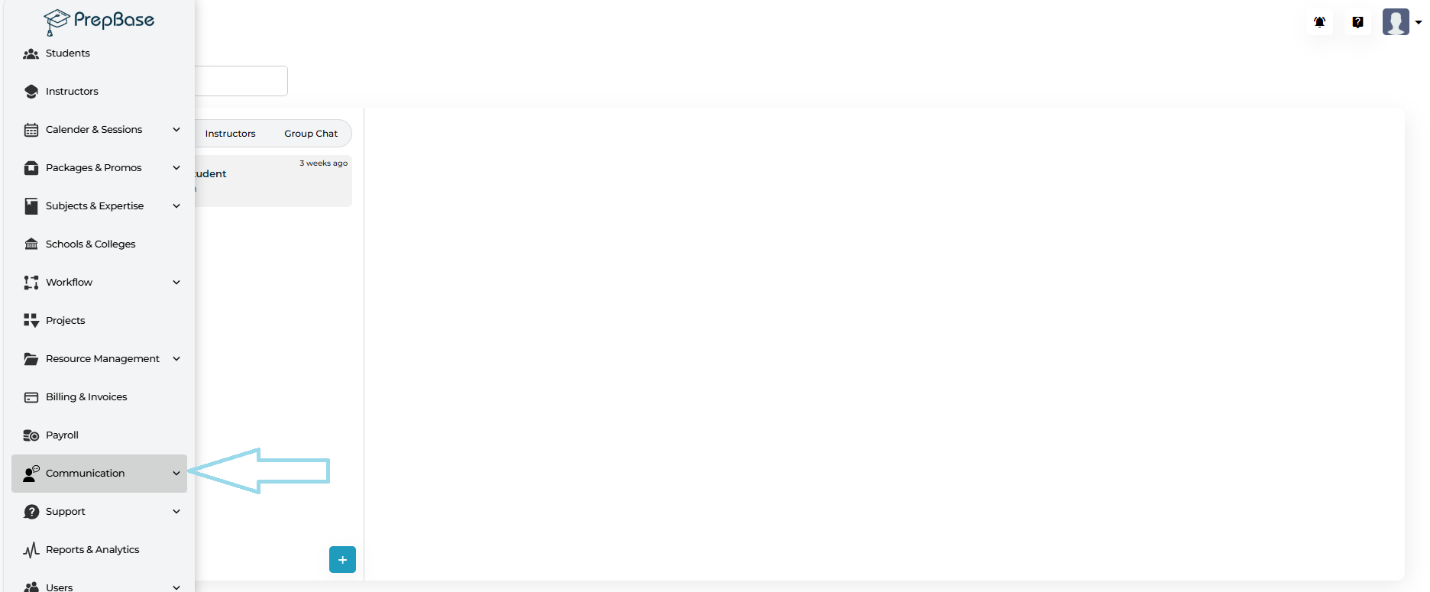
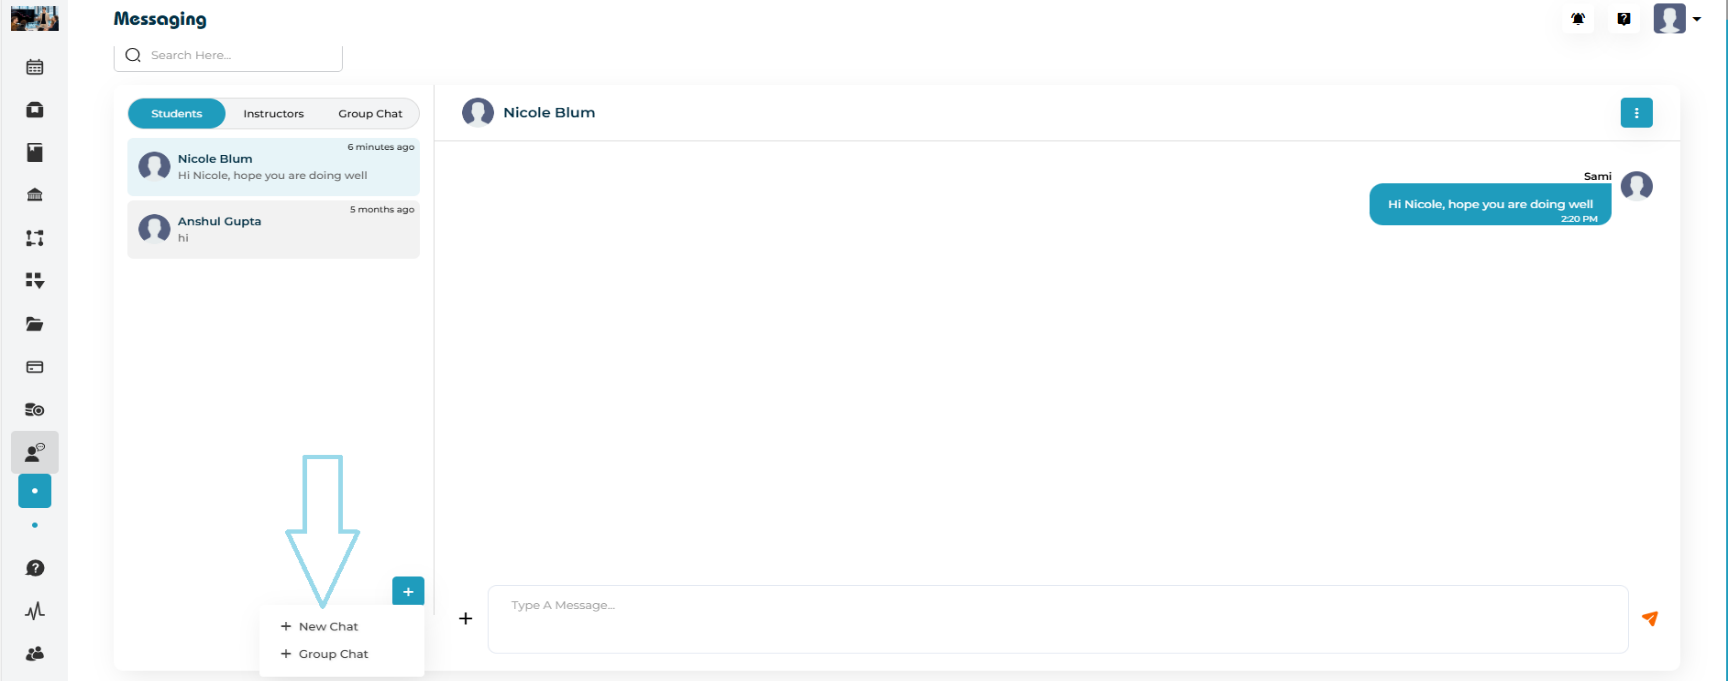
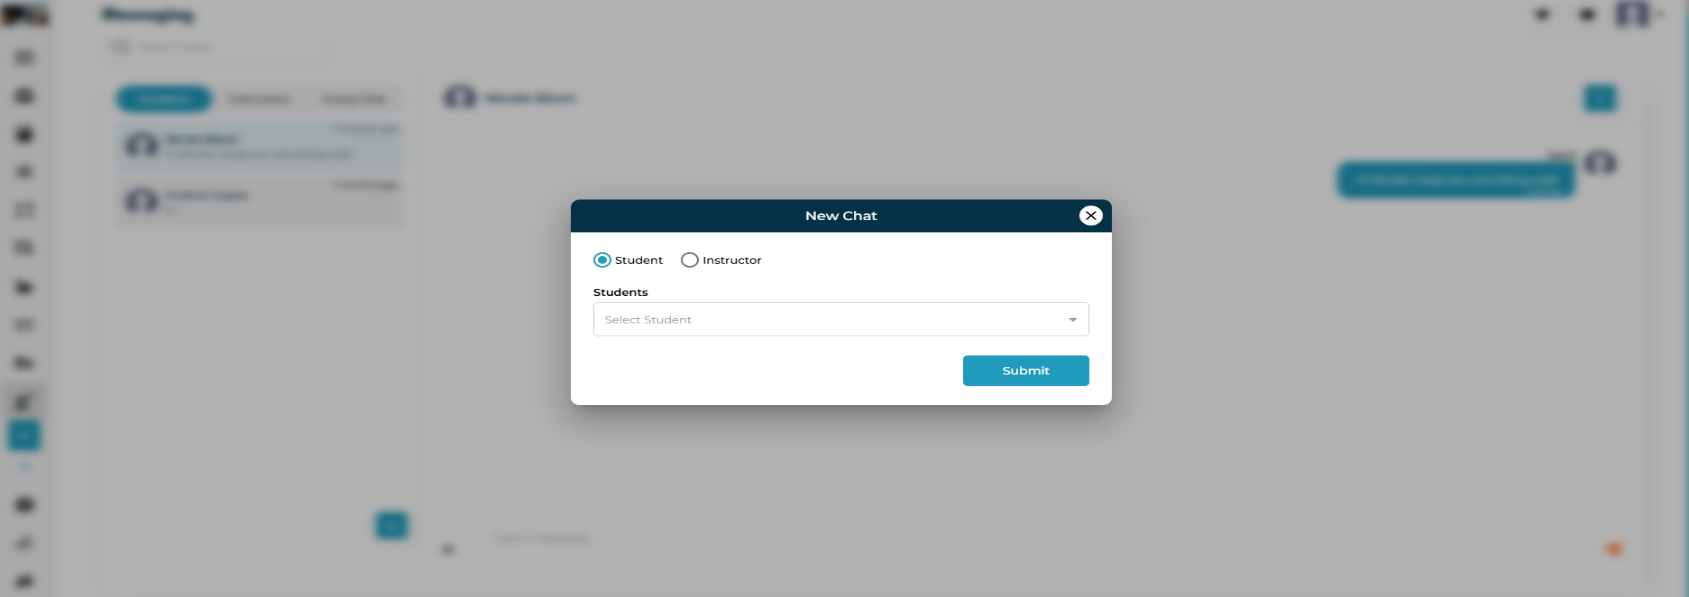
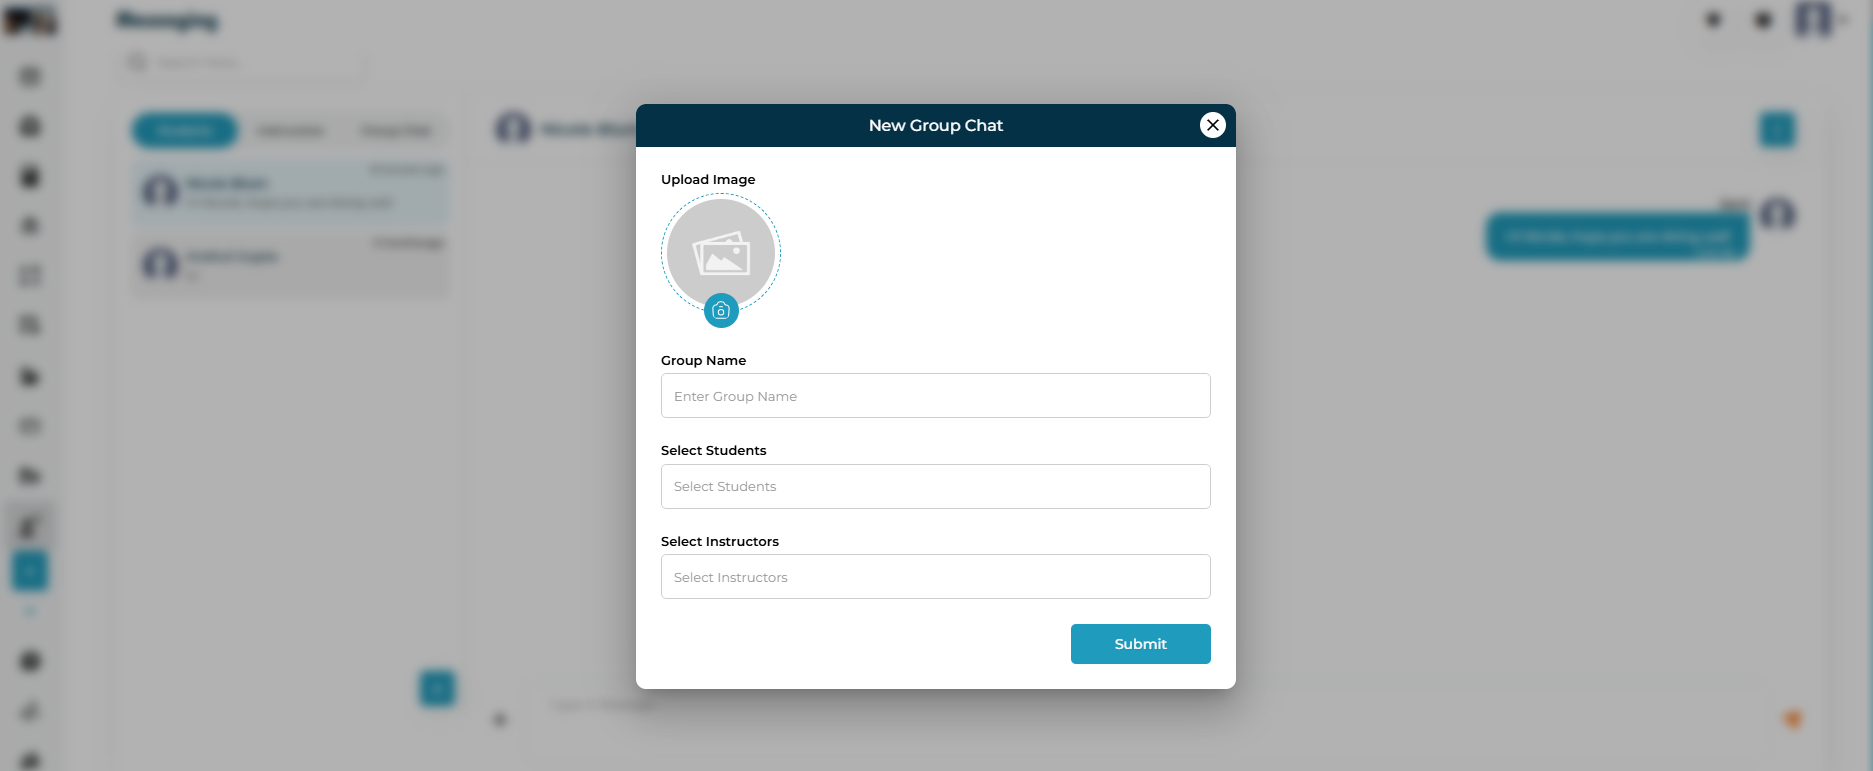
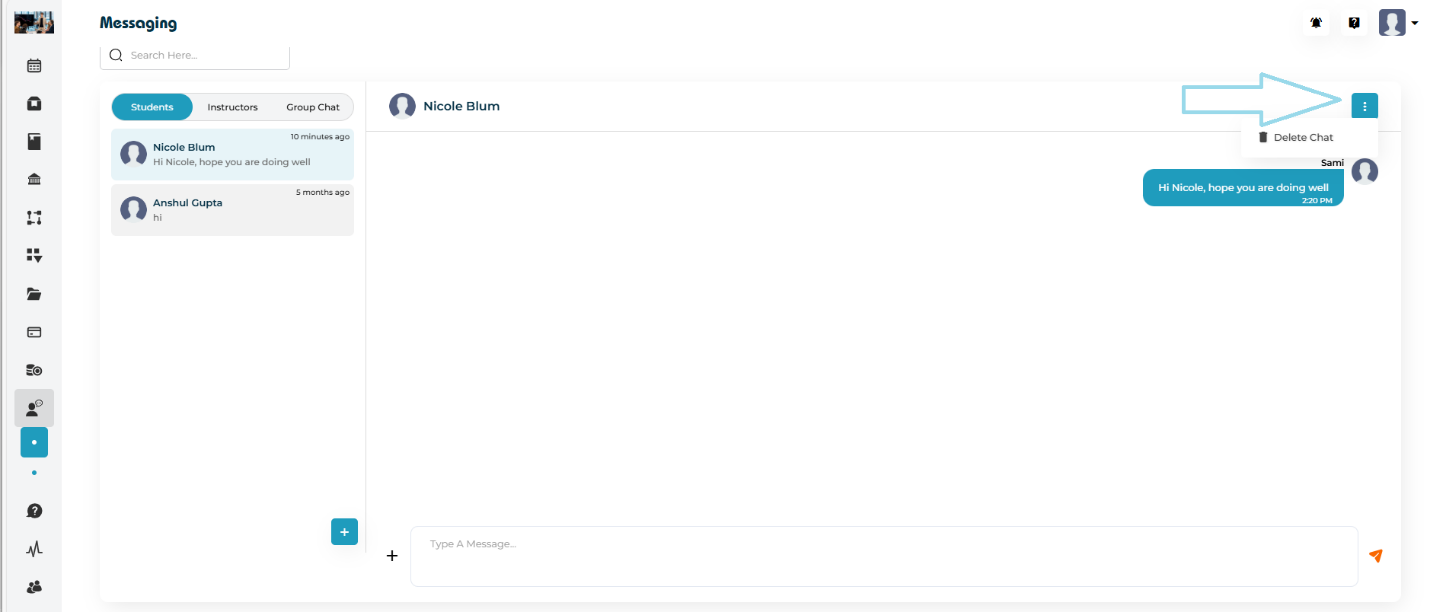
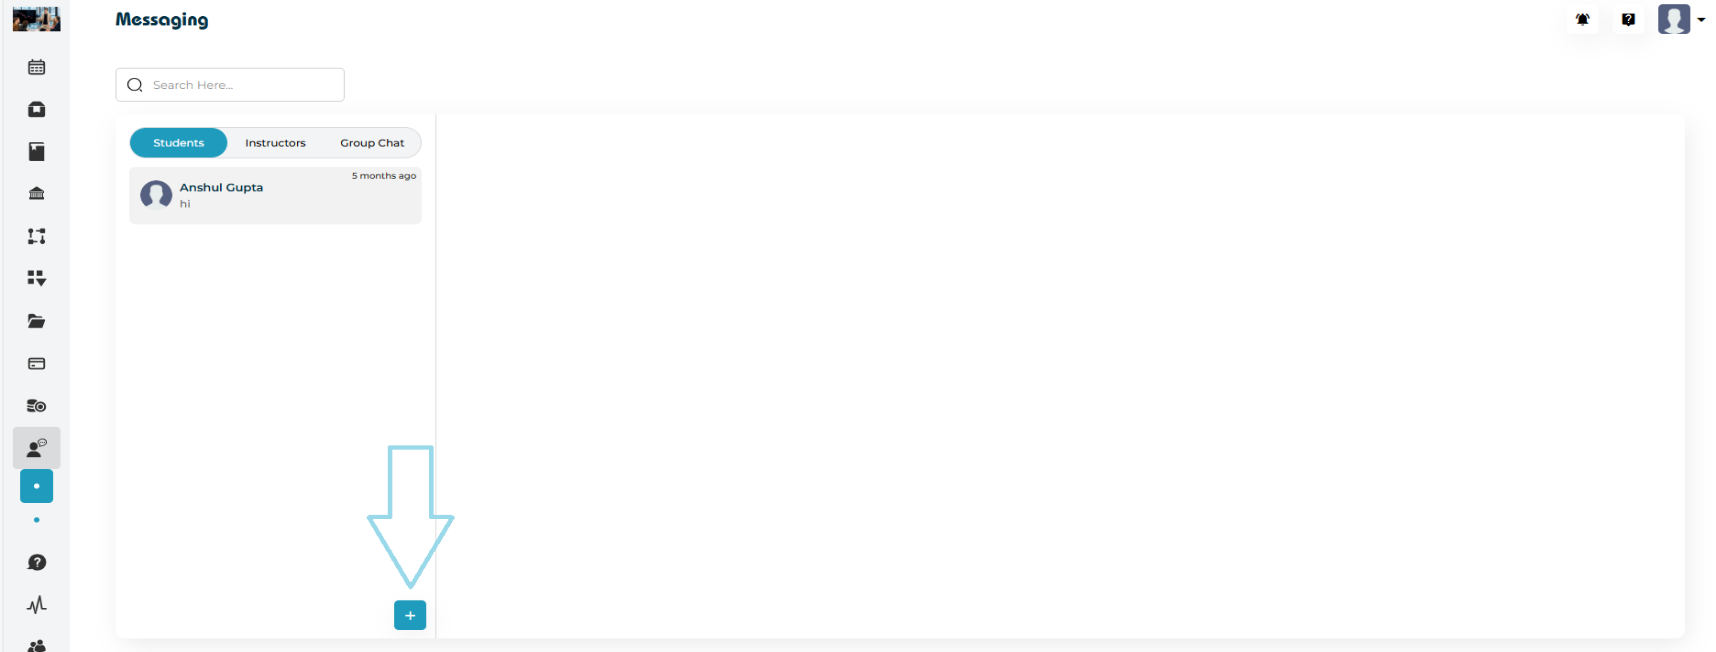 Admins can send a new message directly from the Communication module.
Steps:
Admins can send a new message directly from the Communication module.
Steps:
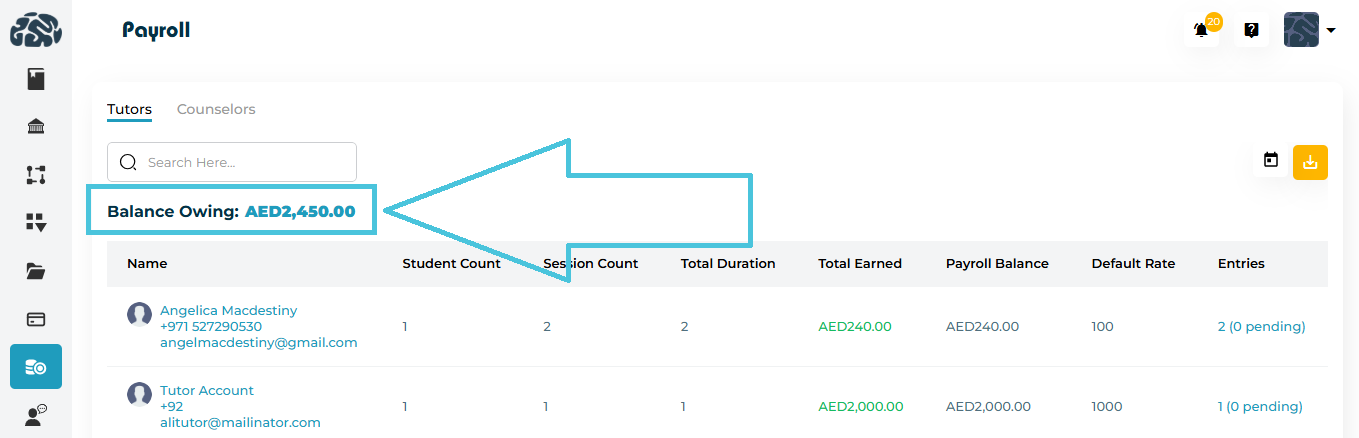
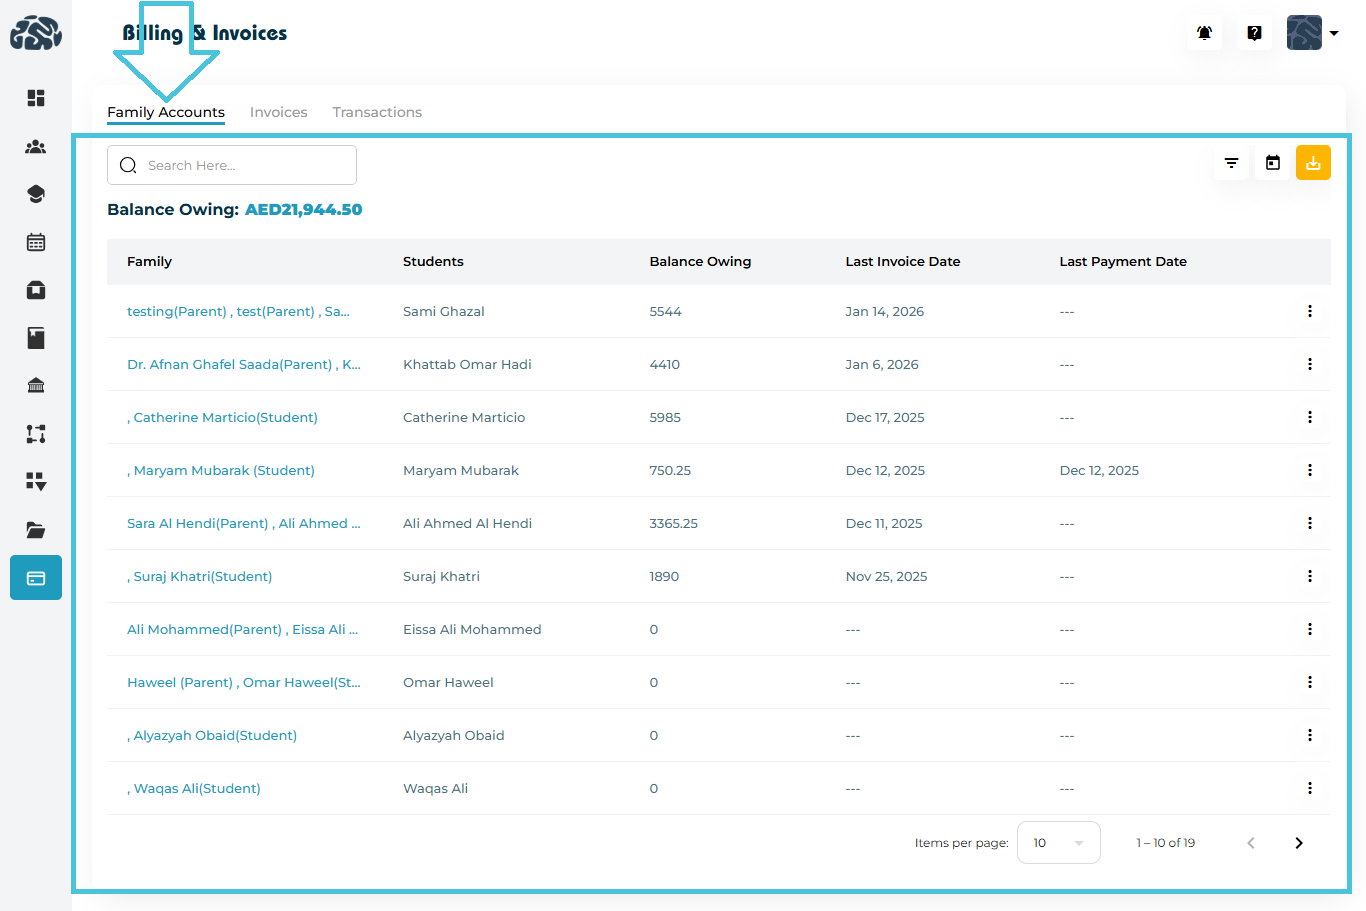
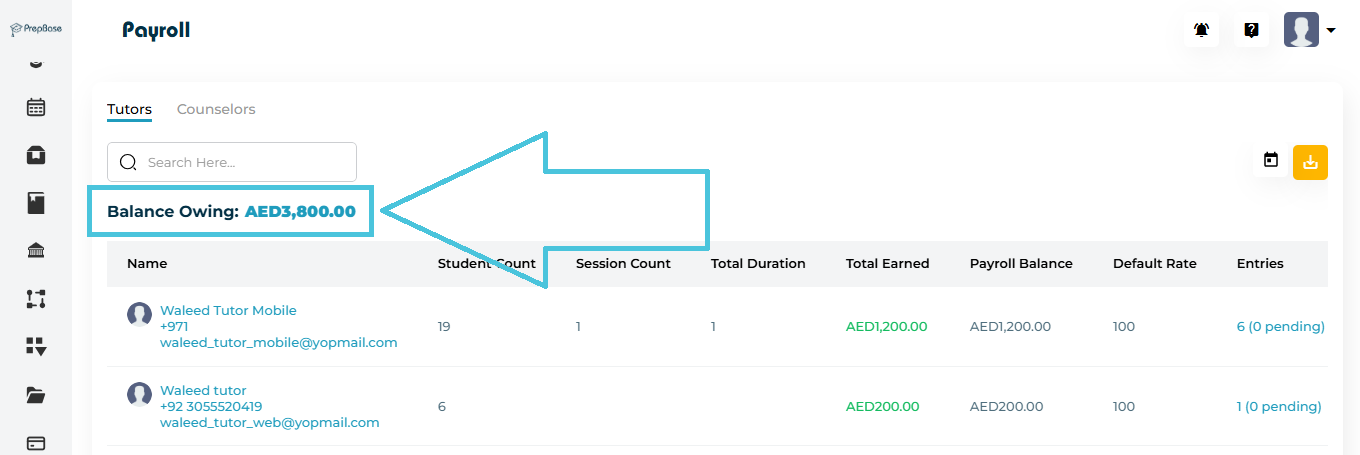
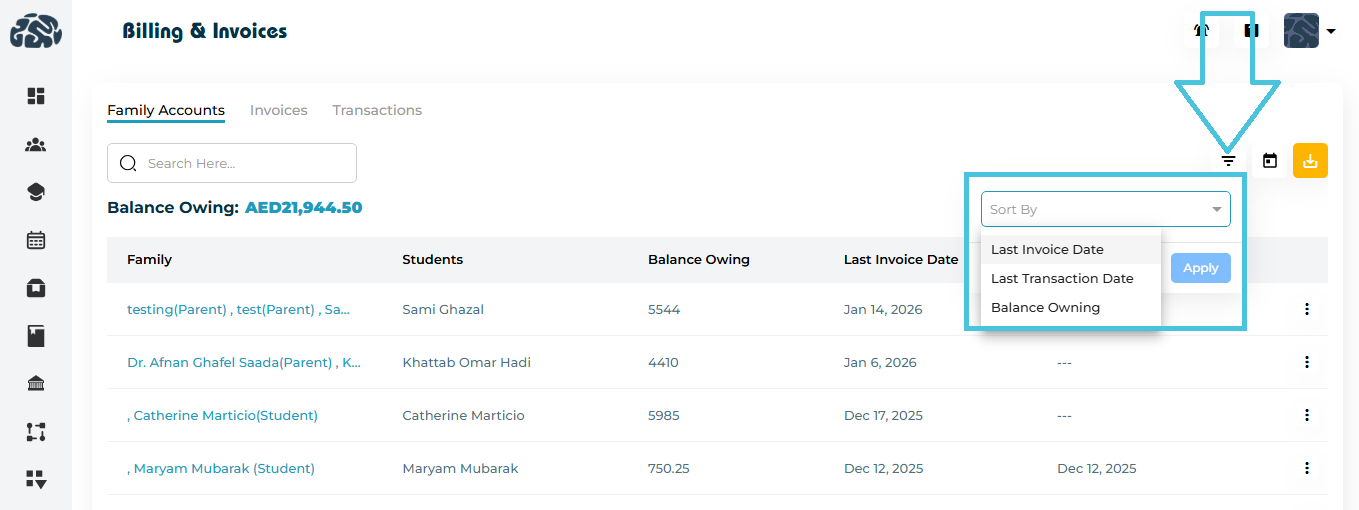

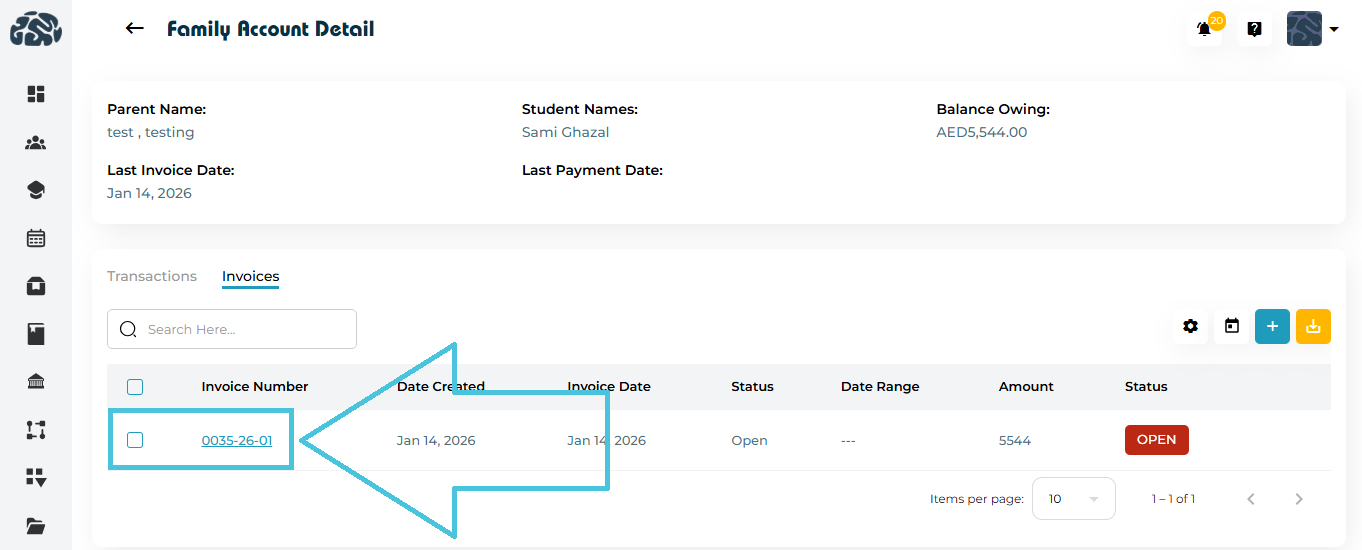

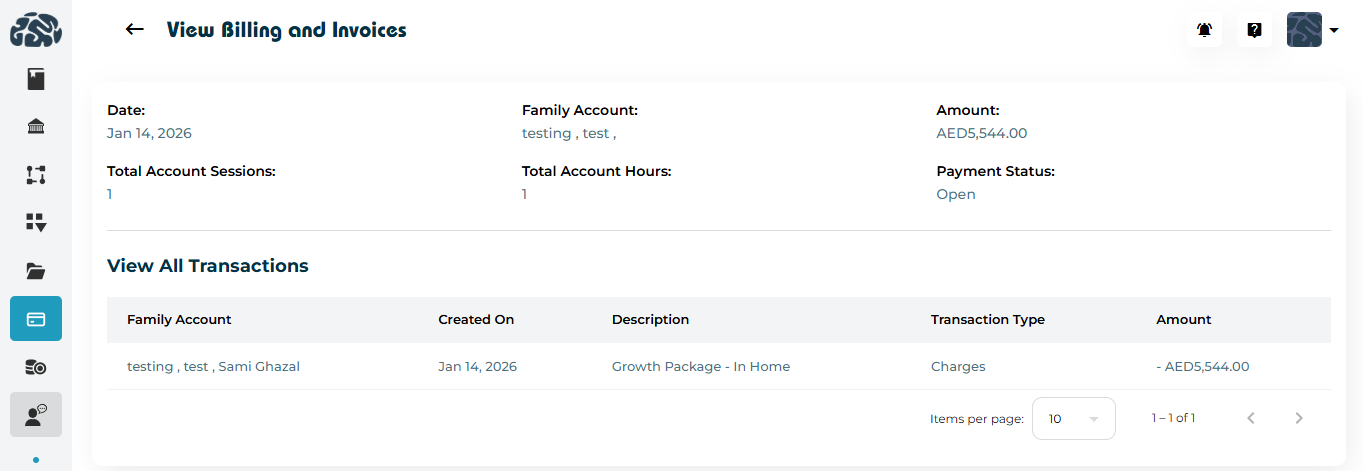
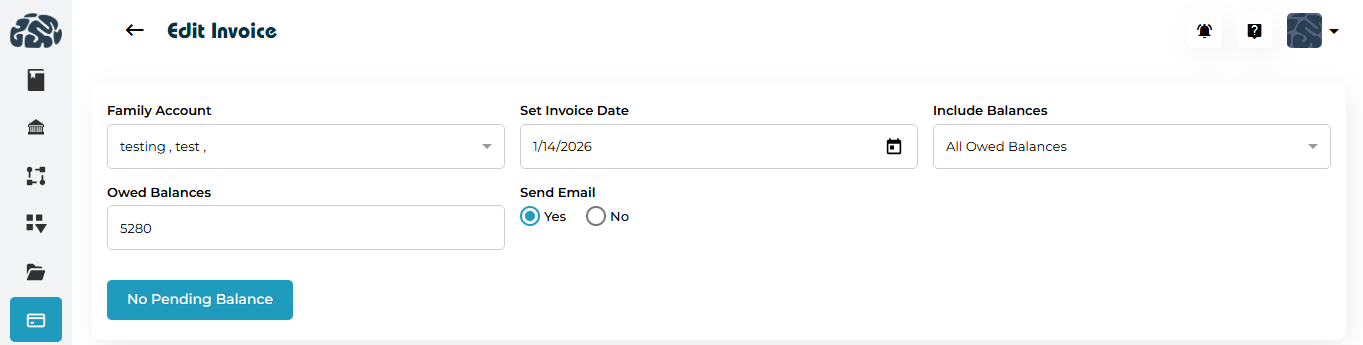
 If no pending balance exists, the system clearly indicates No Pending Balance.

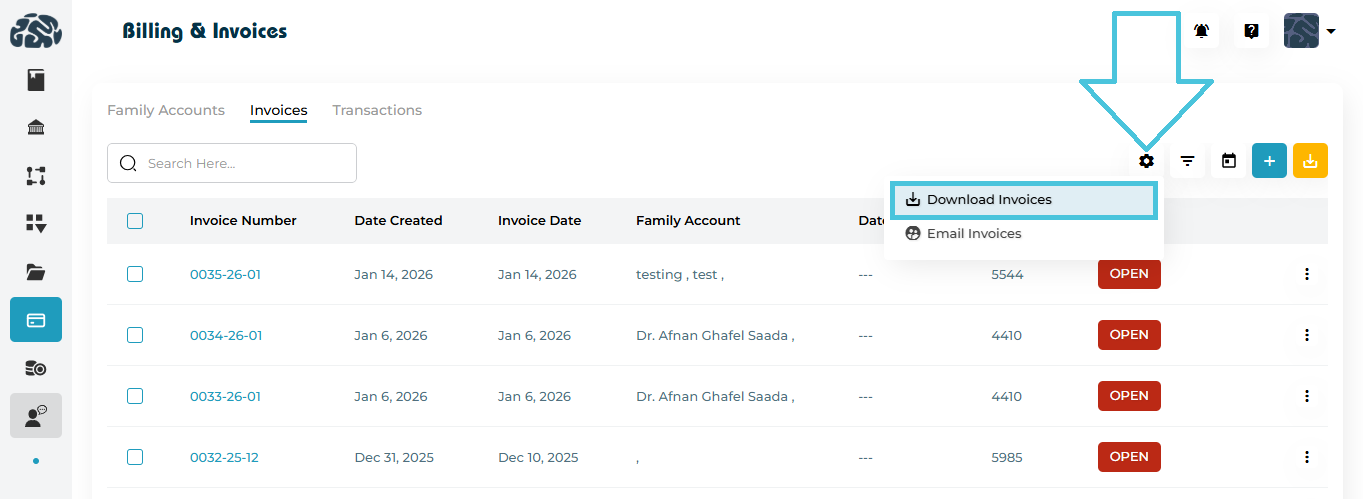
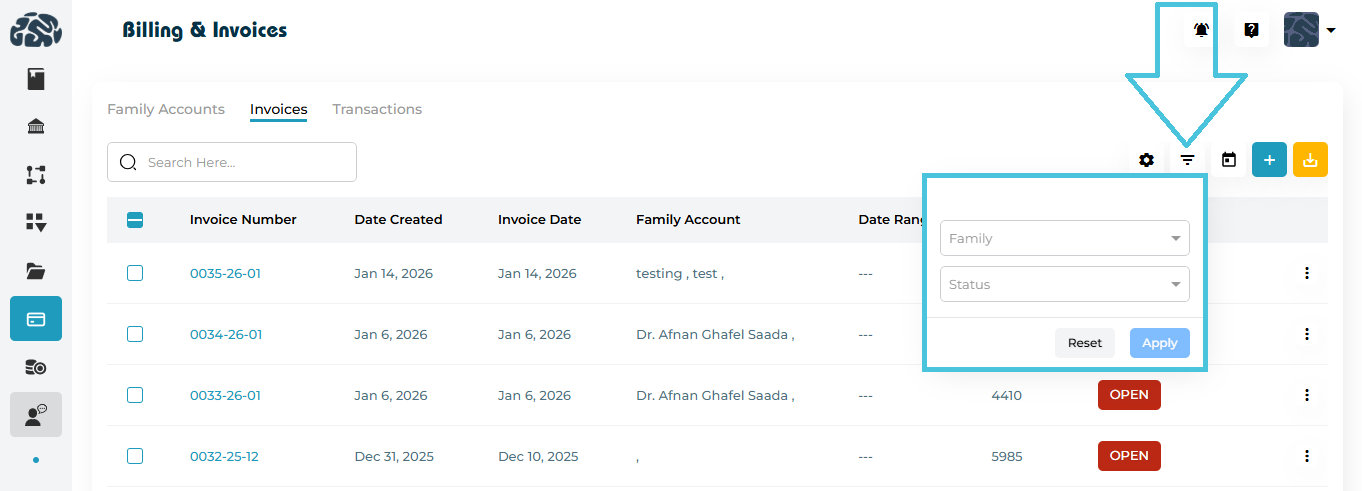
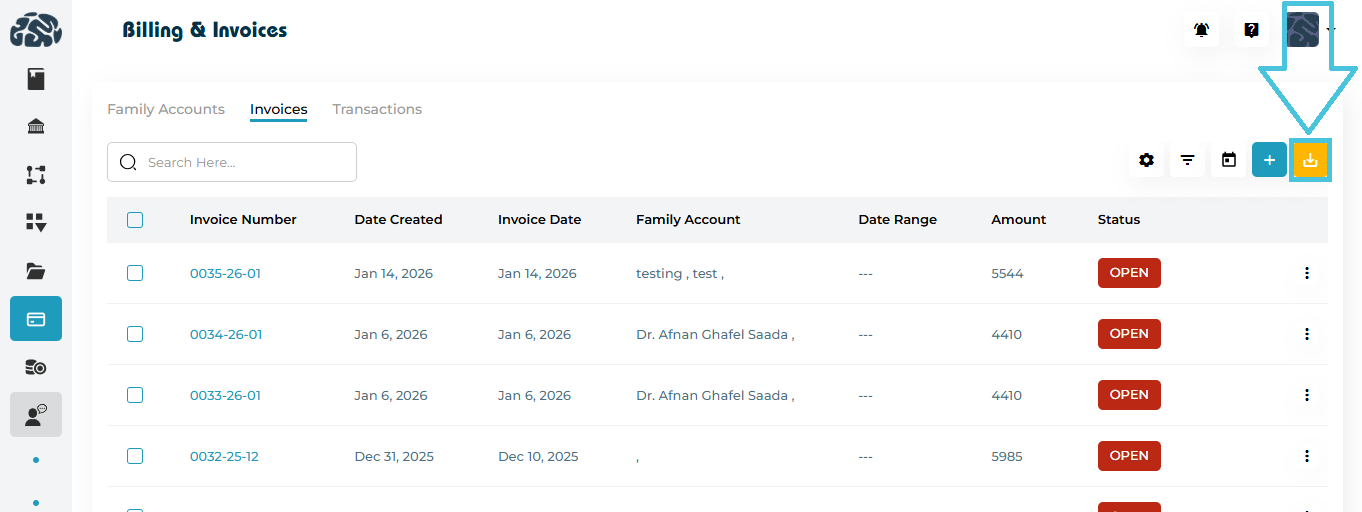
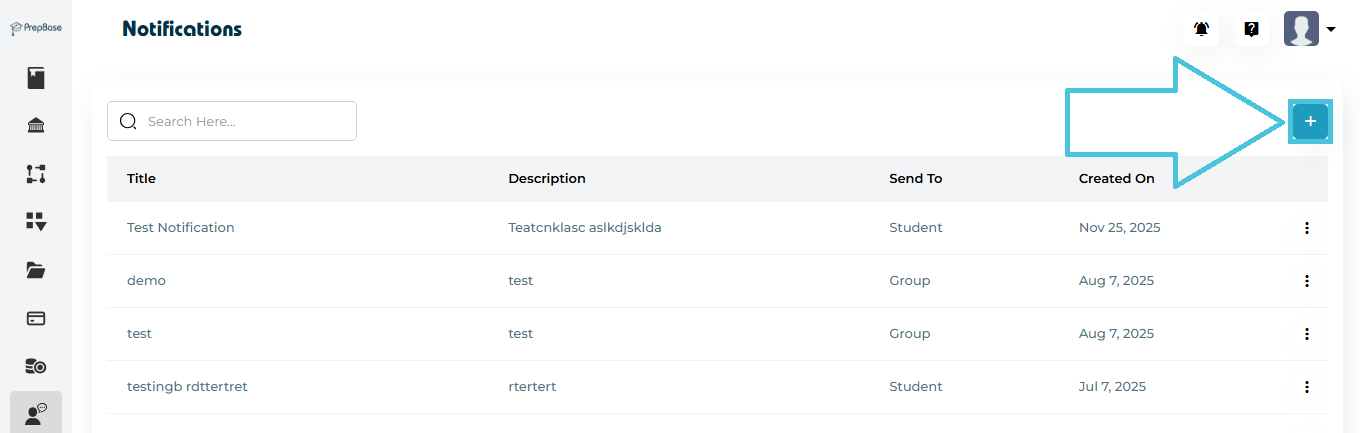
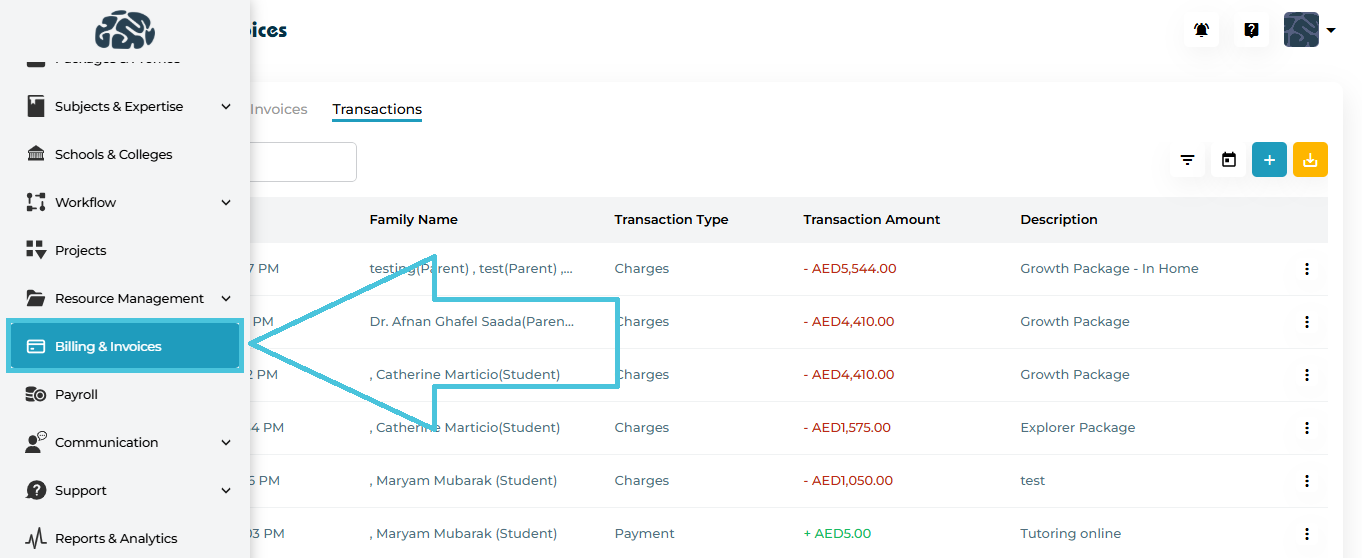
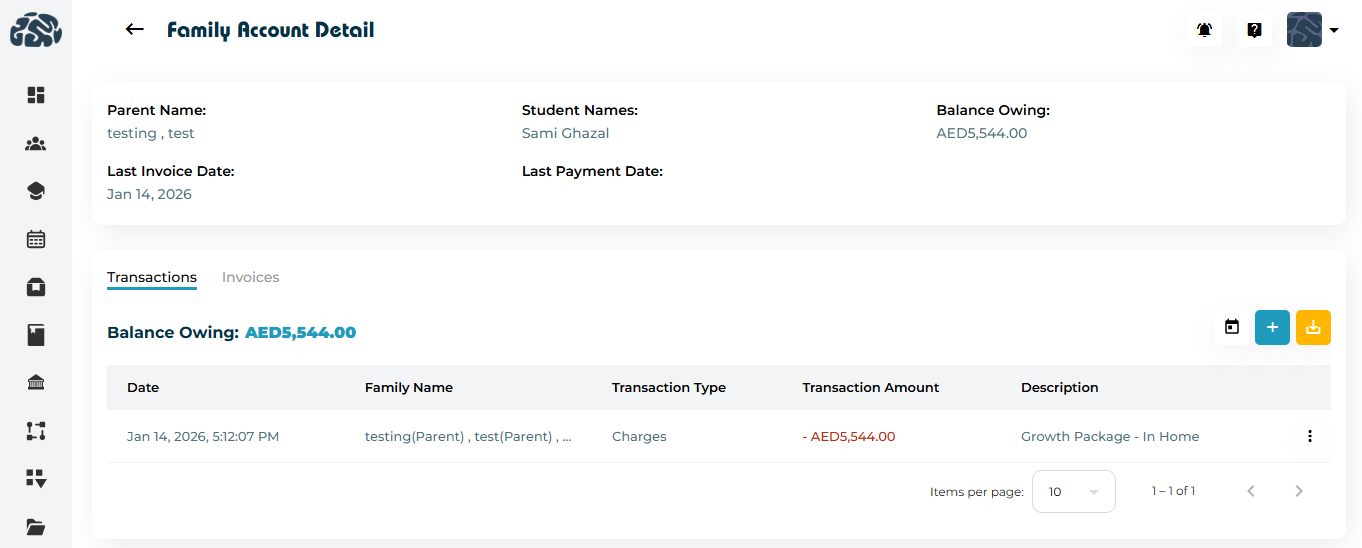
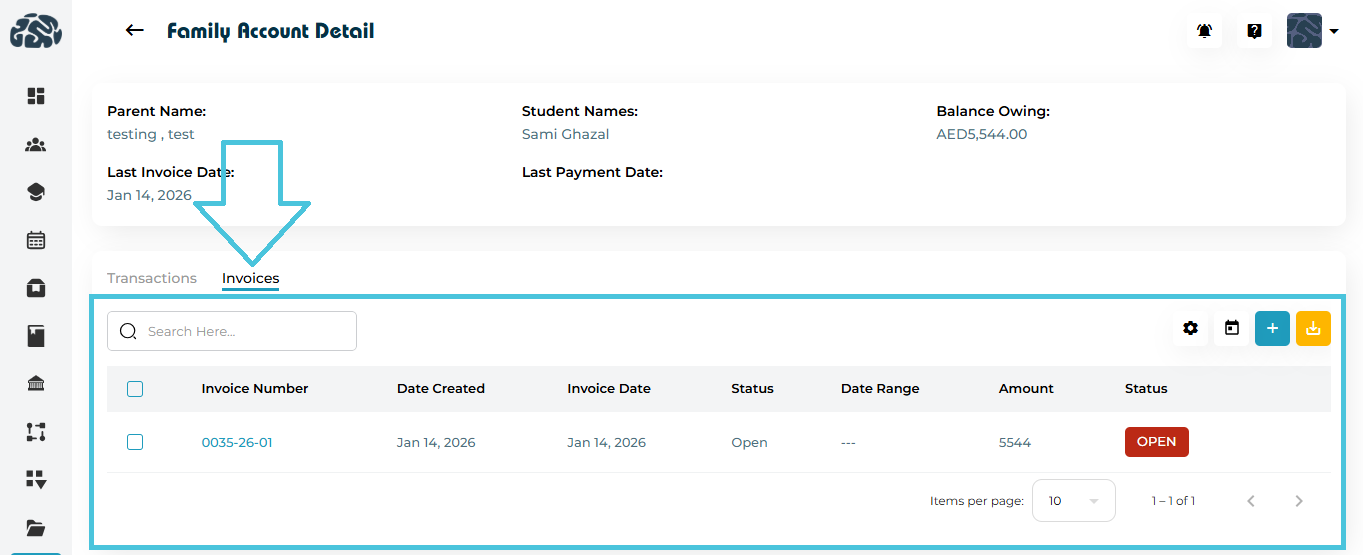
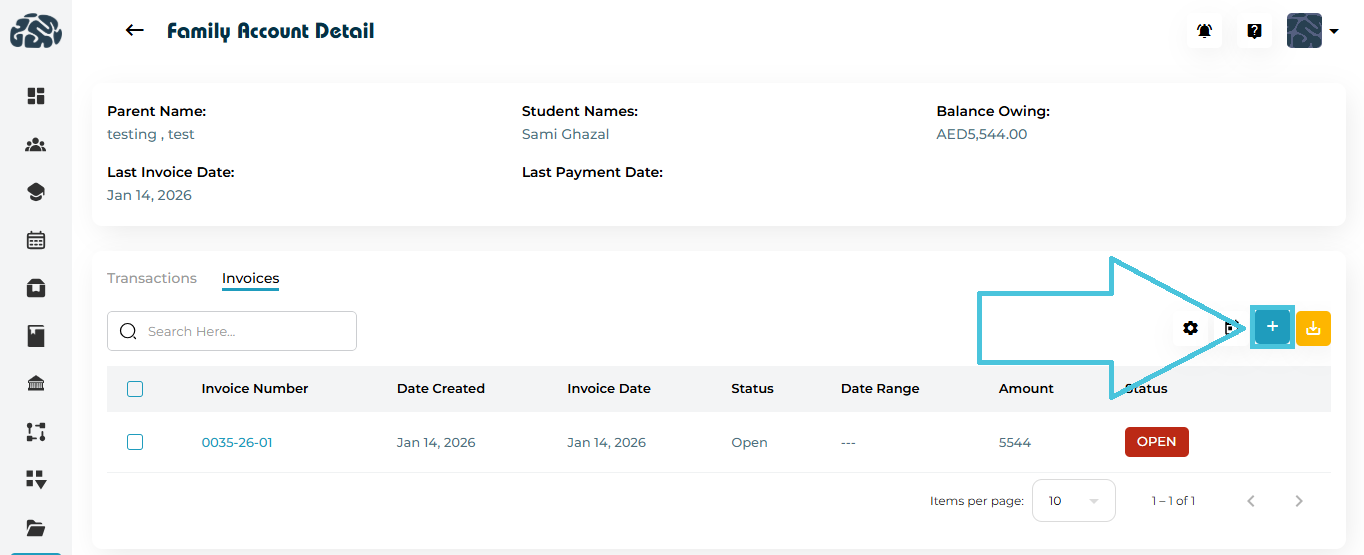
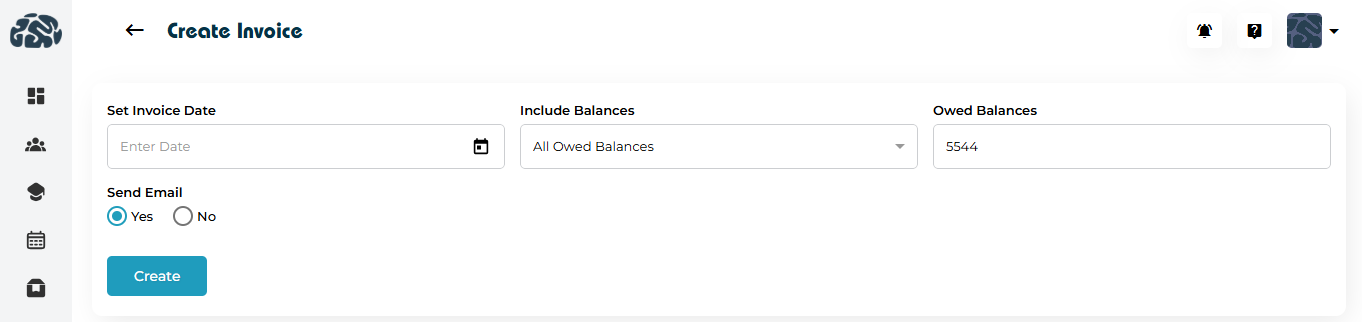
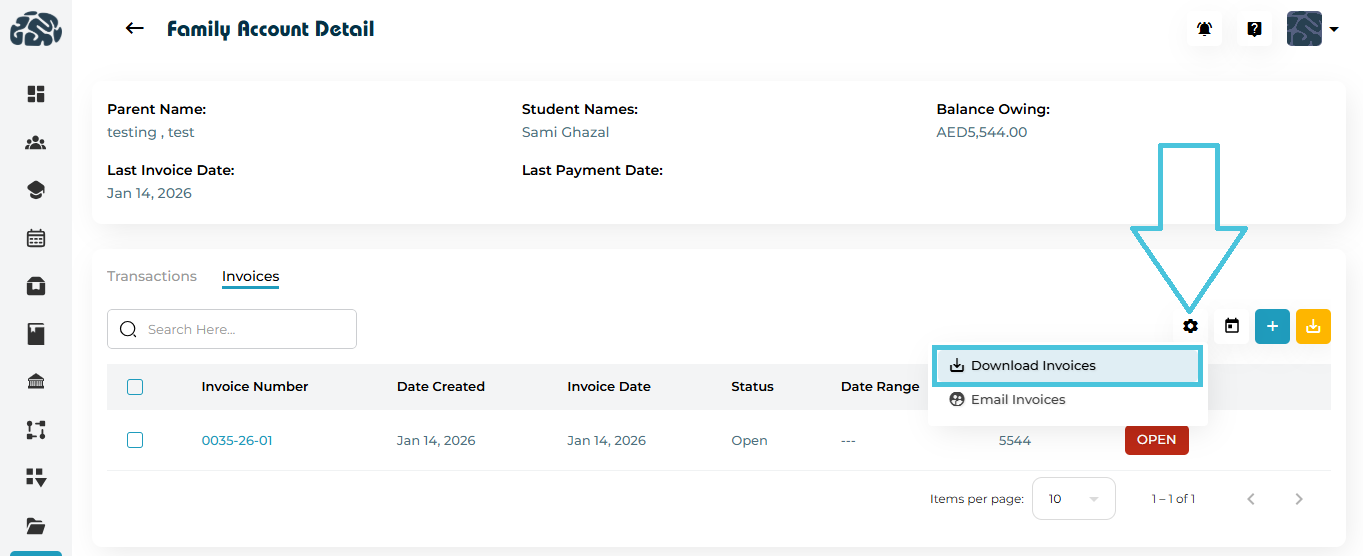
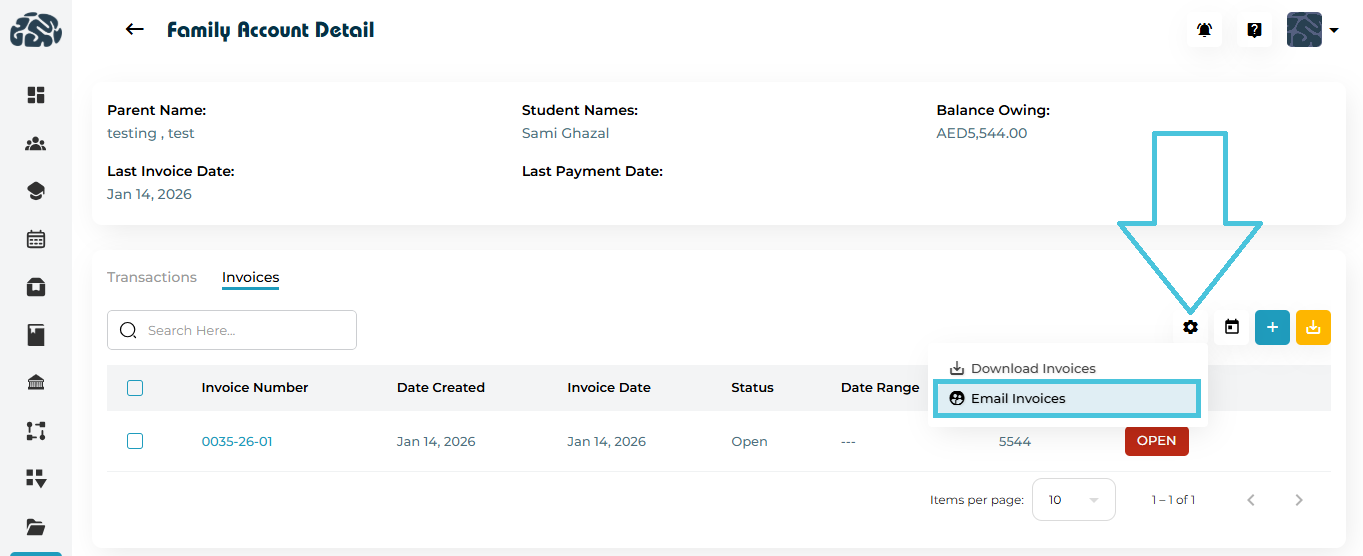
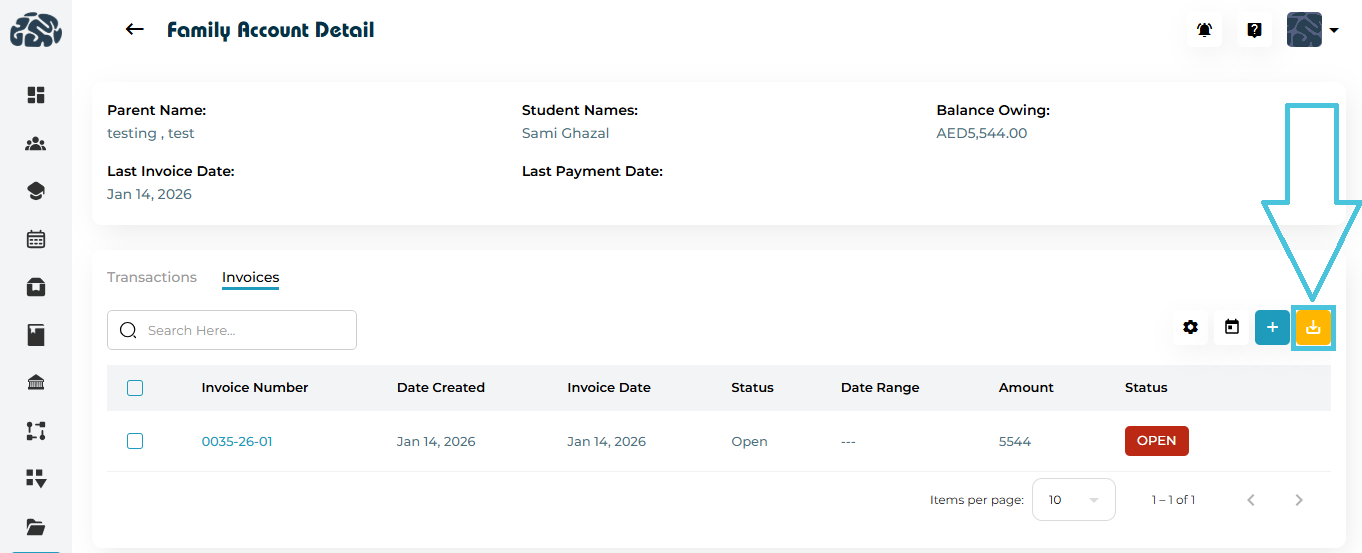
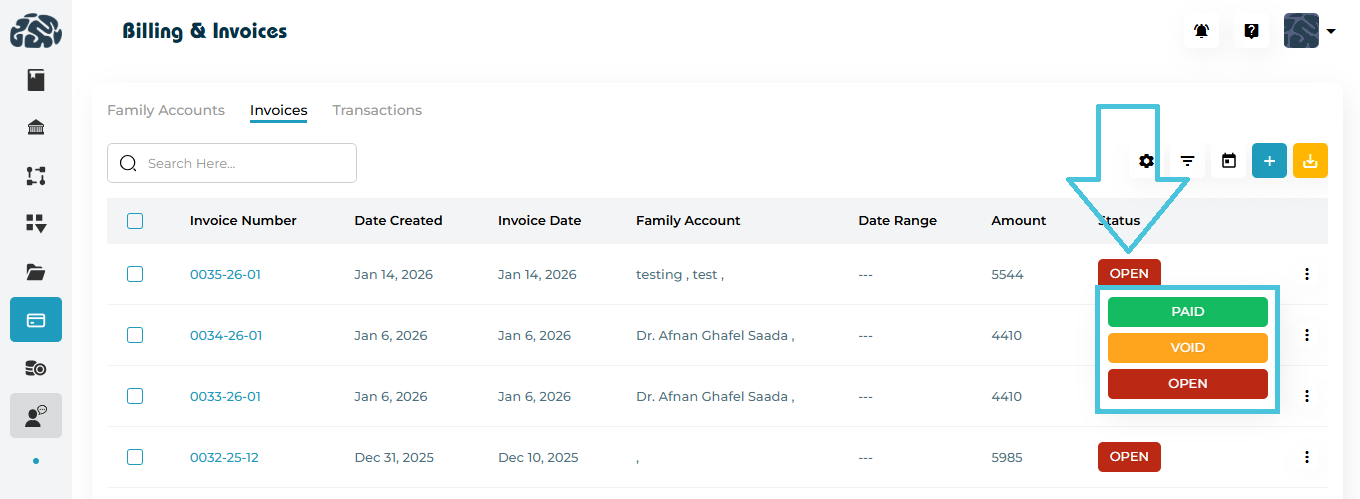
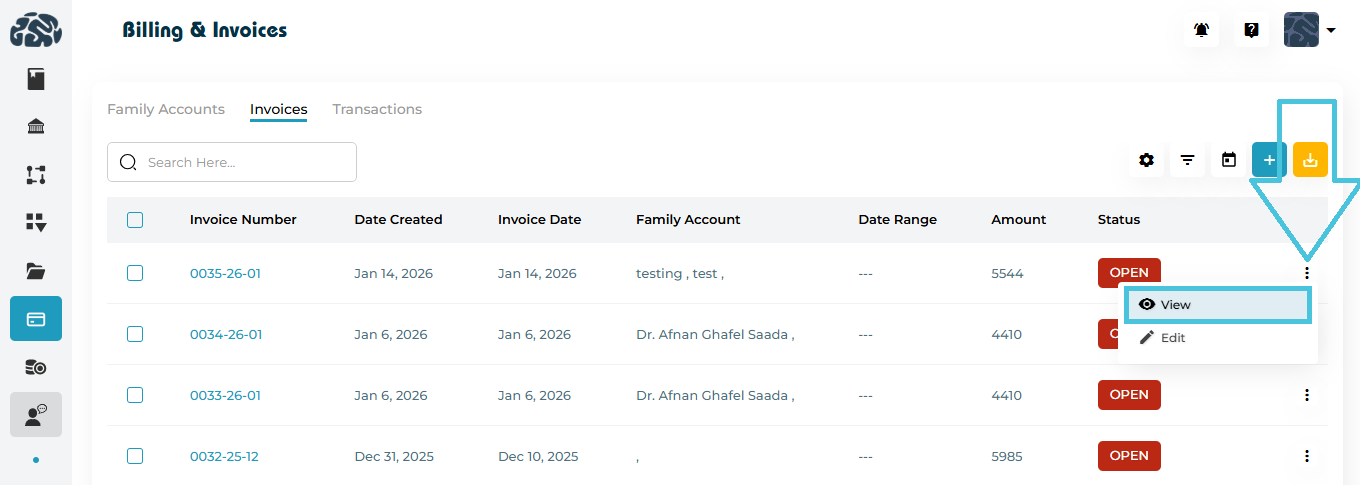
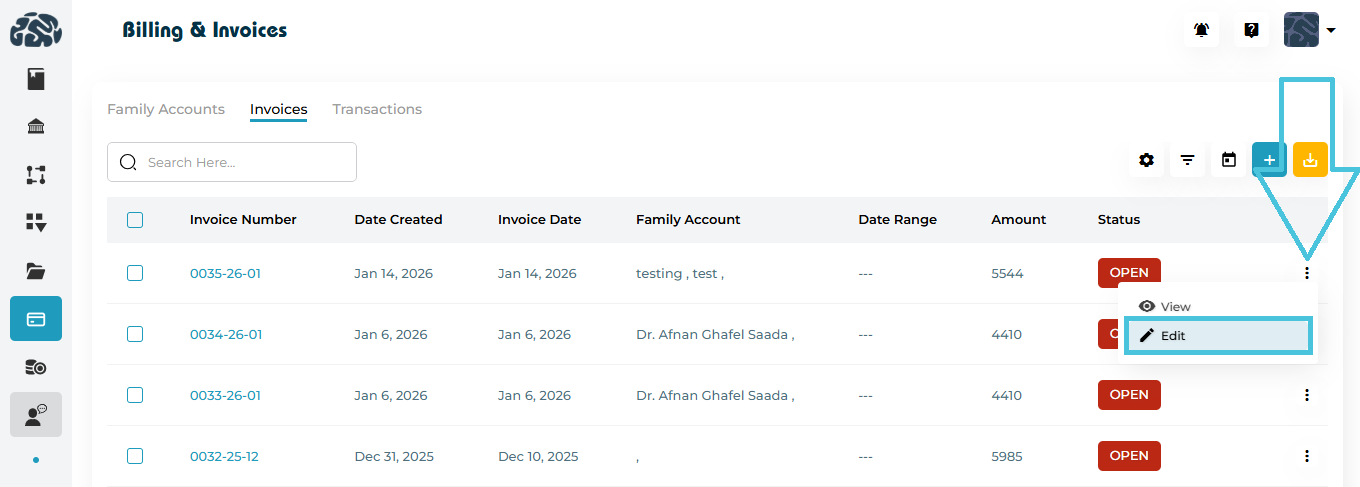
 Add Invoice
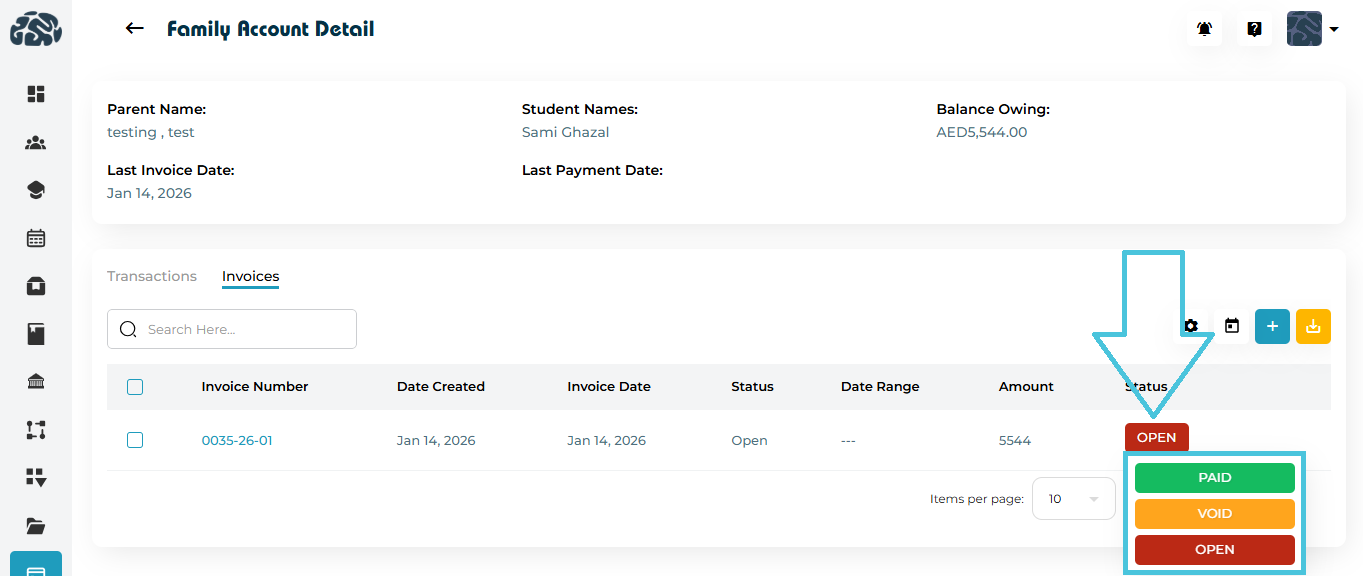
 ) icon at the top-right of the Invoices tab enables bulk invoice actions.