Navigate to:
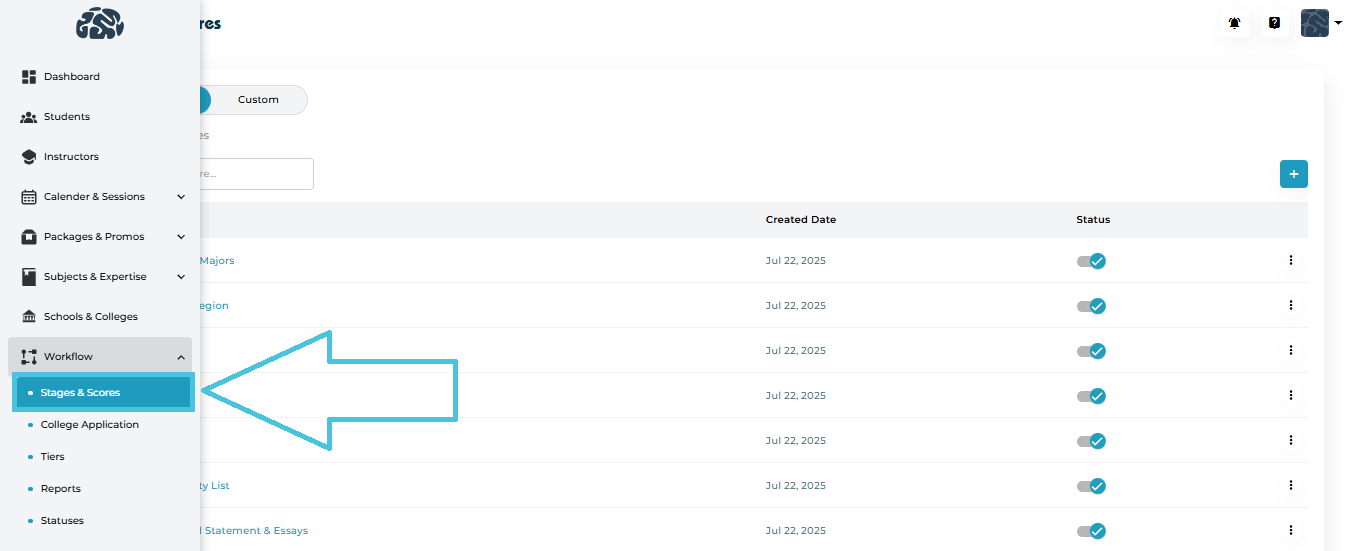
Admin Panel → Workflow → Stages & Scores
You will see two main views:
Default
Custom
Default view is further divided into:
Stages
Scores

Default
Defined stages and scores that would appear under the main Counseling tab within the Planner module on the students view
Designed to cover common admissions workflows
Can be viewed, edited, or disabled (depending on permissions)
Custom

Admin-created stage lists that include stages to be used within projects only
Fully customizable to define the stages of a particular project
Admin can create a list of stages, then add the statuses for the list, and add the different stages within that list
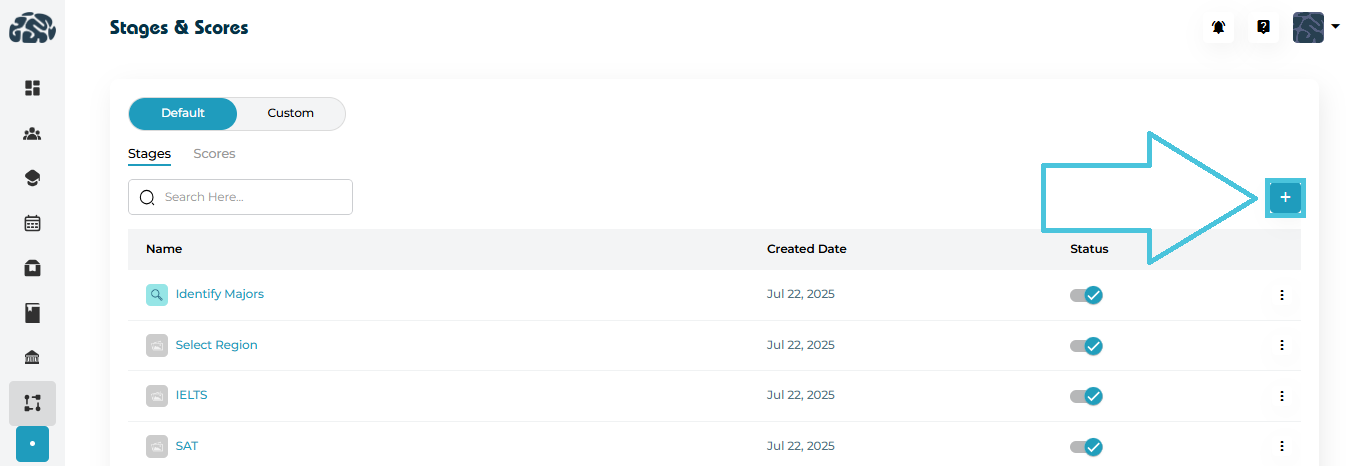
Adding New Default Stage
Go to Stages & Scores → Stages
Click ➕ Add Stage
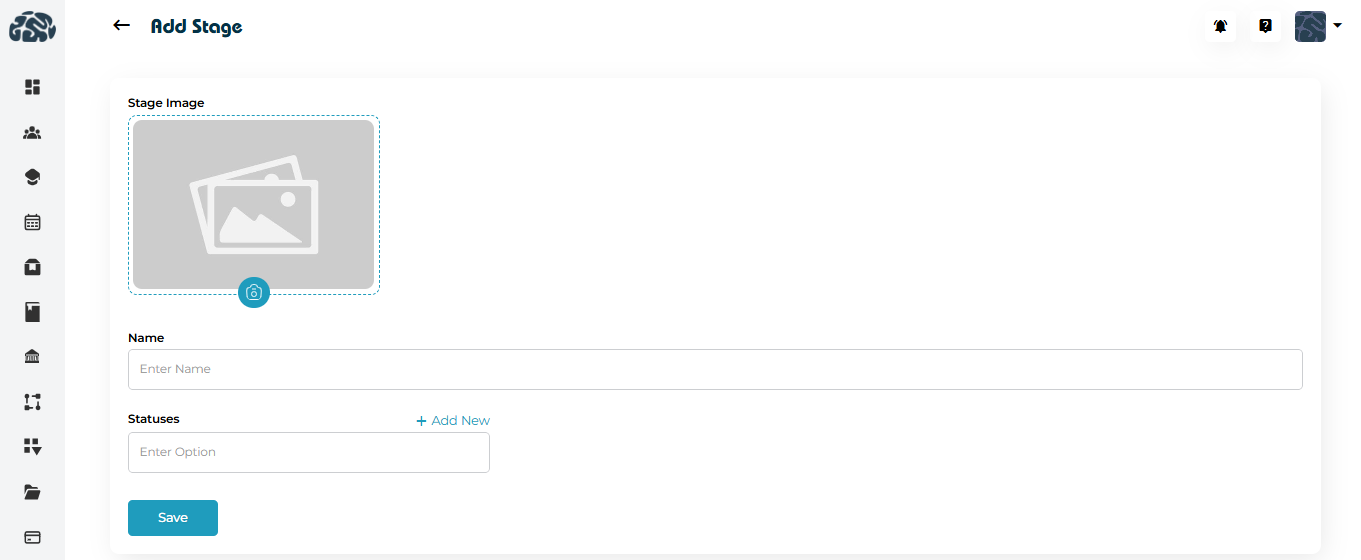
Upload a stage image (optional)
Enter:
Stage Name
- Status (can add multiple statuses for each stage)
Click Save
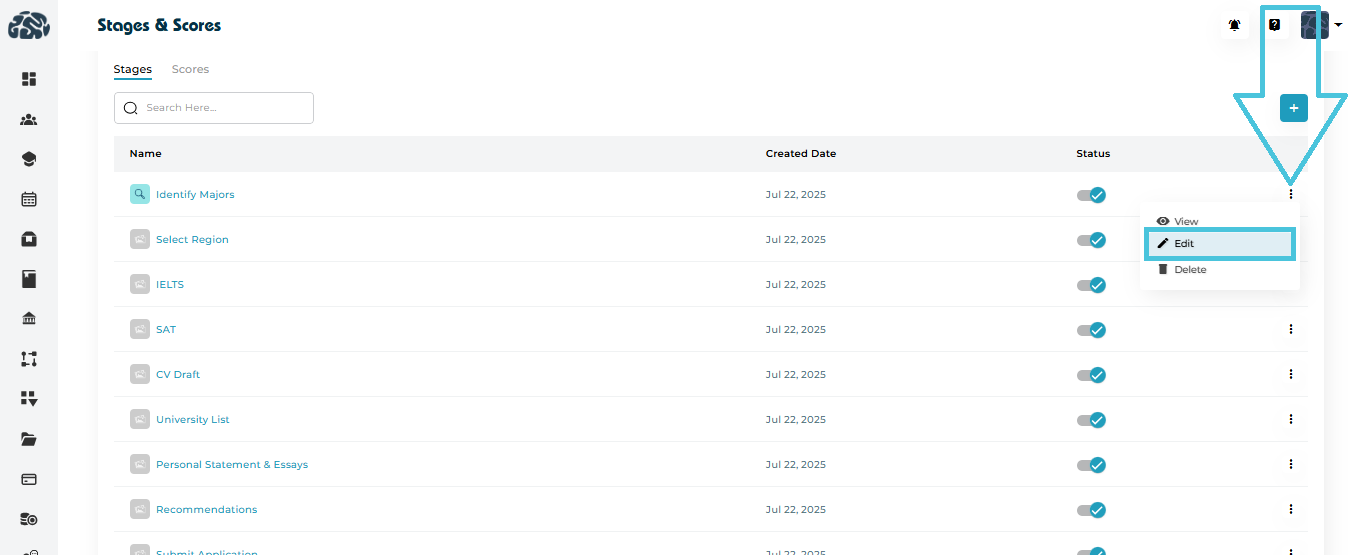
Each stage row provides a three-dot menu with the following options:
View Stage
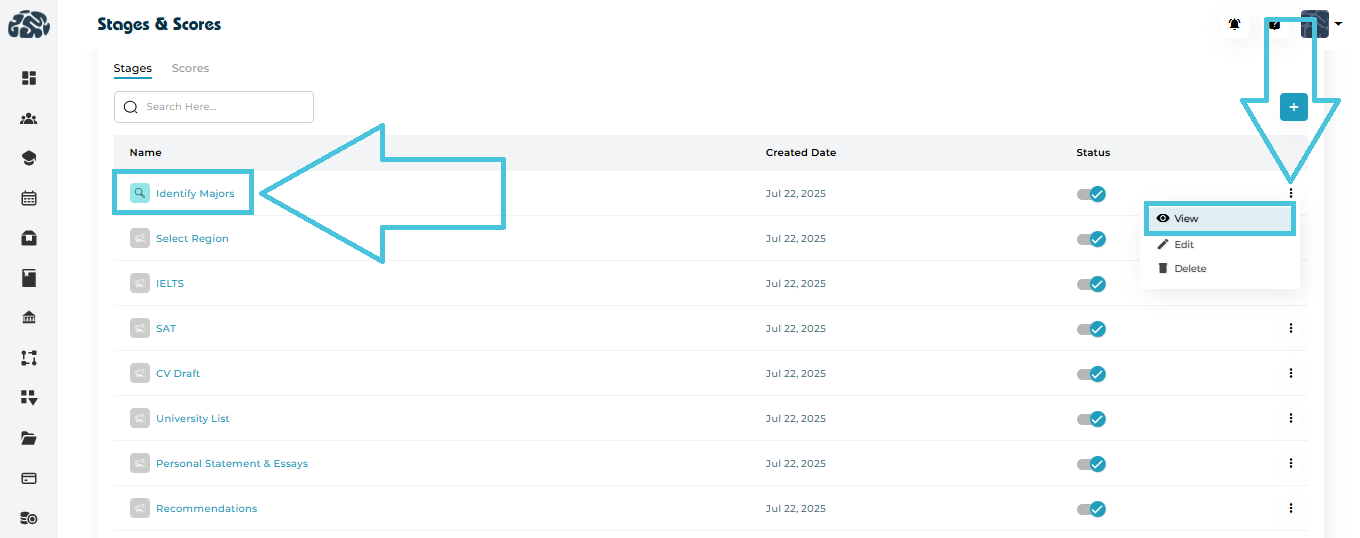
Opens a detailed view showing:
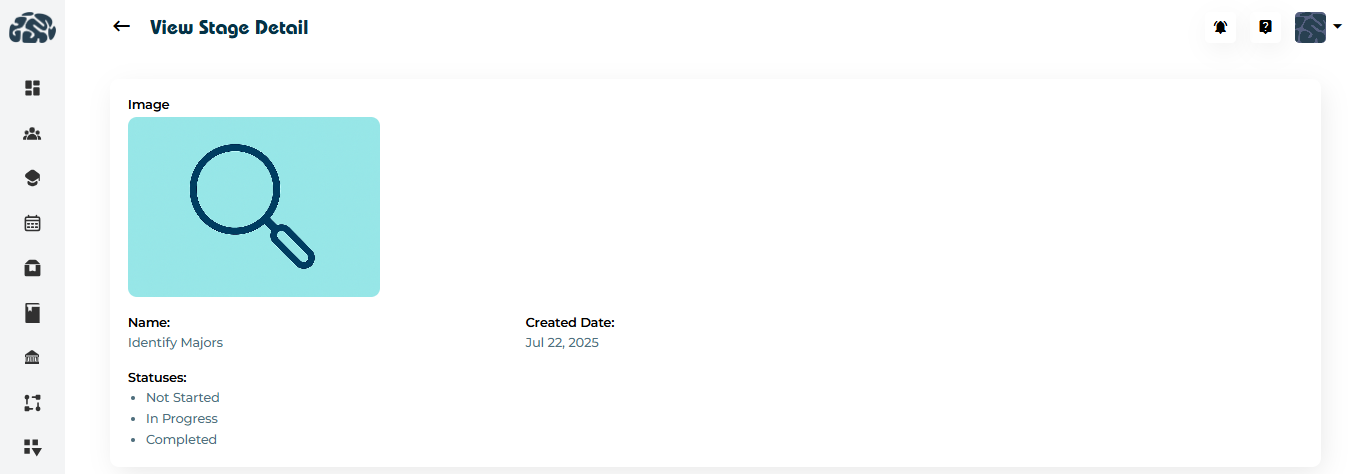
Stage Image
Stage Name
Creation date
Associated statuses
Edit Stage
Update:
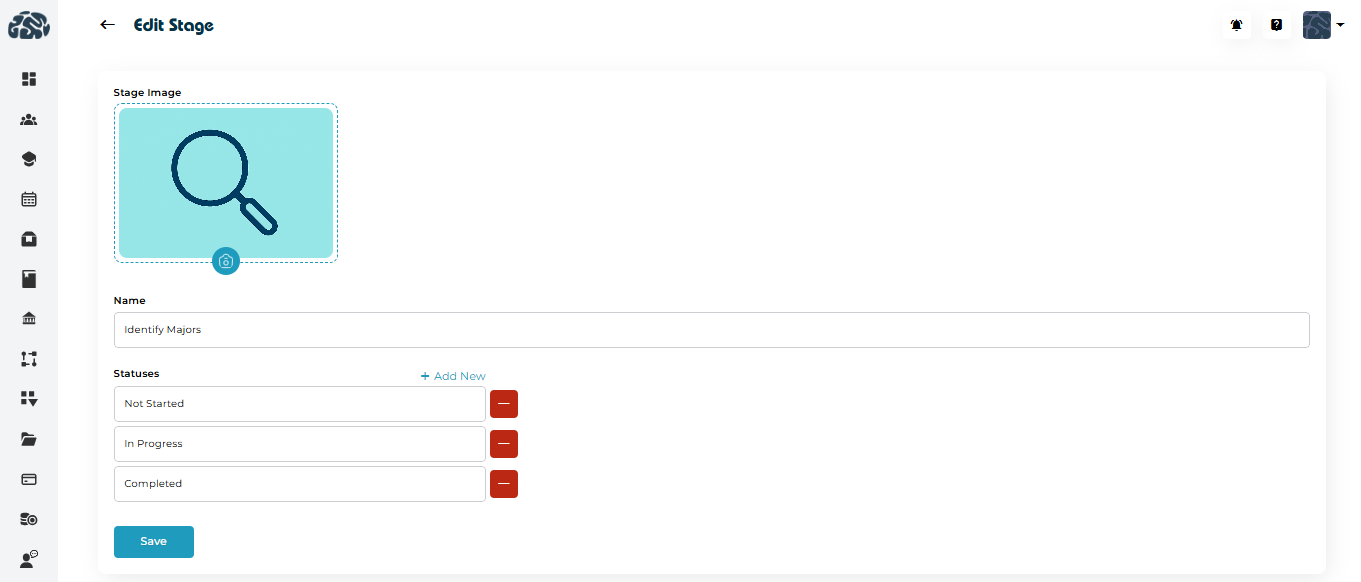
Stage name
Stage image
Statuses
Delete Stage
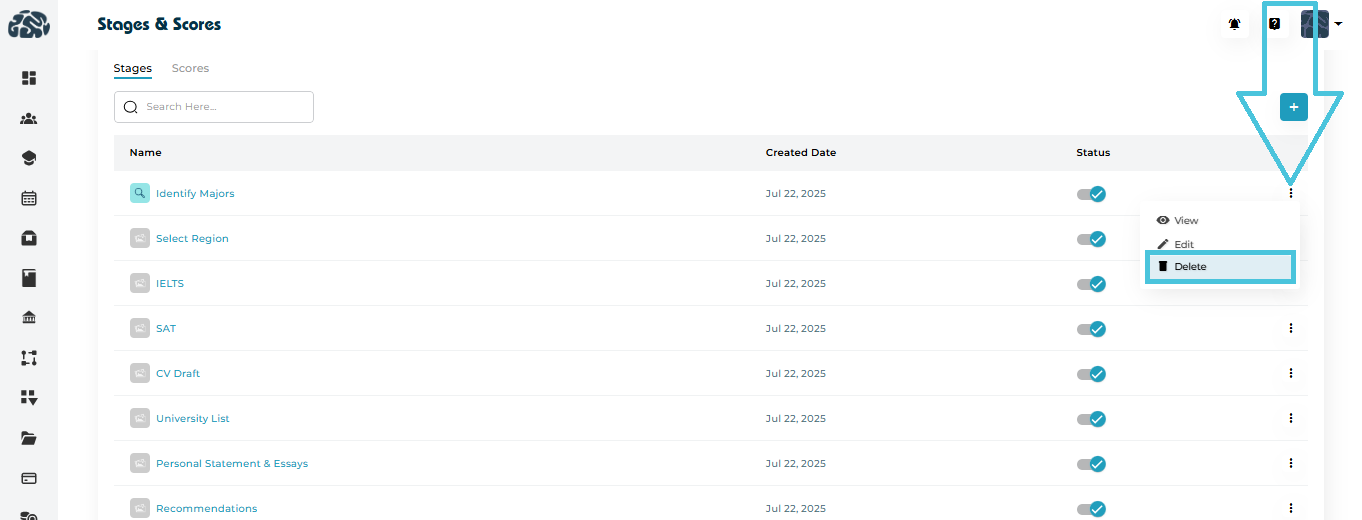
Permanently removes the stage
Recommended only if the stage is not actively used
Adding New Score
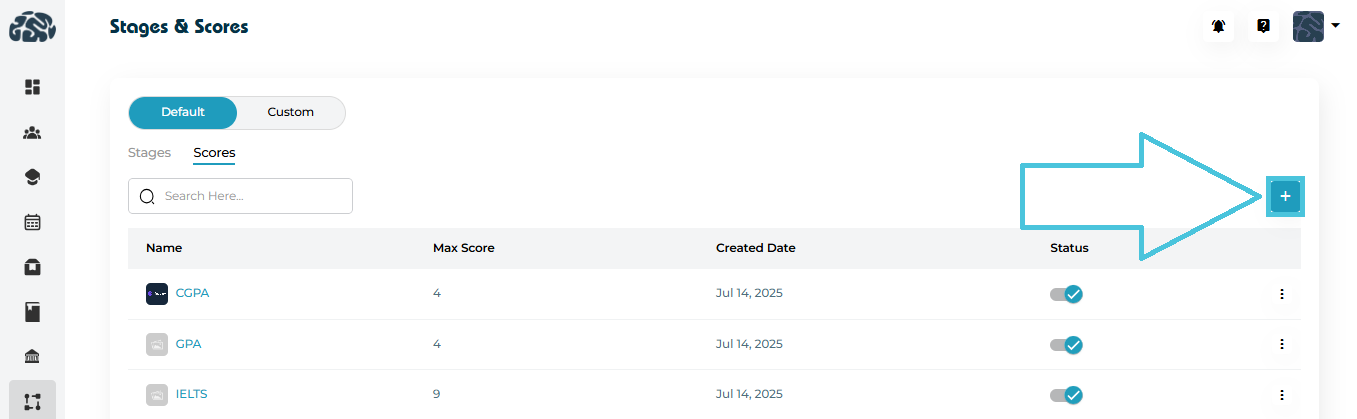
Go to Stages & Scores → Scores
Click ➕ Add Score
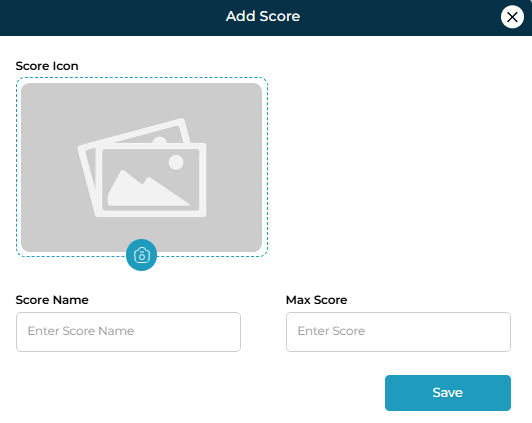
Upload a score icon (optional)
Enter:
Score Name (e.g., IELTS)
Maximum Score
Click Save
Each score row provides a three-dot menu with the following options:
View Scores
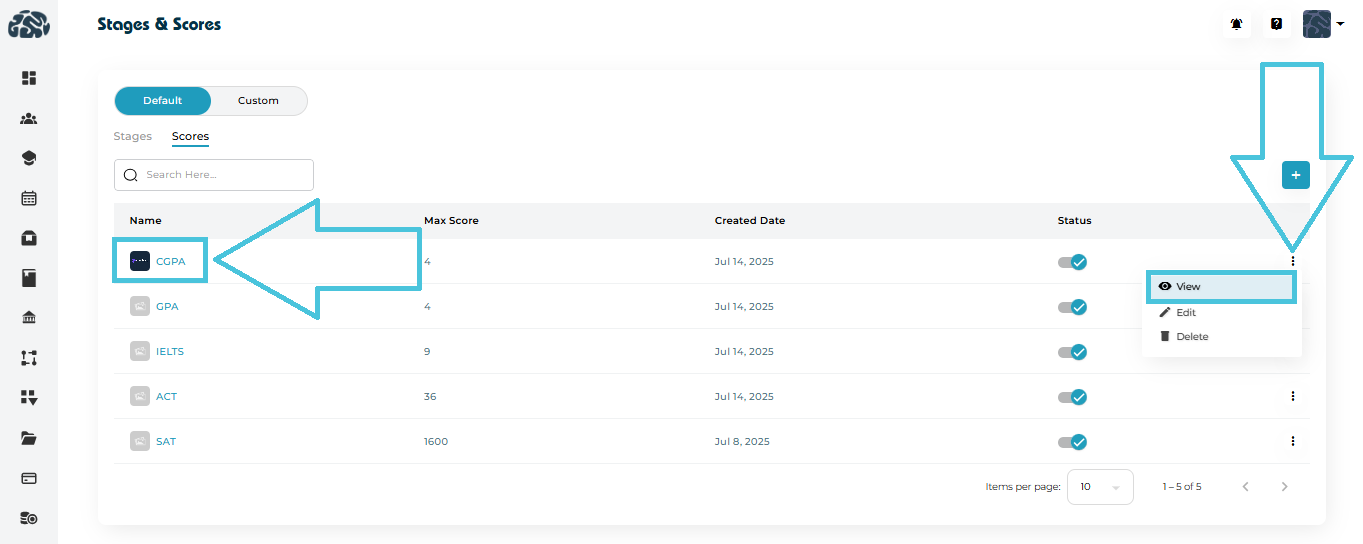
Opens a detailed view showing:
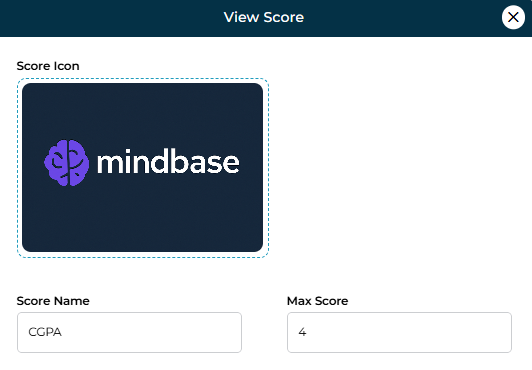
Score Icon
Score Name
Max Score
Edit Score
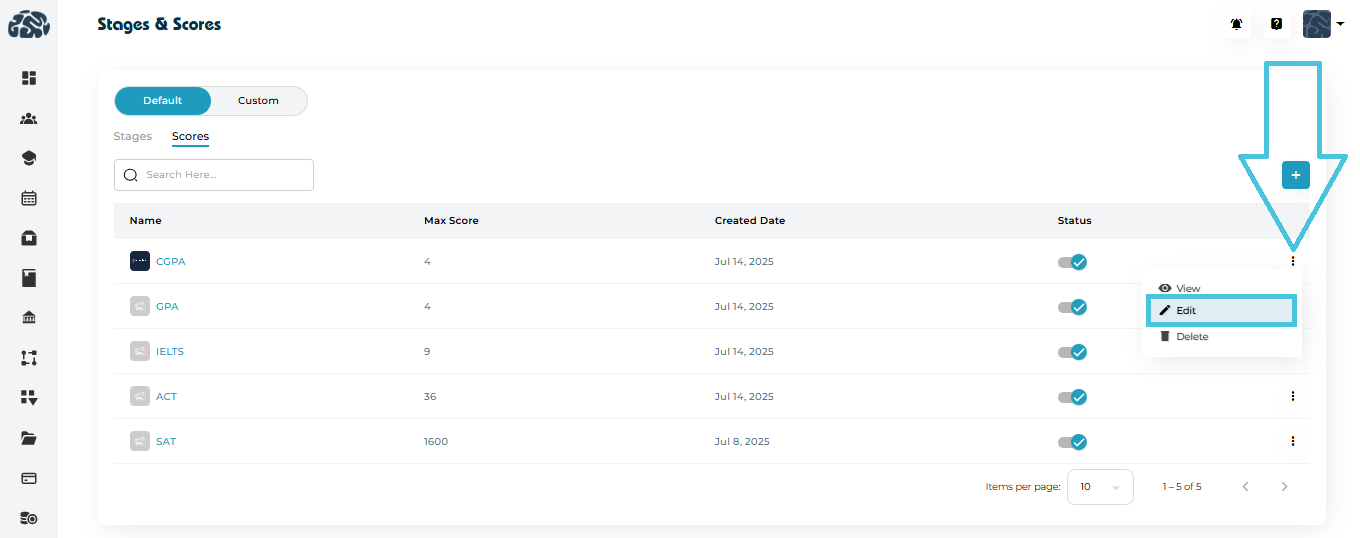
Update:
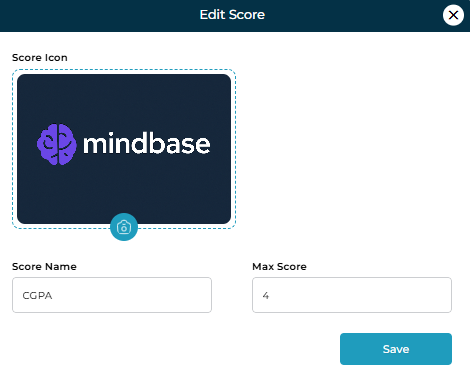
Score Icon
Score Name
Max Score
Delete Score
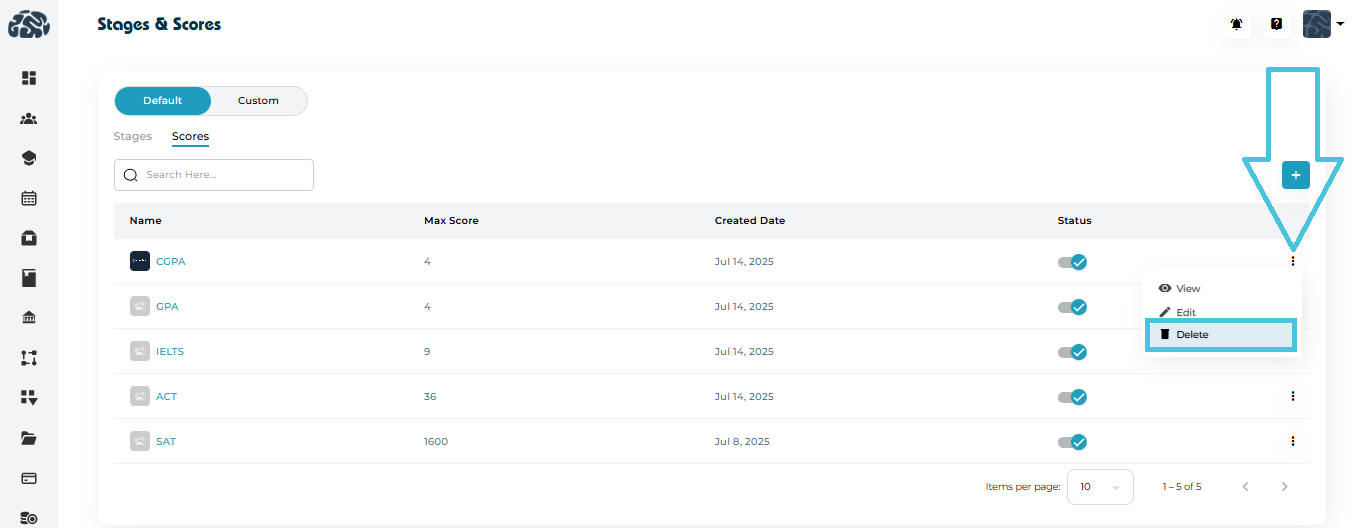
Permanently removes the score
Recommended only if the score is not actively used
Custom stages in PrepBase are created in two steps:
- Create a Stage List (with statuses)
- Add actual stages inside that list
Step 1: Create a Custom Stage List
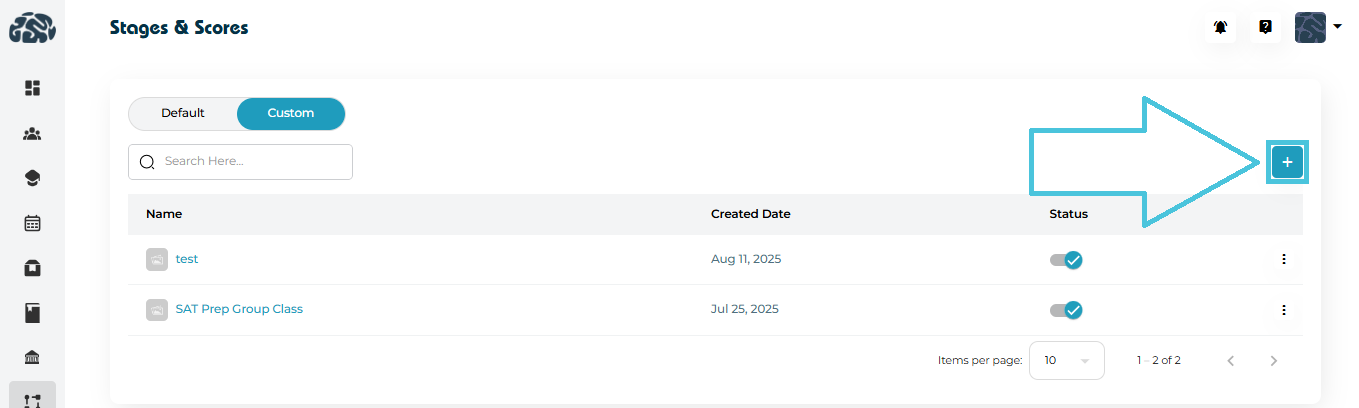
To begin creating custom stages:
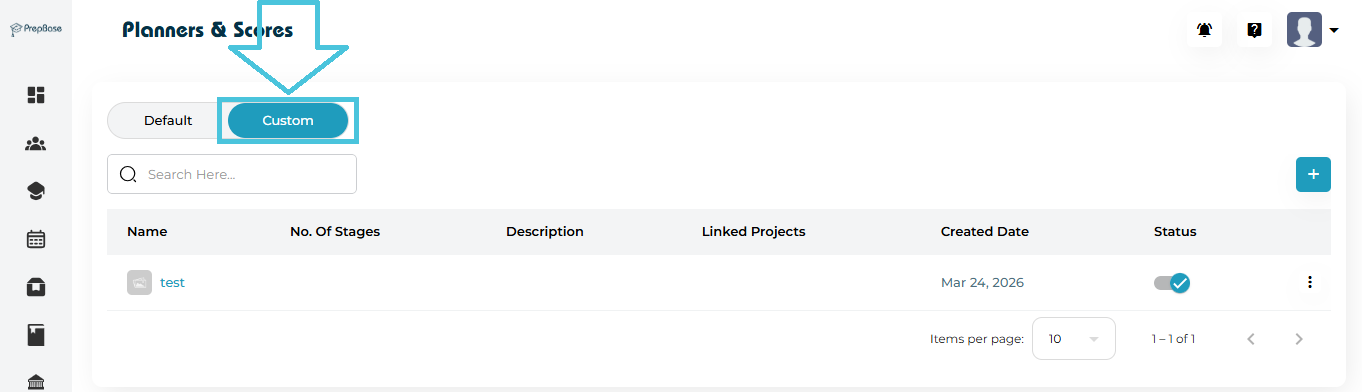
- Go to Planners & Scores
- Switch to the Custom tab
- Click the ➕ (Add) button on the top-right
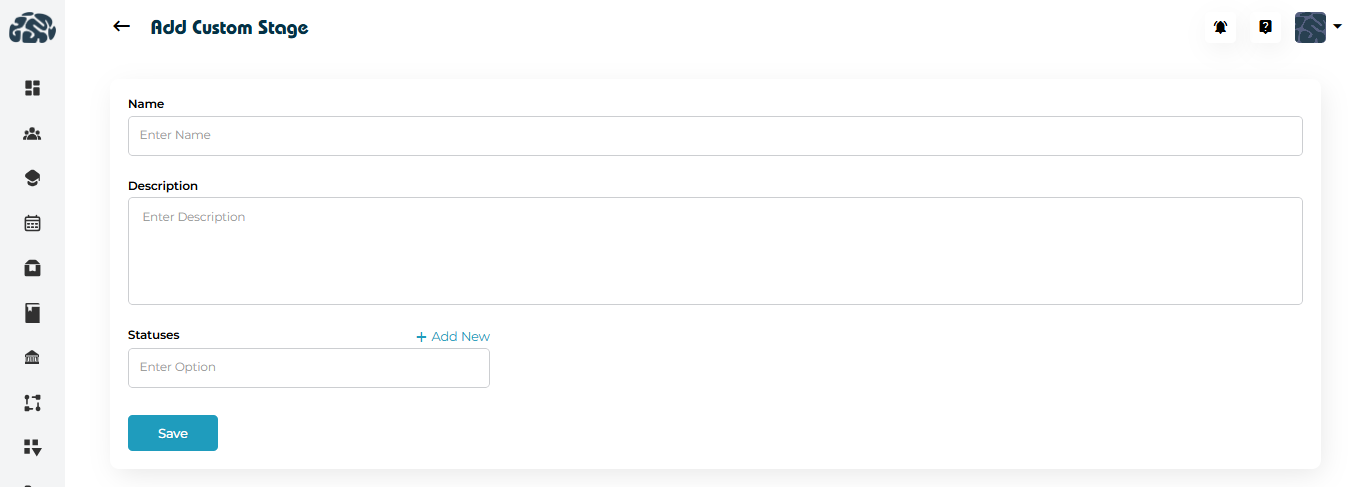
This opens the Add Custom Stage form.
Fill in the required details
| Field | Description |
|---|---|
| Name | Enter a name for the stage list (e.g., Undergraduate Admission Process) |
| Description | Add a short explanation of the workflow or process |
| Statuses | Define status labels (e.g., Pending, In Progress, Completed) |
Click + Add New to add multiple statuses.
Important Note
At this stage, you are only creating the structure (Stage List + Statuses) —
actual stages (steps) are added in the next step.
Save the Stage List
Click Save to create the custom stage list.
Once saved, the list will appear in the Custom tab table.
Step 2: Add Stages Inside the List
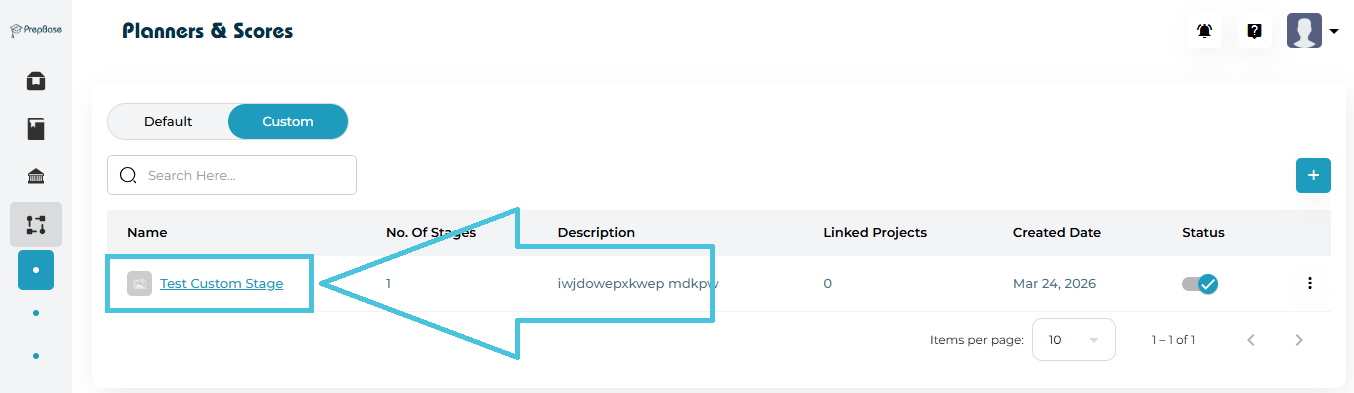
After creating the stage list:
- Locate your newly created list in the table
- Click on the Stage List Name
This opens the Custom Stage Detail page.
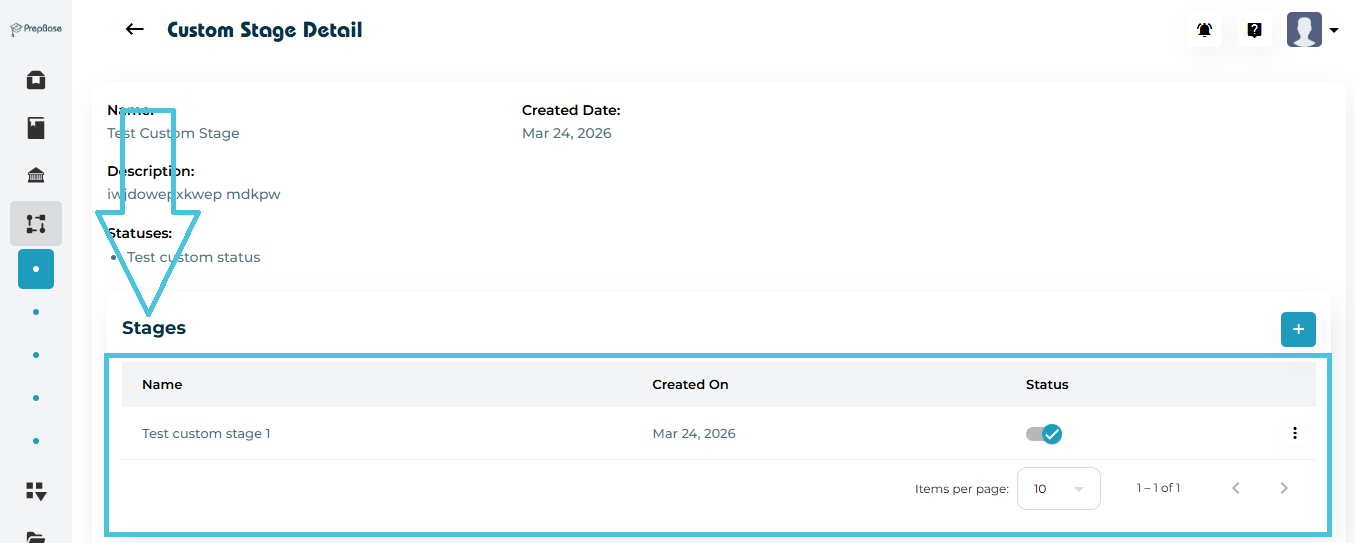
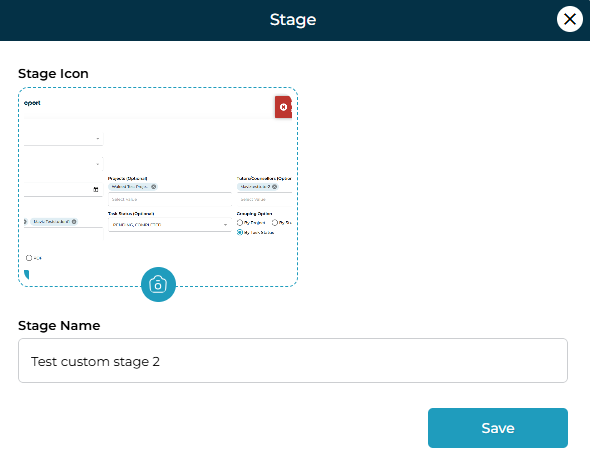
Add Actual Stages
Inside this page:
- Go to the Stages section
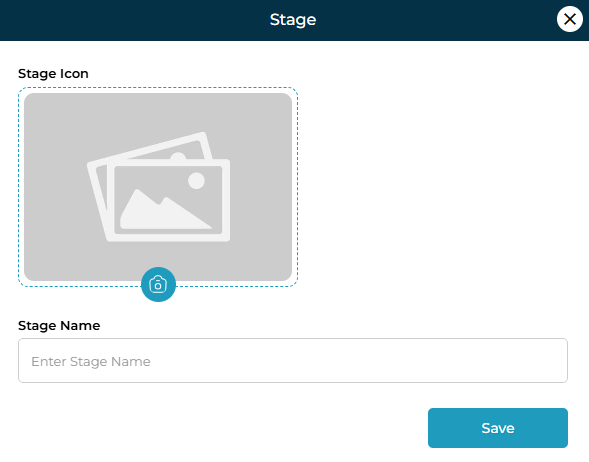
- Click the ➕ (Add) button
- Enter stage details (e.g., Application Submitted, Documents Verified, Interview Scheduled)
- Assign a status
- Click Save
What This Step Does
- Converts your stage list into a usable workflow
- Defines the actual steps users will follow
- Links each stage with a status for tracking progress
Example Flow
Stage List: Undergraduate Admissions
Statuses: Pending, In Progress, Completed
Stages inside list:
- Application Submitted
- Documents Verified
- Interview Scheduled
- Offer Issued
Once custom stage lists and their stages are created, admins can manage them from the Custom tab.
Viewing Stage Lists
All custom stage lists are displayed in a table with the following details:
| Column | Description |
|---|---|
| Name | Name of the stage list (clickable to open details) |
| No. of Stages | Total stages created inside the list |
| Description | Overview of the workflow |
| Linked Projects | Number of projects using this stage list |
| Created Date | Date when the list was created |
| Status | Active/Inactive toggle |
Opening and Managing Stages
To manage stages within a list:
- Click on the Stage List Name
- You will be redirected to the Custom Stage Detail page
Inside the Detail Page
You can view:
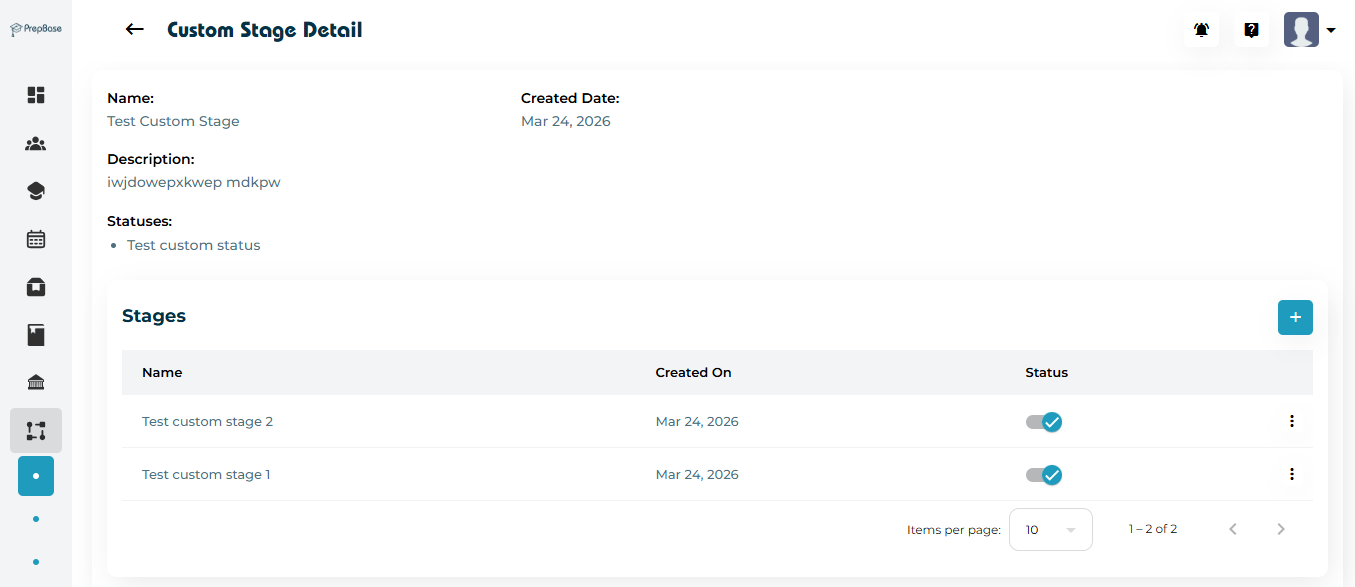
| Section | Description |
|---|---|
| Name & Description | Basic information about the stage list |
| Statuses | Status options defined during creation |
| Stages Table | All stages added inside the list |
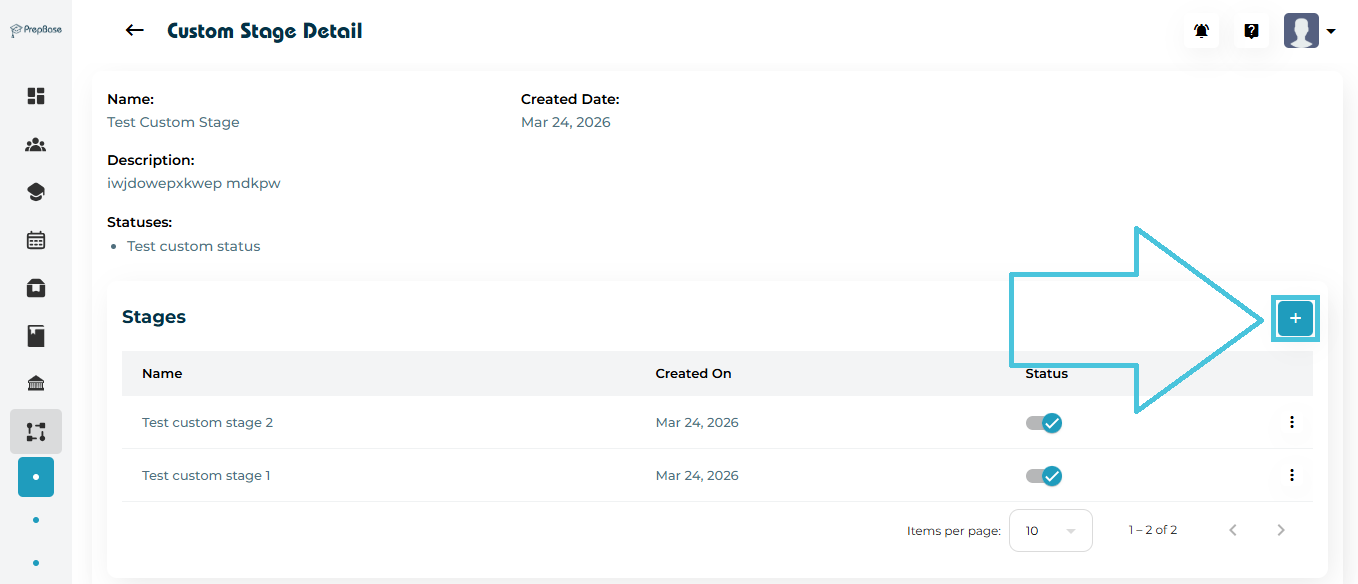
Managing Individual Stages
Inside the Stages section, you can:
Add New Stage
- Click ➕
- To add new custom stages
Edit Stage
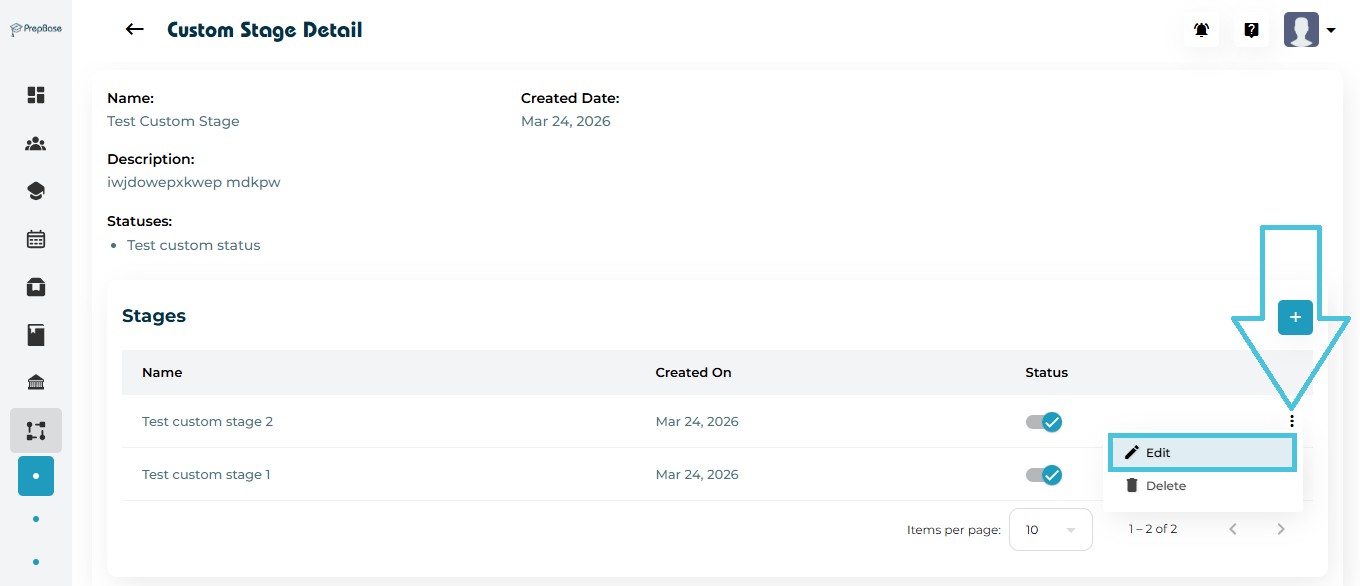
- Use the three-dot menu (⋮)
- Update stage Icon or name
Activate / Deactivate Stage
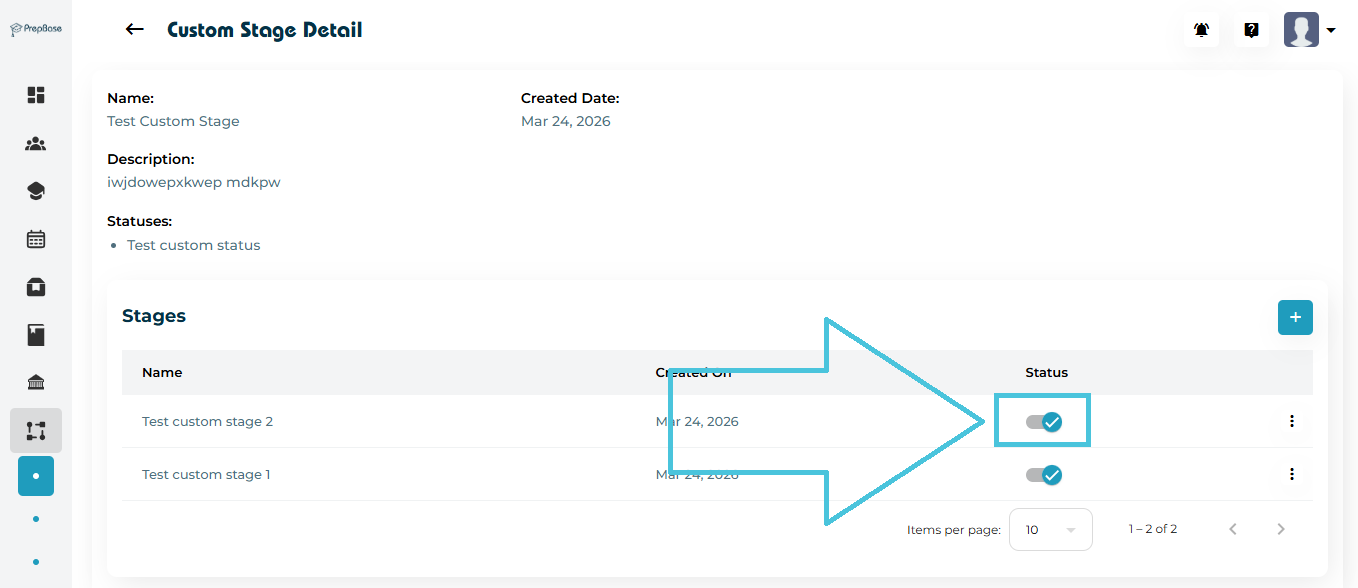
- Toggle the status switch
- Control whether a stage is usable
Managing Stage List (Main Table Actions)
From the main Custom tab table:
Search Stage Lists
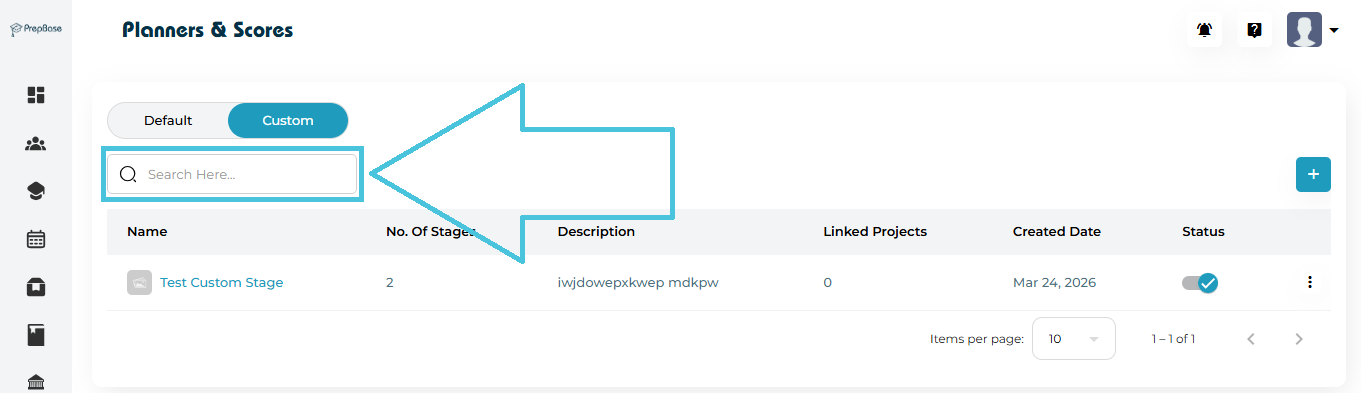
- Use the Search bar to quickly find a list
Enable / Disable Stage List
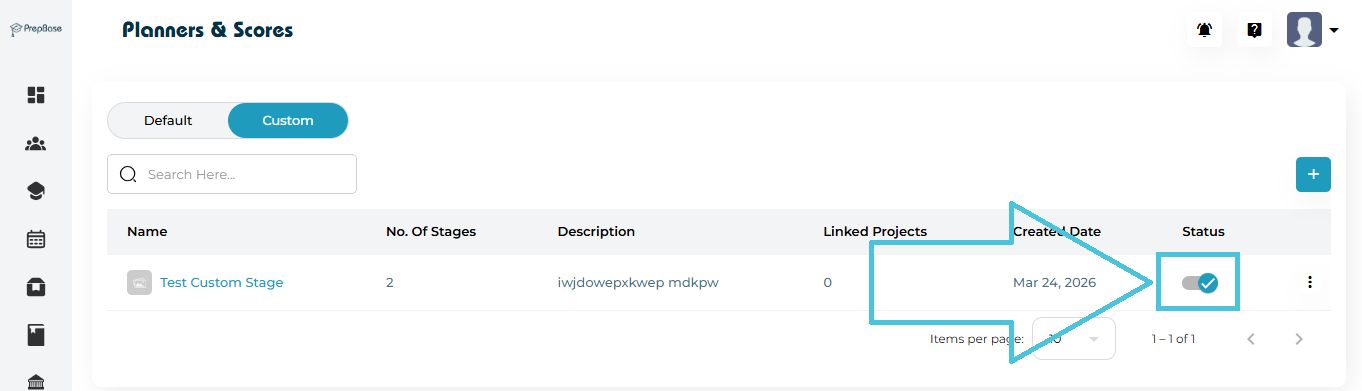
- Toggle the Status switch
More Actions (⋮ Menu)
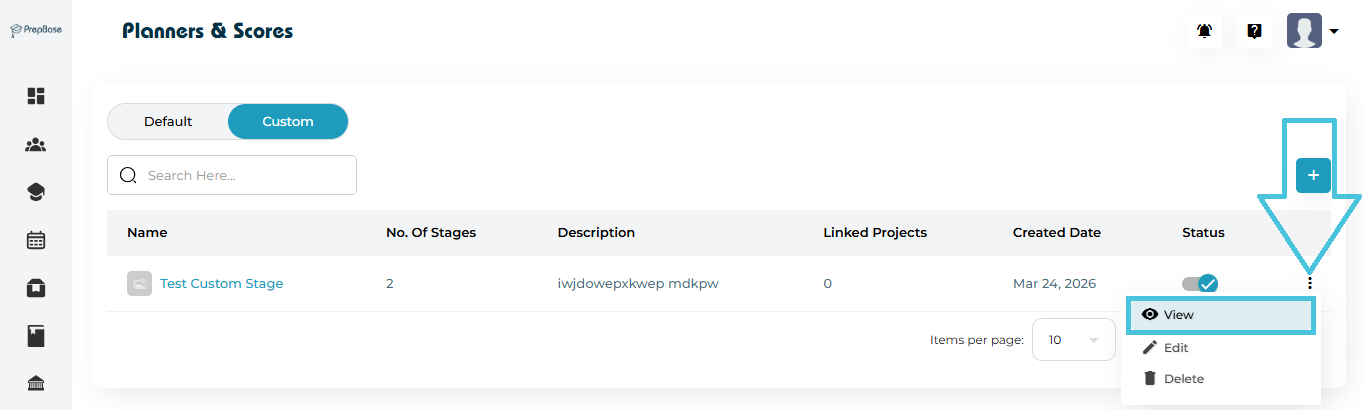
- Click the view stage list button
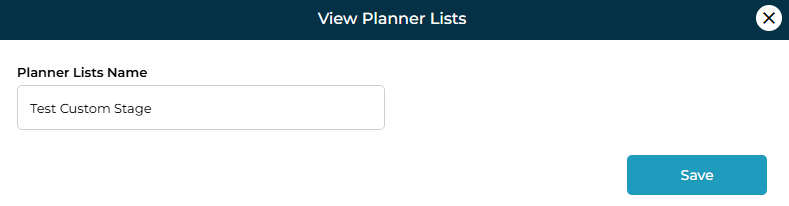
- Stage list name form
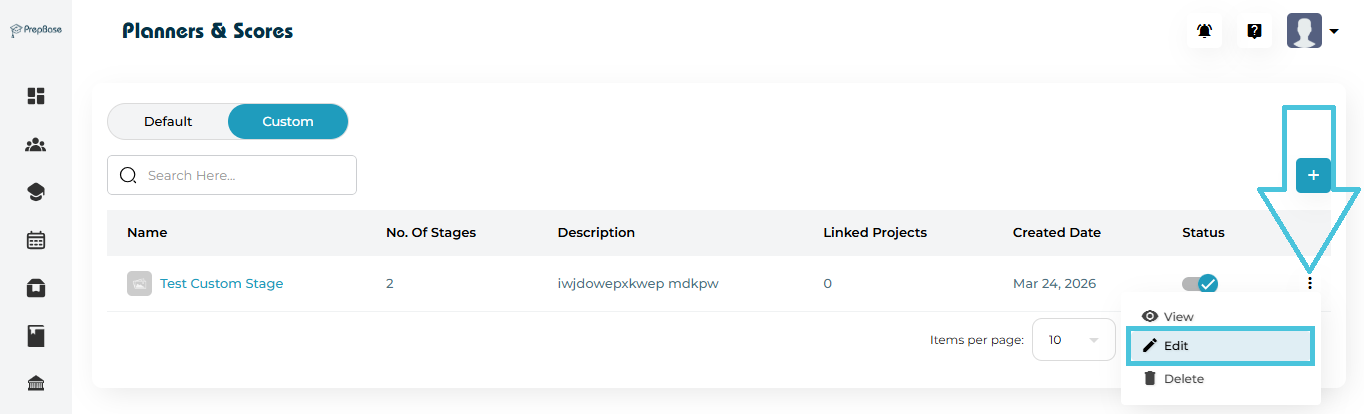
- Click the edit stage list button
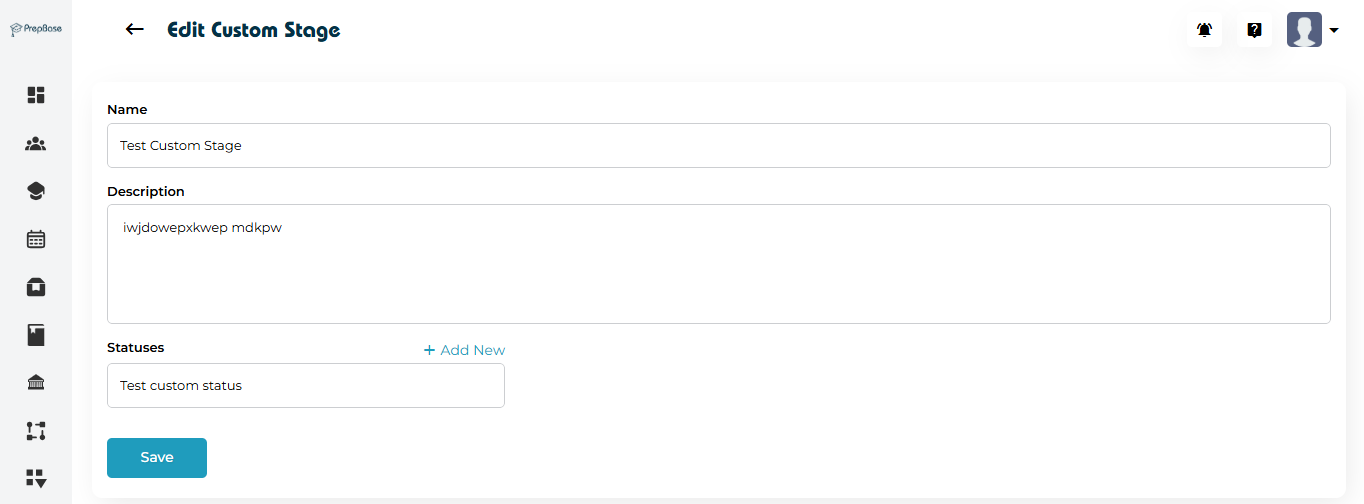
- Update stage list form
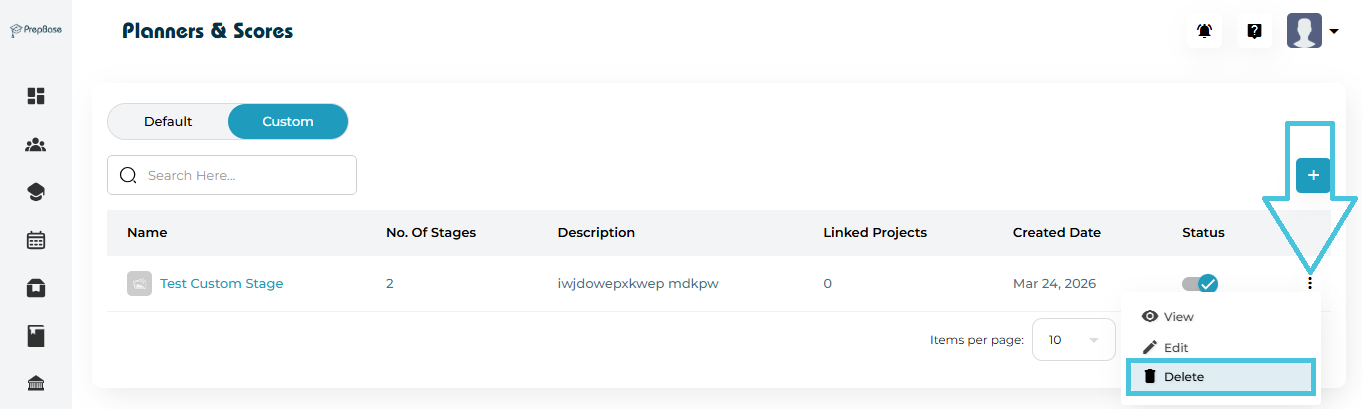
- Delete Stage list
Important Behavior
- A stage list is NOT usable until stages are added inside it
- Statuses define progress states, while stages define workflow steps
- Stage lists can be linked to projects for structured tracking
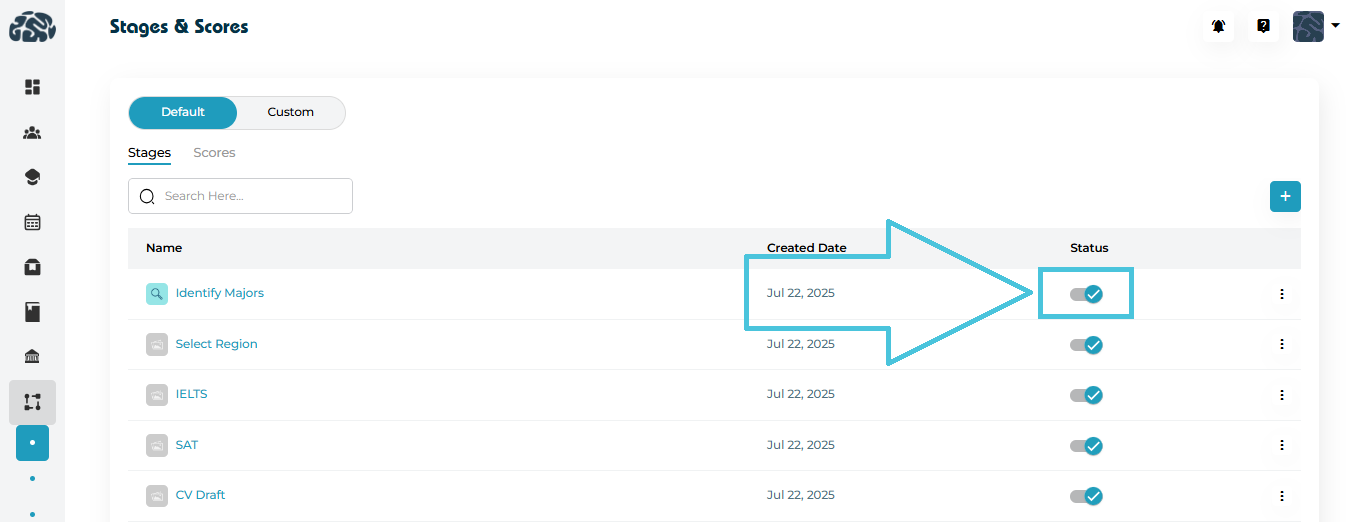
Each stage or score includes a status toggle:
-
Enabled: Available for use in workflows
-
Disabled: Hidden from selection but not deleted
This allows admins to pause usage without losing historical data.