Navigate to:
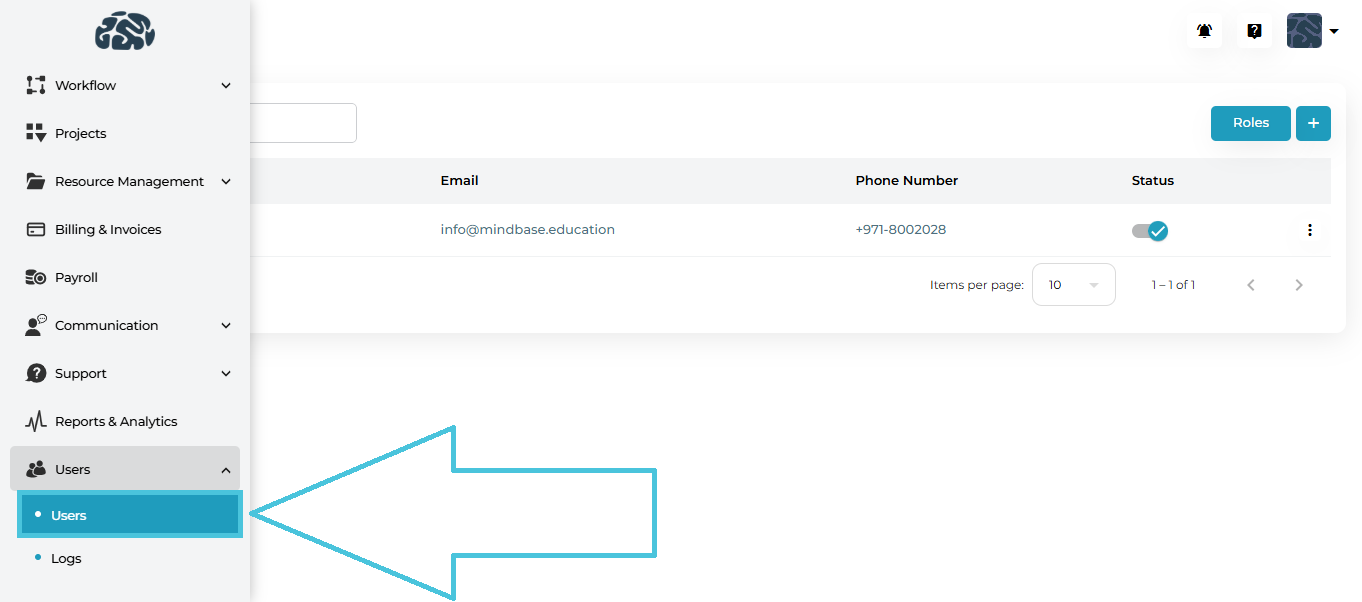
Users → Users
This opens the Admin Users management screen.
The Users page displays all existing admin accounts in a structured table.
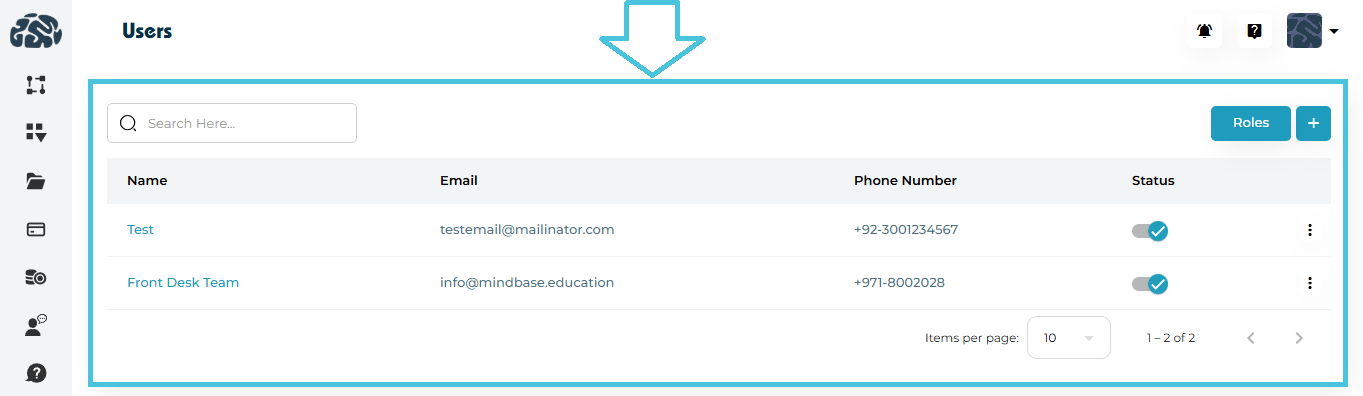
Table Columns
| Column | Description |
|---|---|
| Name | Admin user’s full name (clickable). |
| Registered email address. | |
| Phone Number | Contact number with country code. |
| Status | Active or inactive toggle indicator. |
| Actions | View, Edit, or Delete options. |
To create a new admin account:
Step 1: Click Add User
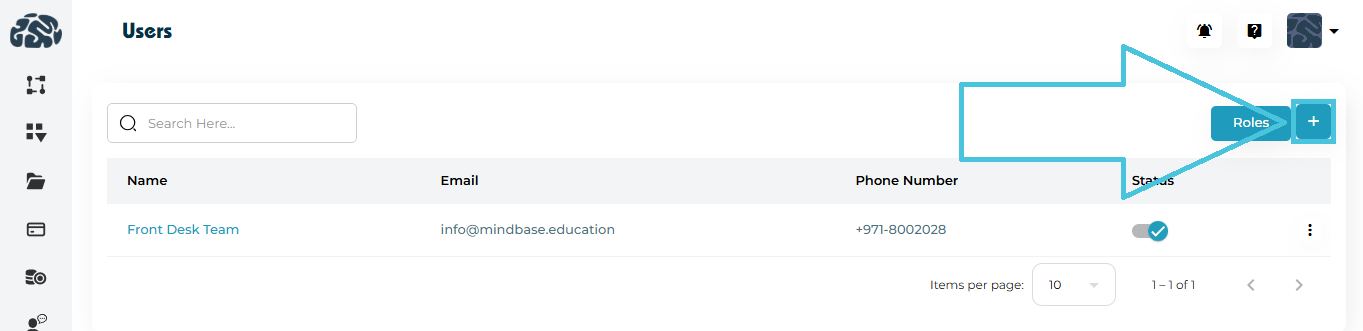
Click the ➕ Add User button located at the top-right of the Users page.
Step 2: Fill in User Details
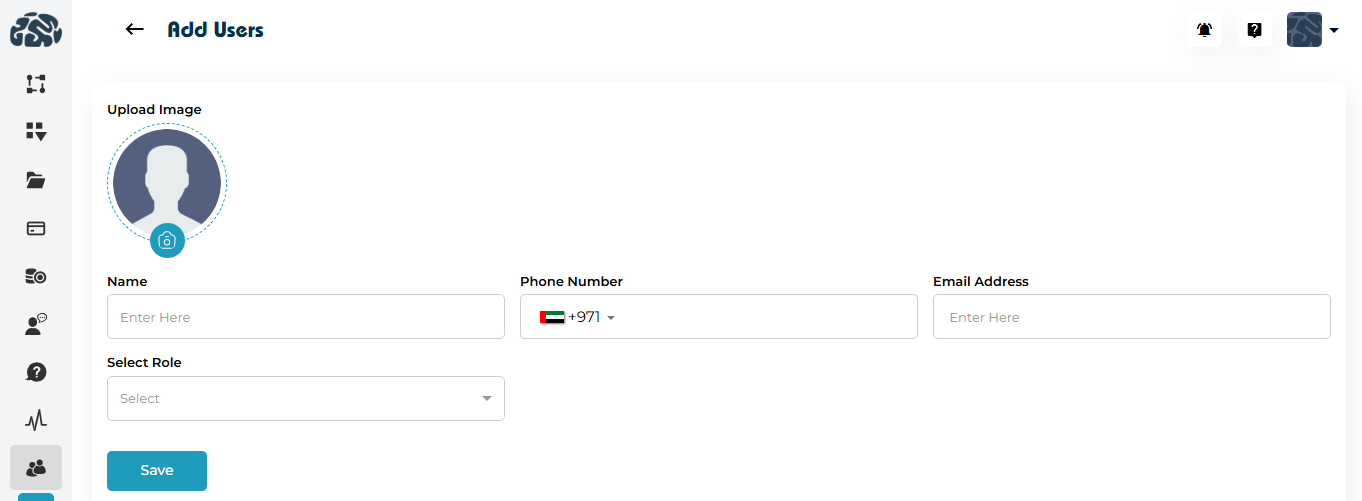
You will be redirected to the Add Users page.
Required fields:
-
Upload Image (Optional)
-
Name
-
Phone Number (with country code)
-
Email Address
-
Select Role (Dropdown)
Step 3: Assign Role
Select the appropriate role from the dropdown menu.
Roles determine access permissions within the Admin Portal.
Step 4: Save
Click Save to create the new admin user.
The user will now appear in the Users list.
To view full user information:
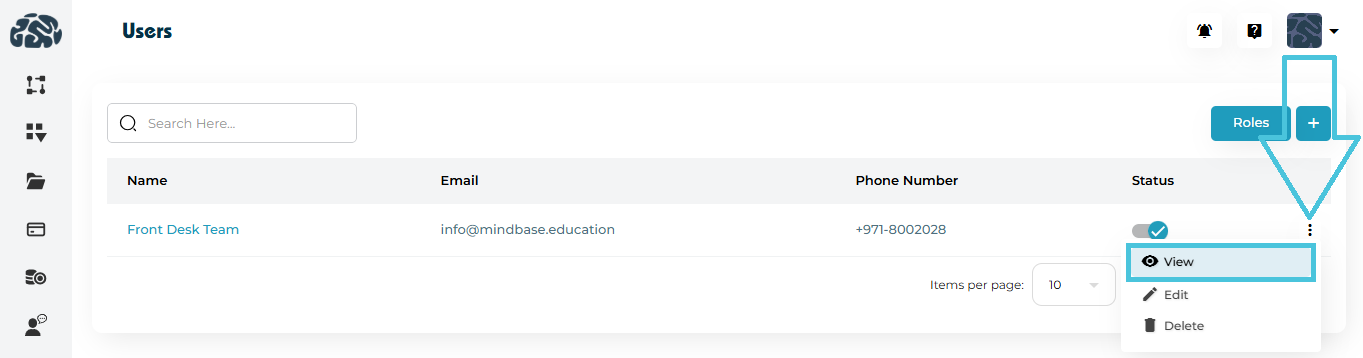
-
Click the three-dot menu
-
Select View
You will be redirected to the View User page.
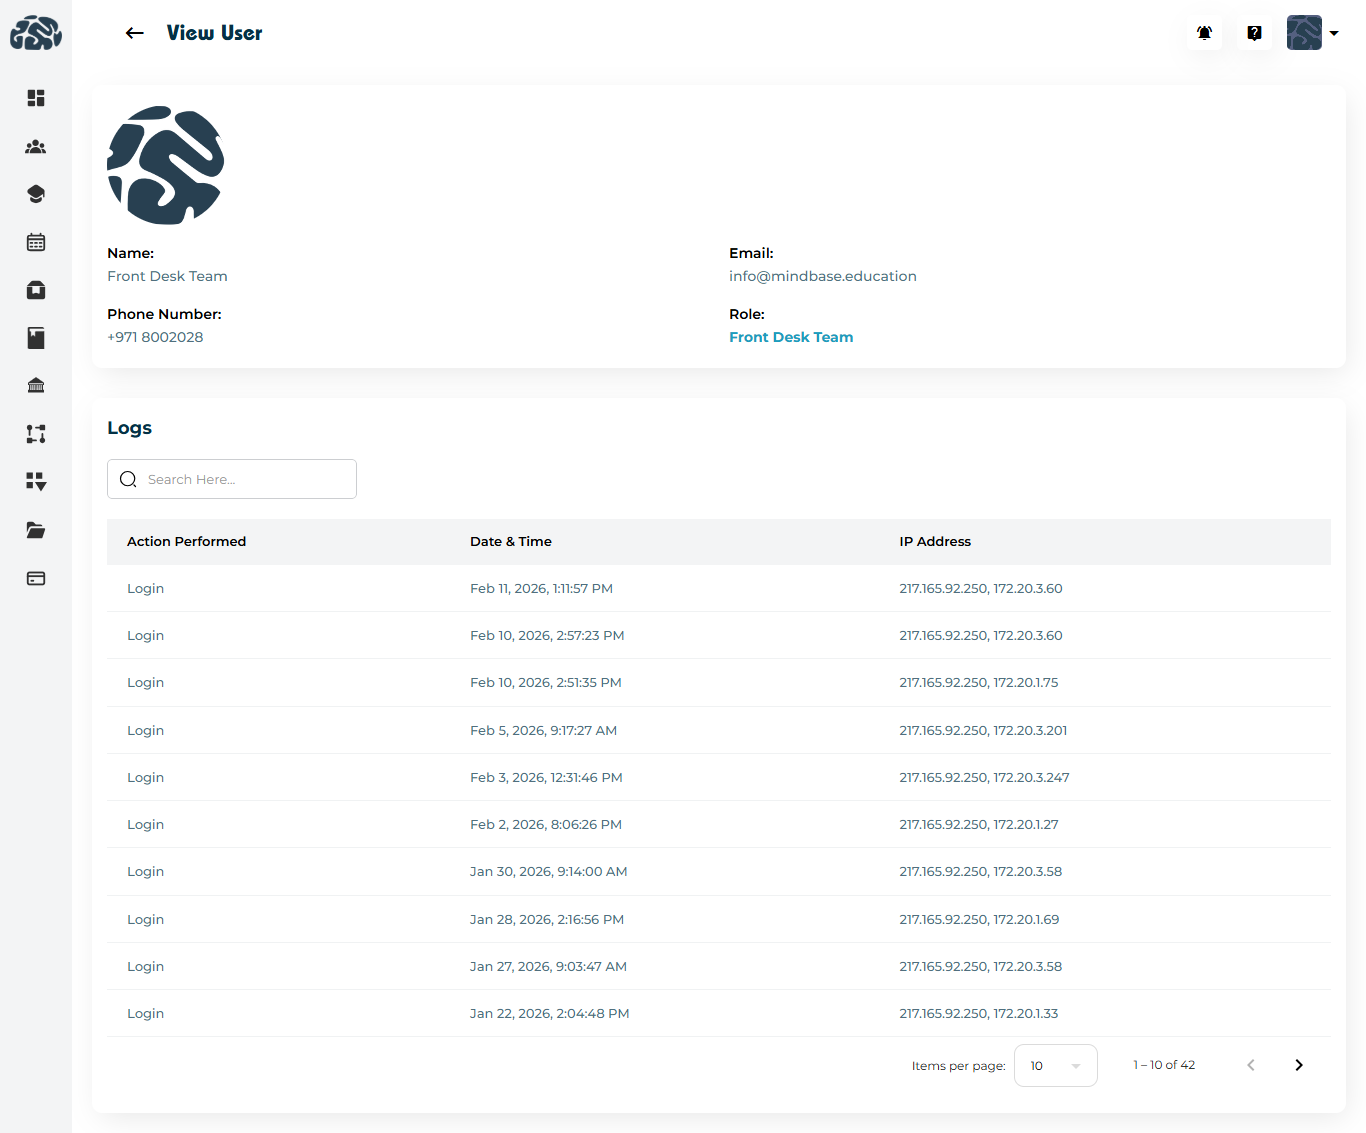
View Page Includes:
-
Profile Image
-
Name
-
Email
-
Phone Number
-
Assigned Role
User Activity Logs
Inside the View User page, you will find the Logs section.
This section records:
-
Action Performed (e.g., Login)
-
Date & Time
-
IP Address
Logs help track:
-
Login history
-
Suspicious activity
-
System usage patterns
You can also:
-
Search logs
-
Adjust pagination
To update user details:
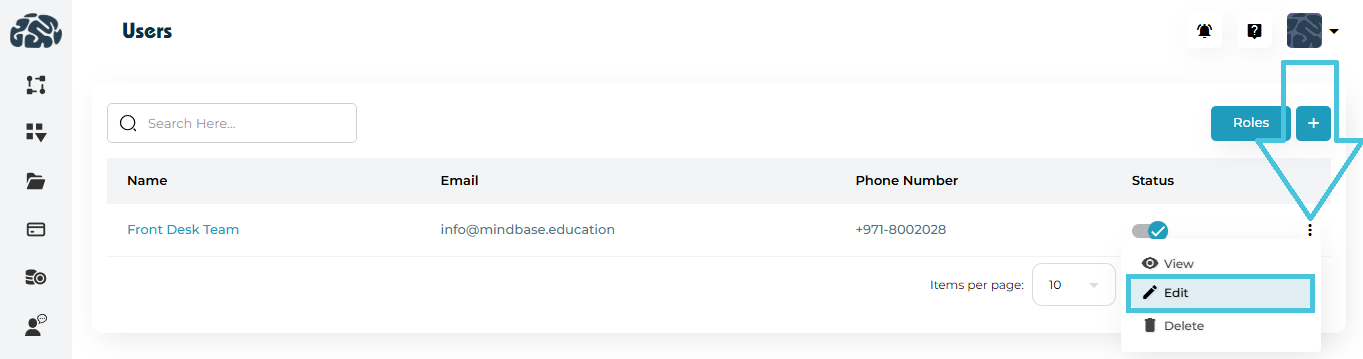
Open the three-dot menu
Select Edit
You will be redirected to the Edit Users page.
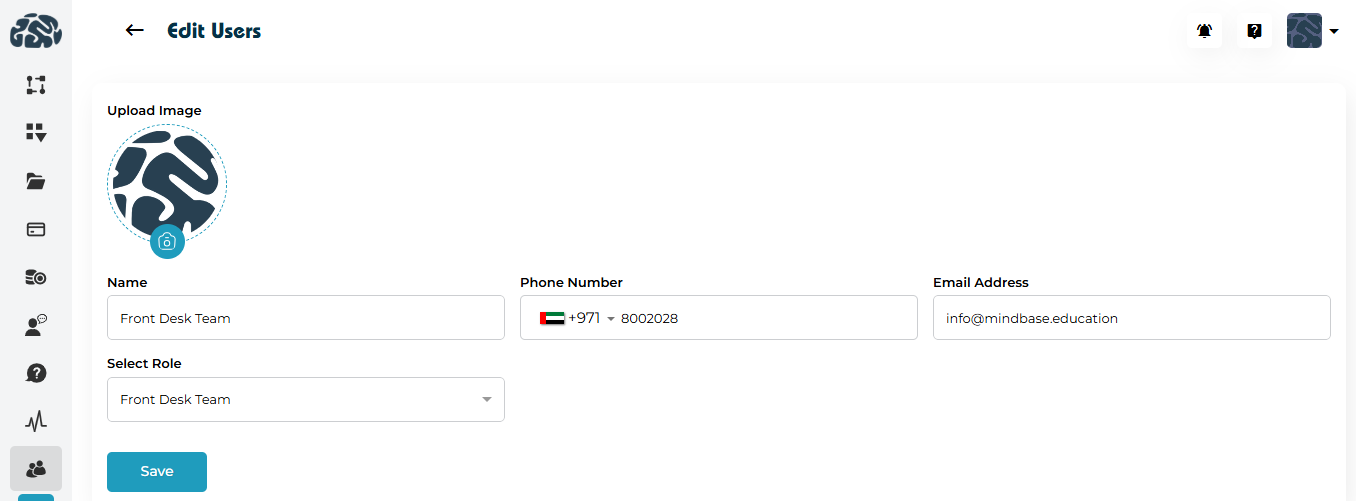
Editable fields include:
Profile Image
Name
Phone Number
Email Address
Role
After making changes, click Save.
Changes apply immediately.
To remove an admin account:
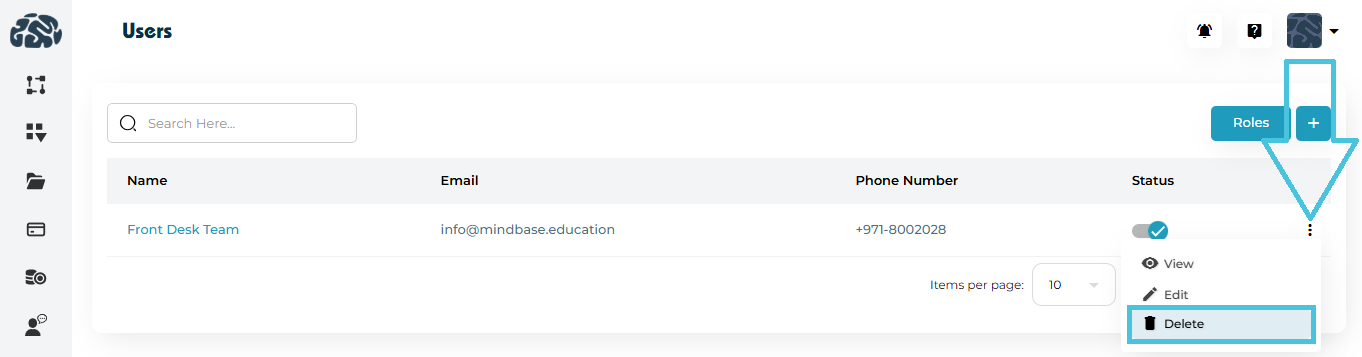
Click the three-dot menu
Select Delete
Confirm deletion
⚠️ Important:
Deleting a user permanently removes their admin access.
It does not delete system records or logs associated with their actions.
The Status toggle on the Users page indicates whether the admin account is active.
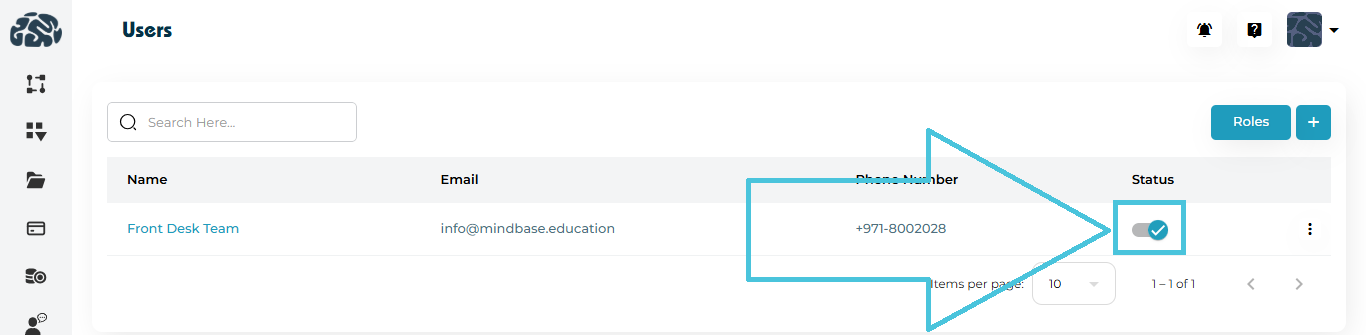
-
Active – User can log in
-
Disabled – User cannot access the system
Deactivating is recommended instead of deleting when:
-
Employee leaves temporarily
-
Role is under review
-
Security access needs restriction
Use the search bar to quickly find users by:
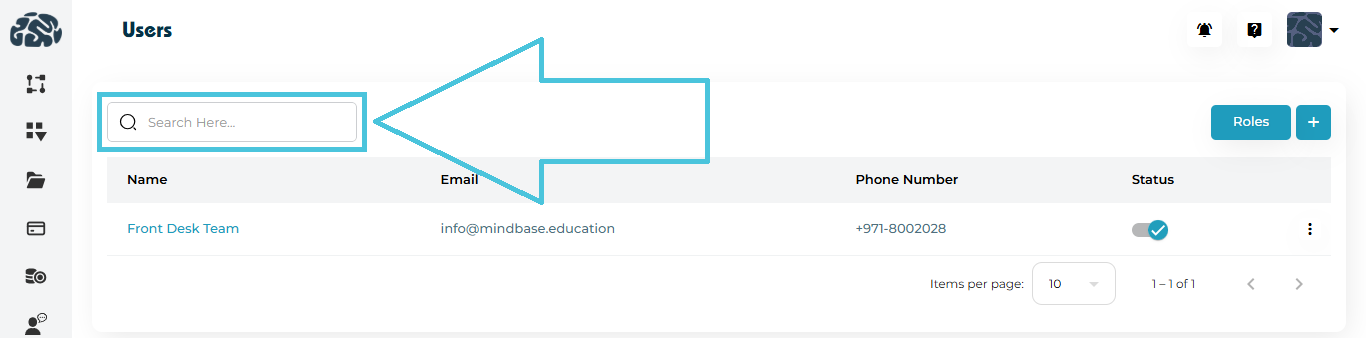
-
Name
-
Email