Navigate to:
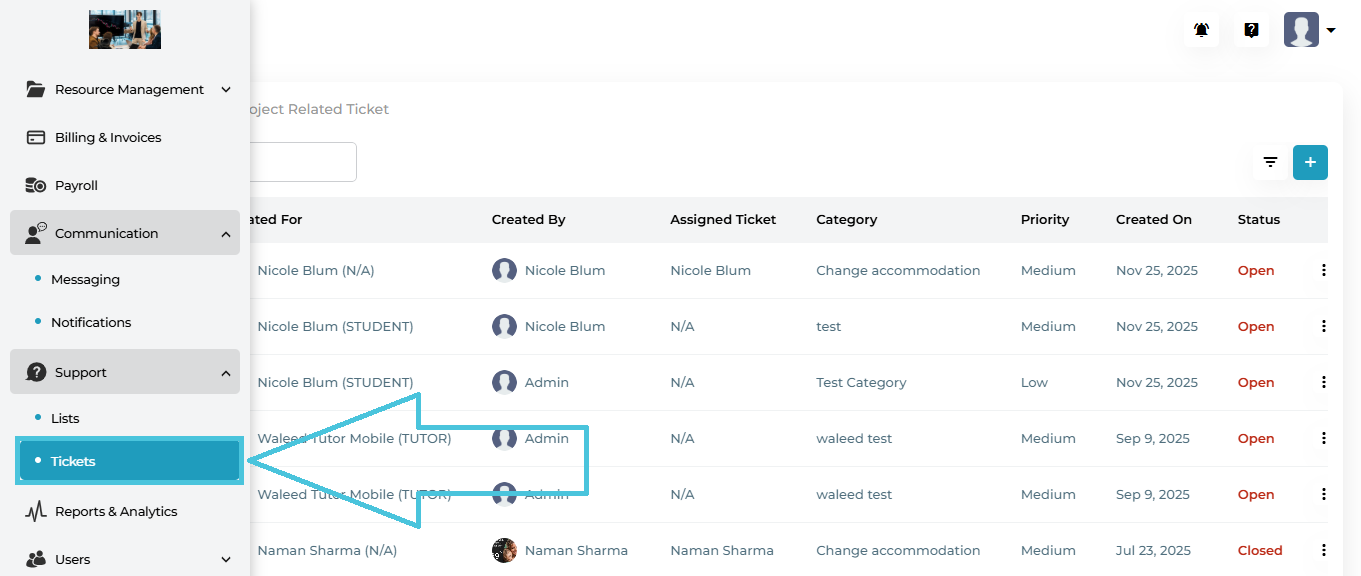
Support → Tickets
This opens the Tickets management screen with two tabs at the top:
General Ticket
Project Related Ticket
General Tickets are used for non-project-specific support requests, such as:
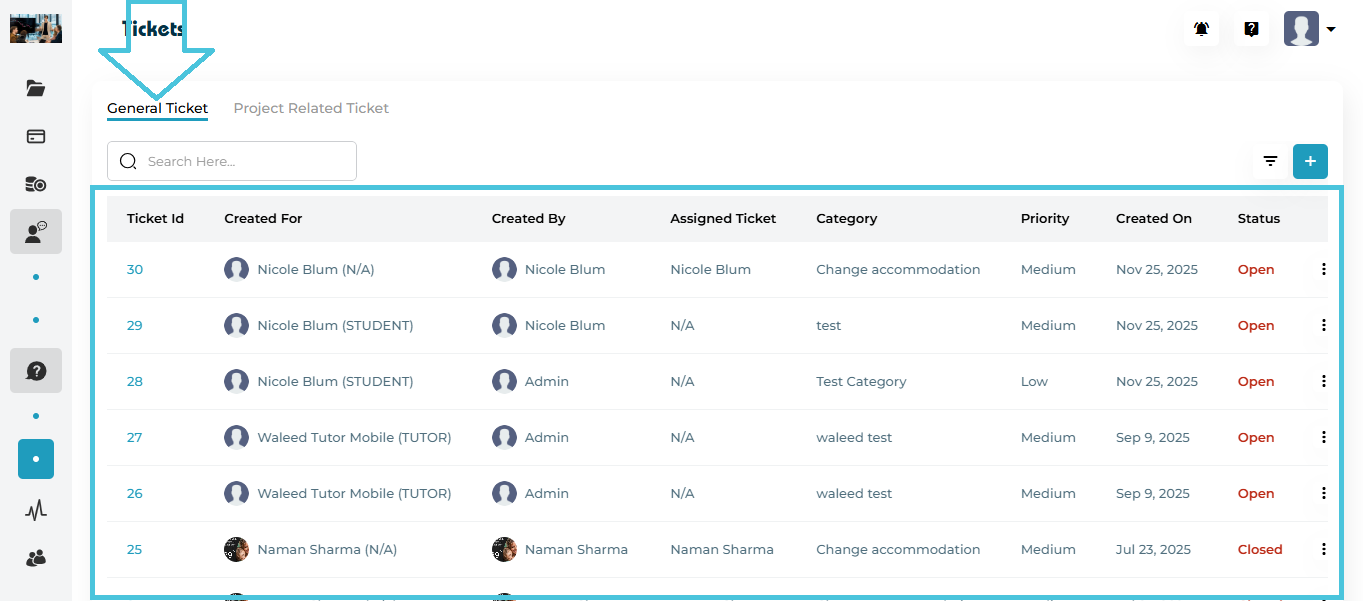
Account issues
Accommodation changes
General inquiries
Platform-related problems
General Tickets Table Columns
| Column | Description |
|---|---|
| Ticket ID | Unique system-generated ticket number |
| Created For | User for whom the ticket was created |
| Created By | User or admin who submitted the ticket |
| Assigned Ticket | Sub-admin assigned to handle the ticket |
| Category | Support category selected during creation |
| Priority | Low, Medium, or High |
| Created On | Ticket creation date |
| Status | Open or Closed |
| Actions | Assign, View, Edit, Delete |
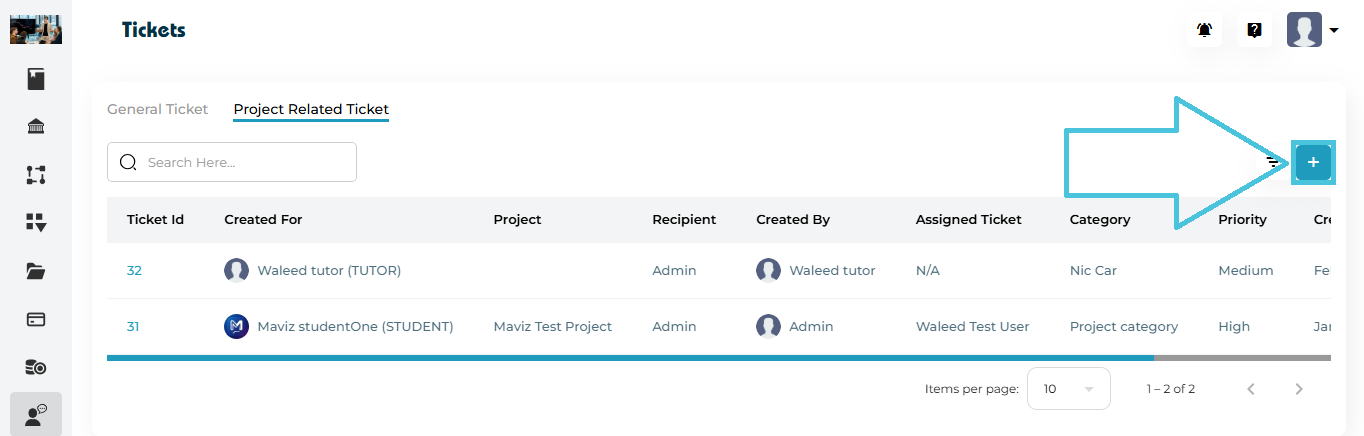
Project-Related Tickets are linked to a specific project and are typically used for:
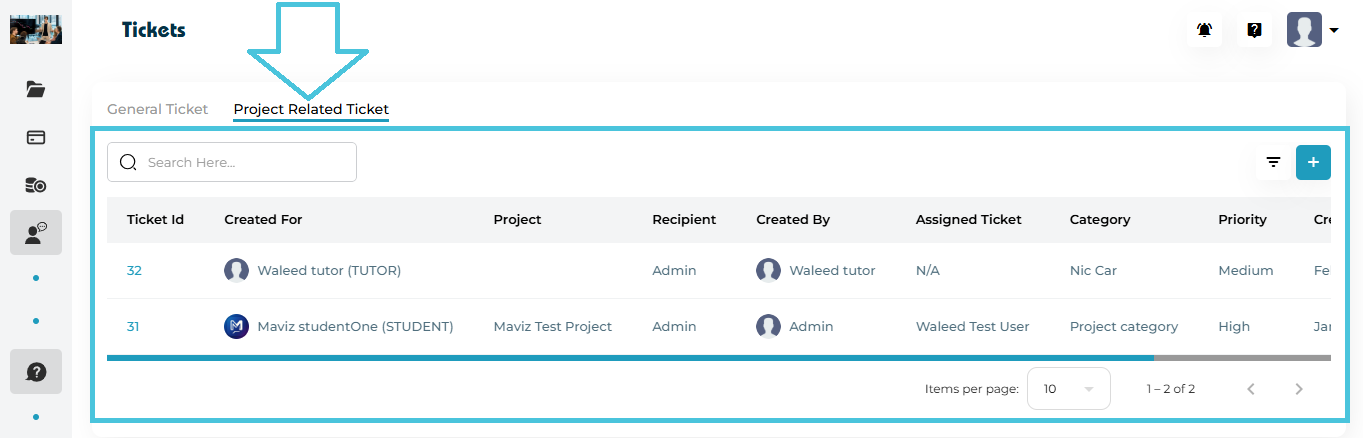
Project deliverables
Workflow clarifications
Project-specific issues
Coordinator or admin communication
Project-Related Tickets Table Columns
| Column | Description |
|---|---|
| Ticket ID | Unique ticket number |
| Created For | User associated with the ticket |
| Project | Linked project name |
| Recipient | Admin or coordinator receiving the ticket |
| Created By | User or admin who created the ticket |
| Assigned Ticket | Sub-admin handling the ticket |
| Category | Project support category |
| Priority | Ticket urgency |
| Created On | Date created |
| Status | Open or Closed |
| Actions | Assign, View, Edit, Delete |
Admins can create tickets manually on behalf of users.
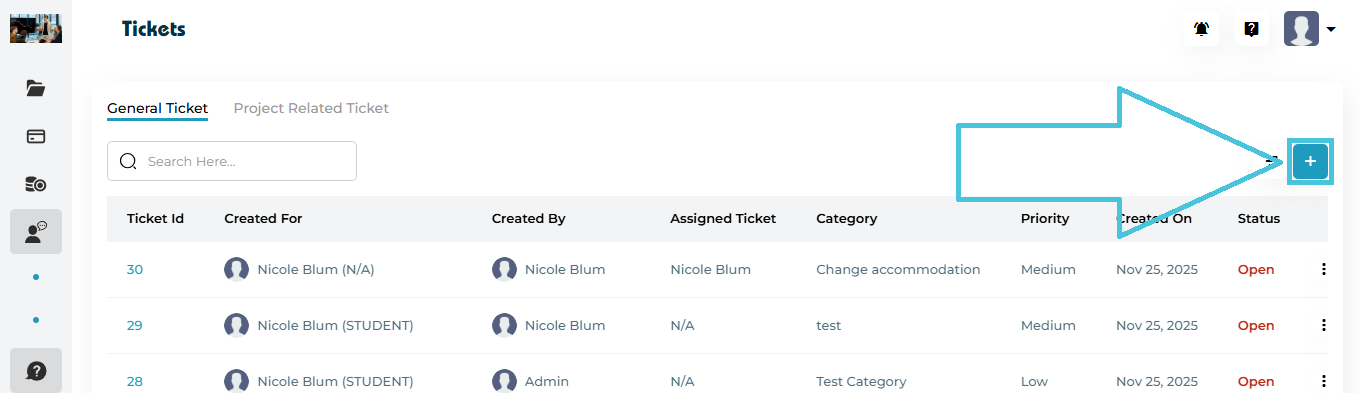
Steps:
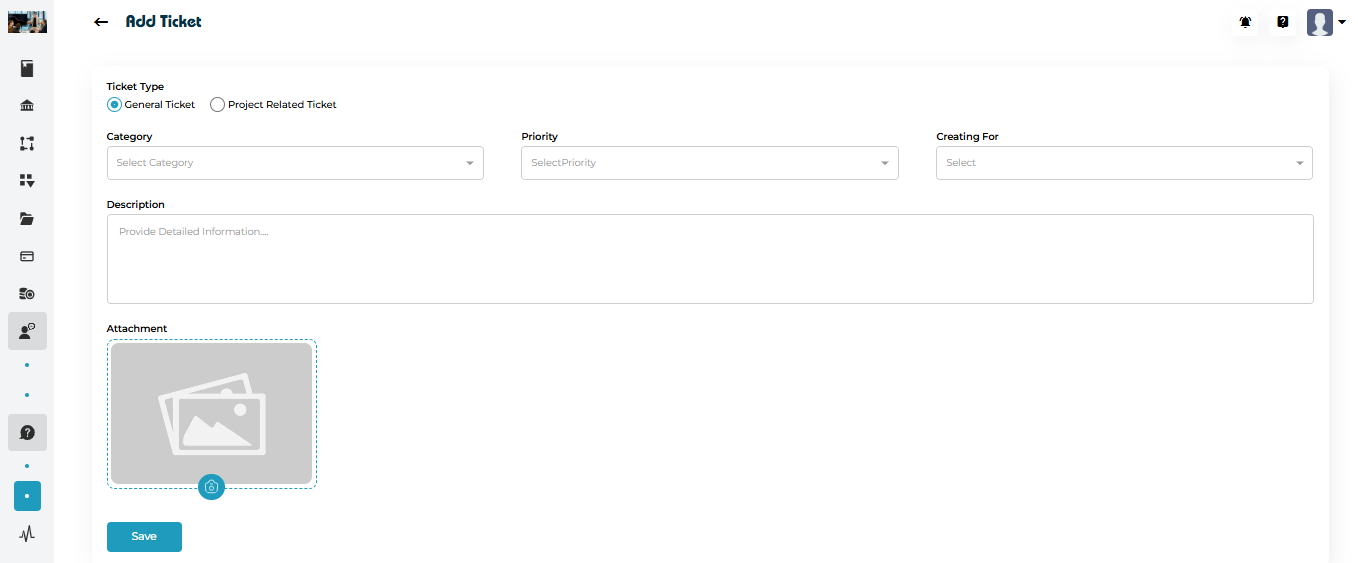
Creating a General Ticket
-
Open the General Ticket tab
-
Click ➕ Add Ticket
-
Select Ticket Type: General Ticket
-
Choose a Category
-
Set the Priority
-
Select Creating For (Student, Tutor, etc.)
-
Enter a detailed Description
-
(Optional) Upload an Attachment
-
Click Save
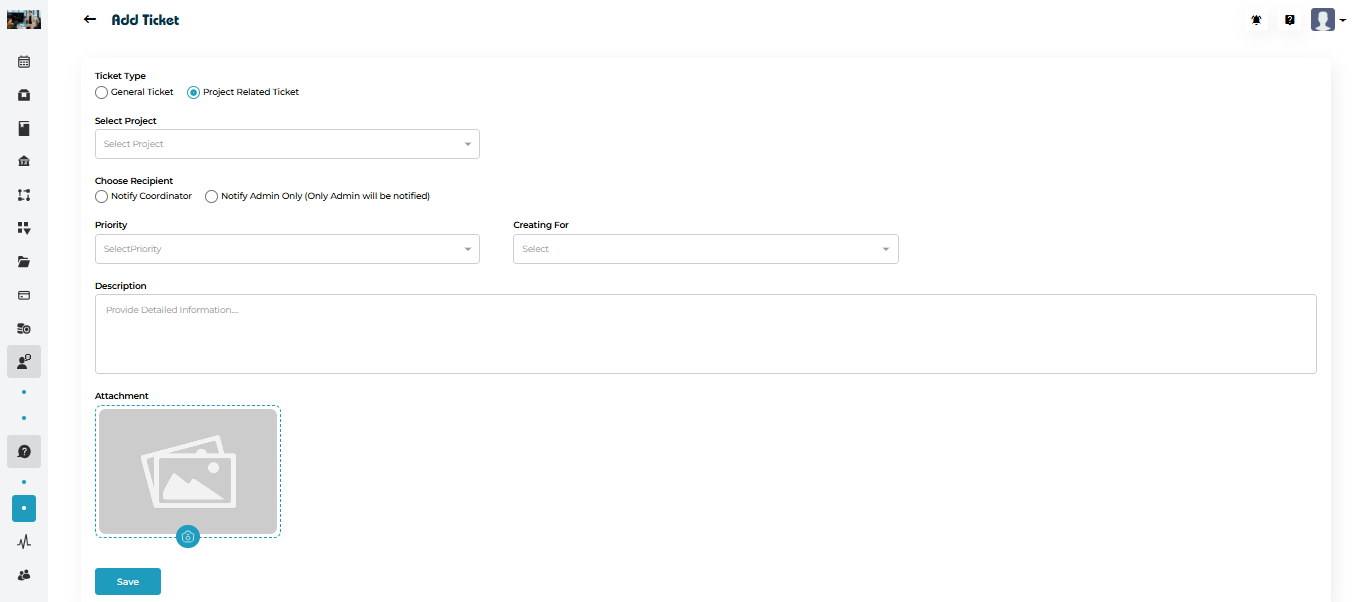
Creating a Project-Related Ticket
Steps:
-
Switch to the Project Related Ticket tab
-
Click ➕ Add Ticket
-
Select Ticket Type: Project Related Ticket
-
Select the Project
-
Choose the Recipient
-
Notify Coordinator
-
Notify Admin Only
-
-
Set Priority
-
Select Creating For (Student, Tutor, etc.)
-
Add a Description
-
(Optional) Upload an attachment
-
Click Save
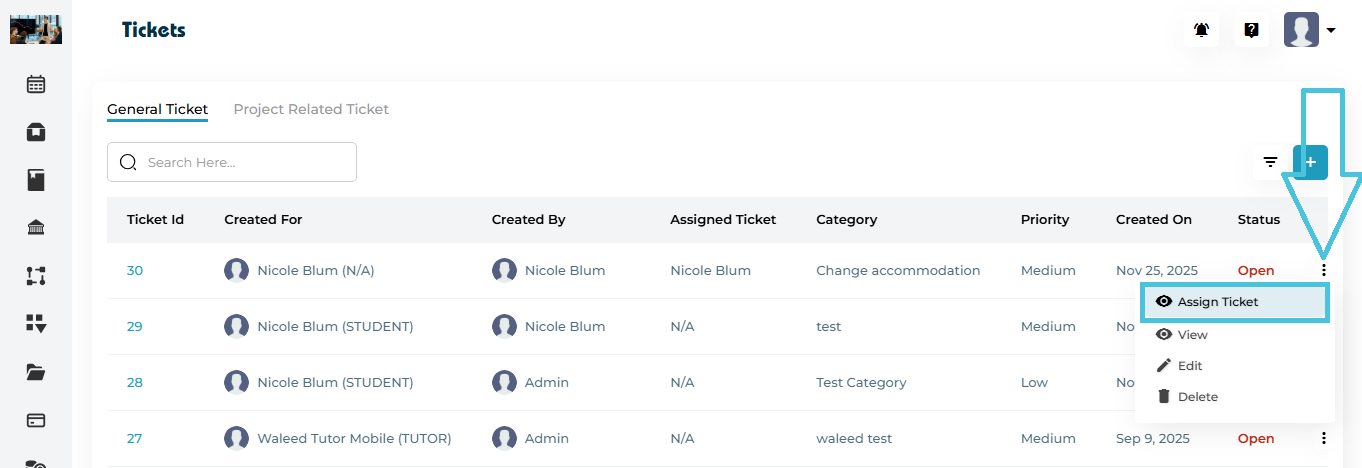
Tickets can be assigned to Sub-Admins for handling.
Steps:
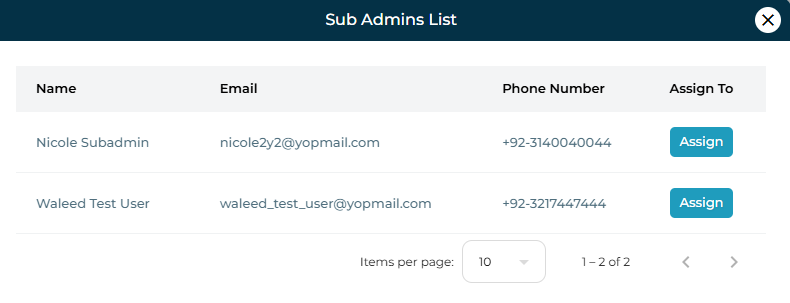
How to Assign a Ticket
Click the three-dot menu next to a ticket
Select Assign Ticket
A Sub Admins List modal opens
Click Assign next to the appropriate sub-admin
The assigned user will now appear under Assigned Ticket.
To view a ticket:
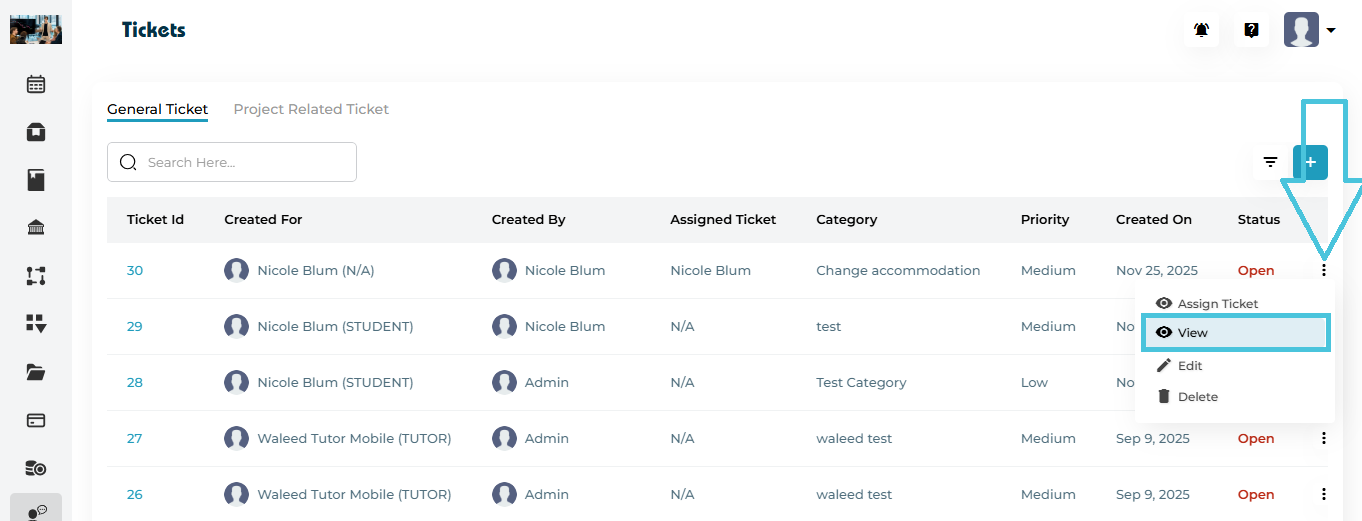
Open the Actions menu
Click View
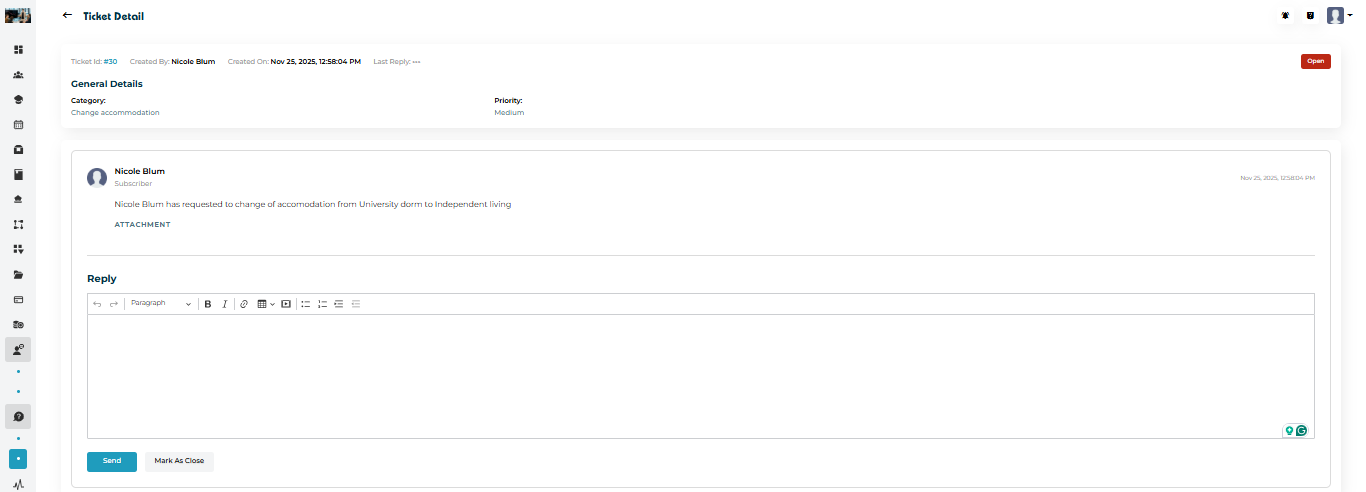
Ticket Detail Page Includes
Ticket ID and timestamps
Category and Priority
Ticket status (Open / Closed)
Original message and attachments
Full conversation history
Replying to a Ticket
Admins can respond directly within the ticket.
Reply Section
Rich text editor for formatting replies
Attachments supported
Messages are logged chronologically
Actions Available
Send – Posts the reply and keeps ticket open
Mark as Close – Closes the ticket after responding
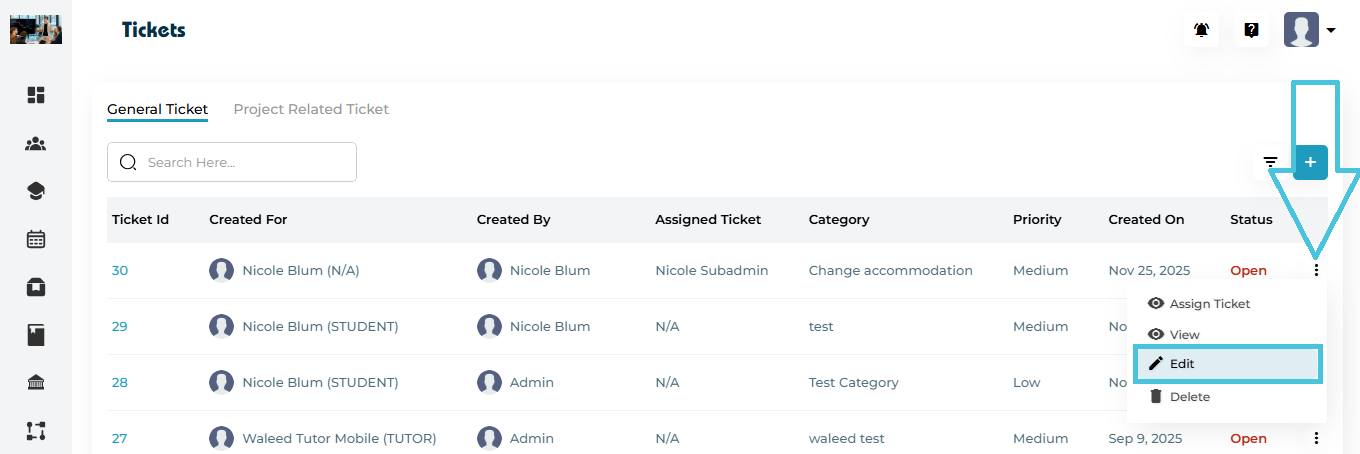
Admins can update ticket details when needed.
Editable Fields
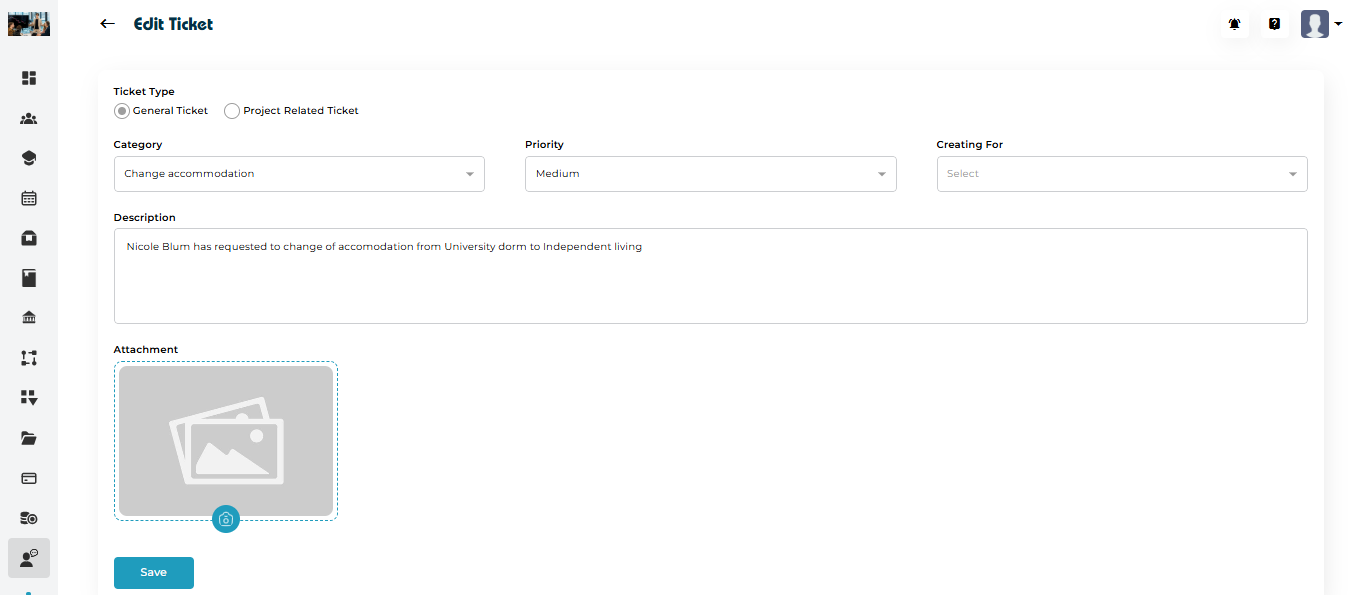
Category
Priority
Creating For
Project (for project-related tickets)
Description
Attachment
To edit:
Click Actions → Edit
Update required fields
Click Save
Admins can permanently remove tickets.
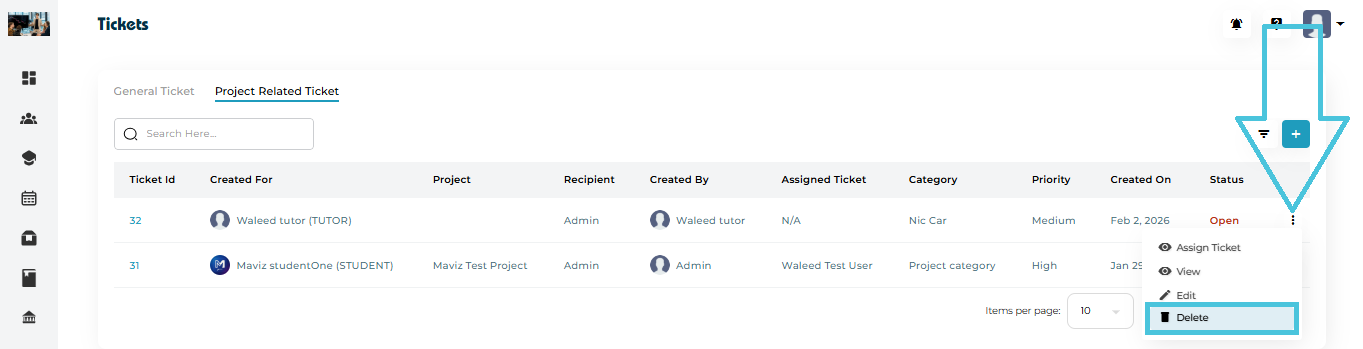
How to Delete
Click the three-dot menu
Select Delete
Confirm the action
⚠️ Deleted tickets cannot be recovered.
Both ticket tabs support advanced filtering.
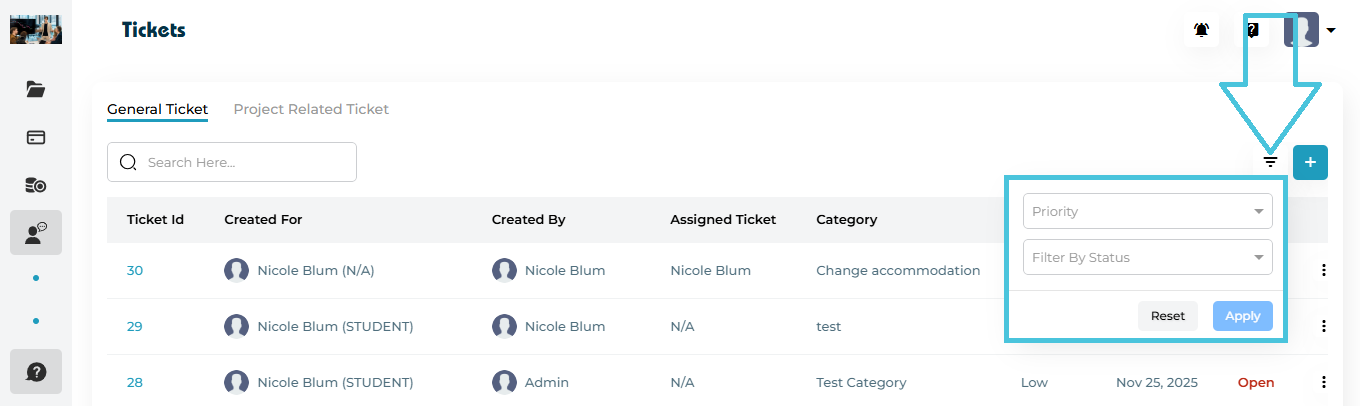
Available Filters
Priority – Low / Medium / High
Status – Open / Closed
Apply / Reset options
Filters help admins focus on urgent or unresolved tickets.
Search bar
Use the Search bar to find tickets by:
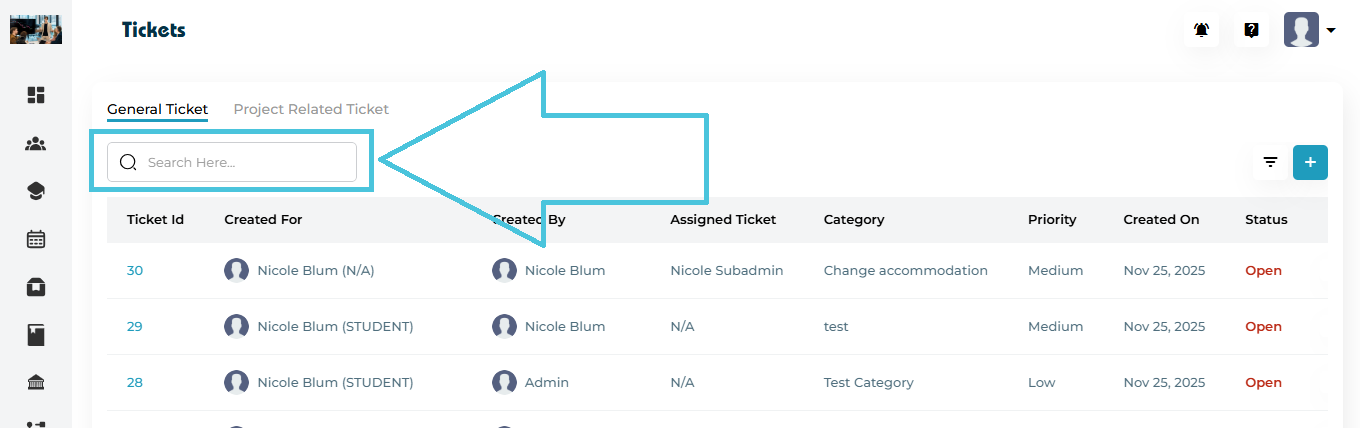
Ticket ID
User name
Project name (for project-related tickets)
Search works independently in each tab.
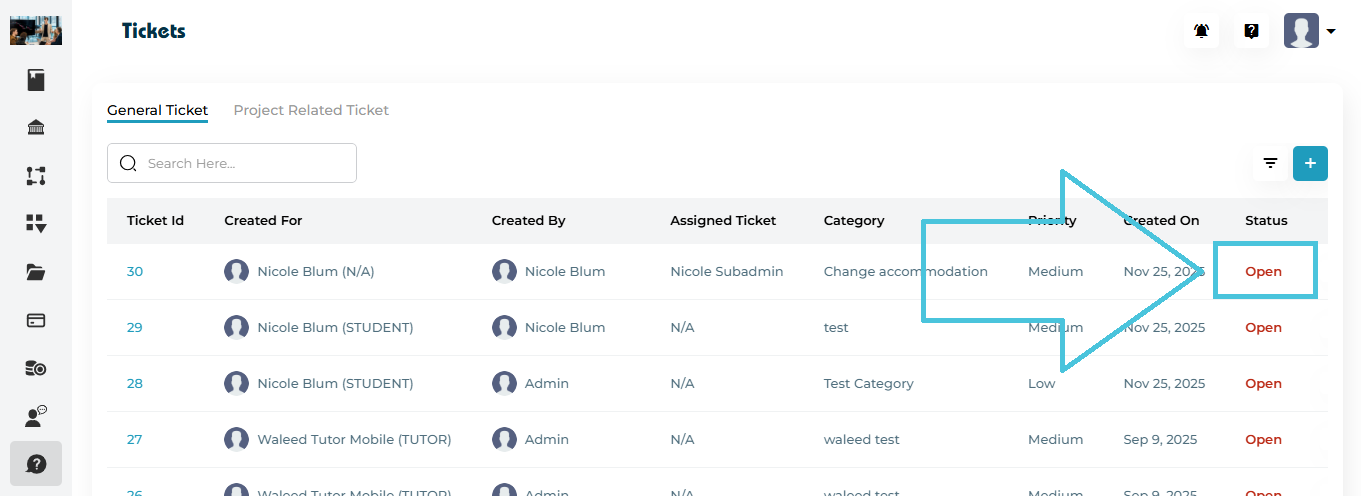
Open – Ticket is active and awaiting resolution
Closed – Ticket has been resolved
Closing a ticket indicates the issue has been handled successfully.