Navigate to:
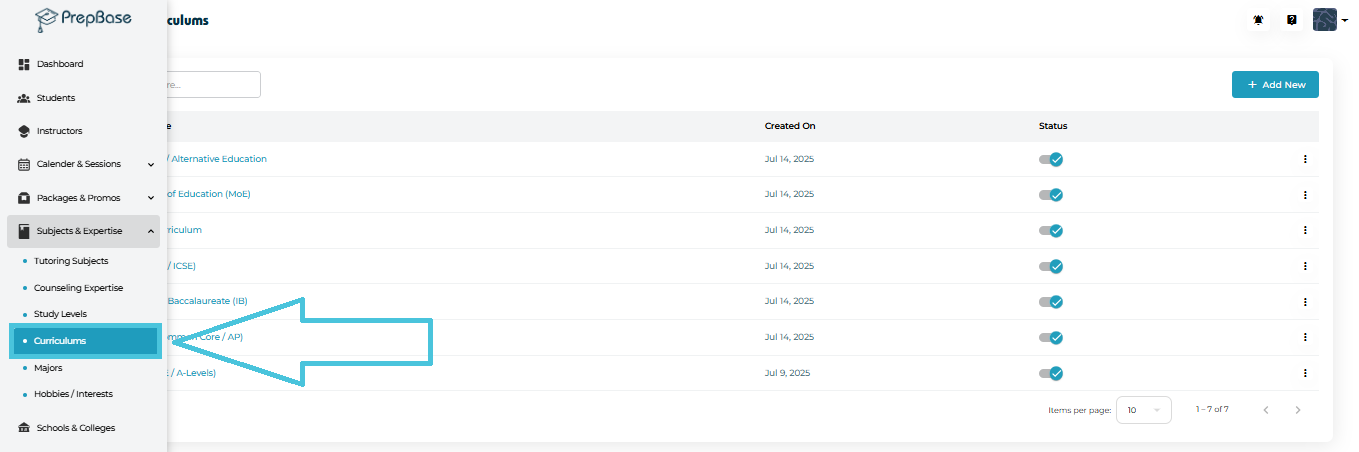
Subjects & Expertise → Curriculums
Here you’ll find the full list of curriculums your institution supports (e.g., IB, British, American, CBSE, Canadian, Homeschool, etc.).
Each curriculum row displays:
-
Curriculum Name
-
Created On Date
-
Status (Active / Inactive toggle)
-
Action Menu (View / Edit / Delete)
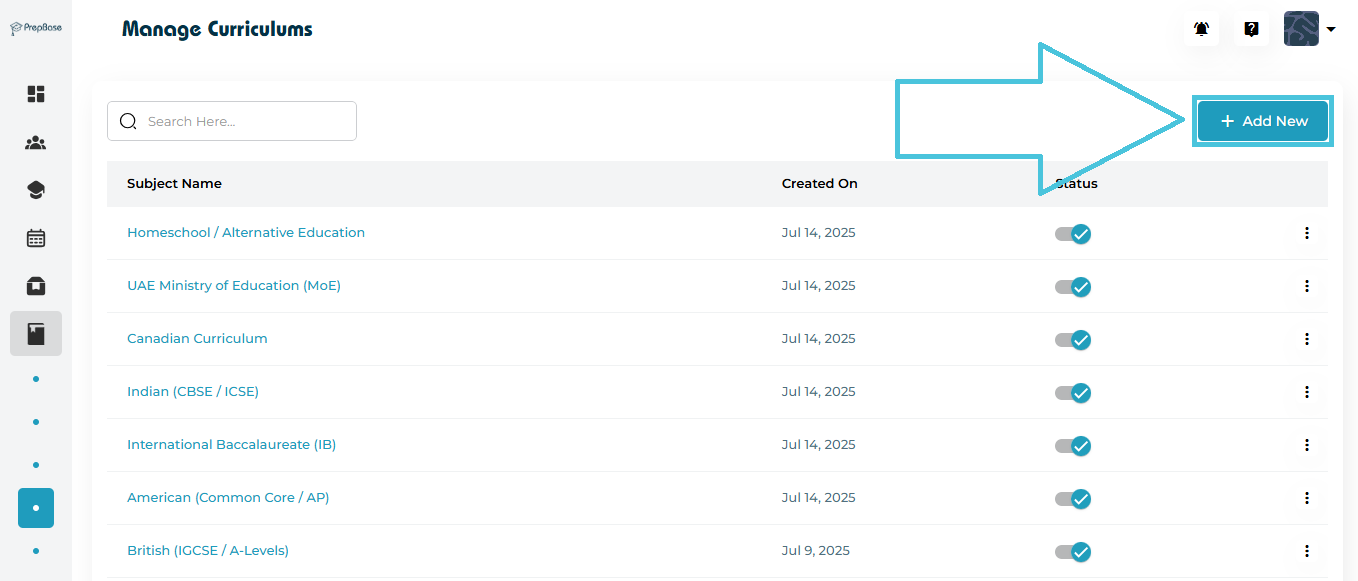
Click the Add New button on the top-right corner of the page.
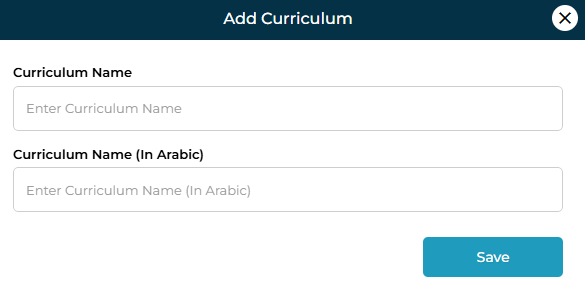
A form titled Add Curriculum appears.
Fields Included
| Field | Description |
|---|---|
| Curriculum Name | The English name of the curriculum. Example: International Baccalaureate (IB) |
| Curriculum Name (Arabic) | Optional Arabic equivalent for bilingual organizations. |
| Save Button | Stores the new curriculum in your system. |
After saving, the curriculum is added to the list and automatically activated.
PrepBase provides two convenient methods to open detailed curriculum information:
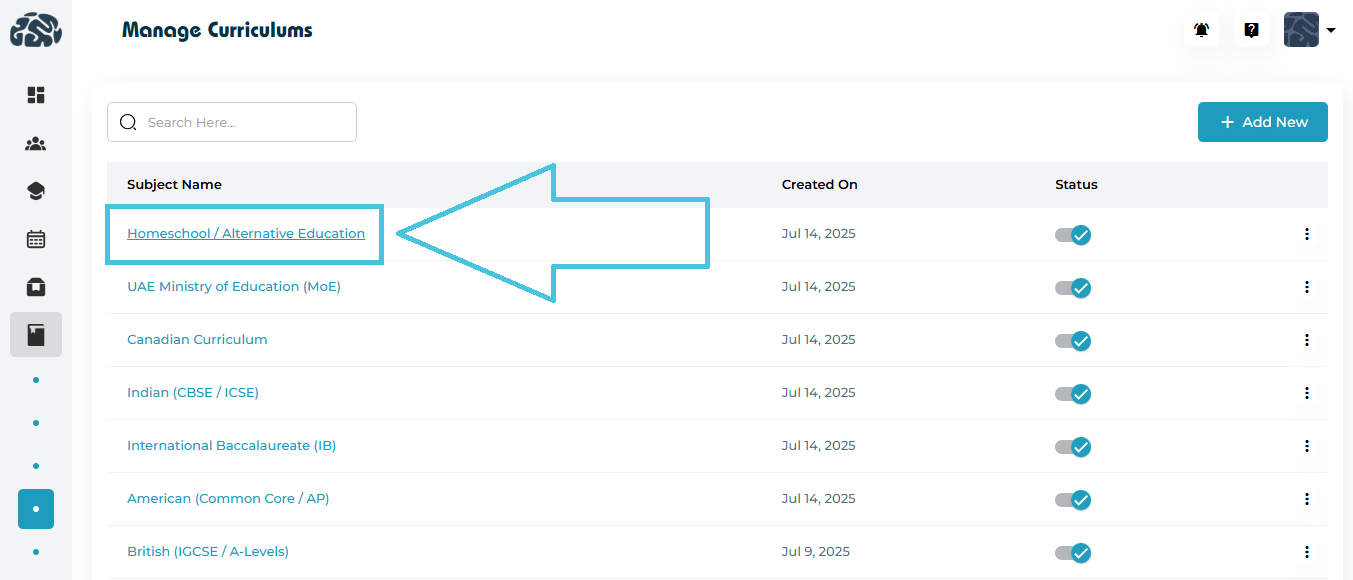
1. Clicking the Curriculum Name (direct open)
Simply click on the curriculum name (e.g., Canadian Curriculum) to open the View Curriculum form.
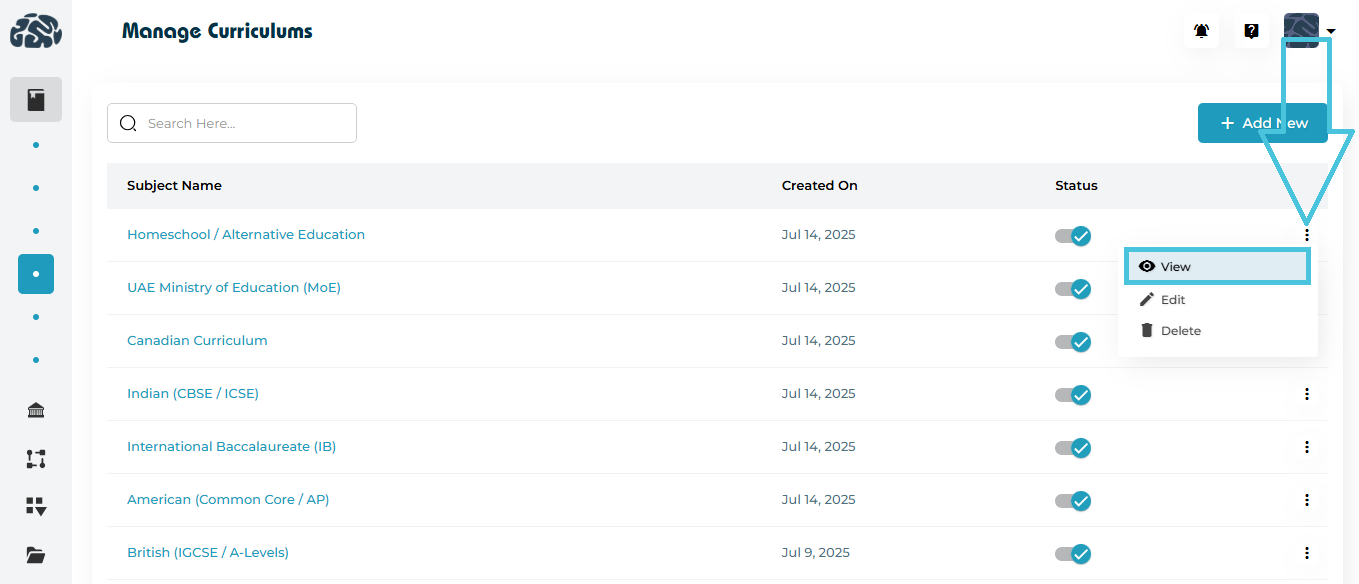
2. Using the Three-Dot Menu (⋮) → View
Open the action menu beside the curriculum and select View.
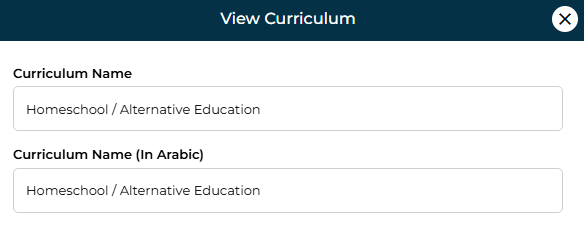
View Form Includes:
-
Curriculum Name (English)
-
Curriculum Name (Arabic)
This screen is read-only and is ideal for quickly reviewing stored details.
To modify curriculum information:
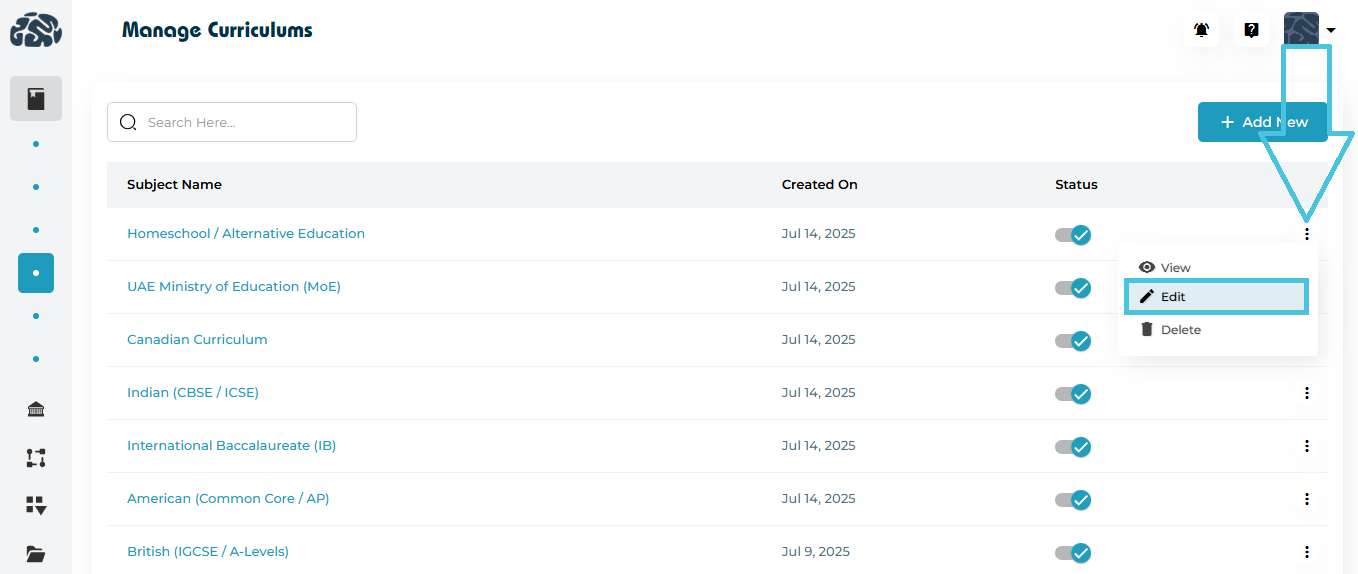
Click ⋮ Three-Dot Menu
Select Edit
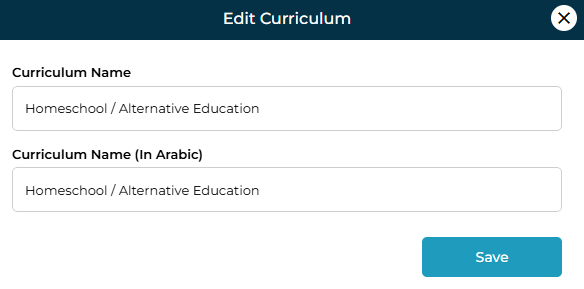
The Edit Curriculum form appears, containing:
| Field | Editable? | Notes |
|---|---|---|
| Curriculum Name | ✔️ | Update English name anytime |
| Curriculum Name (Arabic) | ✔️ | Optional bilingual support |
Click Save to apply changes.
The updates reflect instantly across all modules referencing this curriculum.
Each curriculum has a Status Toggle in the list view.
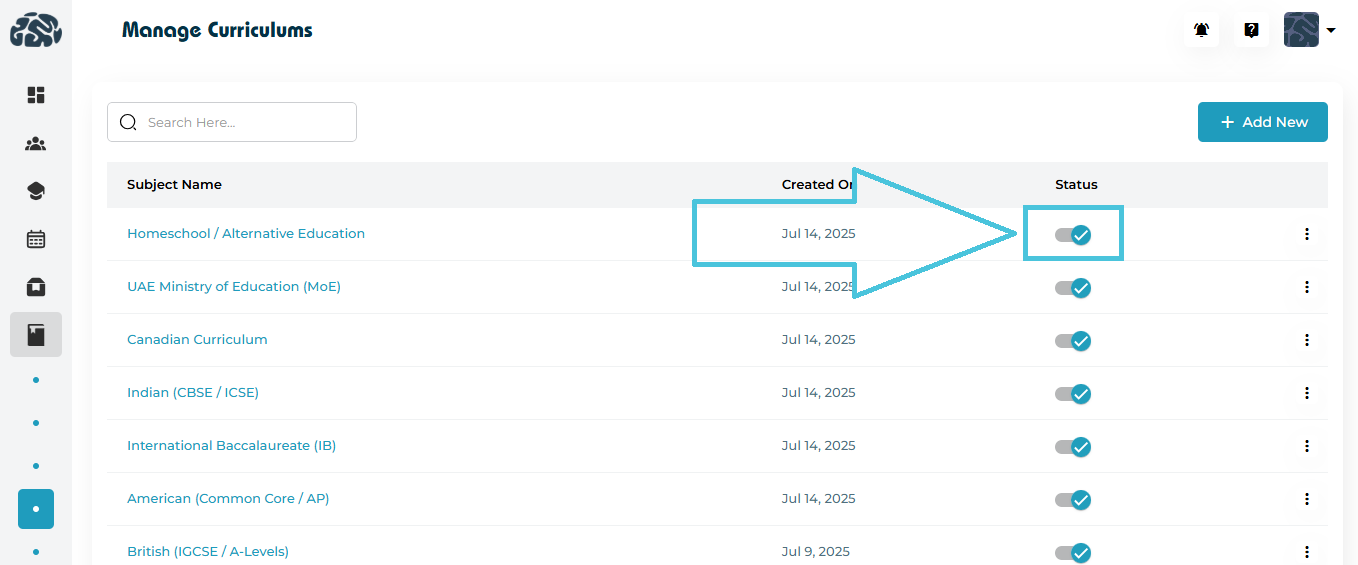
Active (blue tick)
Curriculum is visible and selectable throughout the system.
Inactive (grey toggle)
Curriculum is hidden from selection menus but remains stored for historical data consistency.
This feature is especially useful when a curriculum becomes obsolete or is temporarily unavailable.
To remove a curriculum:
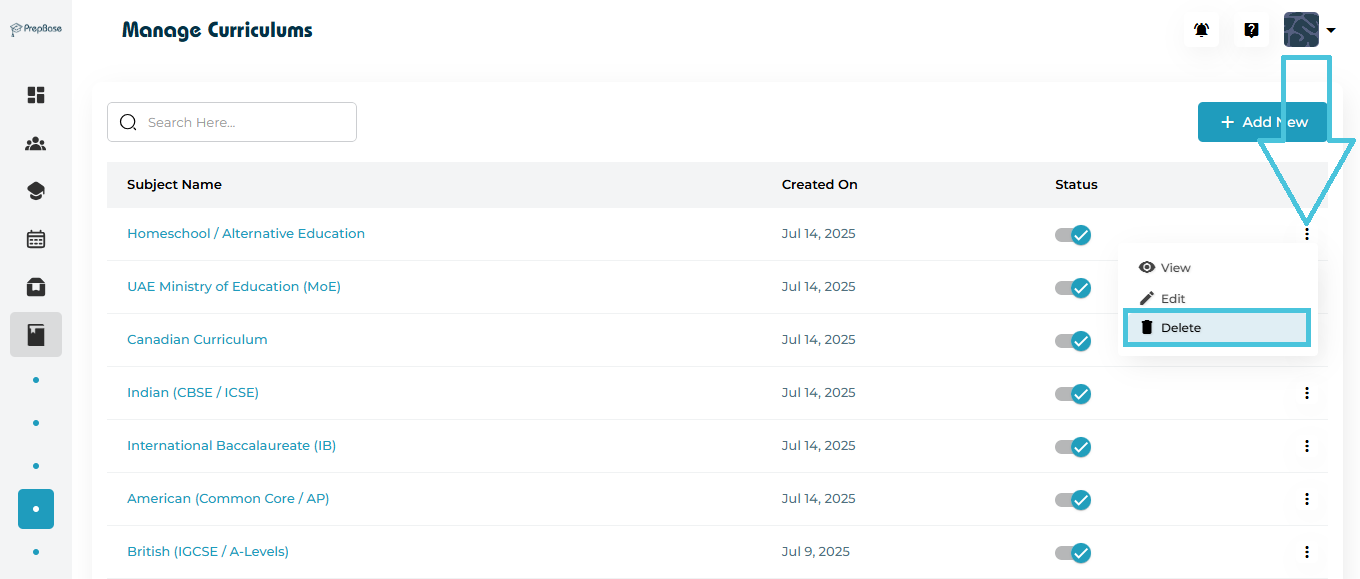
-
Click ⋮ Three-Dot Menu
-
Select Delete
-
Confirm the deletion in the prompt
Important Notes
-
Deleted curriculums cannot be assigned further.
-
Existing records linked to deleted curriculums remain intact for reporting and audit purposes.