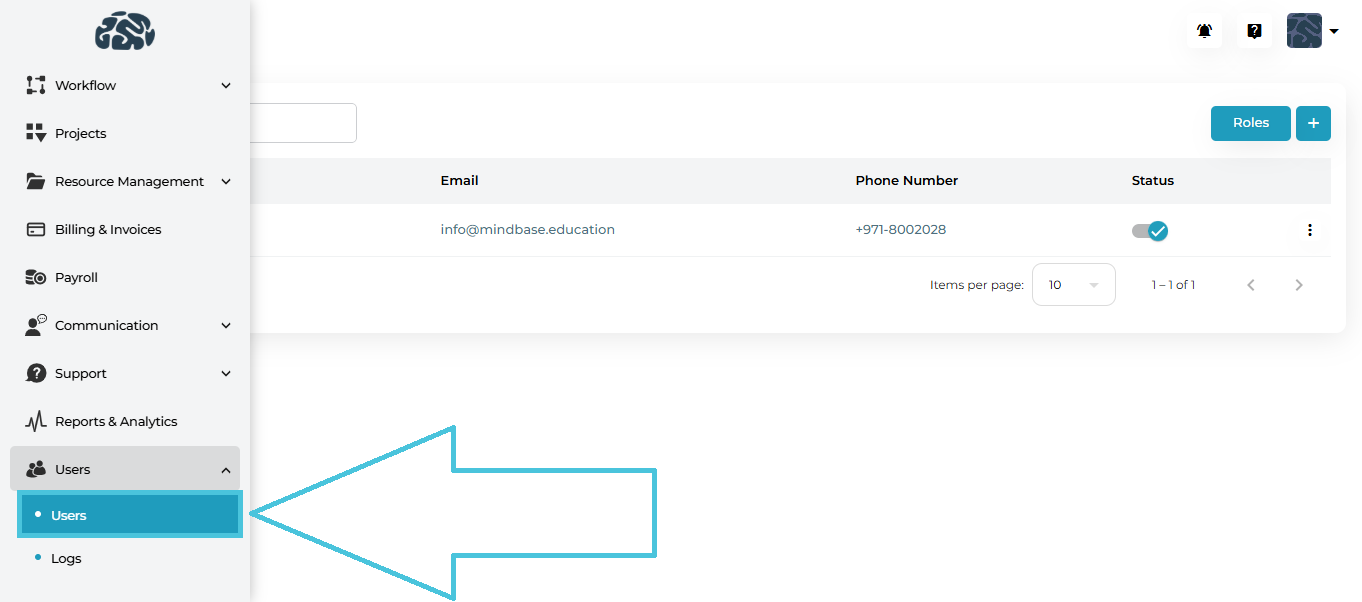
Navigate to:
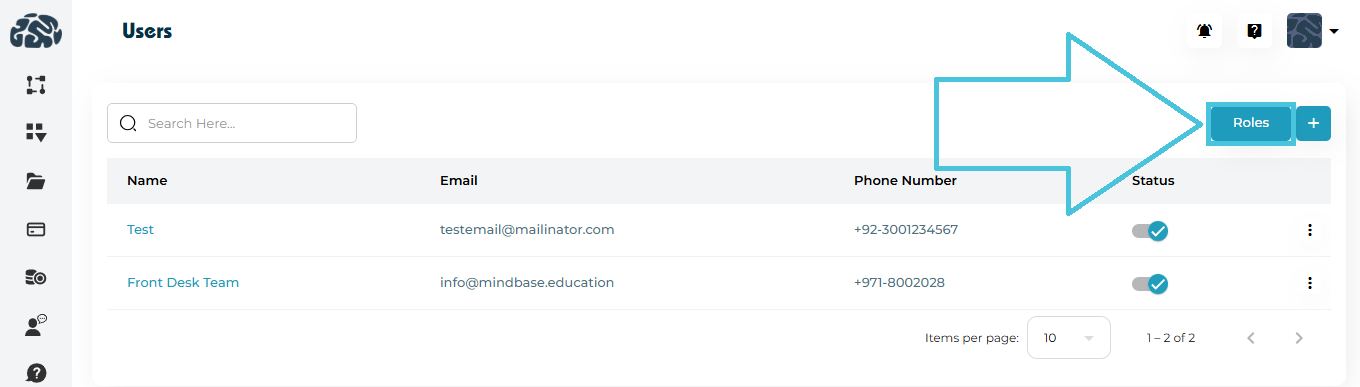
Users → Users → Roles
Or click the Roles button from the Users page.
This opens the Roles management screen.
The Roles page displays all existing roles in the system.
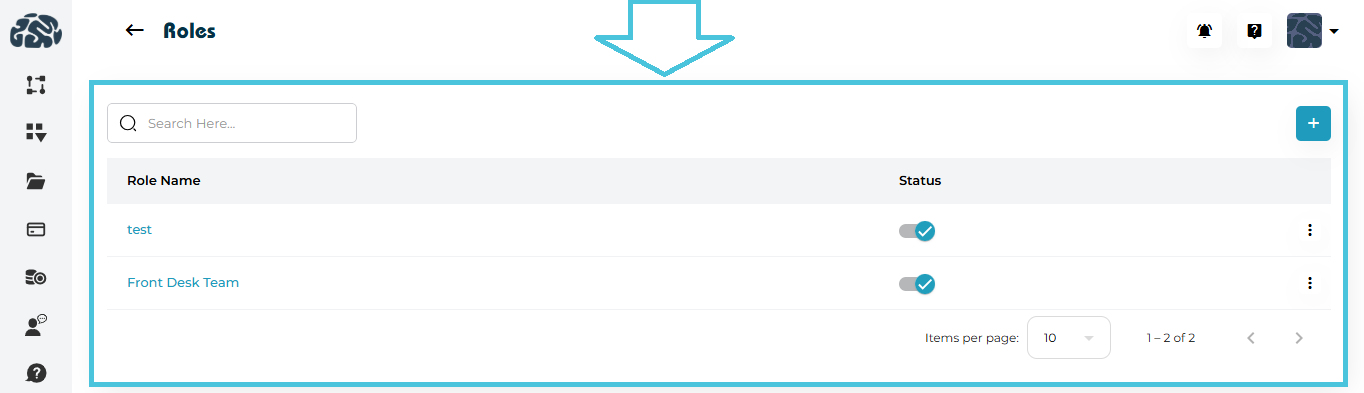
Columns Explained
| Column | Description |
|---|---|
| Role Name | Name of the role (clickable to view details). |
| Status | Active or inactive toggle. |
| Actions | Edit or Delete options. |
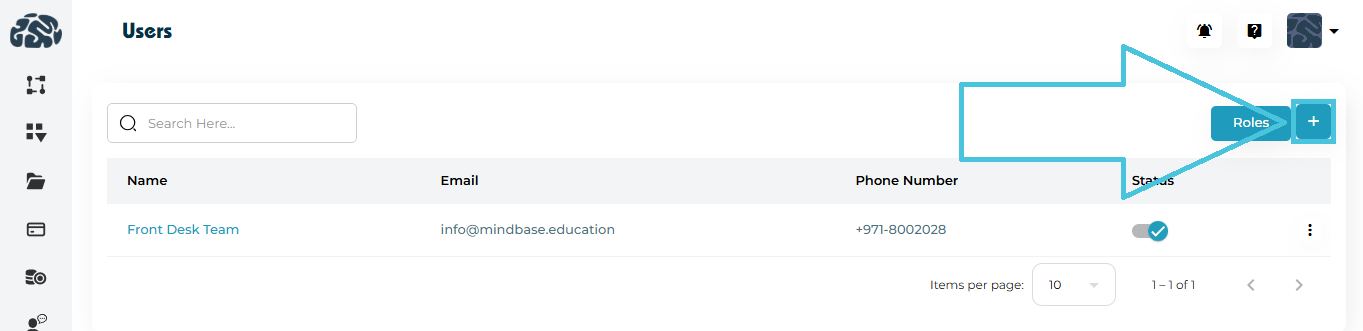
To define a new role:
Step 1: Click Add Role
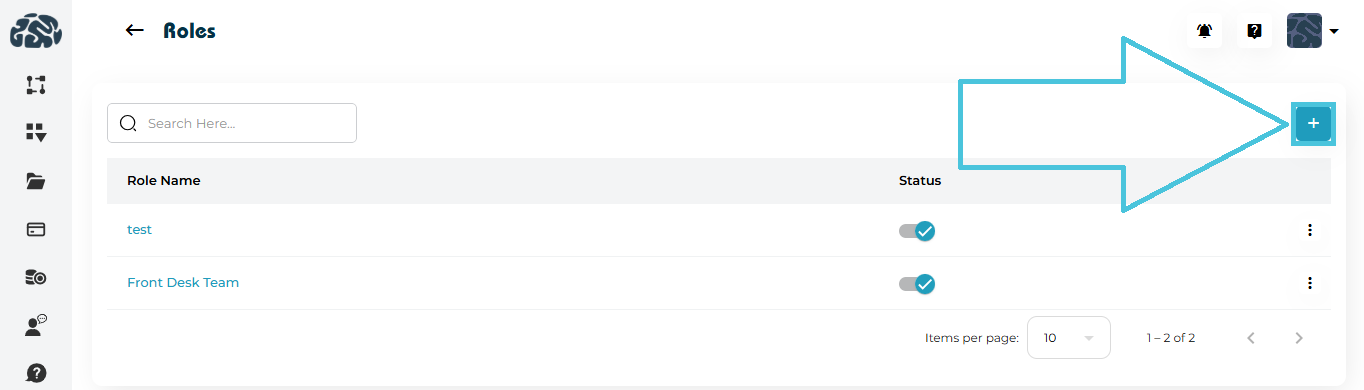
Click the ➕ Add Role button on the Roles page.
Step 2: Enter Role Name

Provide a clear and descriptive name (e.g., Billing Manager, Front Desk Team, Session Coordinator).
Step 3: Assign Module Permissions
You will see a full permission matrix with columns:
-
View
-
Add
-
Edit
-
Delete
Each row represents a module or sub-module.
Clicking on a Role Name opens the Role Details page.
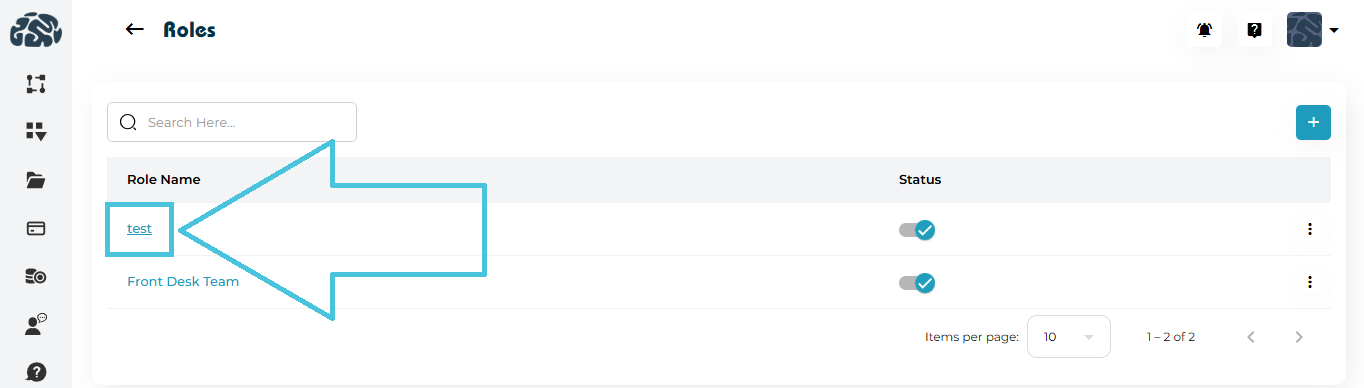
This page displays:
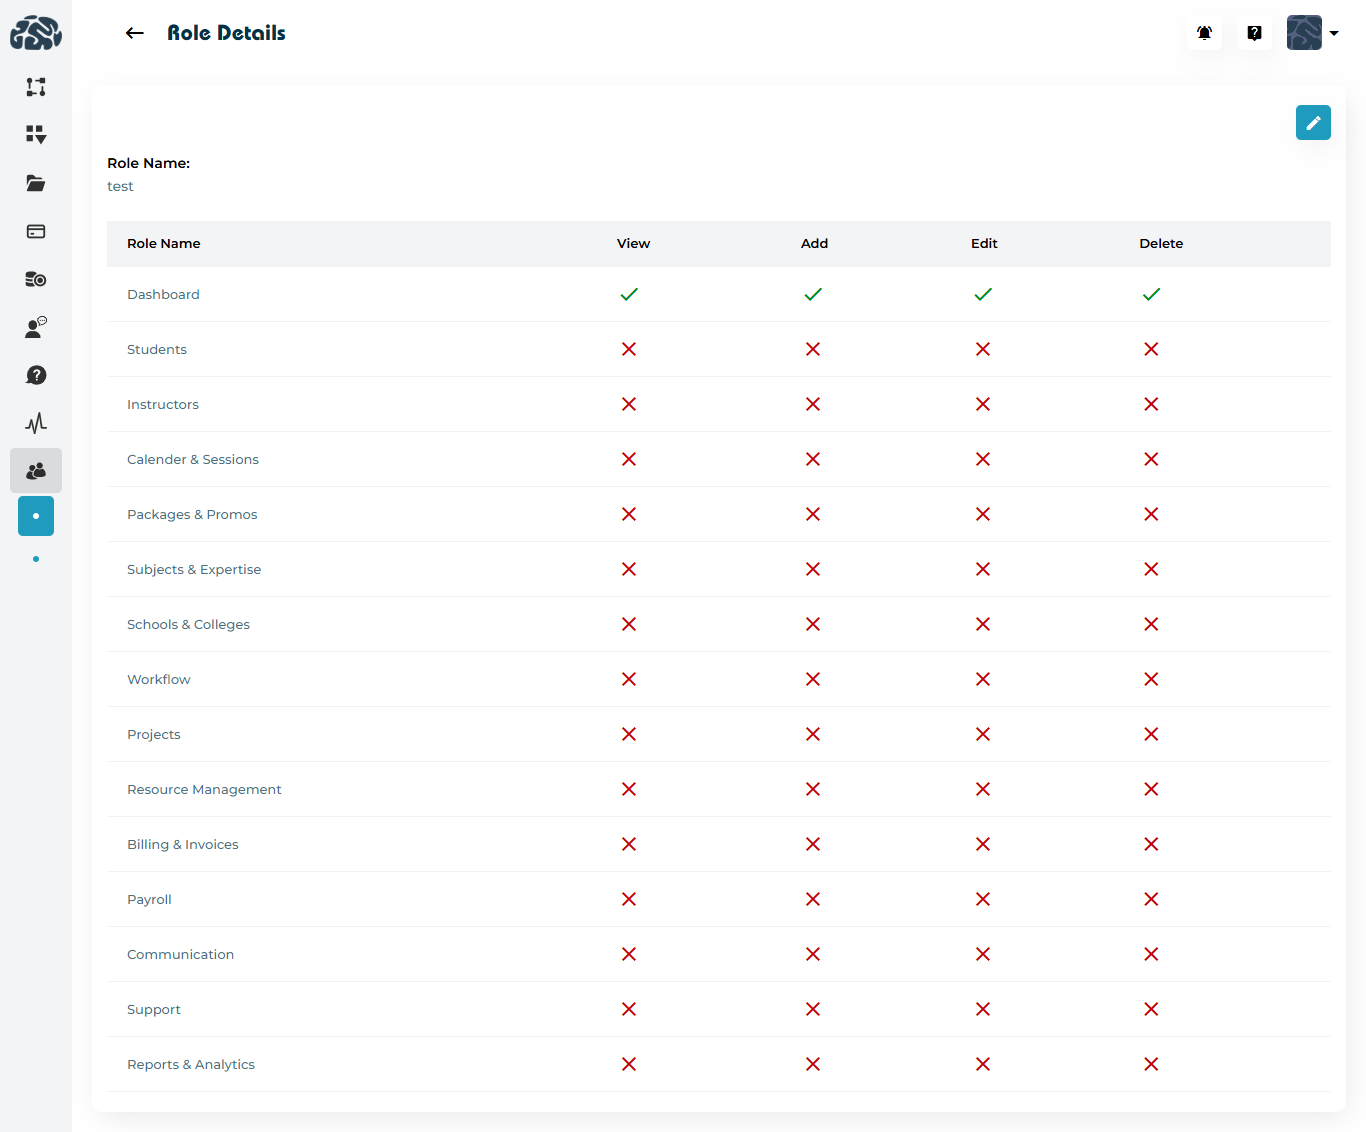
Role Name
A permission summary table
Green check marks (✔) for enabled permissions
Red crosses (✖) for disabled permissions
To modify an existing role:
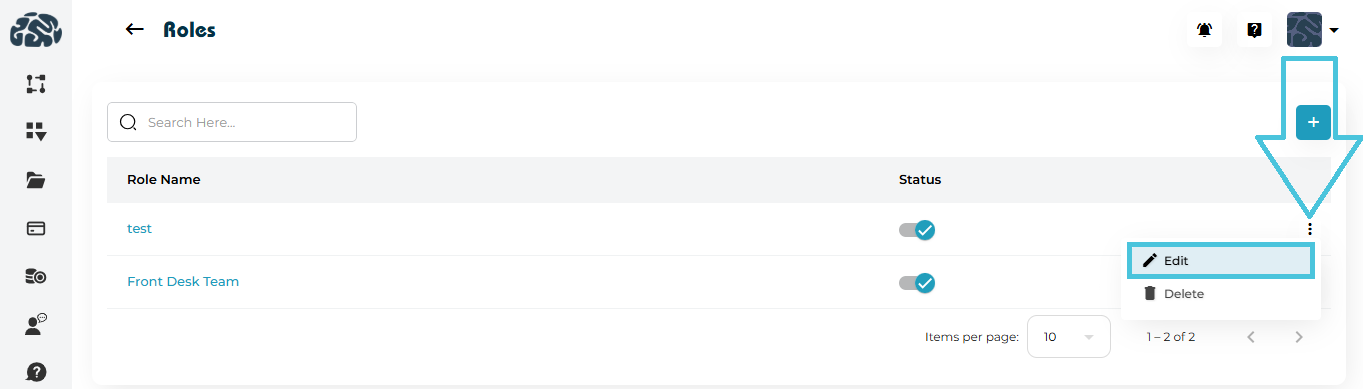
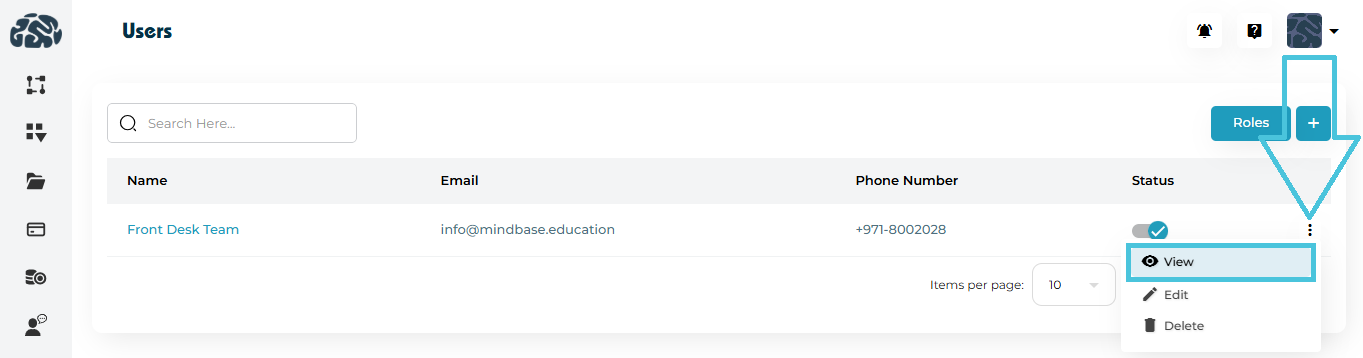
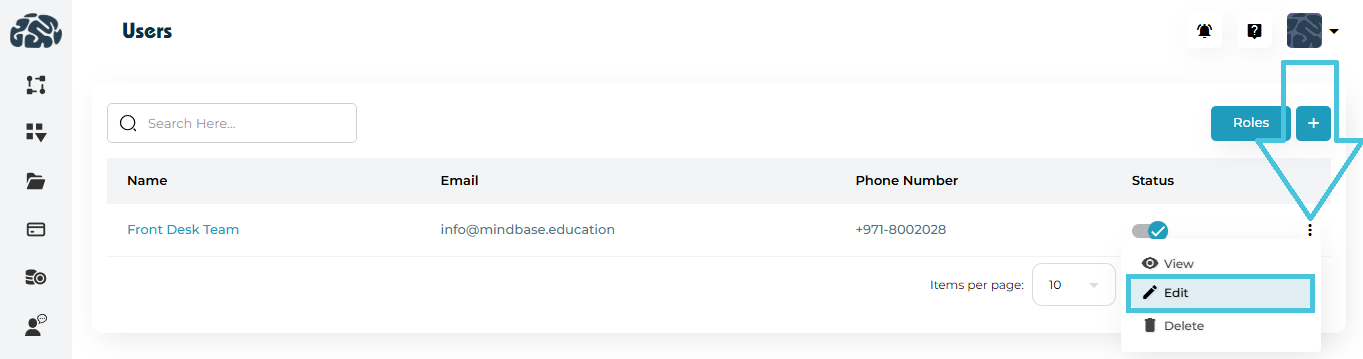
Click the three-dot menu
Select Edit
You will be redirected to the Edit Role page.
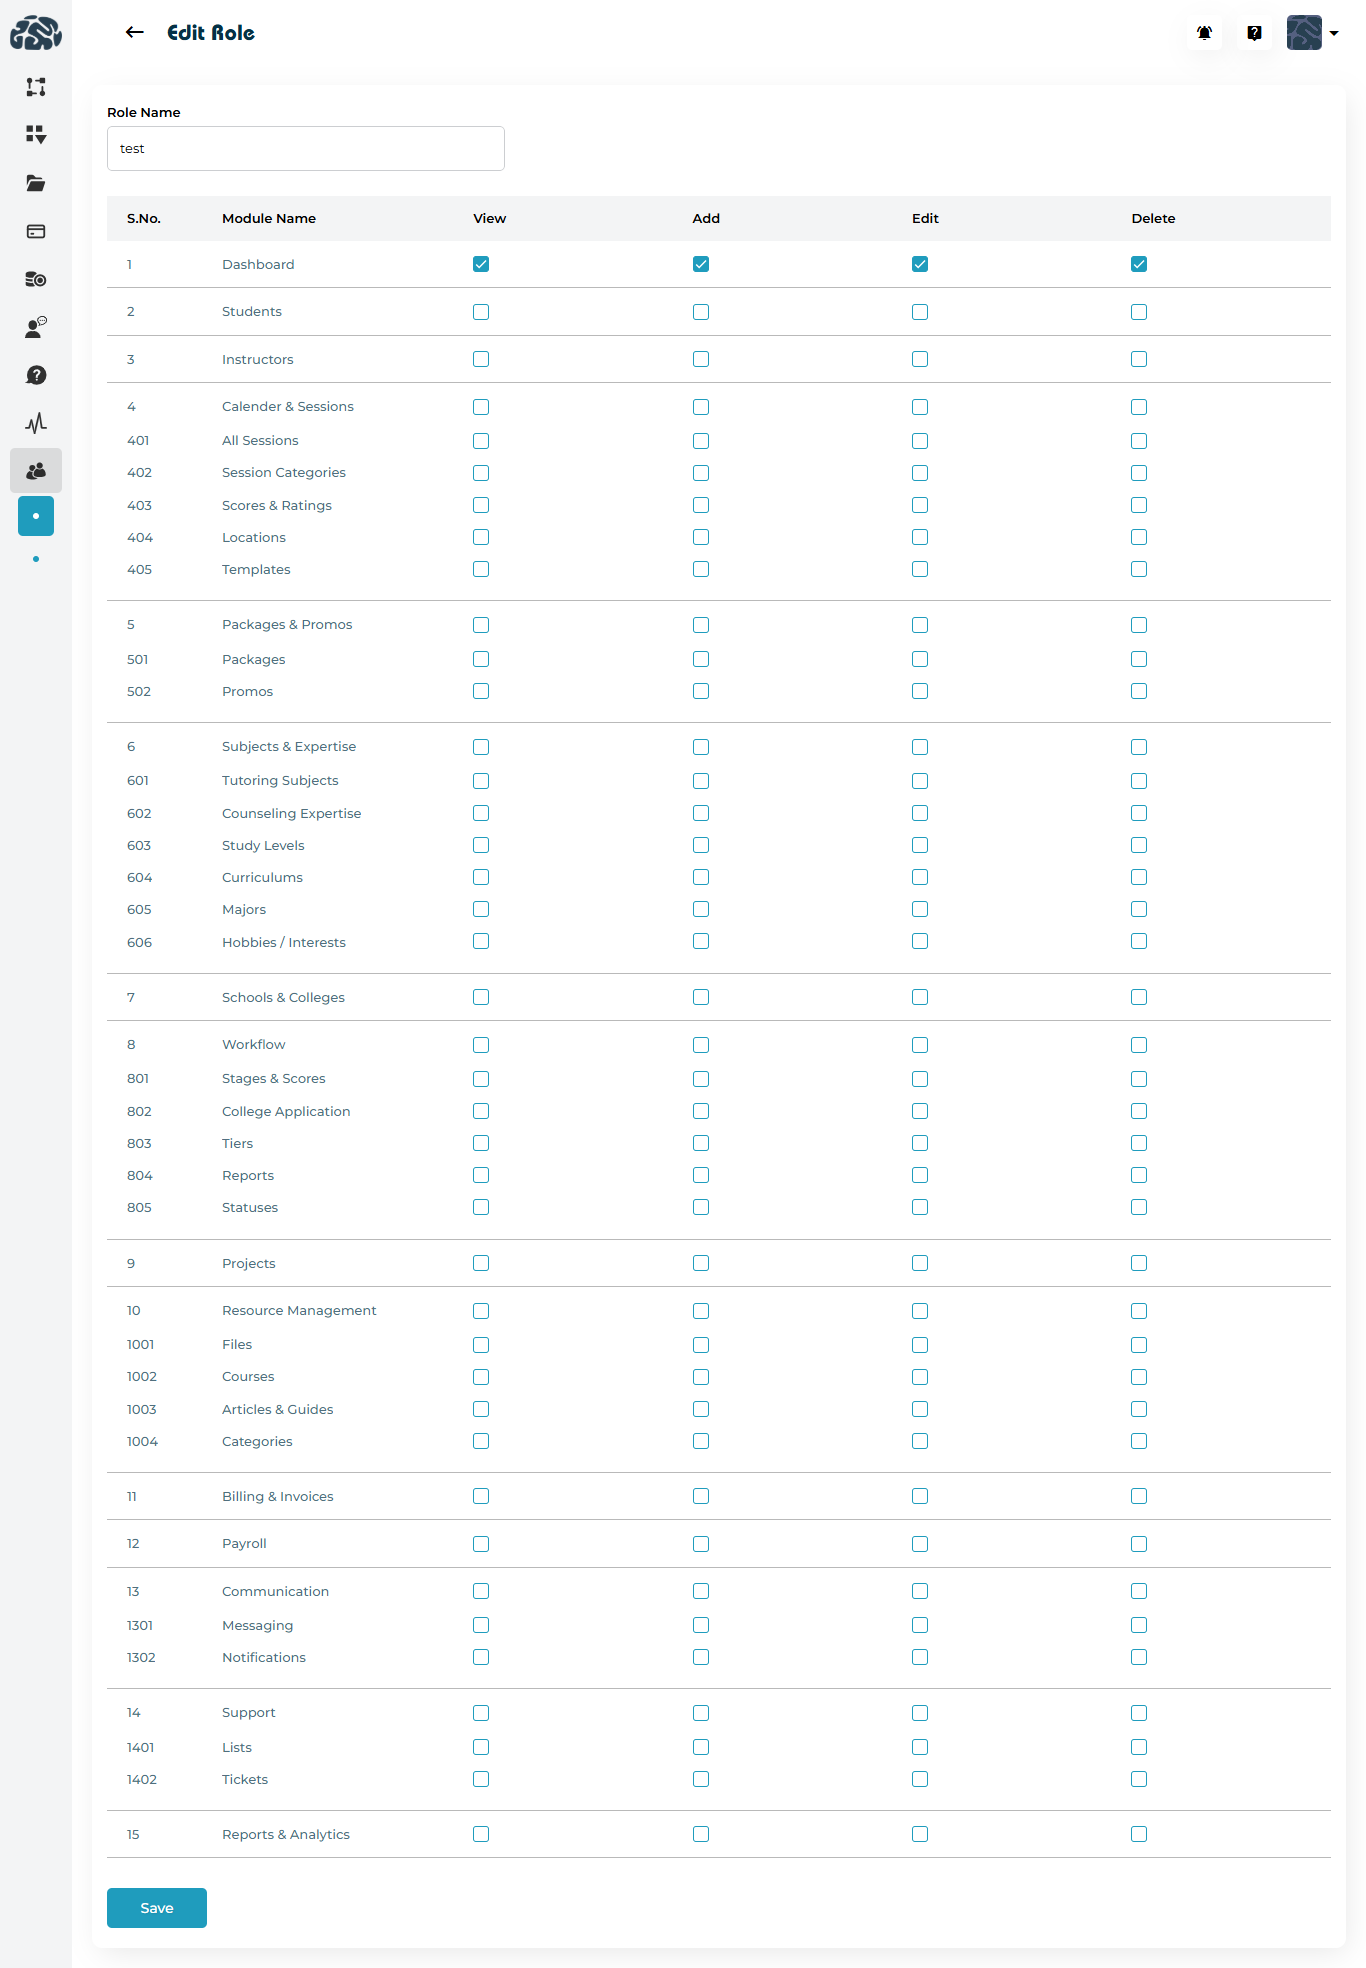
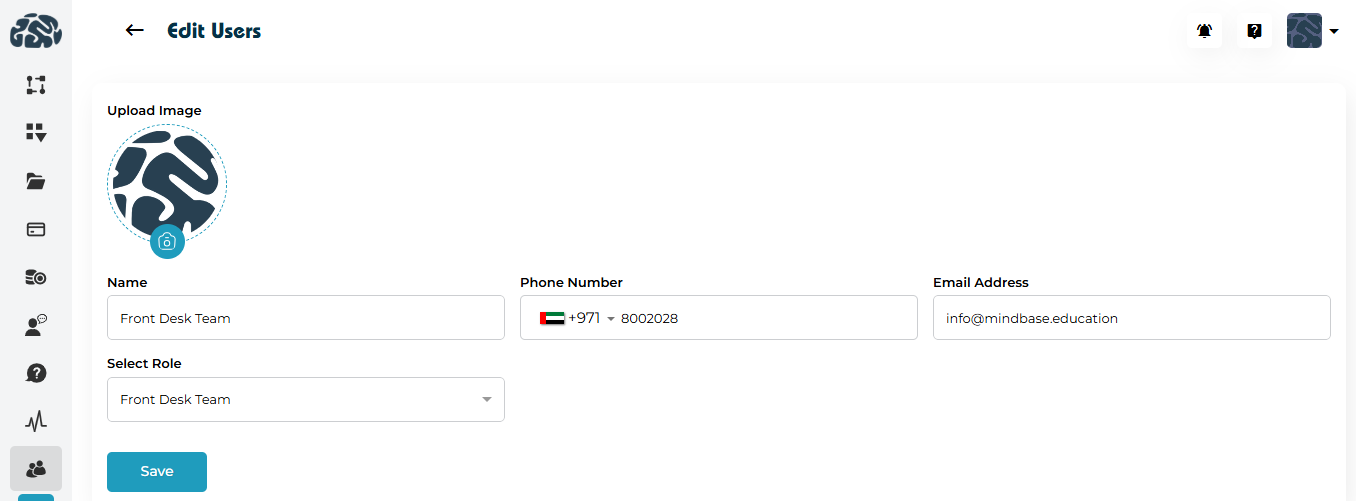
Editable fields include:
Role Name
Permissions
After making changes, click Save.
Changes apply immediately to all users assigned to that role.
⚠️ Important:
Be cautious when editing roles, as it affects every user assigned to that role.
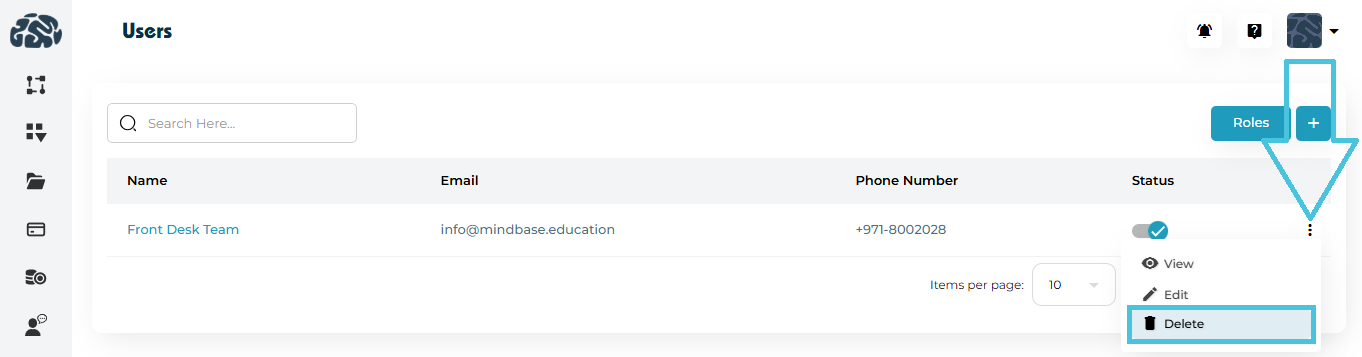
To remove a role:
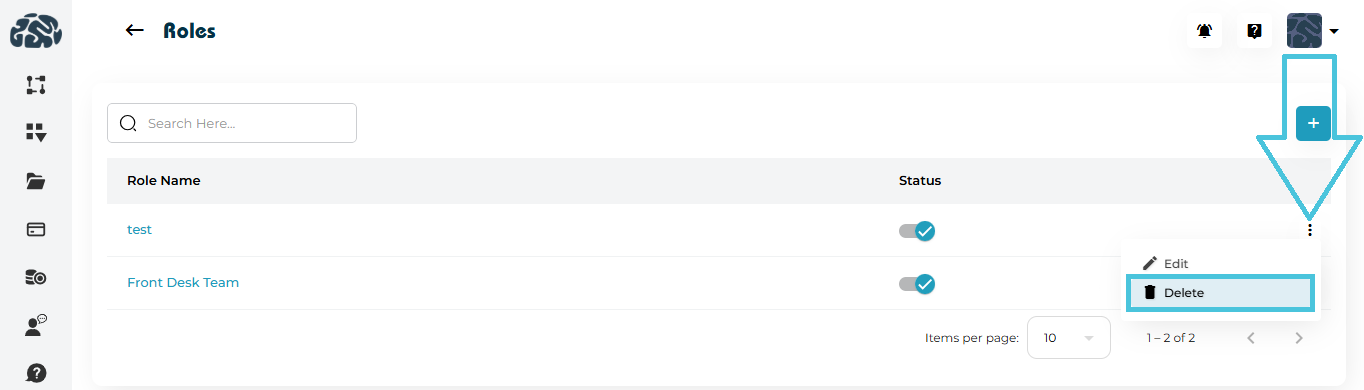
Open the three-dot menu
Select Delete
Confirm the action
⚠️ Important:
You cannot delete a role if it is currently assigned to active users.
Reassign users before deletion if necessary.
Roles are assigned when:
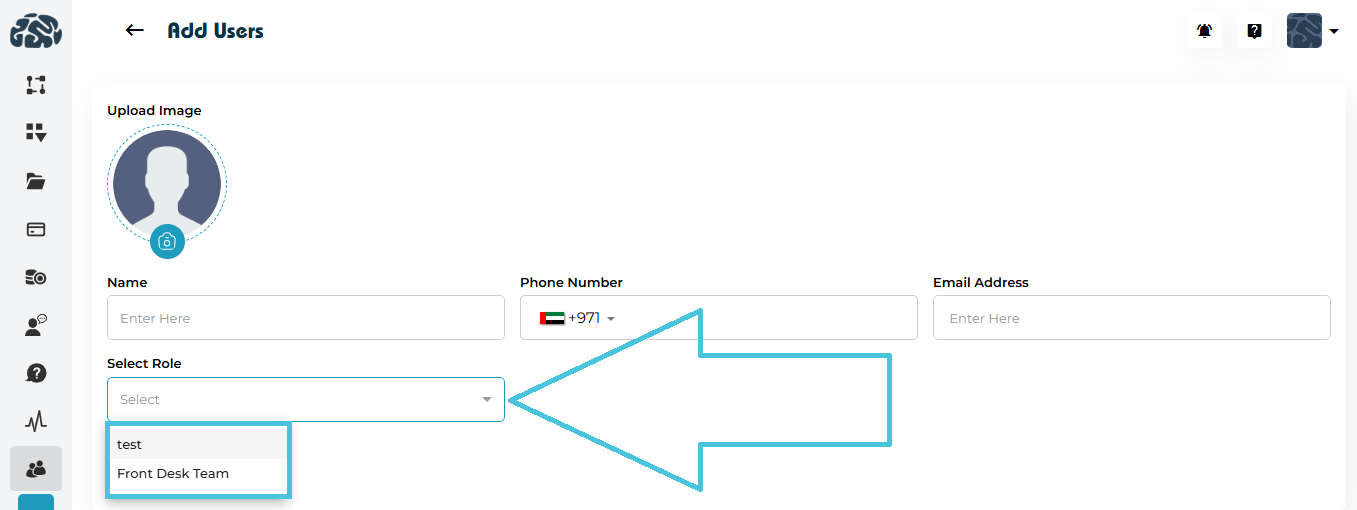
Adding a new user
Editing an existing user
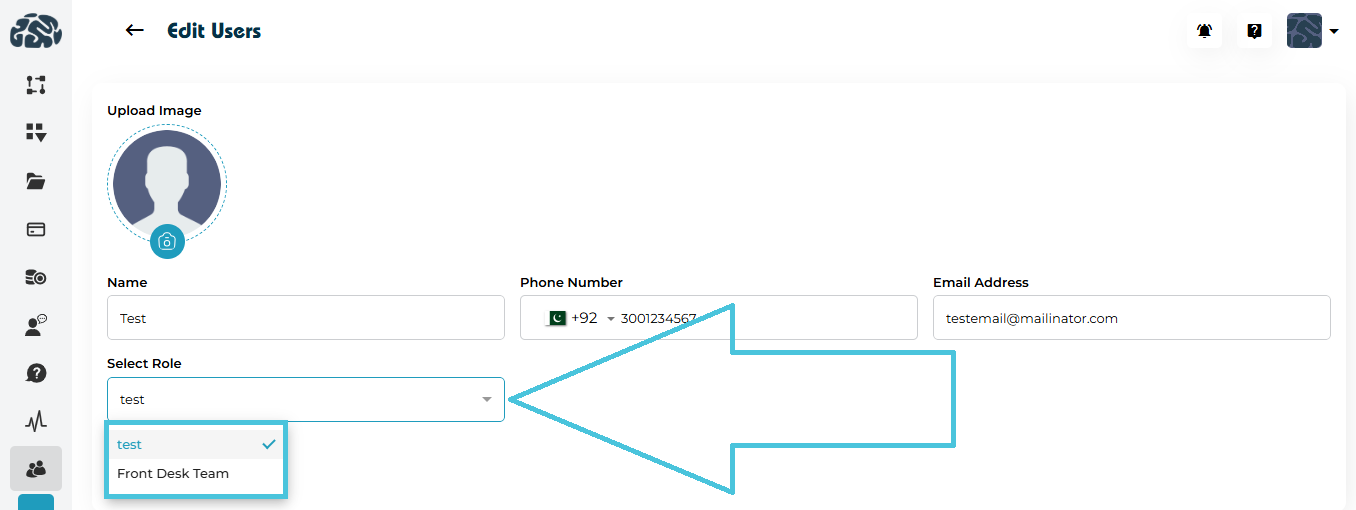
How to Assign
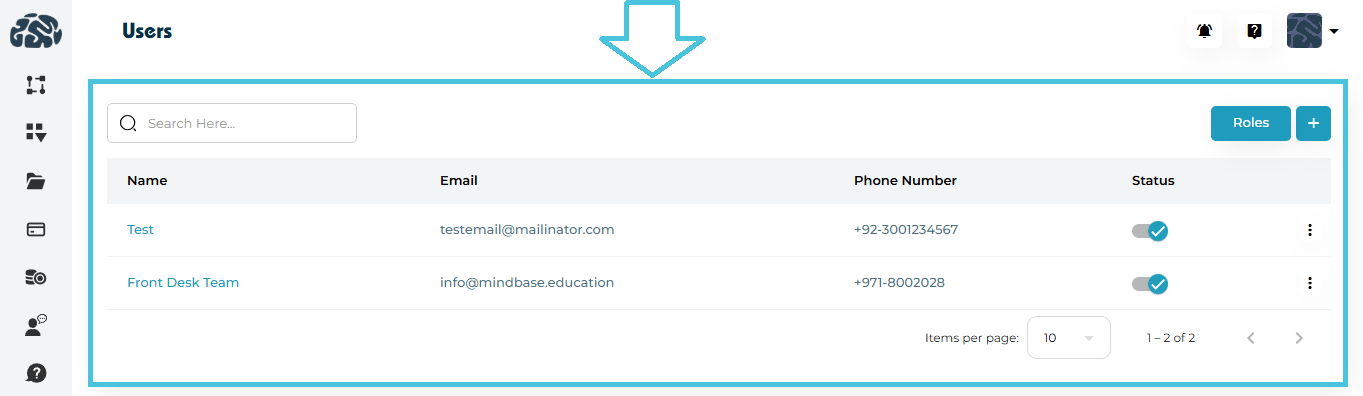
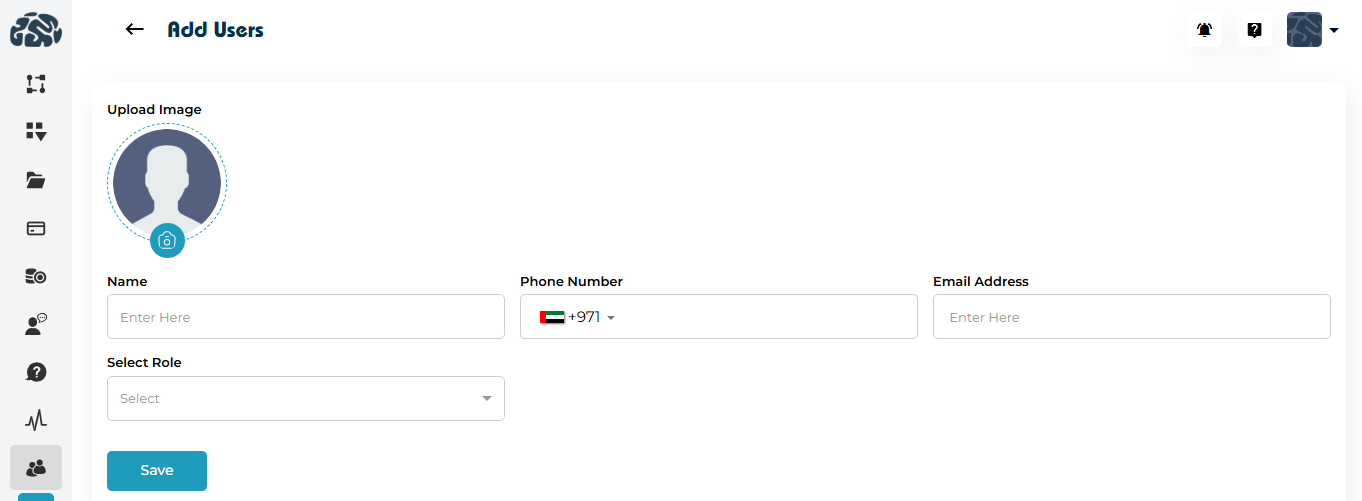
Go to Users → Users
Click Add User or Edit User
Select role from the Select Role dropdown
Click Save
The user now inherits all permissions defined in that role.
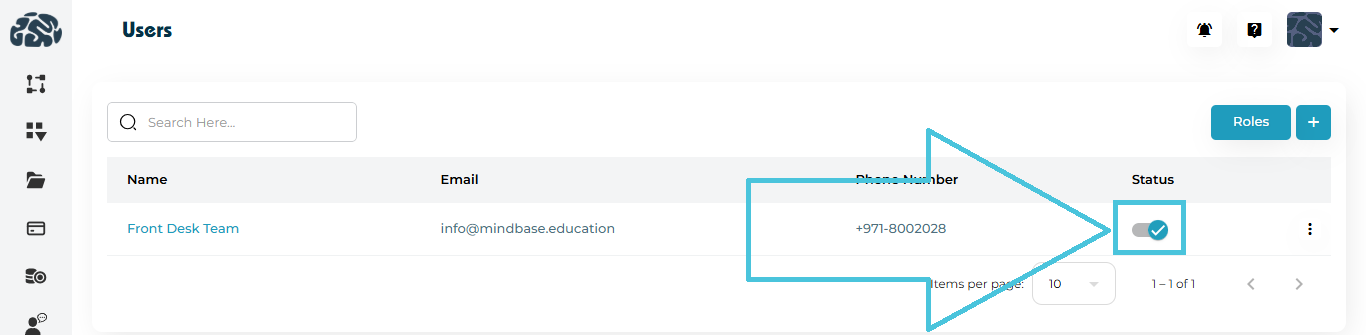
Each role includes a Status toggle.
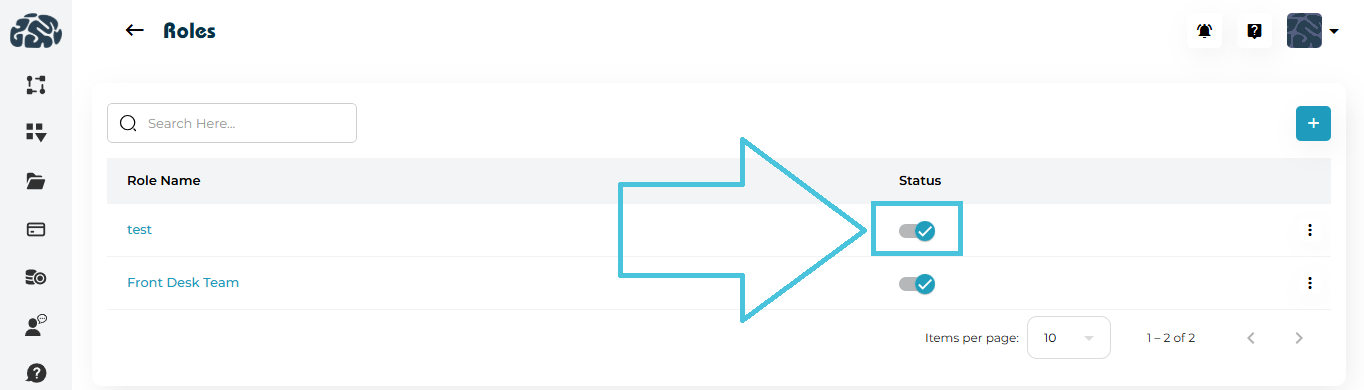
Enabled – Role is active and assignable
Disabled – Role cannot be assigned to users
Deactivating a role does not remove users but prevents new assignments.
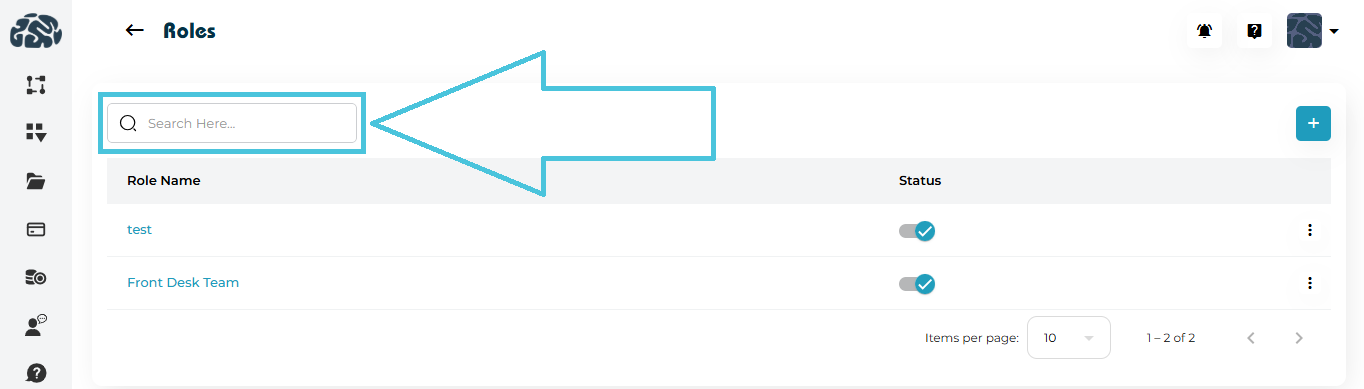
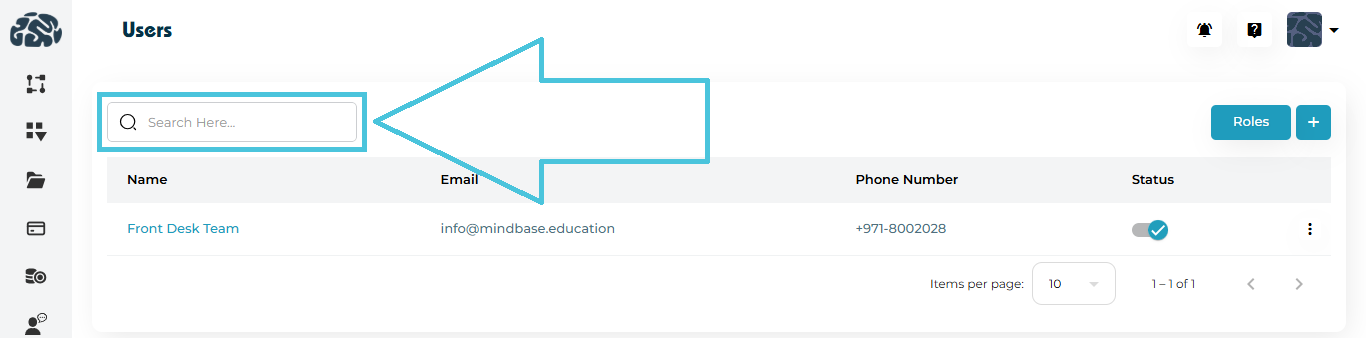
Use the Search bar to quickly locate a role by name.
Search works instantly and filters the roles list dynamically.