Setting up instructor compensation

Setting Up Instructor Compensation

A Complete Guide for Admins

Instructor compensation in PrepBase is centralized under the Payroll section of each instructor’s profile. This area allows admins to configure hourly or monthly rates and define rates per session category as well. Here you can also keep track of the instructor bank account details for payout processing and manage a ledger for all of their earnings and payments.

This guide walks you through each part of the Payroll module with full clarity.


NOTE: if an instructor’s payroll details are not added, then the instructor will not appear on the dashboard or app for the students or parents when they are trying to book any sessions. 

1. Accessing the Payroll Tab

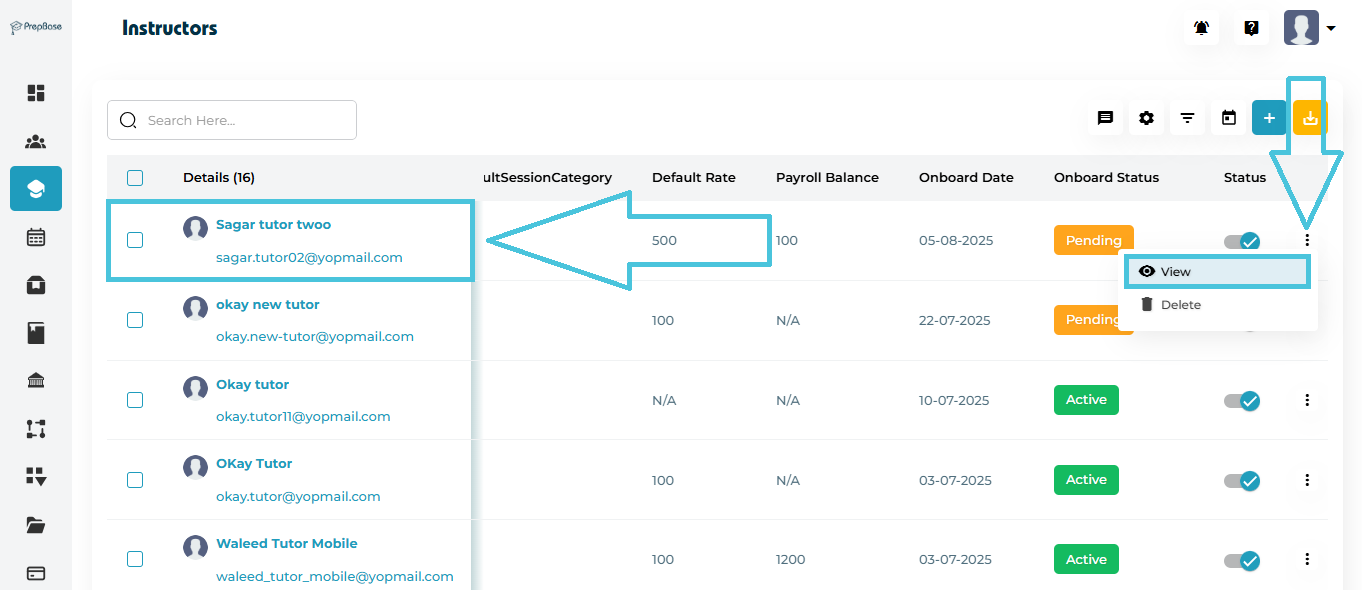
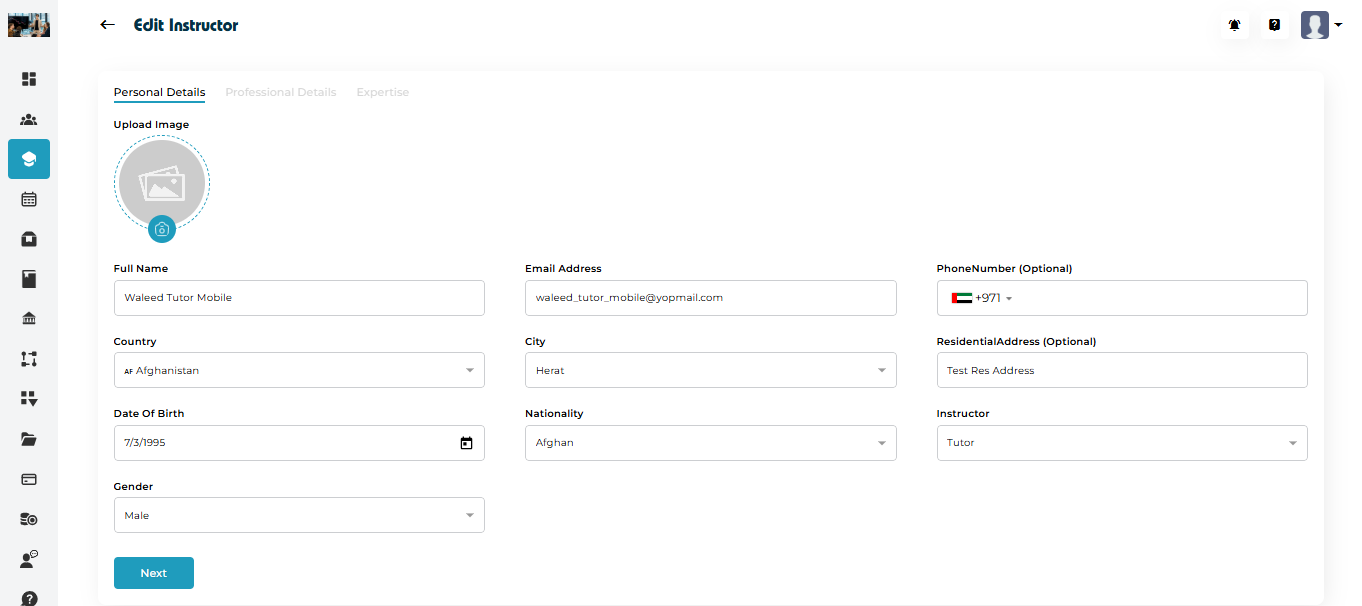
  1. Go to Instructors from the left-side navigation menu.

  2. Select an instructor and open their Instructor Details page.

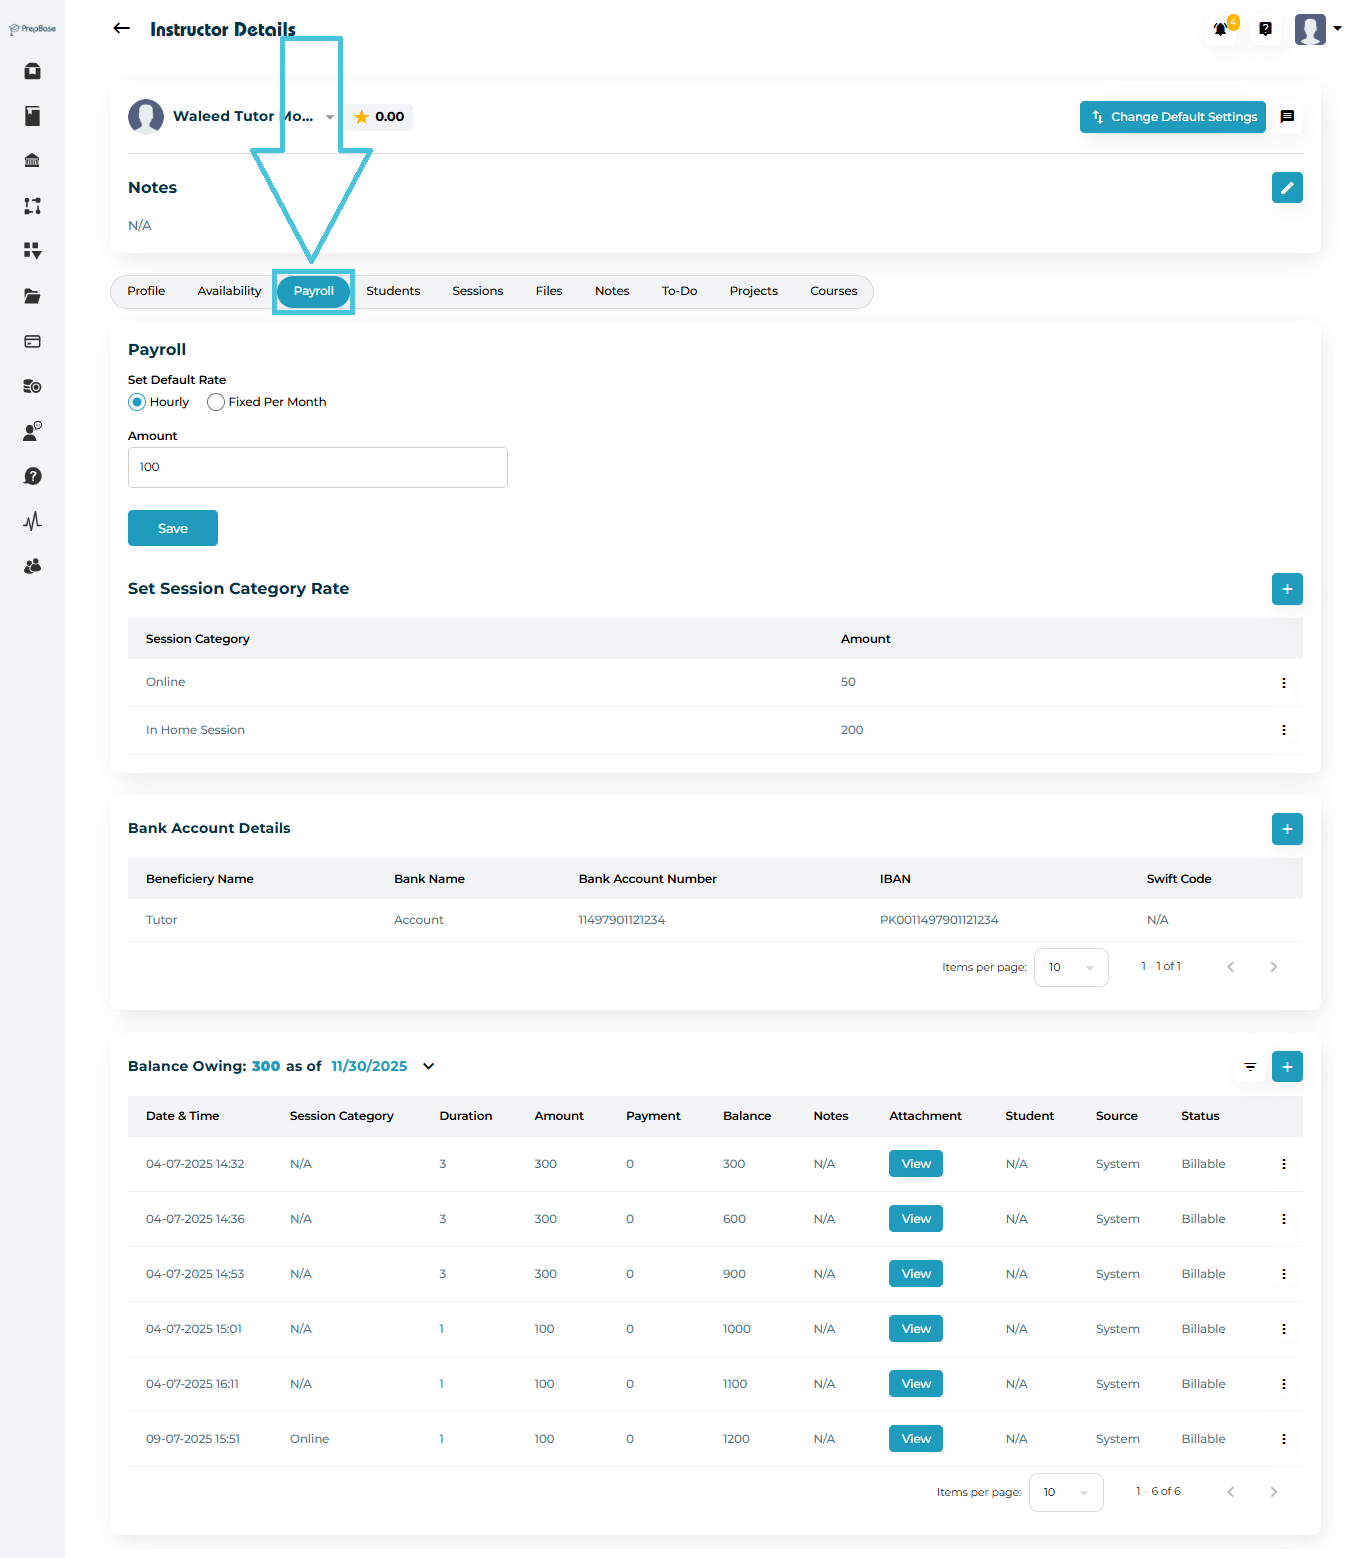
  3. Click the Payroll tab from the top navigation bar.

You will now see the following major sections:

  • Default Rate

  • Session Category Rate (if hourly rate is selected)

  • Bank Account Details

  • Balance Owing (transactions ledger)

2. Setting the Default Rate

The default rate is the primary compensation value for the instructor—used when a session does not fall under a special category.


NOTE: If only a default rate is added for an instructor, then all the session categories defined in the system will appear in the session category dropdown while booking a session with the instructor.

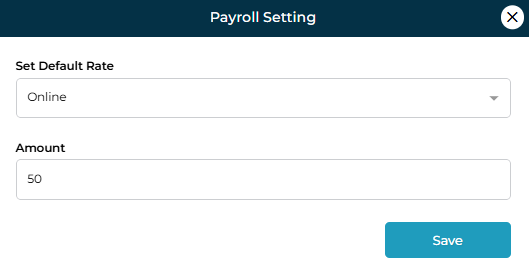
How to Set or Update the Default Rate
  1. Under Set Default Rate, choose the payment model:

    • Hourly (paid per hour)

    • Fixed Per Month (paid a monthly salary)

  2. Enter the Amount.

  3. Click Save.

This updates the instructor’s base compensation across all their sessions.

3. Setting Session Category Rates

If the hourly payroll is selected then the session category pricing will be activate and this will allows you to define specific rates for different types of sessions that you have defined in the system under the Sessions Categories subtab within the Calendar & Sessions main tab in the admin panel (e.g., Online, In-Home, Workshop, etc.).

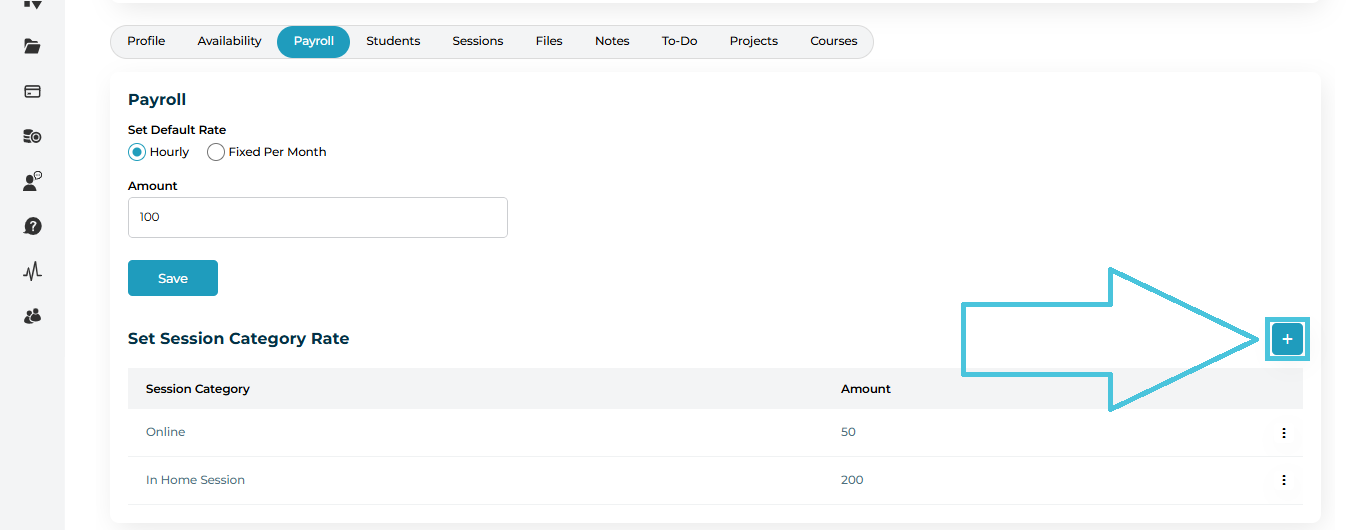
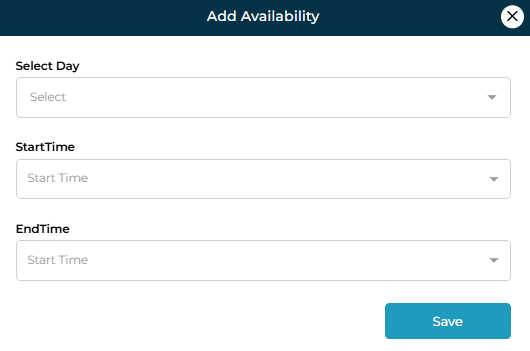
Add a New Session Category Rate

  1. In the Set Session Category Rate section, click the + button on the right.

  2. A form will open where you can:

    • Select a Session Category

    • Enter the Amount

  3. Click Save.

The new category rate will now appear in the list.

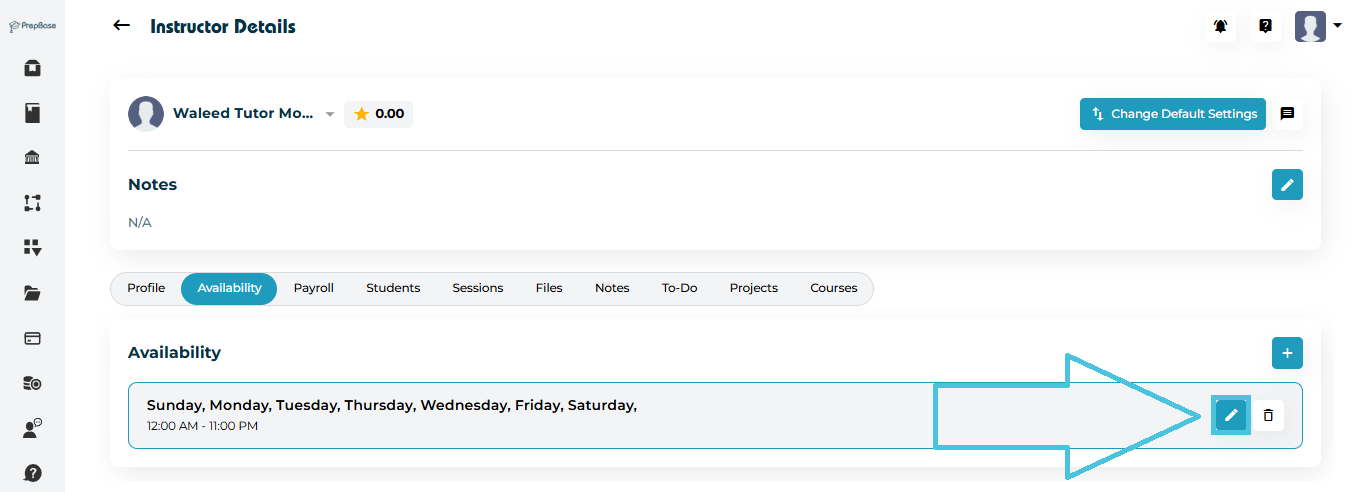
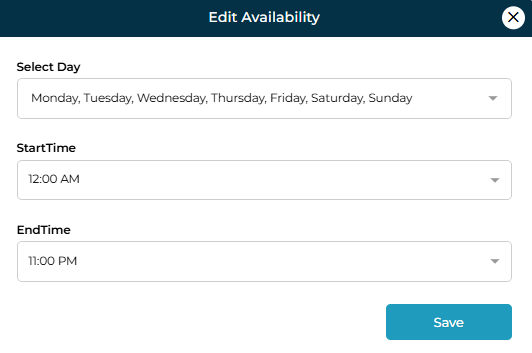
Edit an Existing Rate
  1. Click the three-dot menu next to a rate.

  2. Select Edit.

  3. Update the amount and save.
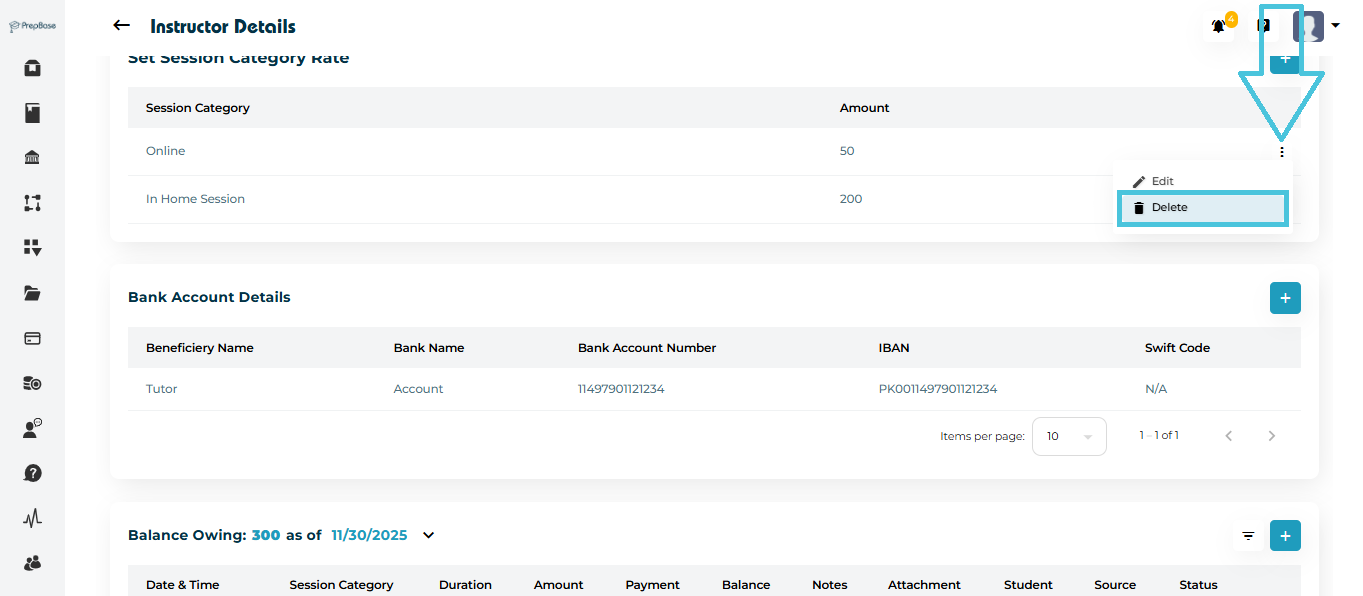
Delete a Rate
  1. Click the three-dot menu.

  2. Select Delete to remove the category from compensation rules.

4. Adding Bank Account Details

Here you can keep track of the instructor’s Bank details for processing instructor payouts and this is optional.

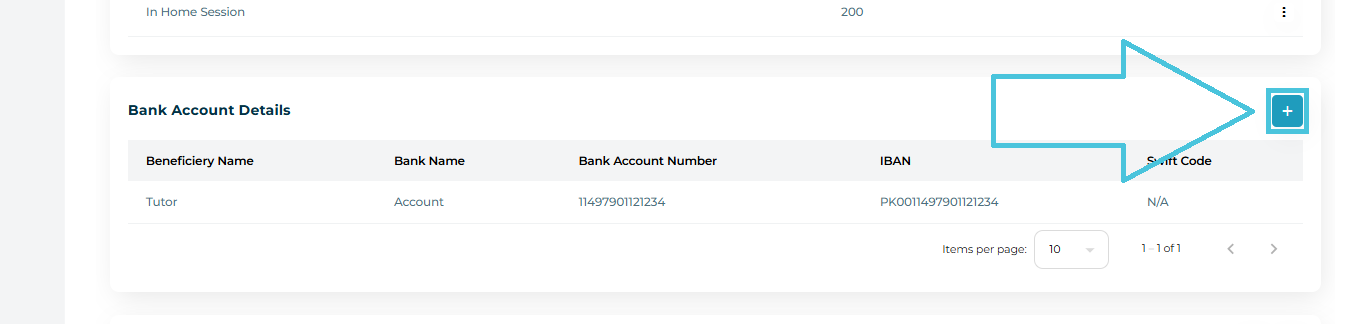
How to Add Bank Account Information

  1. Scroll to Bank Account Details.

  2. Click the + button on the right.
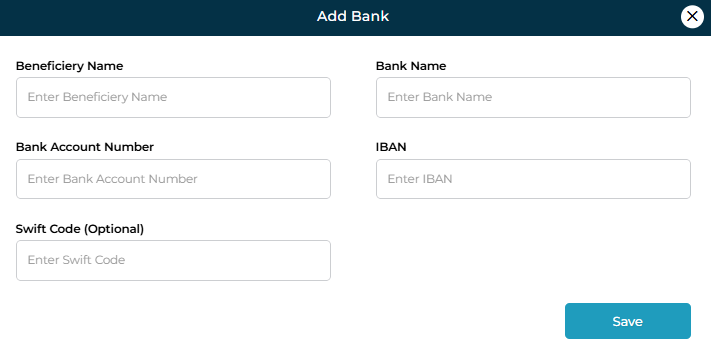
  3. Fill in the form:

    • Beneficiary Name

    • Bank Name

    • Bank Account Number

    • IBAN

    • Swift Code (Optional)

  4. Click Save.

The bank account will be listed for future payouts.

IN THIS ARTICLE

Updating availability

Updating availability

Instructor availability determines when a tutor or counselor is able to take sessions. Keeping this information accurate helps the scheduling system avoid conflicts, ensures smooth booking for students, and improves overall session management.

Instructors can also manage their own availaility from their dashboard. Based on the set availability of the instructor, the students or parents will be able to book sessions accoridngly for the selected days and time slots from their dashboard if they are given access.

The PrepBase Admin Portal allows administrators to easily add, edit, or remove an instructor’s available time slots.

NOTE: if an instructor’s availability is not added, then the instructor will not appear on the dashboard or app for the students or parents when they are trying to book any sessions. 

1. Where to Find Instructor Availability

  1. Go to Instructors from the Admin left menu.

  2. Click View on any instructor.

  3. Open the Availability tab.

Here you will see all active availability entries listed by day and time.

2. Adding New Availability

To create new availability slots:

  1. Click the ➕ Add Availability button.

  2. A form will appear where you can define:

    • Select Day (choose one or multiple days)

    • Start Time

    • End Time

  1. Click Save to add the availability.

3. Editing Existing Availability

If an instructor’s hours change, you can update an existing entry instead of creating a new one.

  1. Locate the availability entry in the list.

  2. Click the ✏️ Edit button.

  3. Update:

    • Selected Day(s)

    • Start Time

    • End Time

  1. Click Save.

4. Deleting Availability

If an instructor is no longer available during a specific time:

  1. Click the 🗑 Delete icon on the availability entry.

  2. Confirm deletion.

The slot will be permanently removed from their schedule.

IN THIS ARTICLE

Managing personal & professional details

Managing Personal & Professional Details

The Instructors module in PrepBase allows Admins to efficiently manage all tutor and counselor information—from personal data and professional background to permissions, portal access, and real-time activity logs.

Keeping instructor information accurate ensures:

  • Proper student–tutor matching

  • Smooth scheduling

  • Accurate billing and payroll

  • Secure account access

  • Transparent reporting

  • Better academic delivery across the platform

1. Accessing an Instructor Profile

Steps

  1. Navigate to the Instructor’s module from the left-hand sidebar.

  2. Locate the instructor in the list using the search bar or scrolling.

  3. To open the Instructor profile:

    • Option 1: Click the instructor’s name under the Details column.

    • Option 2: Click the ⋮ (three-dot) icon at the end of the row and select View.

  4. The system loads the Instructor Details page with all profile and activity tabs.

2. Instructor Details — Overview

The instructor profile includes multiple tabs:

  • Profile

    • Personal Details

    • Professional Details

    • Expertise

    • Permissions

    • Portal

    • Activity Logs

  • Availability

  • Payroll

  • Students

  • Sessions

  • Files

  • Notes

  • To-Do

  • Projects

  • Courses

This article covers all Profile sub-sections in one place for convenience.

3. Personal Details

Navigate to:

Instructor Details → Profile → Personal Details

You can manage:

  • Name

  • Email Address

  • Country

  • City

  • Nationality

  • Date of Birth

  • Gender

  • Residential Address

  • Phone Number (optional)

  • Instructor Type (Tutor / Counselor)

  • Profile Photo

To edit, click the ✏️ Edit button → update fields → Save.

4. Professional Details

Navigate to:

Profile → Professional Details

This section stores:

  • Experience Summary

  • Years of Experience

  • Native Language

  • Additional Languages

  • Employment Status

  • Qualifications

  • Instructor Bio

  • Resume Upload

Click ✏️ Edit to update and save changes.

5. Expertise Management

Navigate to:

Profile → Expertise

You can configure the instructor’s:

  • Curriculums of Interest (e.g., IGCSE, American, IB)

  • Levels of Interest (Grade/Year levels)

  • Subjects of Interest

Click ✏️ Edit → Save.

6. Permissions Management

Navigate to:

Profile → Permissions

Permissions define what the instructor can do within their portal.

Permissions include:
Scheduling
  • Schedule Sessions

  • Cancel Sessions

  • Session Approval

  • Billable Sessions

  • Time Tracker

Profile
  • Edit Profile

  • Edit Bank Account

  • Upload Articles

Students
  • View Student Details

  • Student File Upload

  • Student Notes

  • Student To-Do

  • Student Planner

  • Student College List

Projects
  • Tiers Approval

  • Report Approval

  • Edit Stages

  • Edit Student Status

  • Edit Student Academic Status

Use toggles to enable/disable permissions → Click Save.

7. Portal Management

Navigate to:

Profile → Portal

You can manage:

Enable/Disable Instructor Login

Allows revoking an instructor’s access without deleting their profile.

View As Instructor

Lets administrators preview the instructor’s portal.

Reset Password

You can set a new password manually if needed.

Click Save after applying changes.

8. Activity Logs

Navigate to:

Profile → Activity Logs

Activity Logs provide a complete audit trail of instructor activity, including:

  • Login times

  • To-Do added

  • Course added

  • Profile updates

  • Permission changes

  • Session updates

Each entry shows:

  • Activity

  • Timestamp

  • Activity Type (Profile, Task, Course, etc.)

IN THIS ARTICLE