To edit a student’s record, you first need to open their detailed profile.
Steps
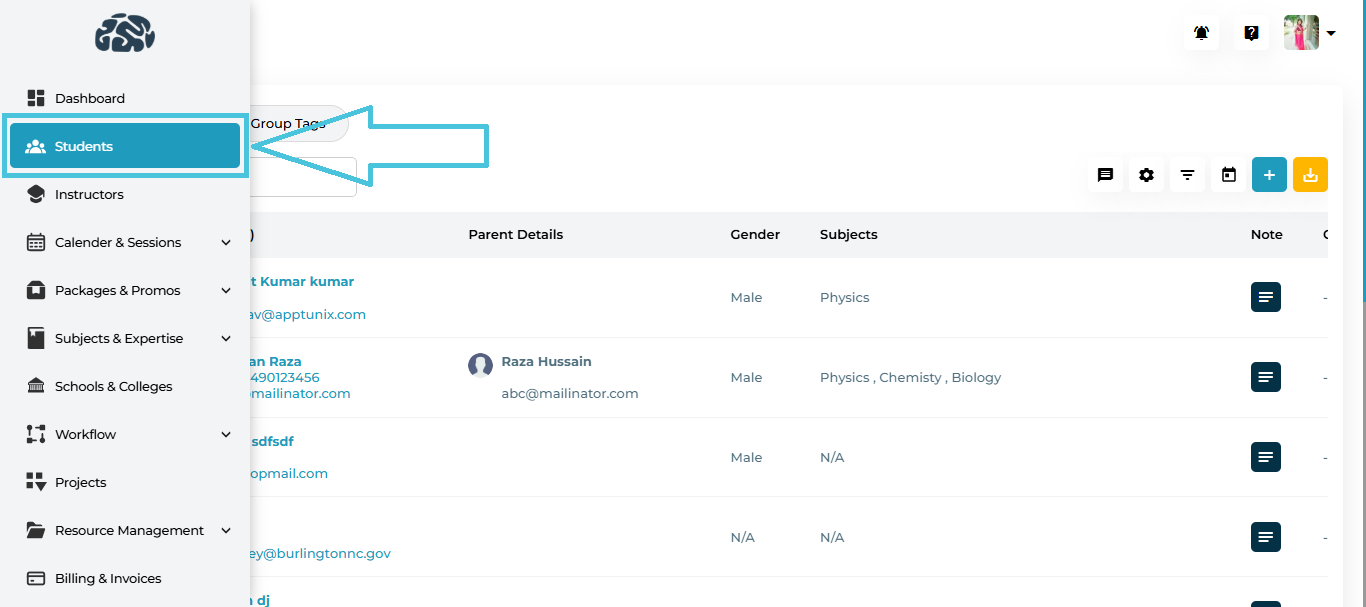
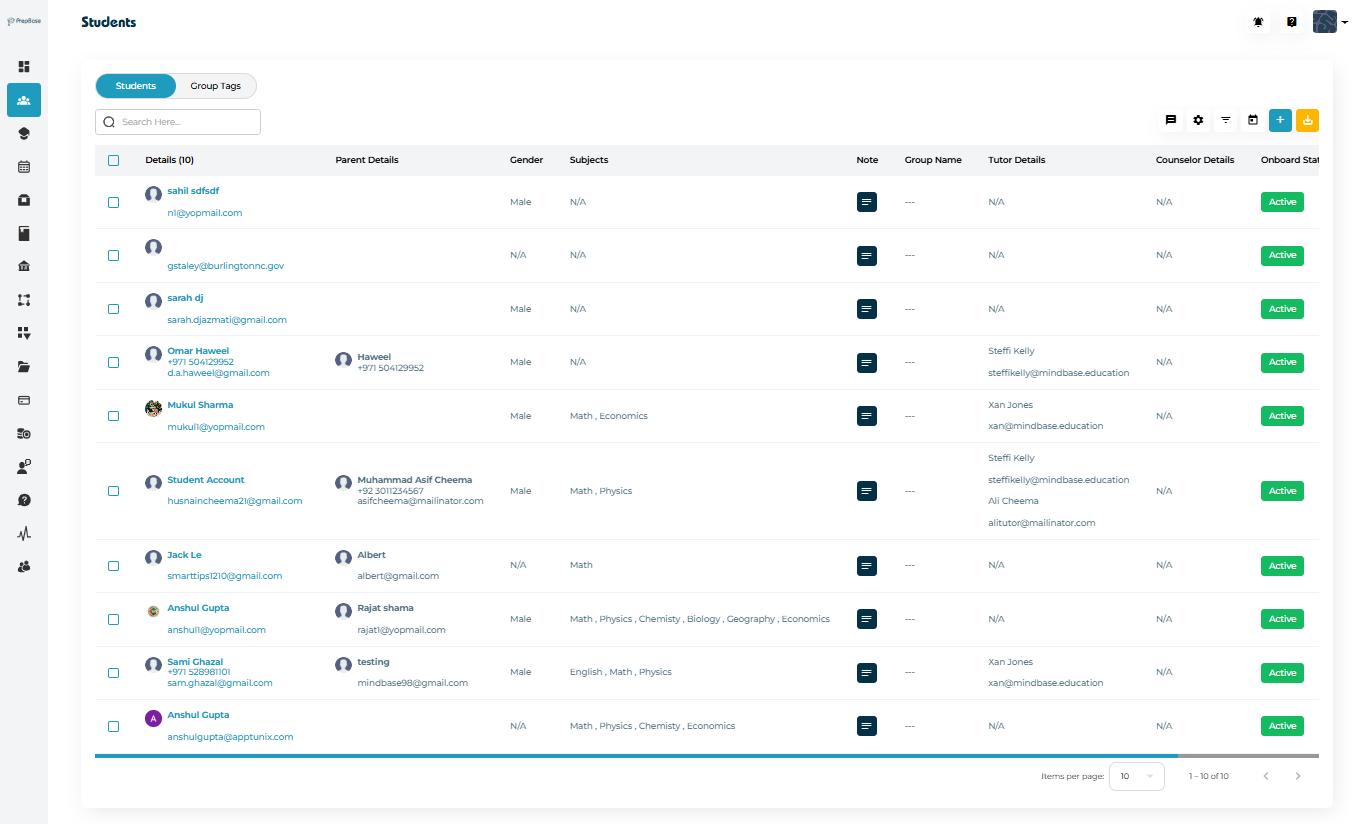
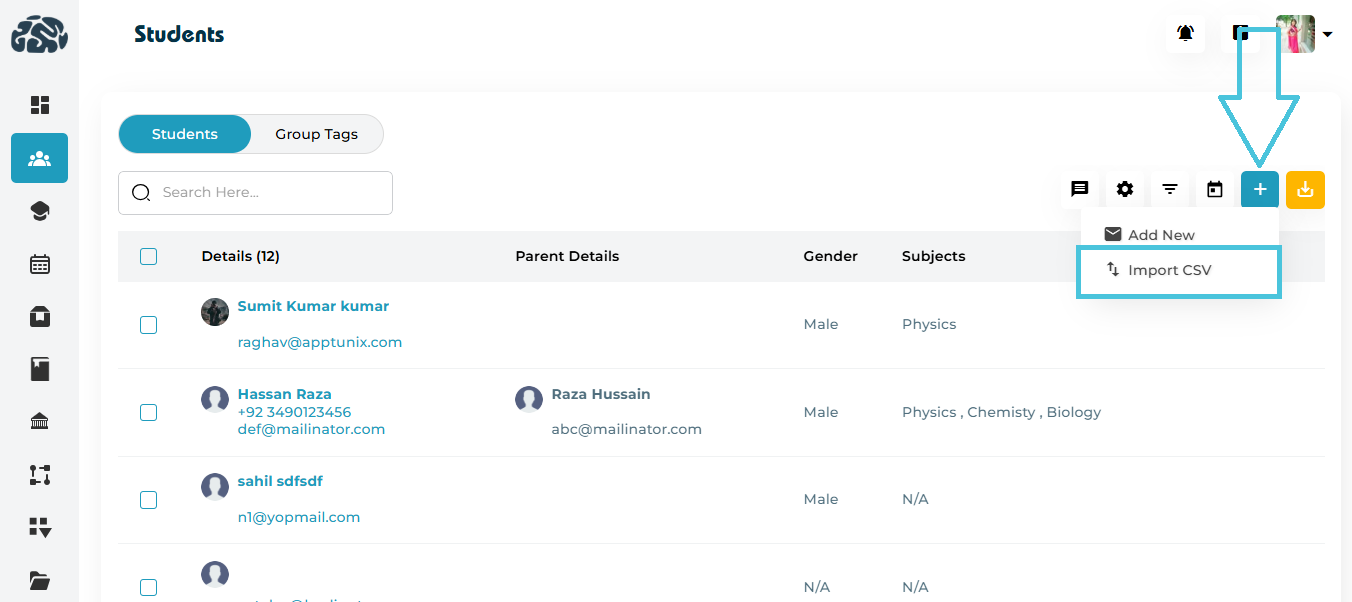
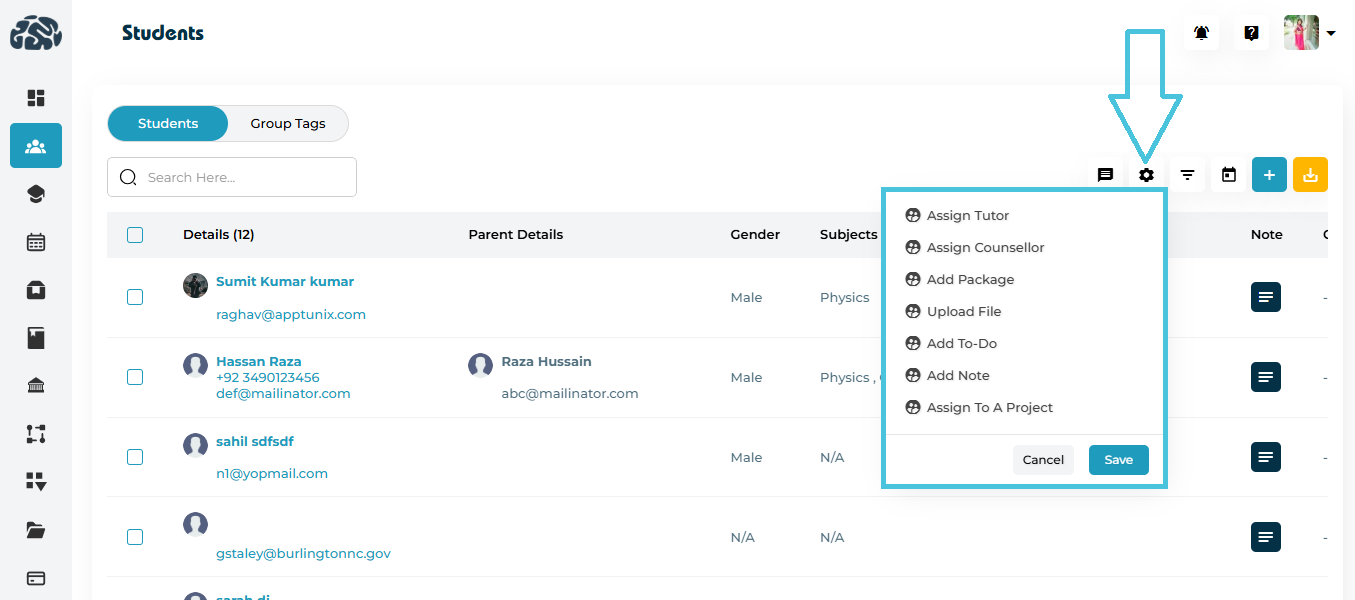
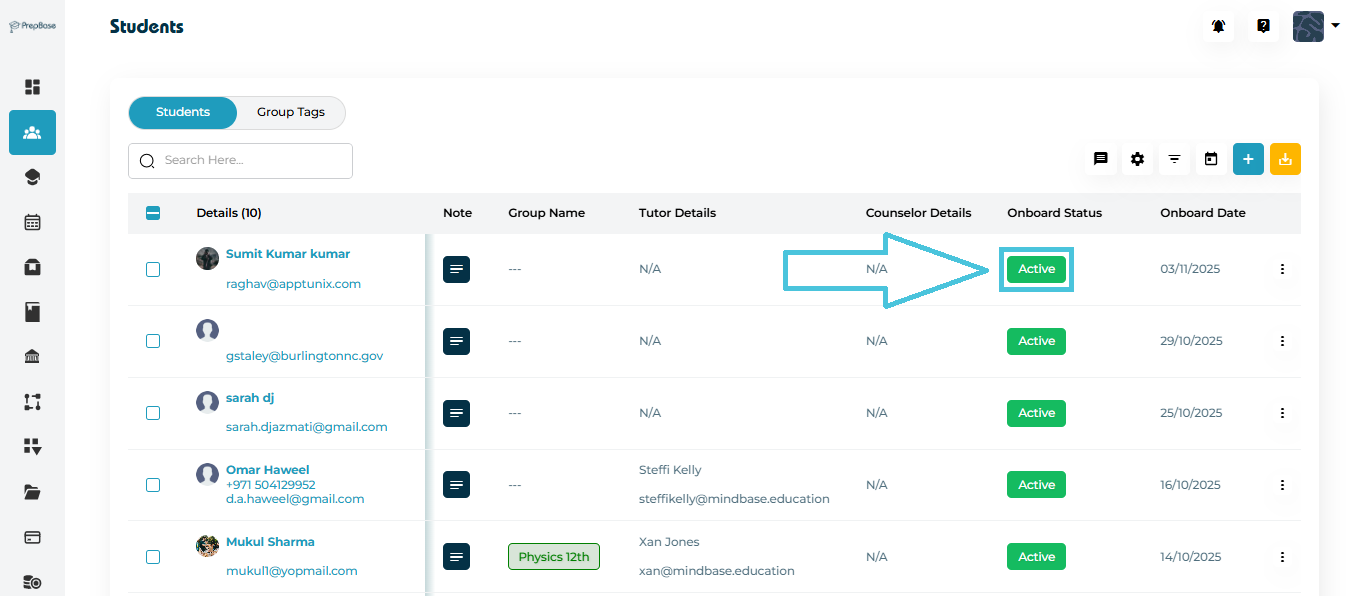
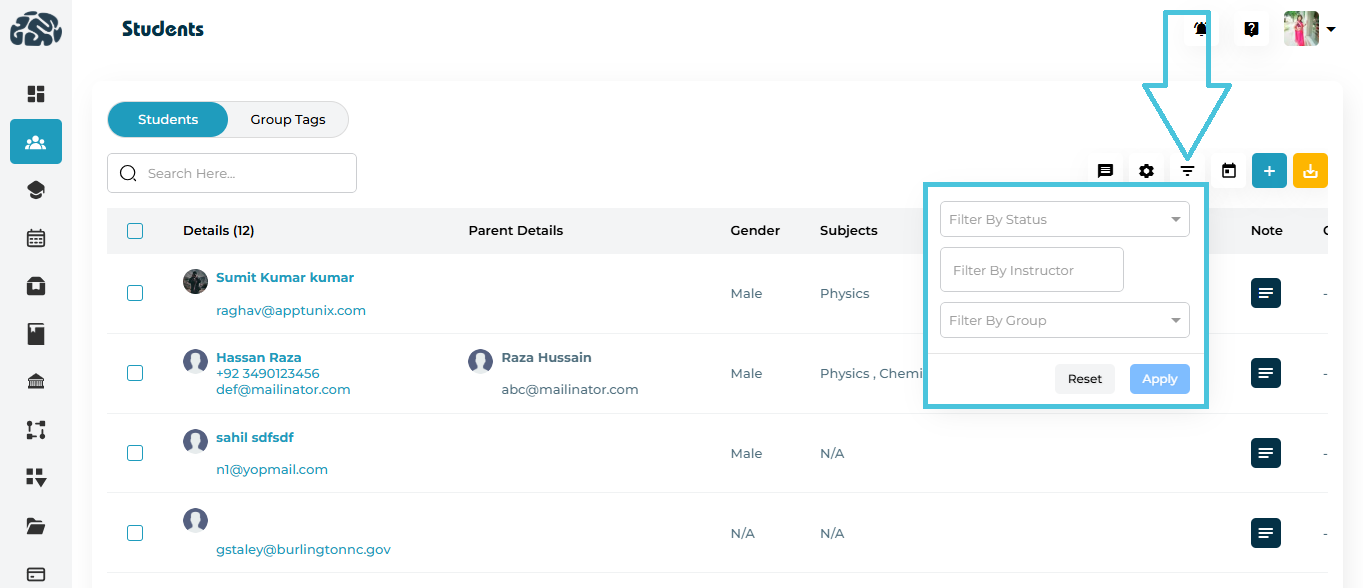
Navigate to the Students module from the left-hand sidebar.
Locate the student in the list using the search bar or scrolling.
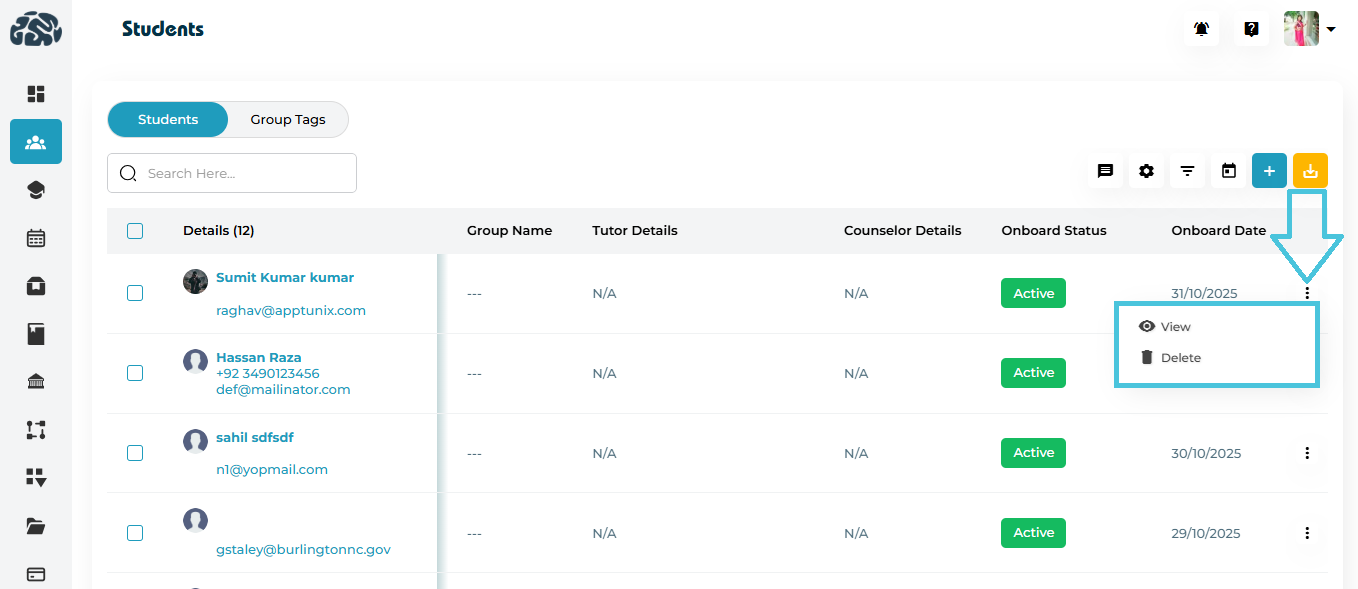
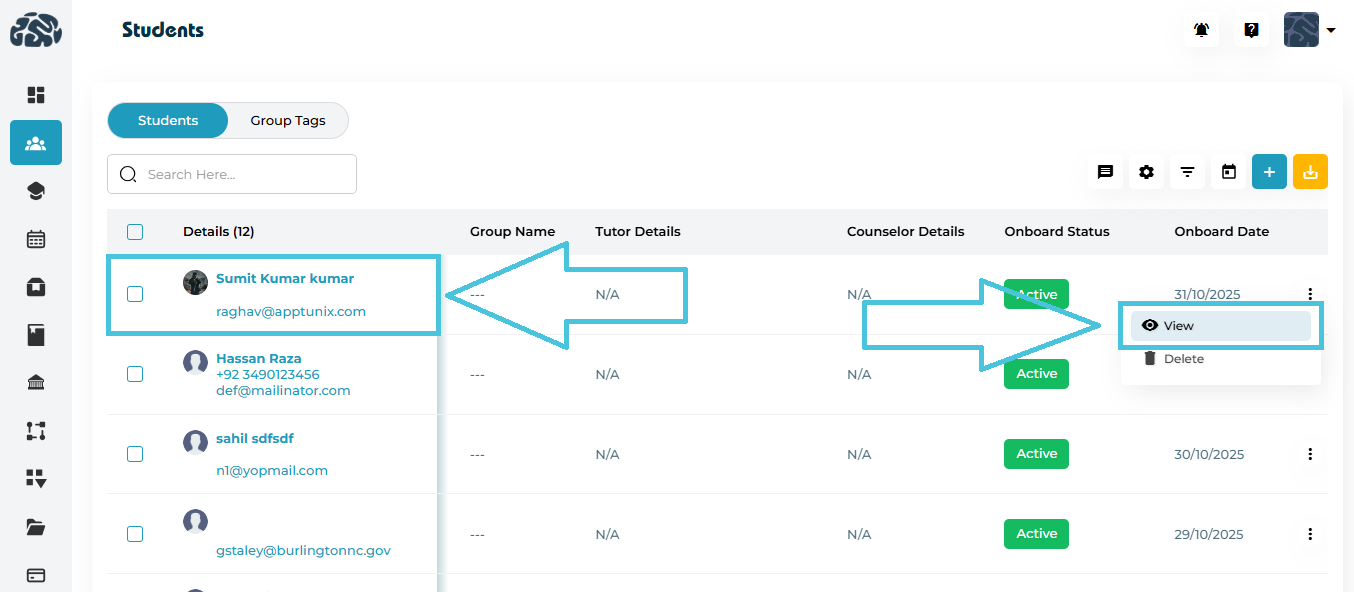
To open the student profile:
Option 1: Click the student’s name under the Details column.
Option 2: Click the ⋮ (three-dot) icon at the end of the row and select View.
The system loads the Student Details page with all profile and activity tabs.
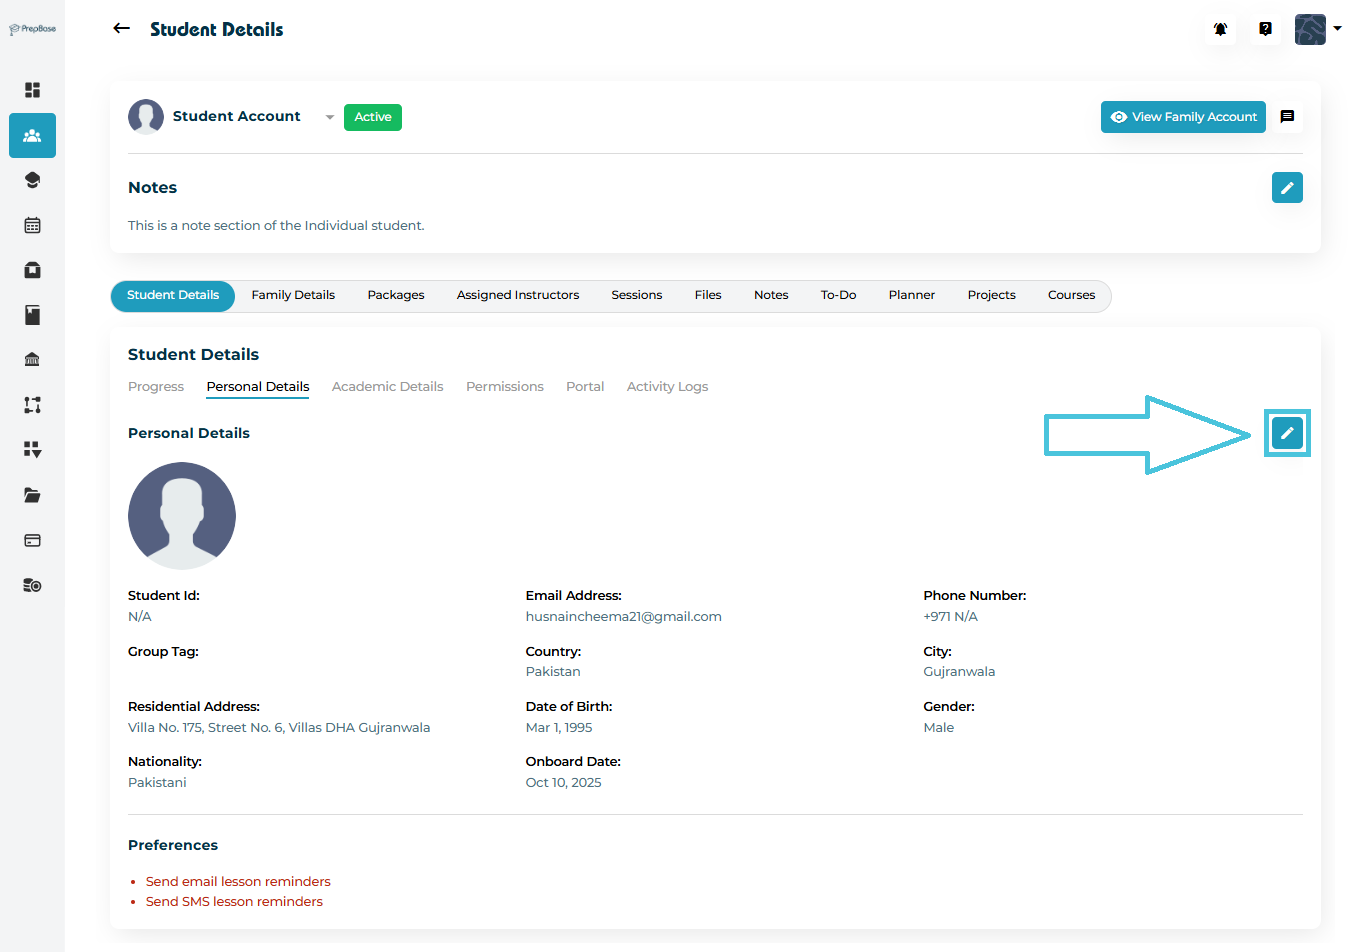
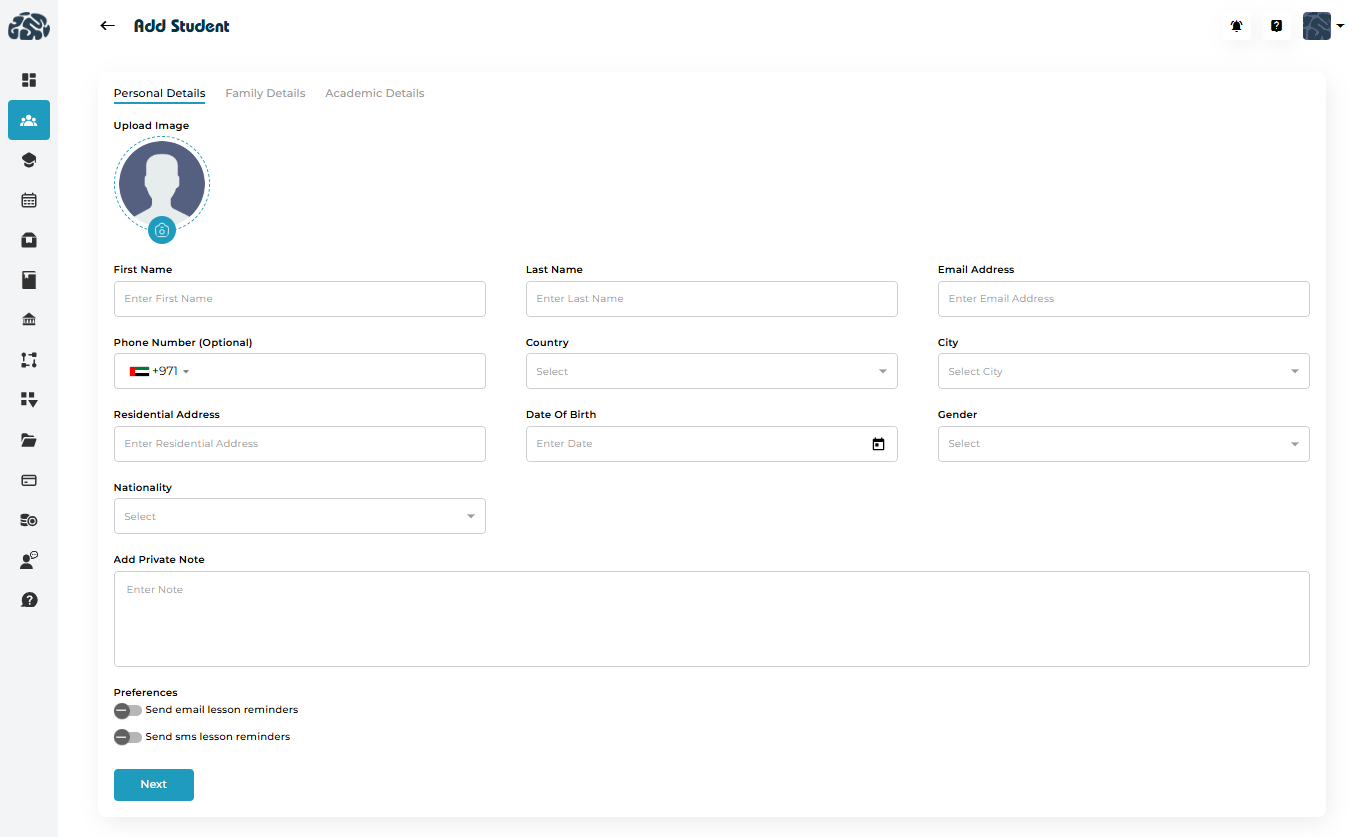
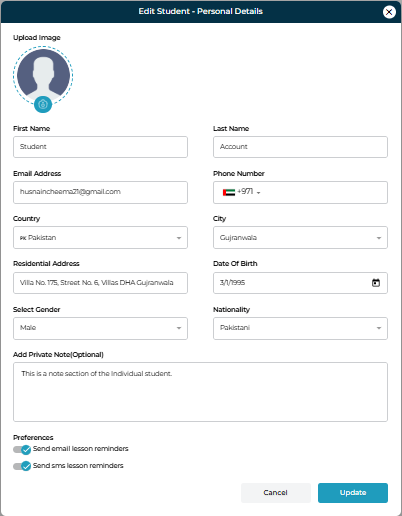
The Personal Details tab contains the student’s basic information such as name, contact details, and nationality.
To make changes:
Click the ✏️ Edit icon in the top-right corner of the Personal Details box.
An editable form will appear.
Update the required fields and click Update to save.
Fields Overview
| Field | Description | Required |
|---|---|---|
| First Name / Last Name | Student’s full name | ✅ |
| Email Address | Primary email used for communication | ✅ |
| Phone Number | Contact number (select country code) | ✅ |
| Country / City | Country and city of residence | ✅ |
| Residential Address | Detailed address for records | ✅ |
| Date of Birth | Used for identification and reporting | ✅ |
| Gender | Select Male / Female / Other | ✅ |
| Nationality | Student’s nationality | ✅ |
| Private Note | Additional note visible to internal users only | ❌ |
| Send Email Lesson Reminders | Toggle to enable or disable email reminders | ❌ |
| Send SMS Lesson Reminders | Toggle to enable or disable SMS reminders | ❌ |
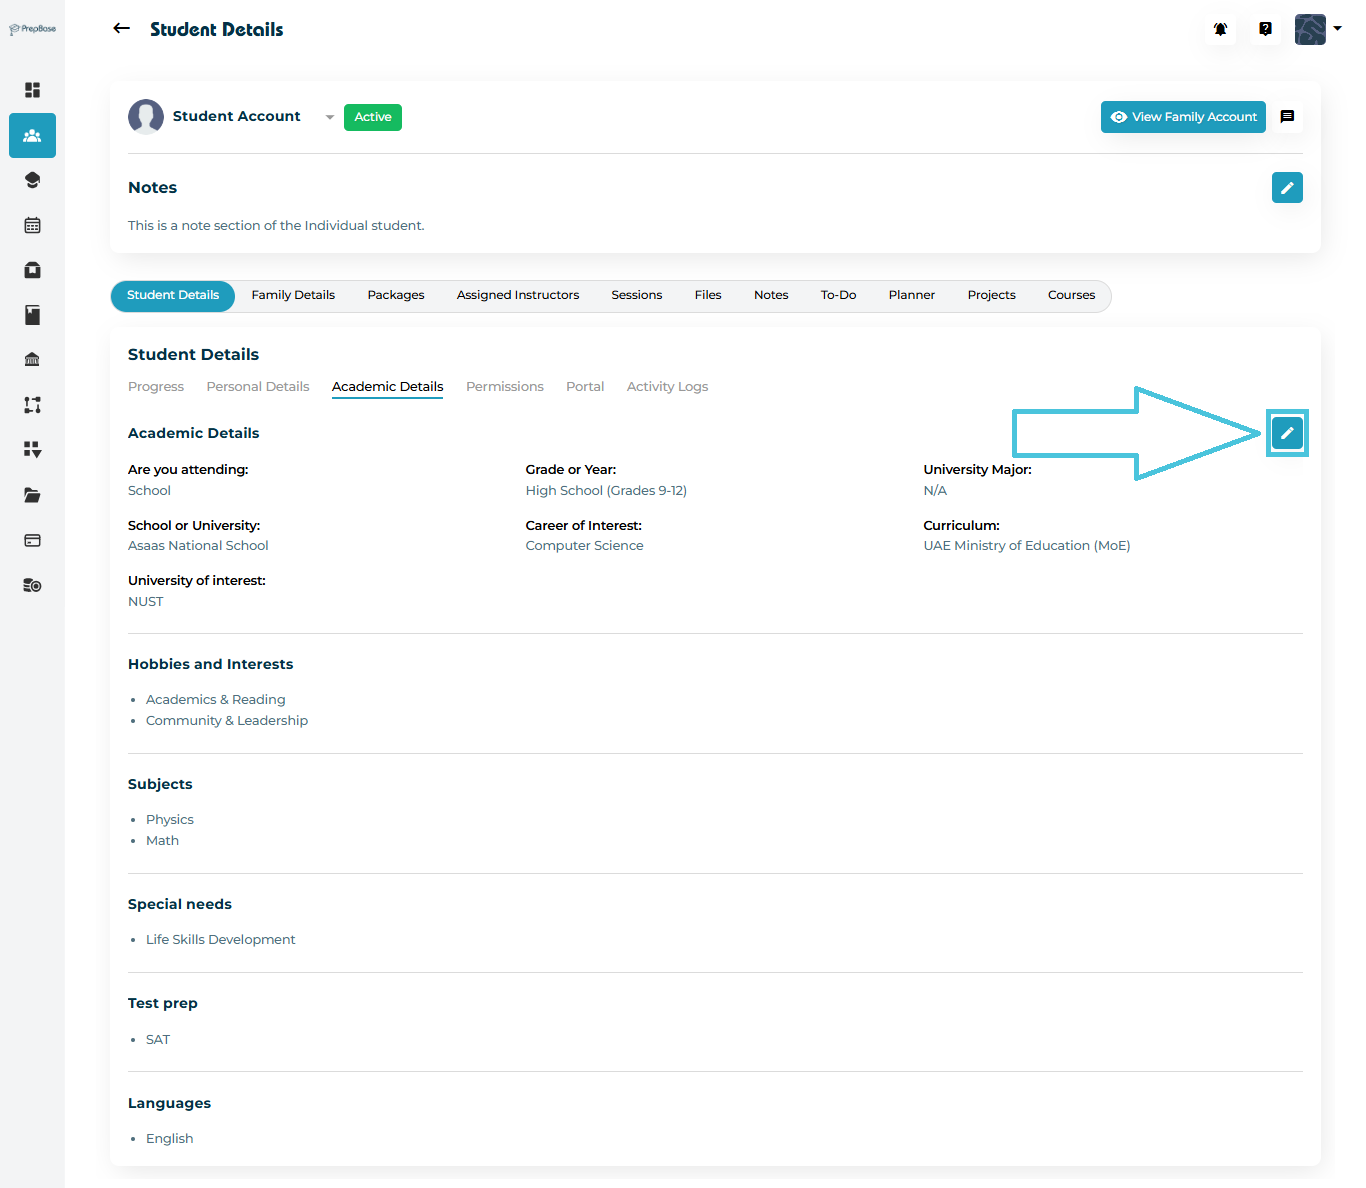
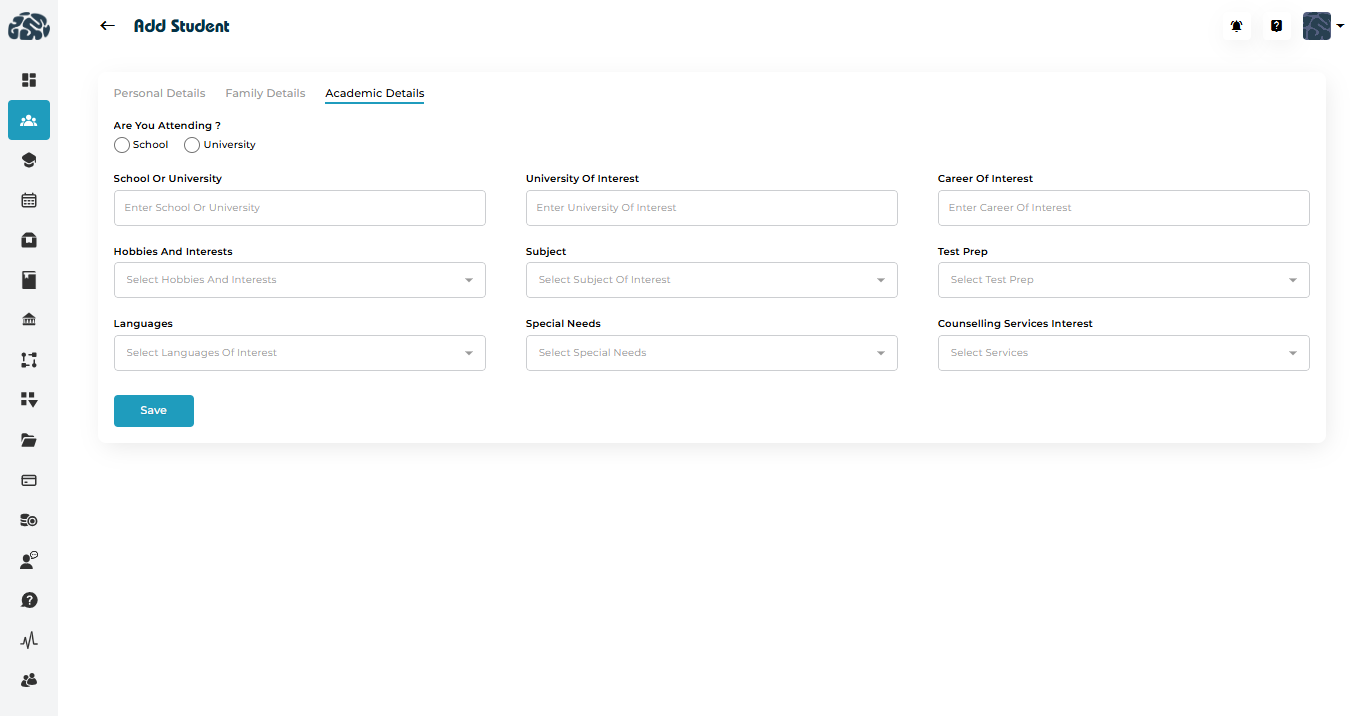
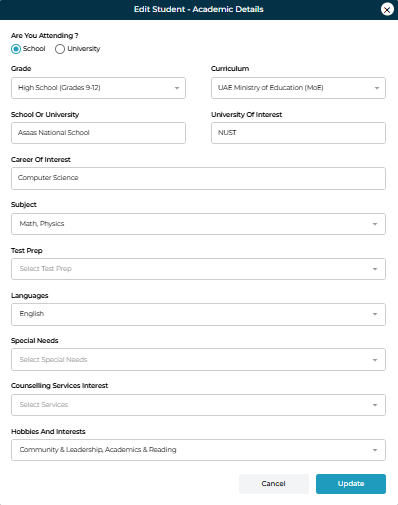
The Academic Details tab contains education-related information such as grade level, curriculum, subjects, and university interests.
Click the ✏️ Edit icon in the Academic Details box.
An editable window will appear where you can update all academic-related data.
Once done, click Update to save the changes.
Fields Overview
| Field | Description | Required |
|---|---|---|
| Are You Attending? | Select School or University | ✅ |
| Grade or Year | Current school grade (e.g., Grades 9–12) or university year | ✅ |
| Curriculum or Major | Select academic board or system (e.g., UAE MoE, IB, CBSE) or university major | ✅ |
| School or University | Enter the institution name | ✅ |
| University of Interest | Add university preferences for admissions tracking | ❌ |
| Career of Interest | Specify intended career path or field (e.g., Computer Science) | ❌ |
| Subjects | Choose one or more major subjects | ✅ |
| Test Prep | Select applicable test preparation programs (e.g., SAT, IELTS) | ❌ |
| Languages | Languages the student speaks or studies | ❌ |
| Special Needs | Mention any learning or physical support requirements | ❌ |
| Counseling Services Interest | Indicate services the student is interested in (e.g., Admission Guidance, Career Counseling) | ❌ |
| Hobbies and Interests | Add extracurricular interests for better student profiling | ❌ |