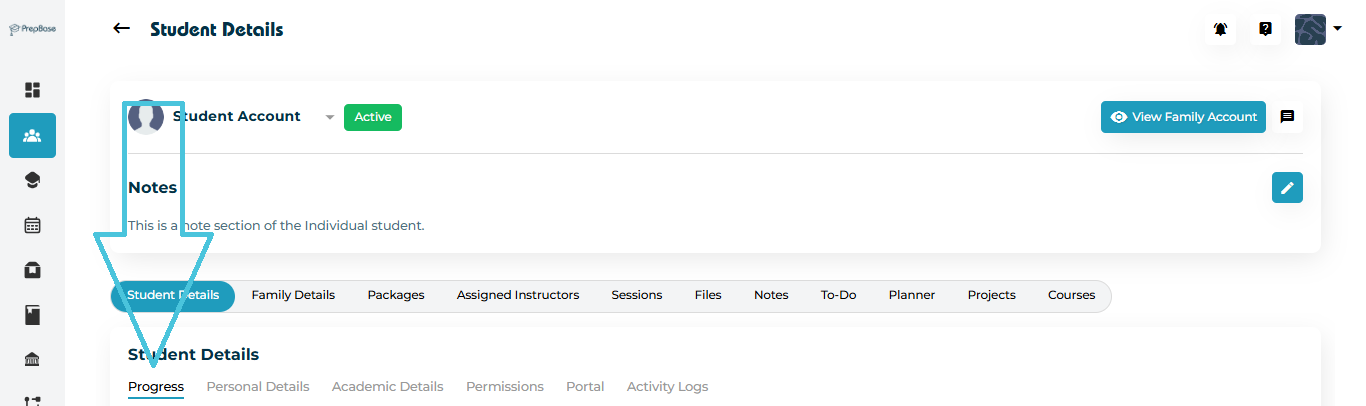
Navigate to Students → Student Profiles.
Select a student from the list.
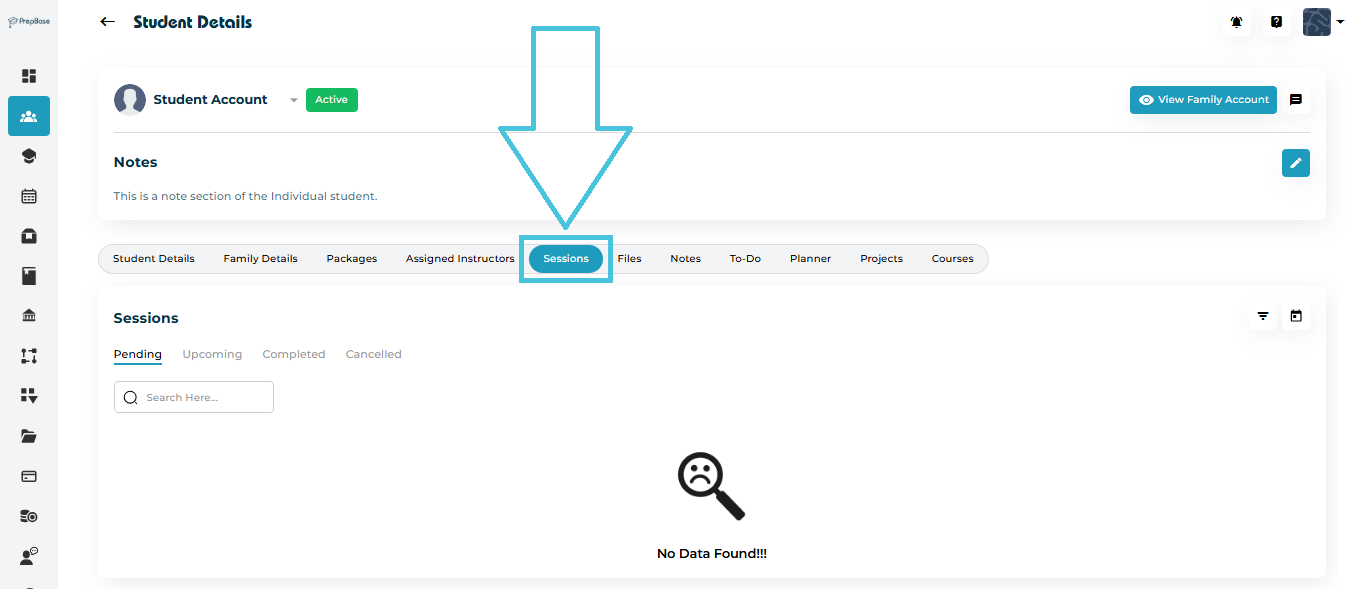
Open the Sessions tab from the top navigation menu.
You’ll see a structured list of all past and upcoming sessions linked to that student. Each record shows:
- Date and Time
Session Type
Session Location
- Session Location Type and Type Value
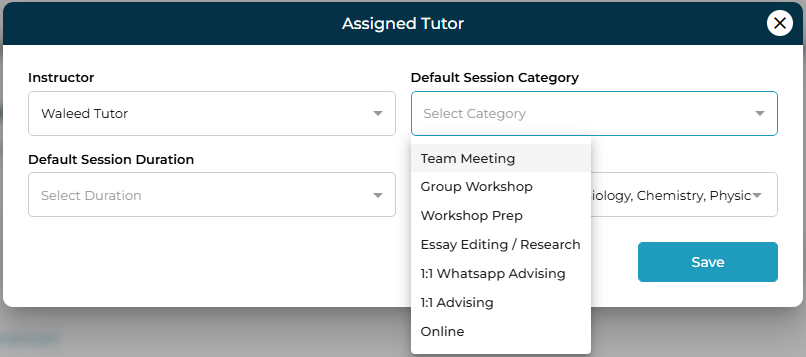
- Session Category
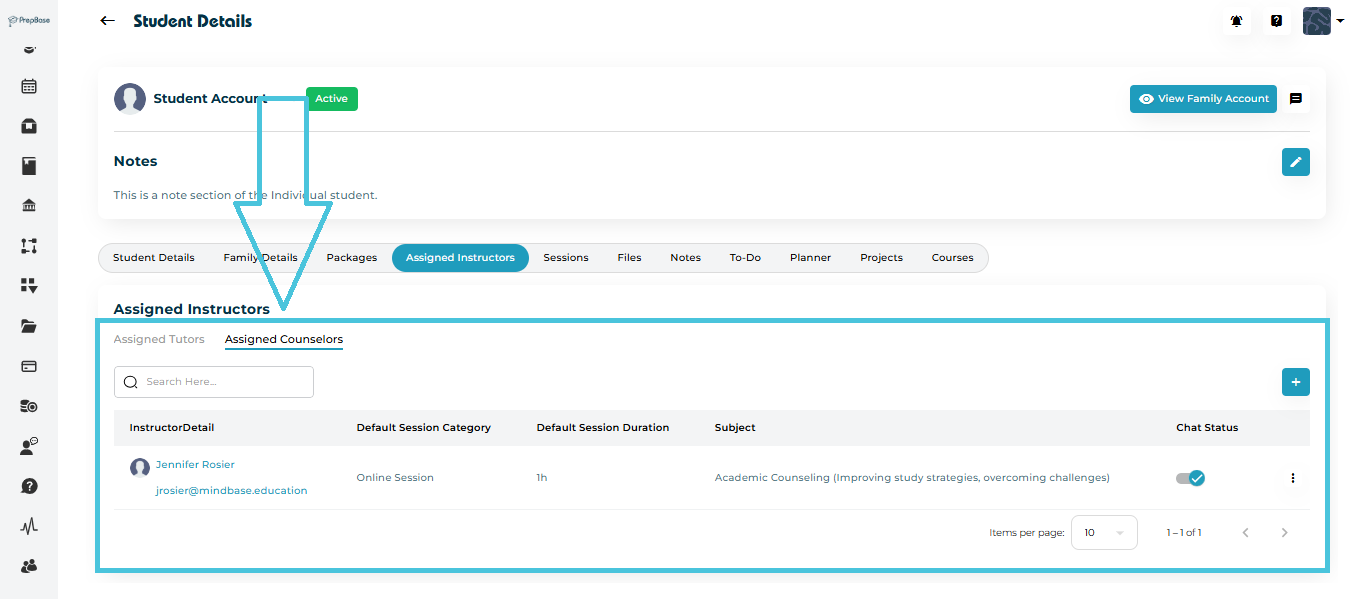
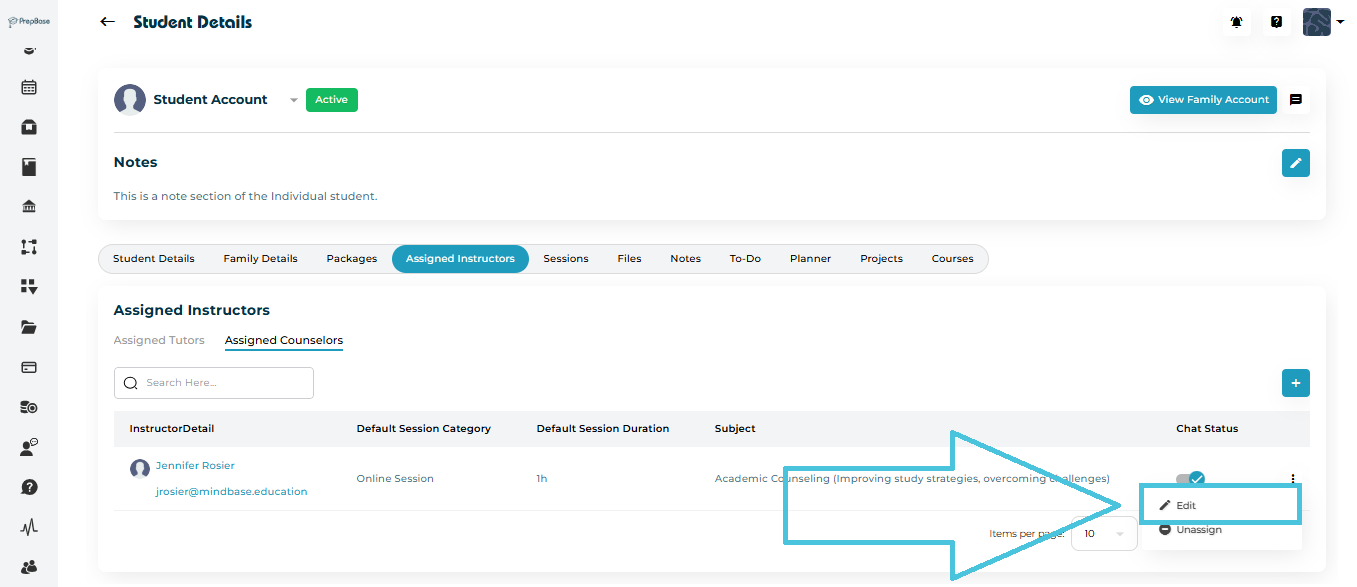
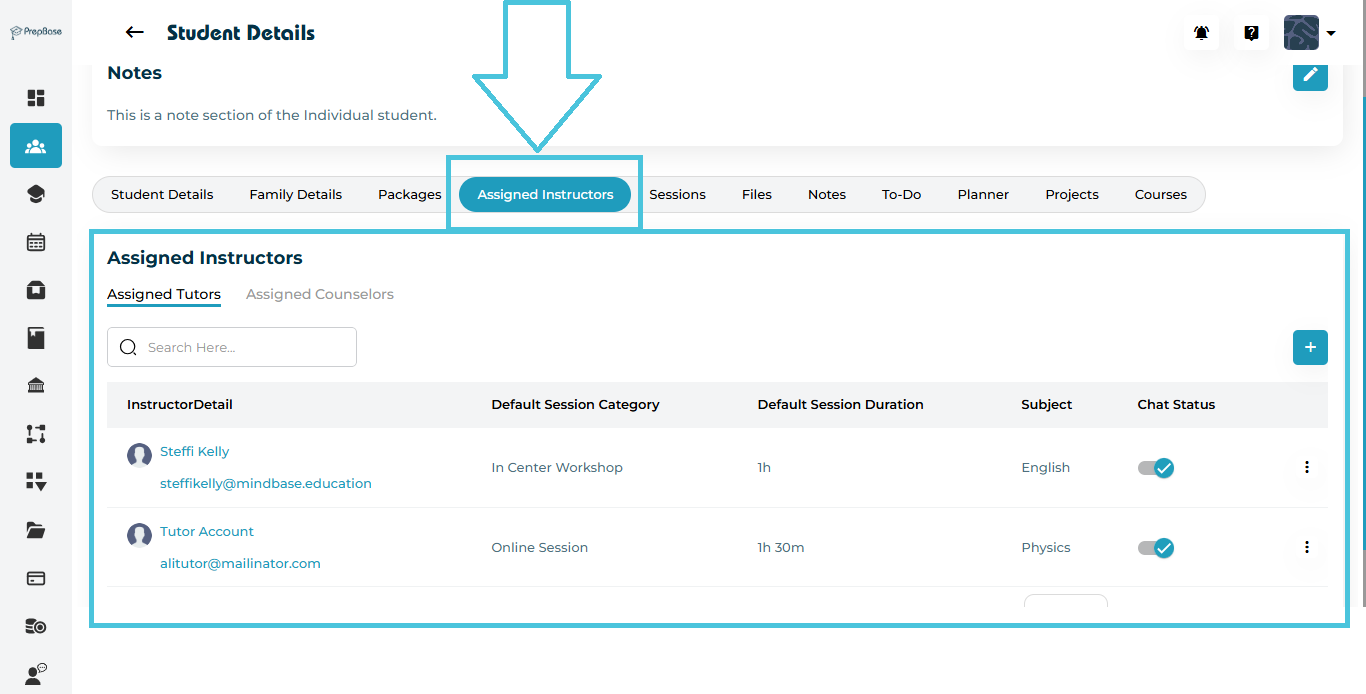
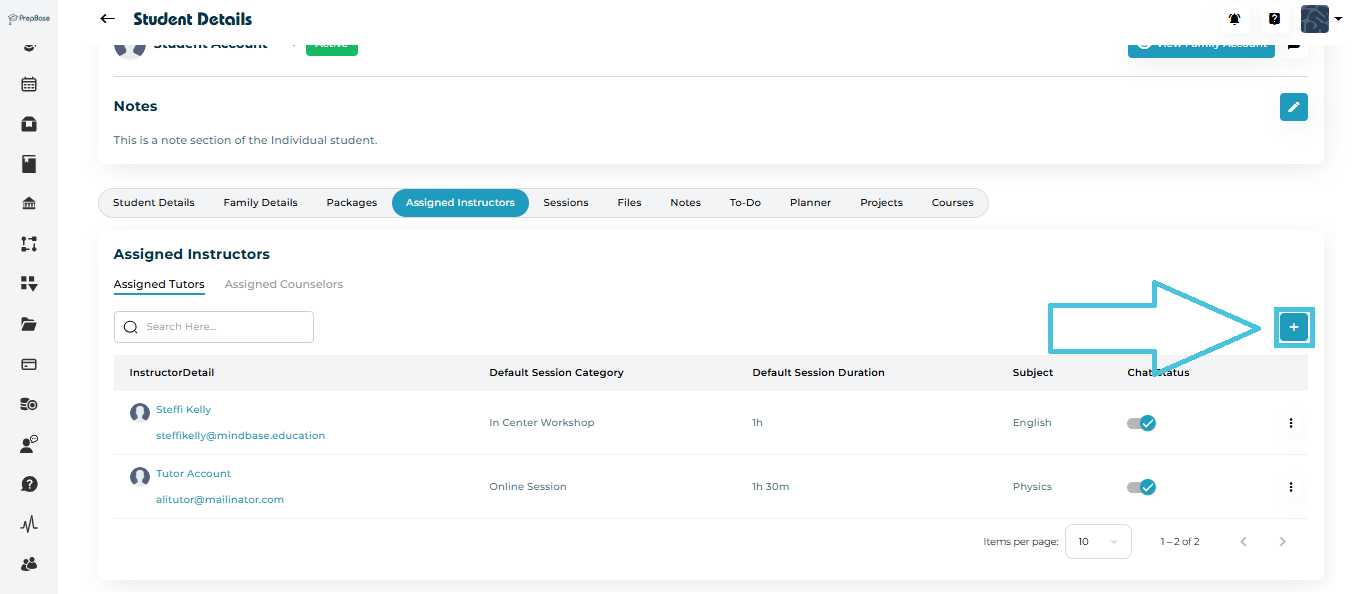
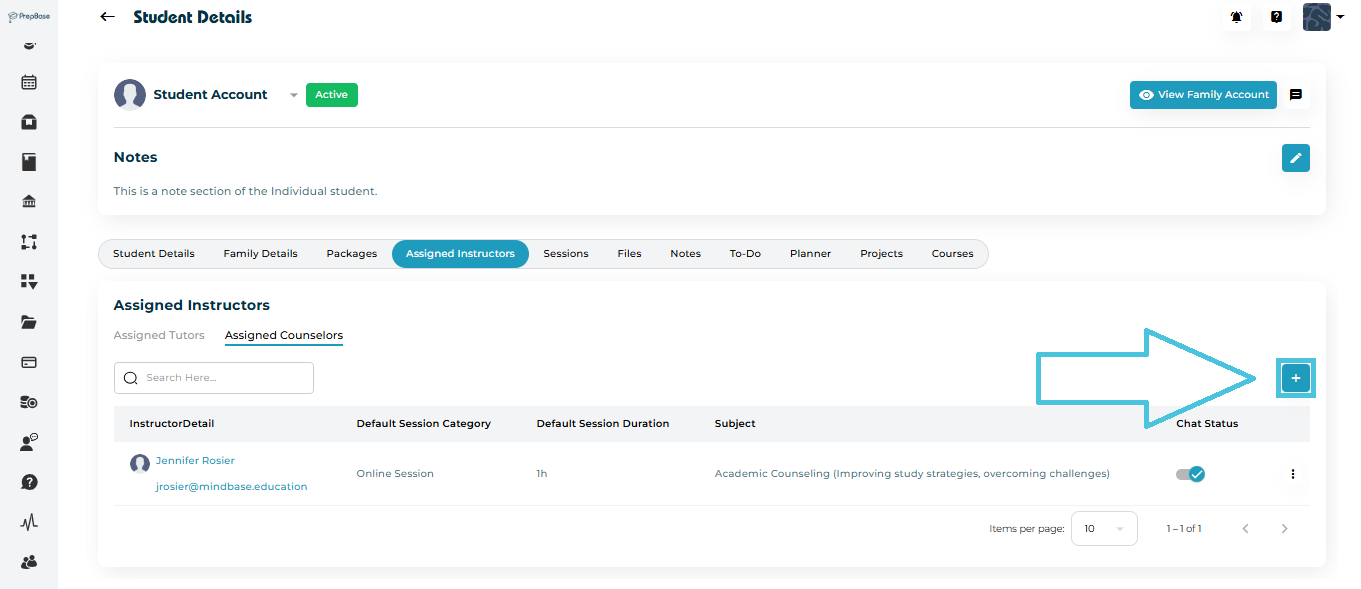
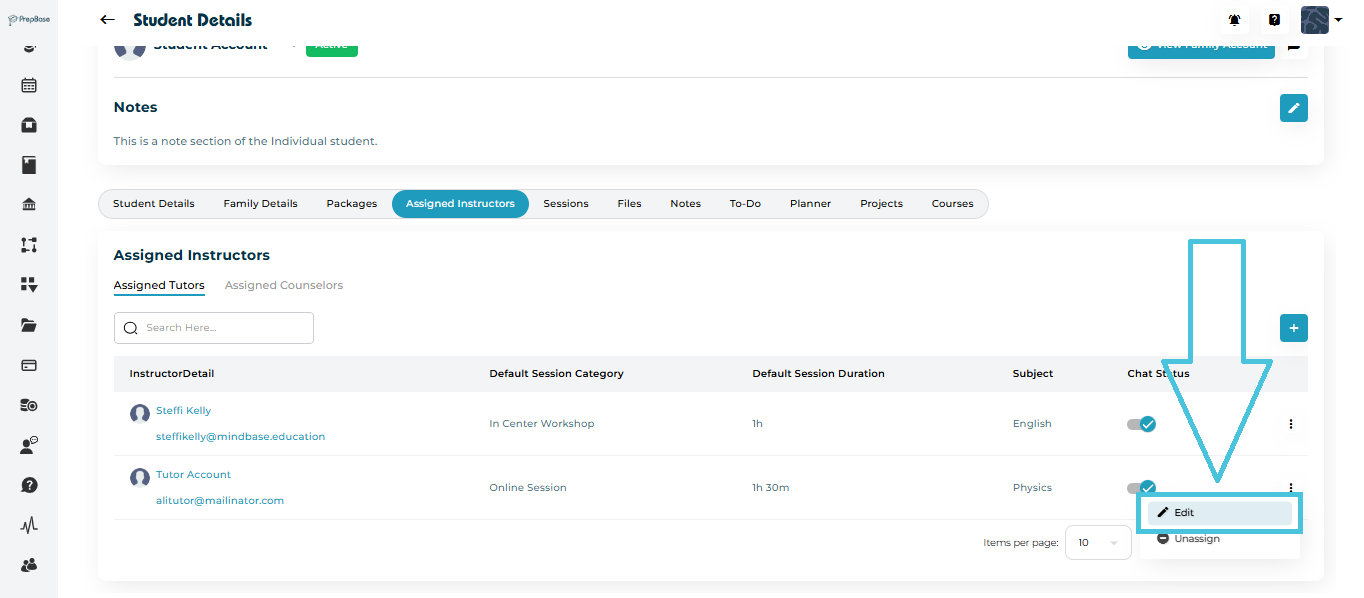
Assigned Tutor or Counselor
- Participating Student(s)
- Session Duration
Subject or Expertise
Creation Date
Status (Upcoming, Completed, or Cancelled)
- Attendance Status (for Completed Sessions)
To learn more about session types, categories, locations, and location types, please visit the Calendar & Sessions section.
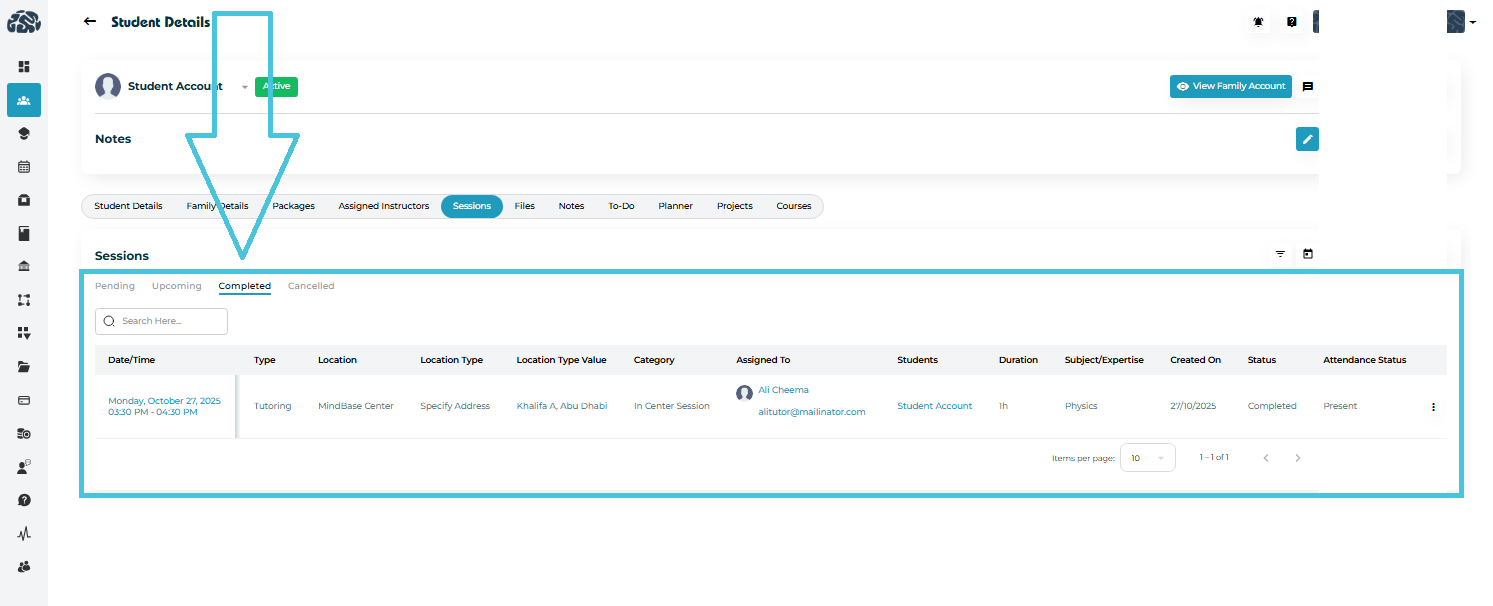
The Past Sessions section lists all completed or cancelled sessions associated with the student.
Each record includes:
Completion Date
Instructor Name
Session Category
Actual Duration
Status (Completed, Pending, or Cancelled)
Upcoming sessions display all lessons, workshops, or counseling appointments scheduled for future dates.
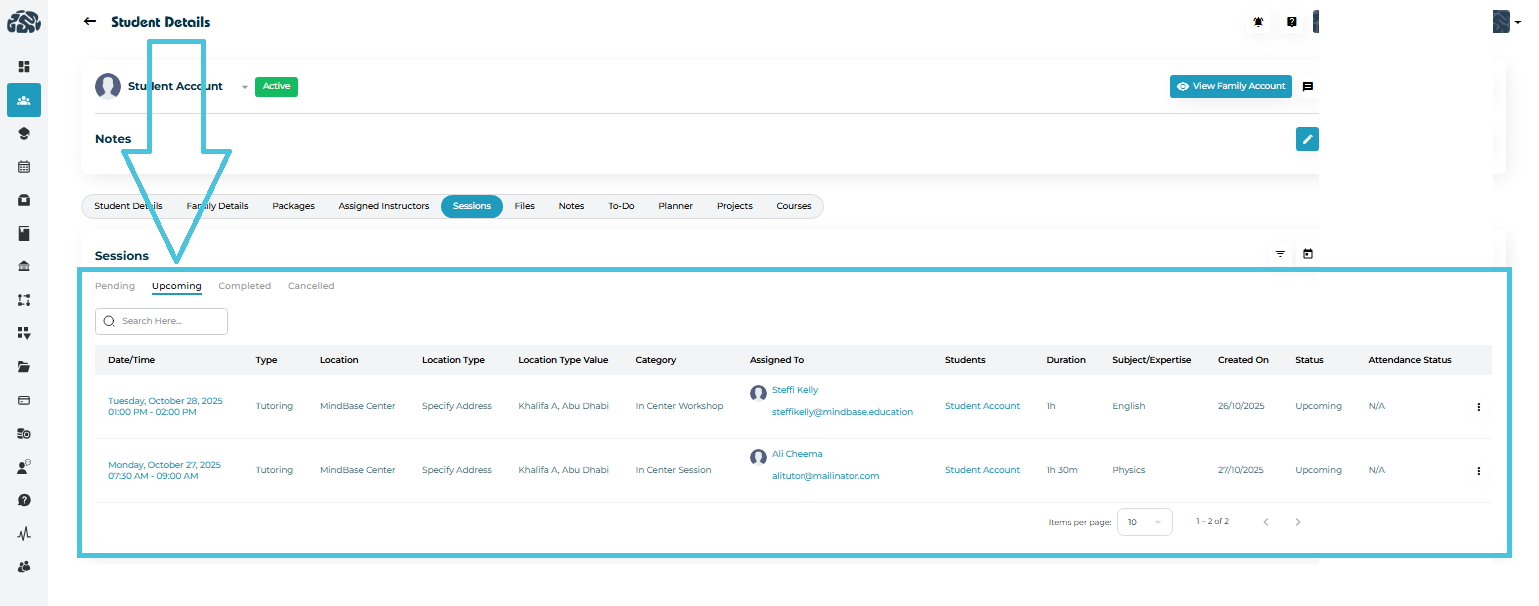
Each upcoming session entry includes:
Session Date & Time
Instructor Name
Session Type (Tutoring or Counseling)
Duration (e.g., 1h, 1h 30m)
Benefits of Tracking Upcoming Sessions
Ensure students are consistently engaged.
Manage instructor workload efficiently.
Identify scheduling conflicts early.
Maintain accountability for booked hours.
NOTE: Pending Sessions are those scheduled by the instructors or admins and not yet accepted by the students. To learn more about session statuses, please visit the Calendar & Sessions section.
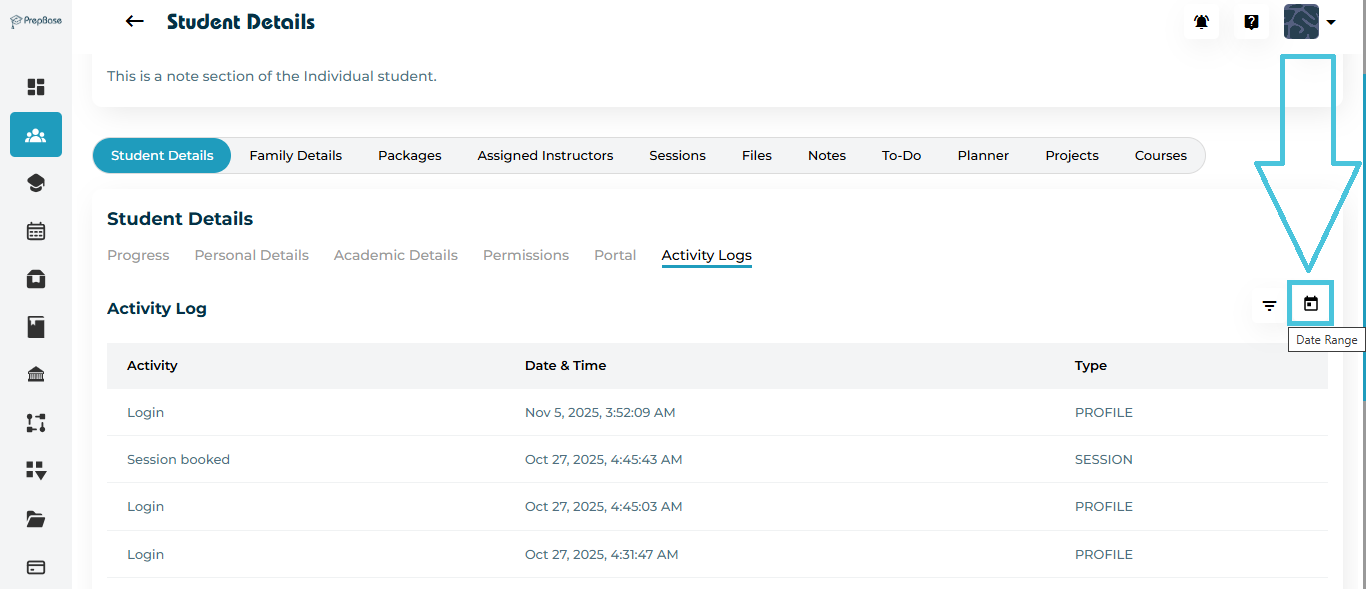
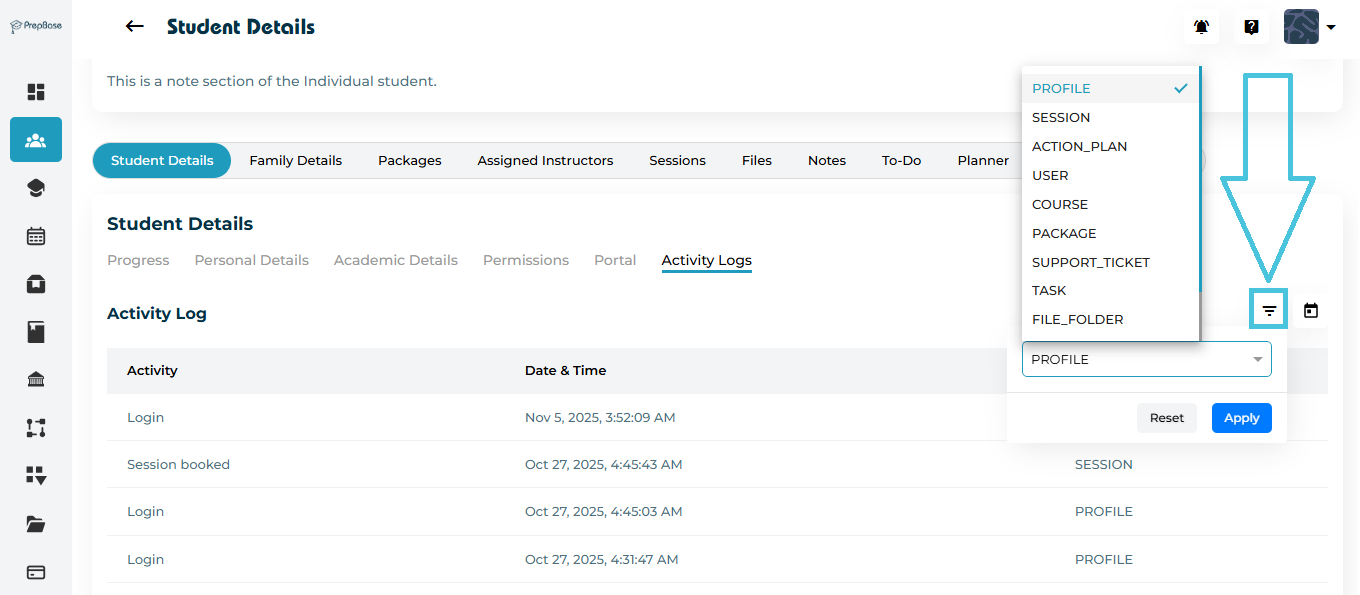
To easily find specific sessions:
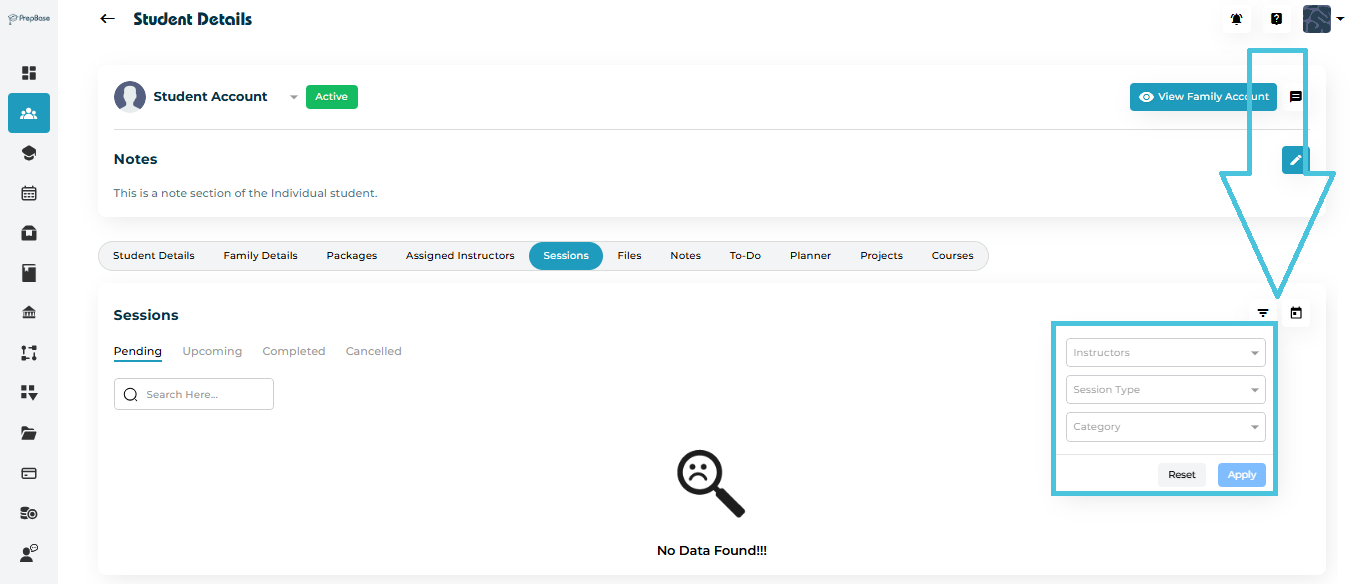
Use the Filter icon on the top-right corner of the session list.
Apply filters such as:
Date Range
Instructor Name
Session Type (tutoring or counseling)
Session Category (created by admin)
Click Apply to view results.


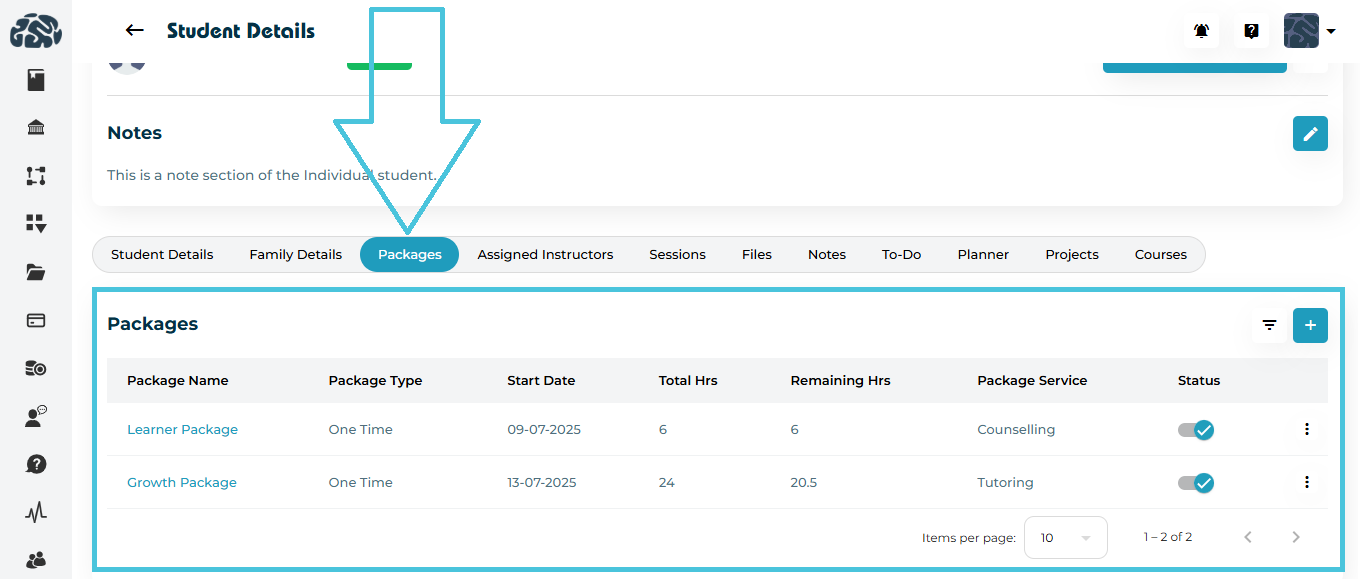
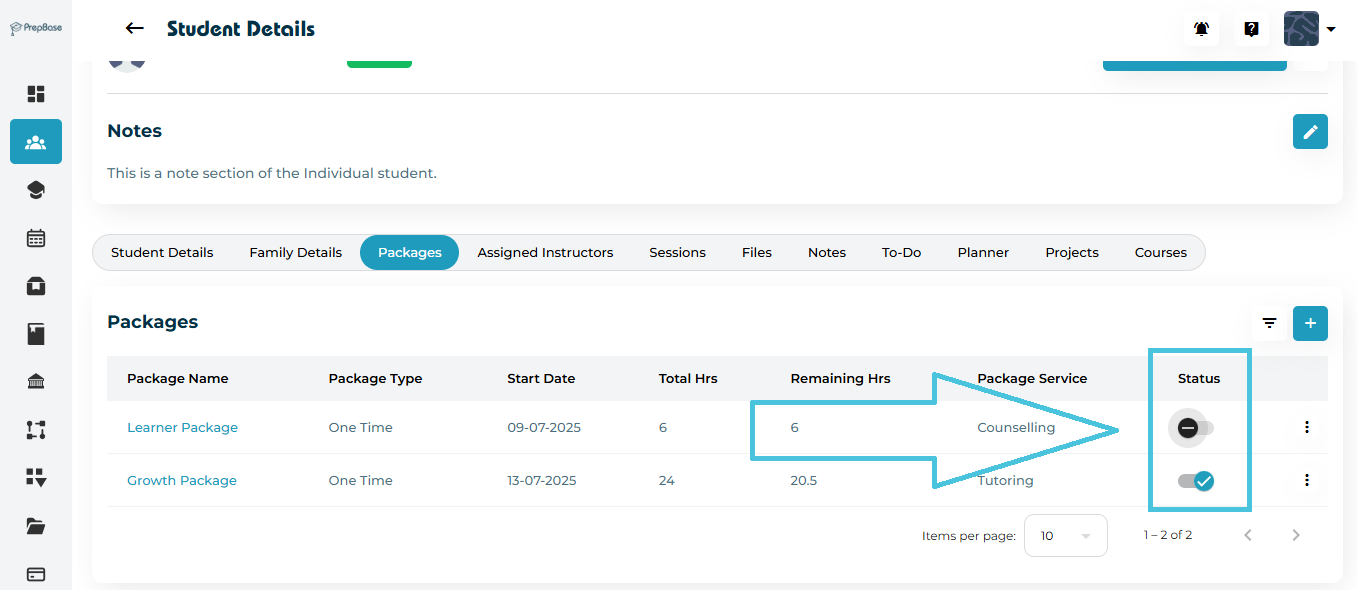
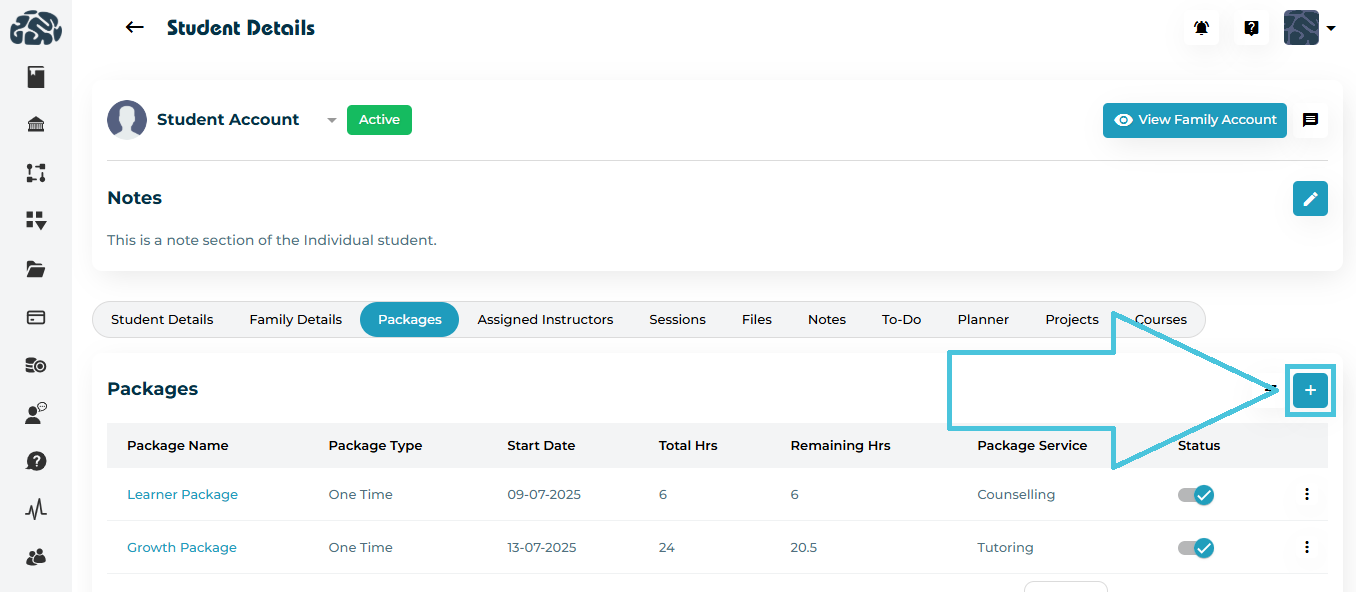
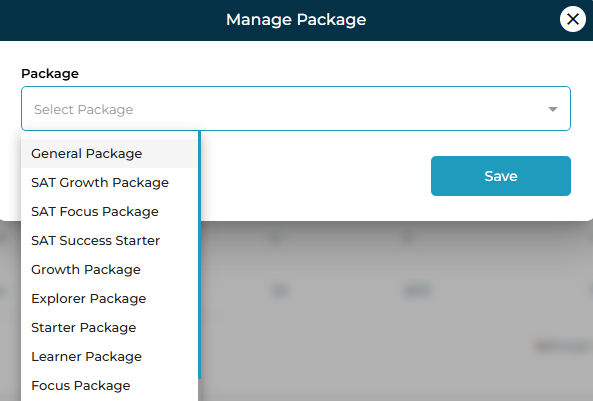
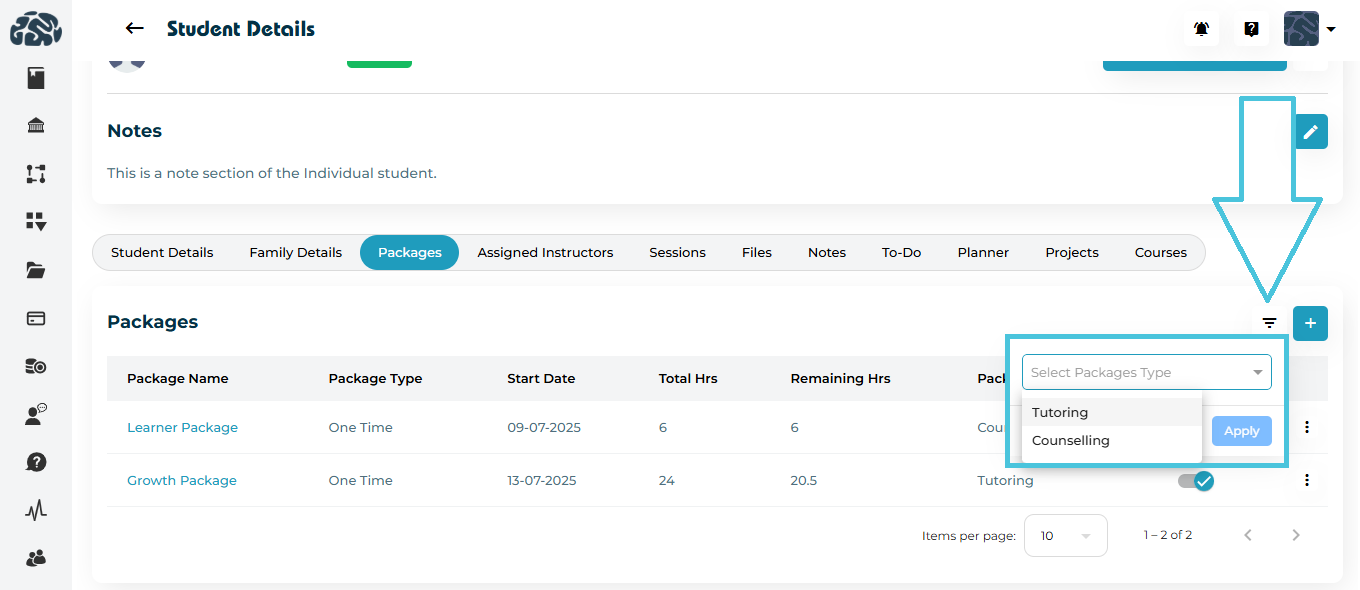
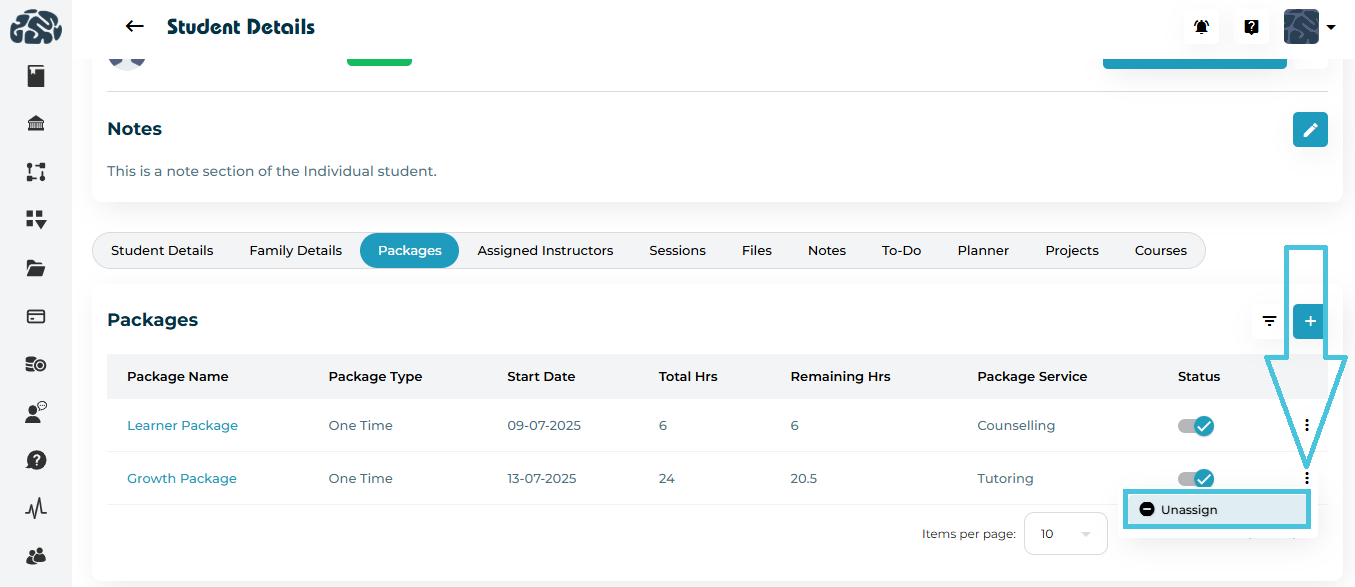
 Add button at the top-right corner of the Packages section.