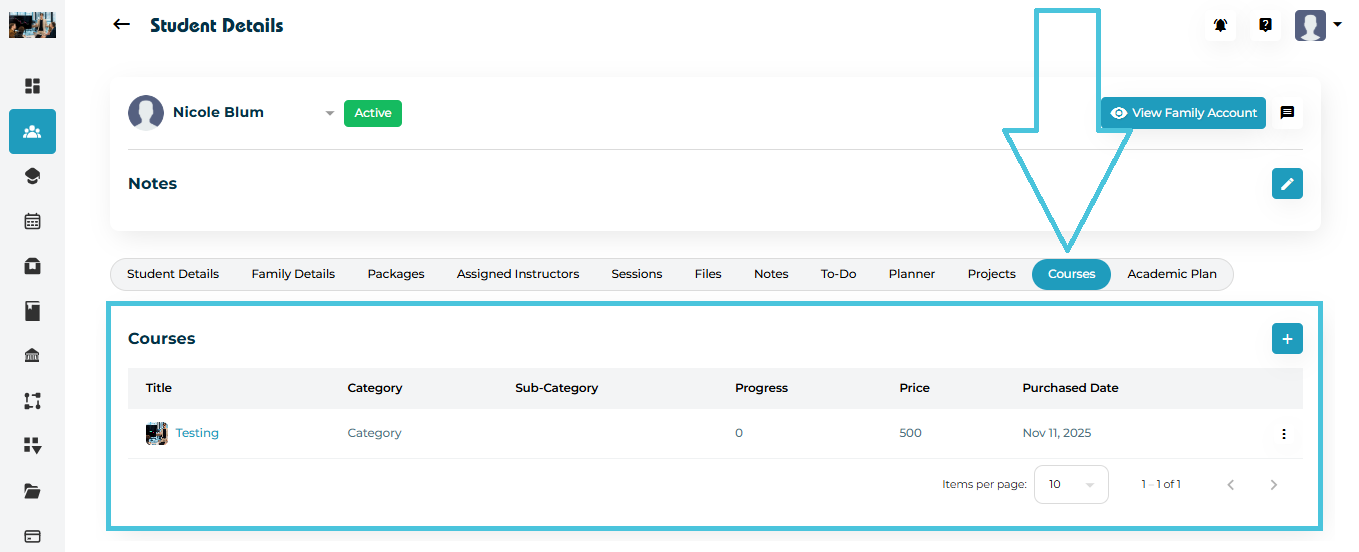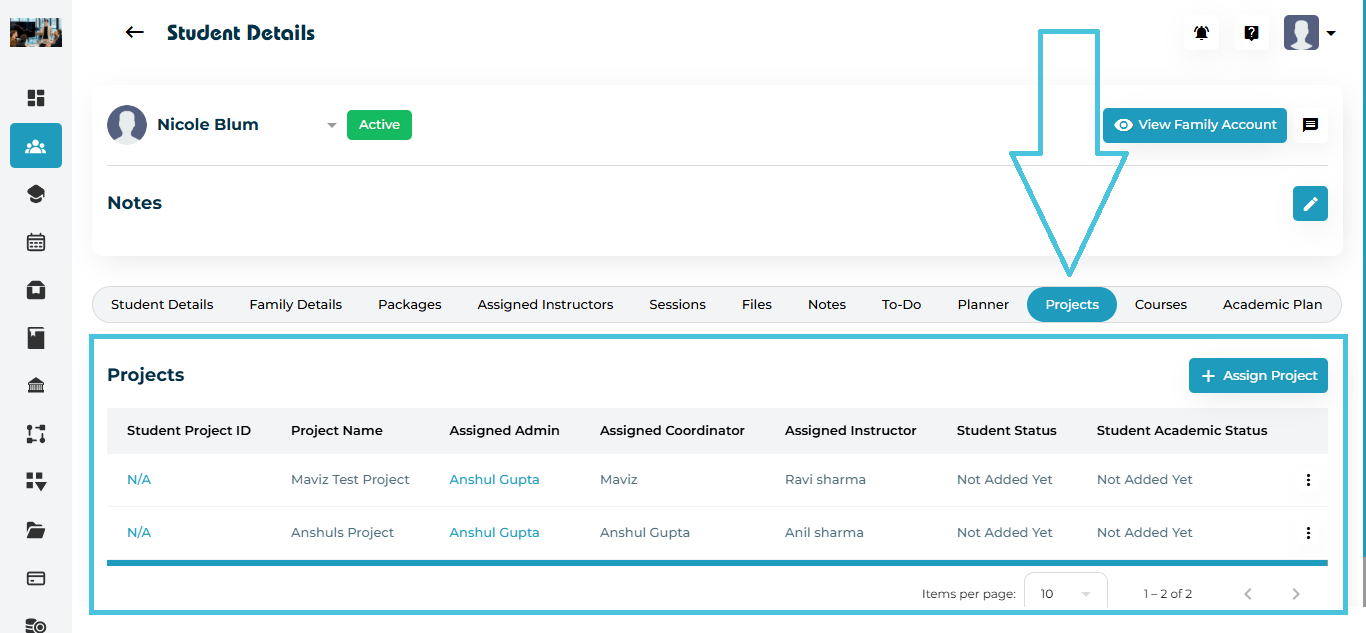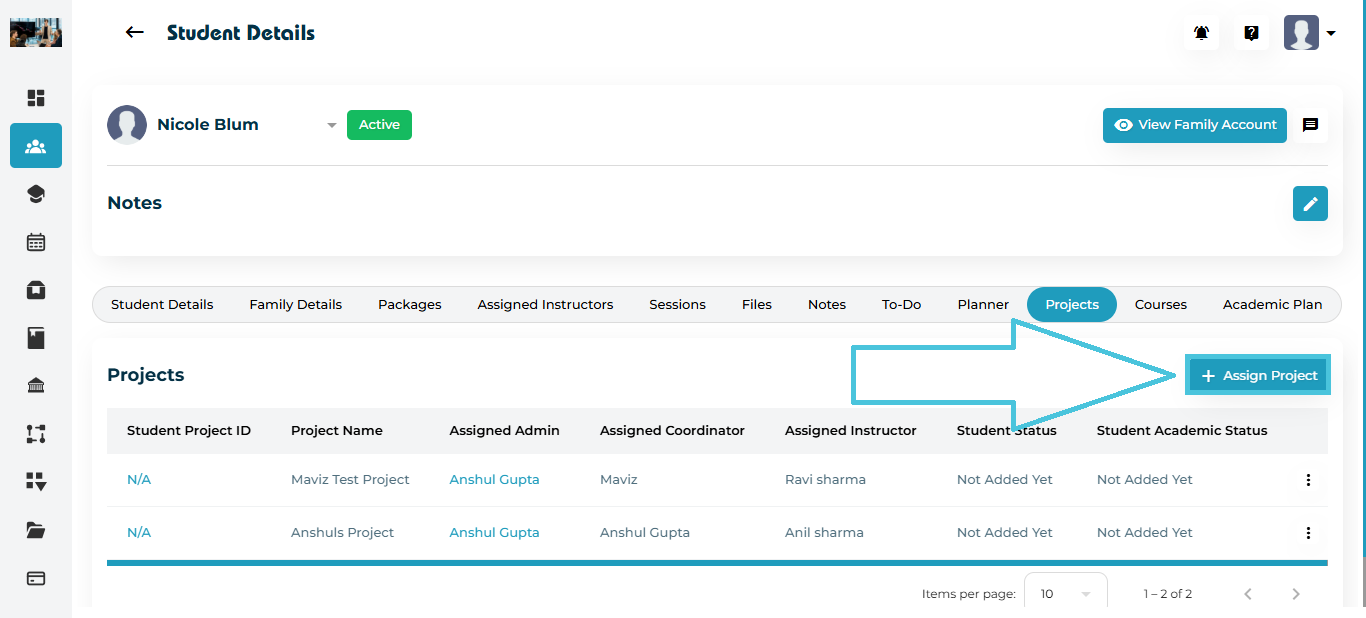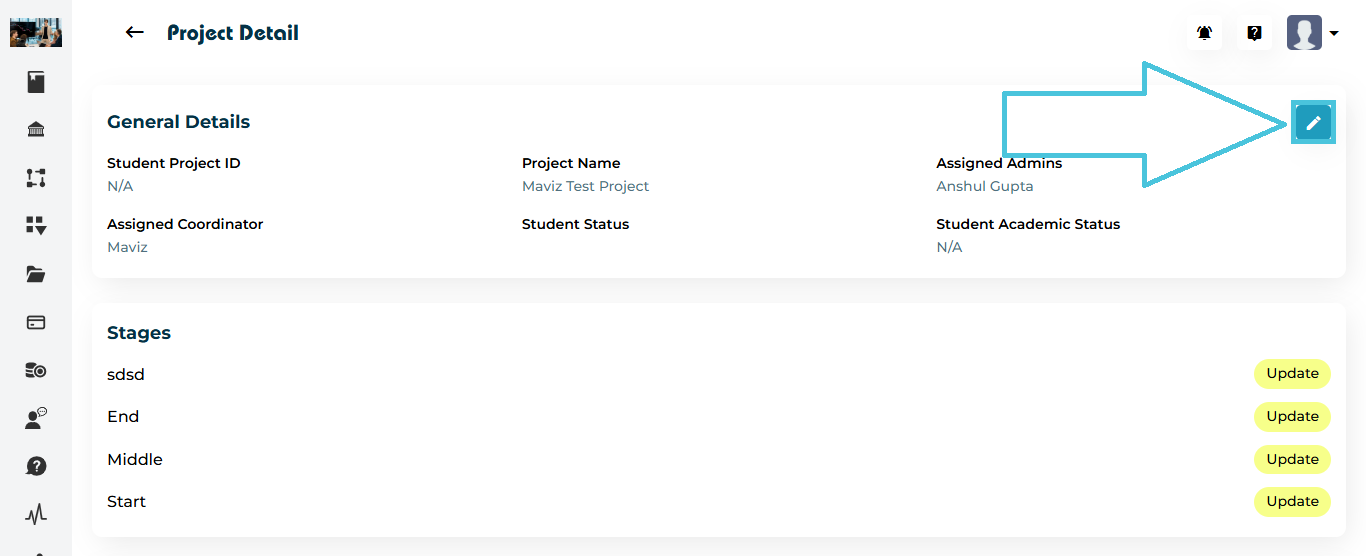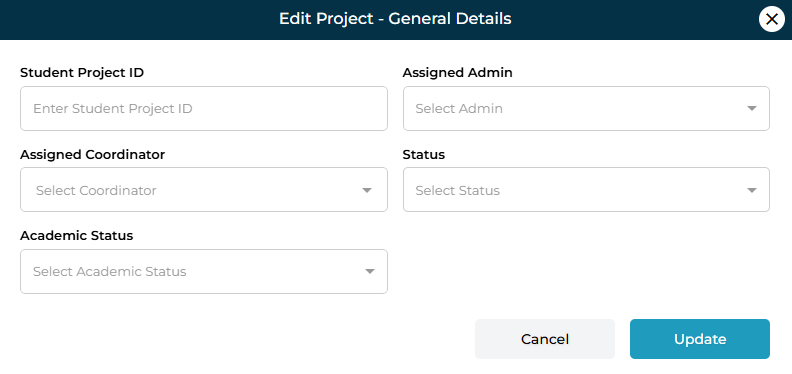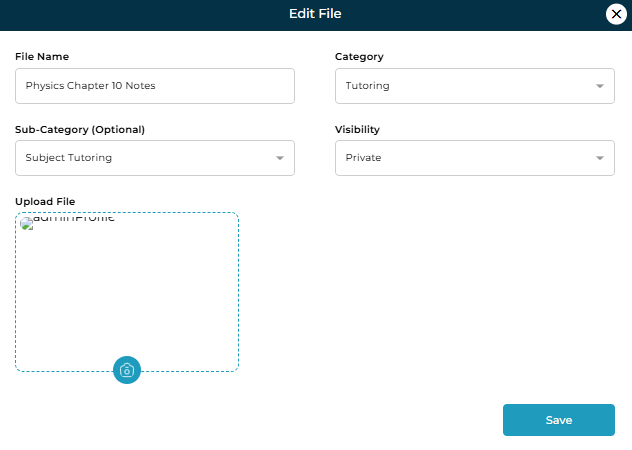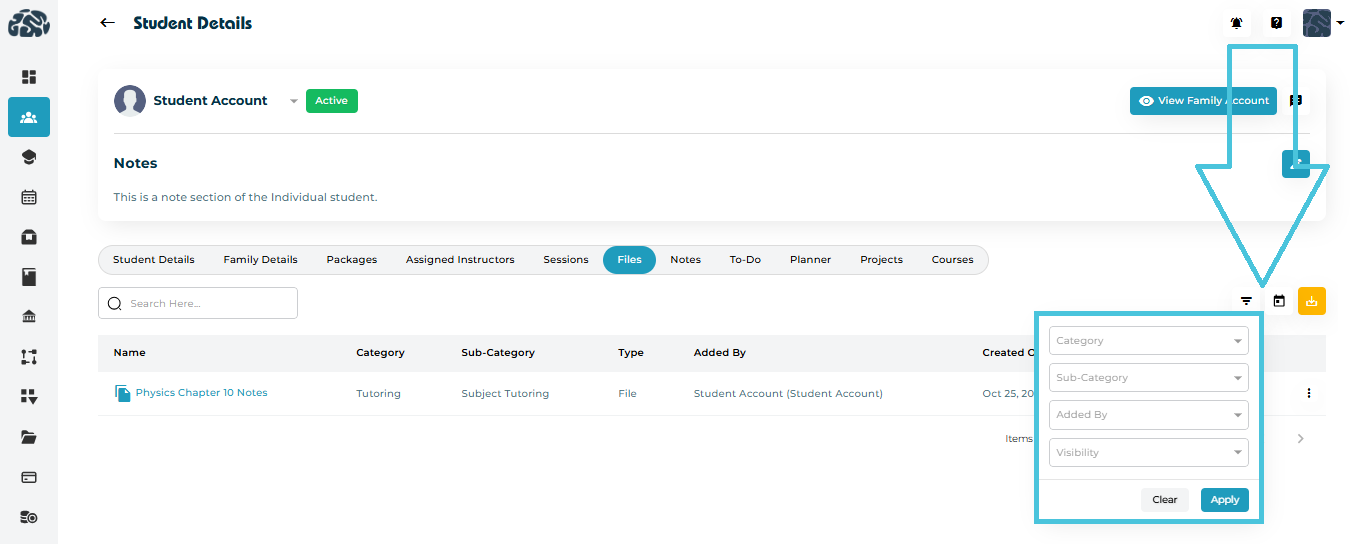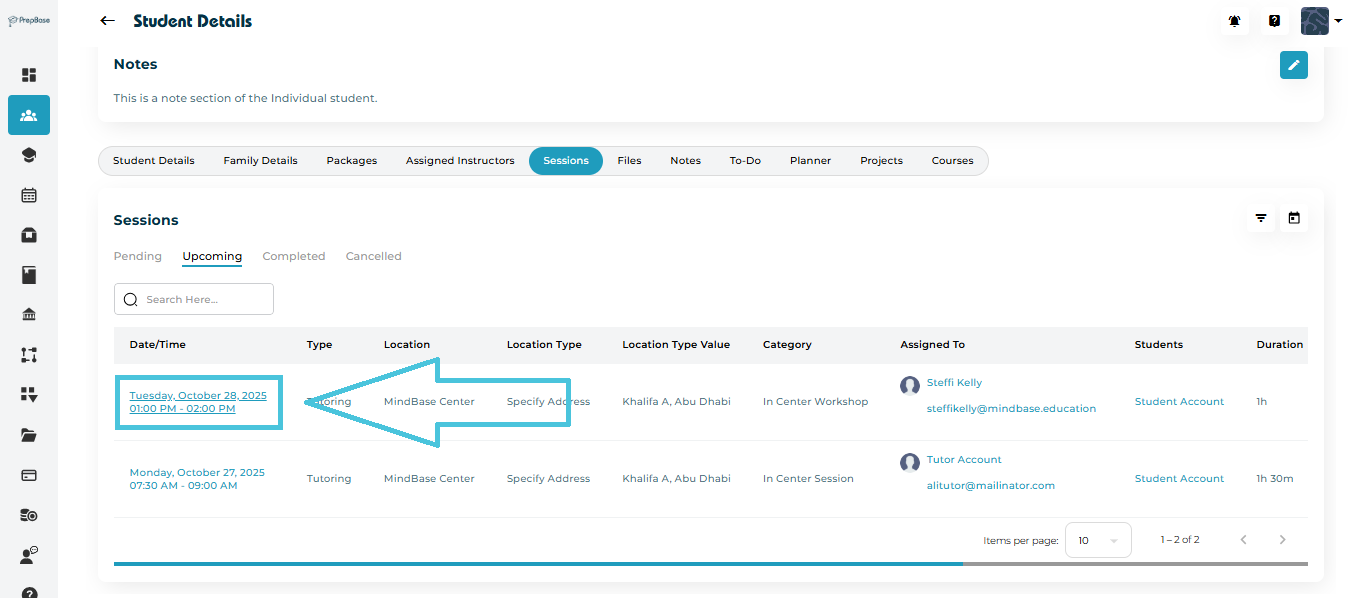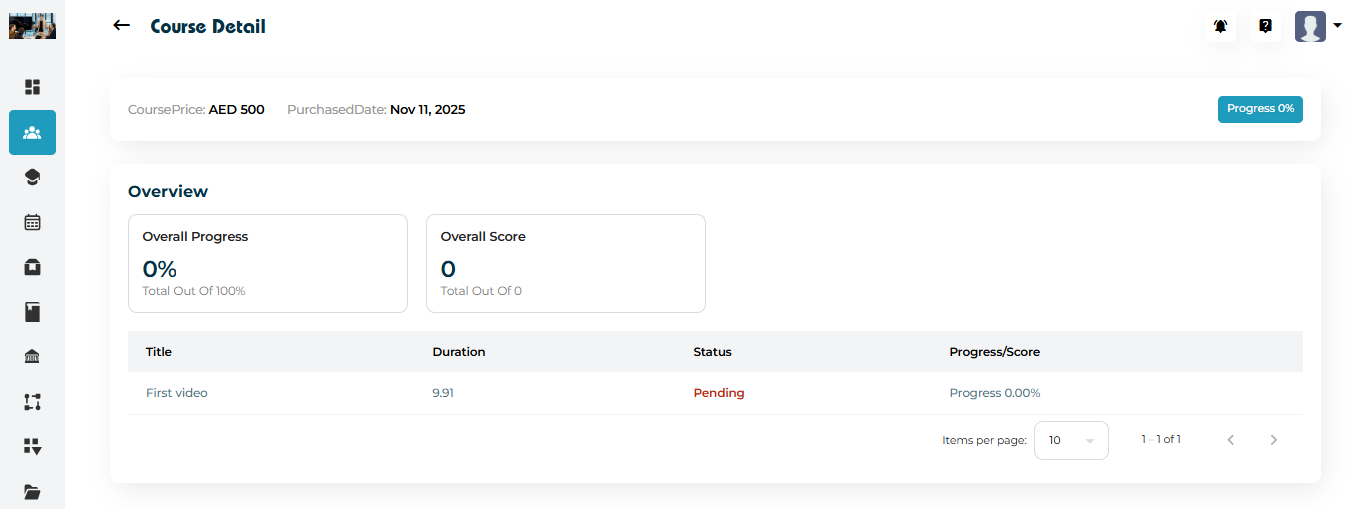
Open the student’s profile
Click the Courses tab
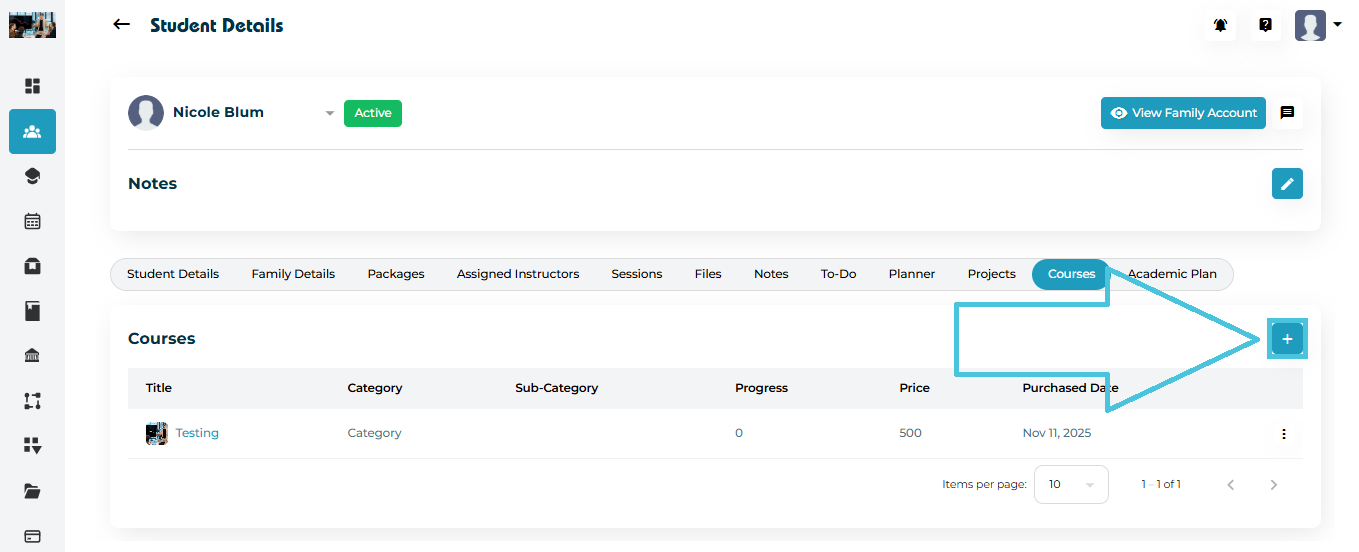
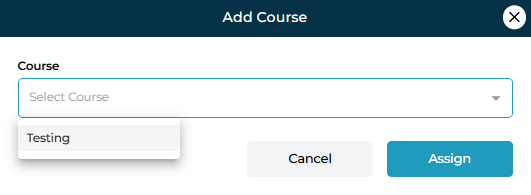
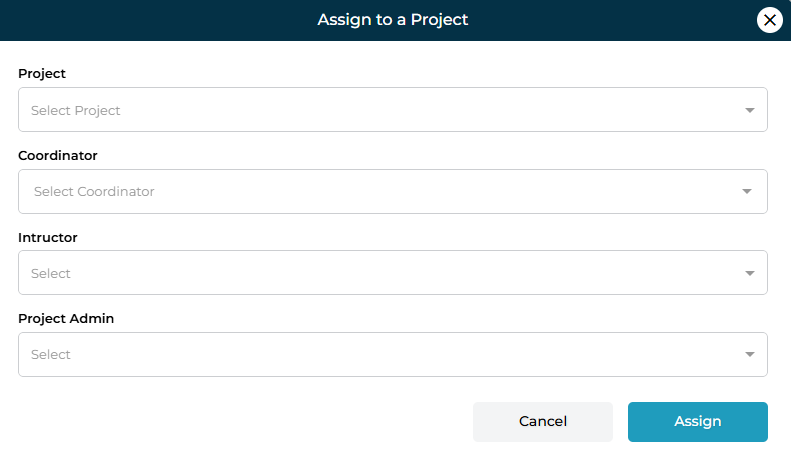
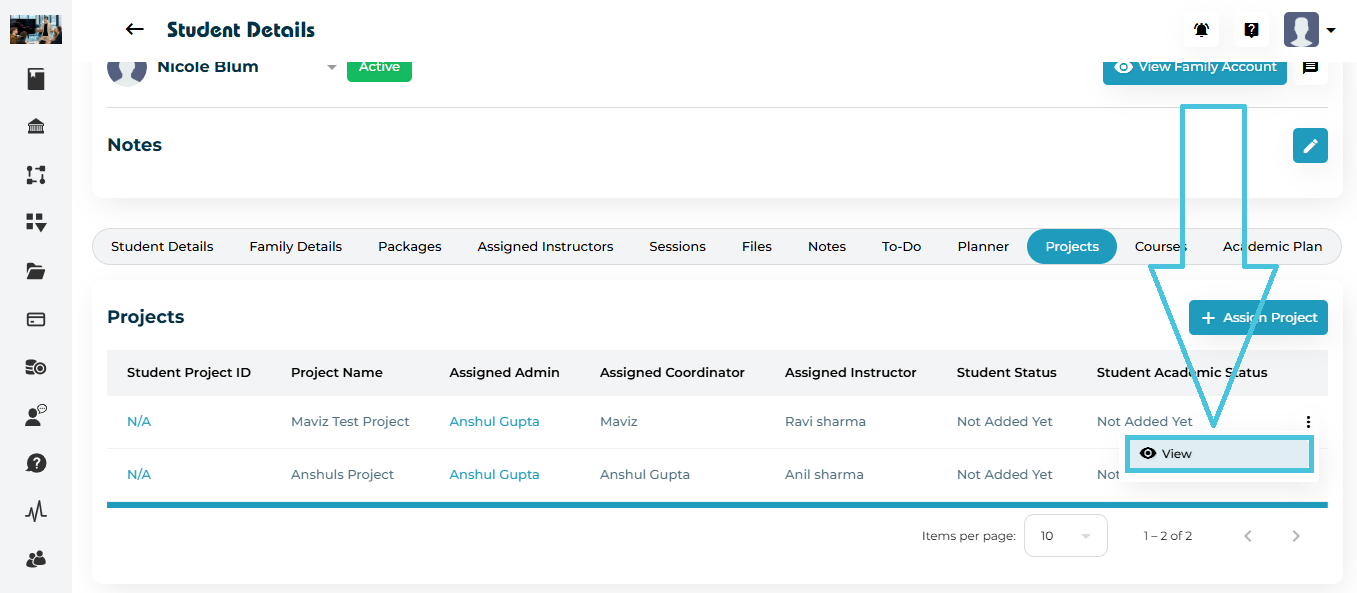
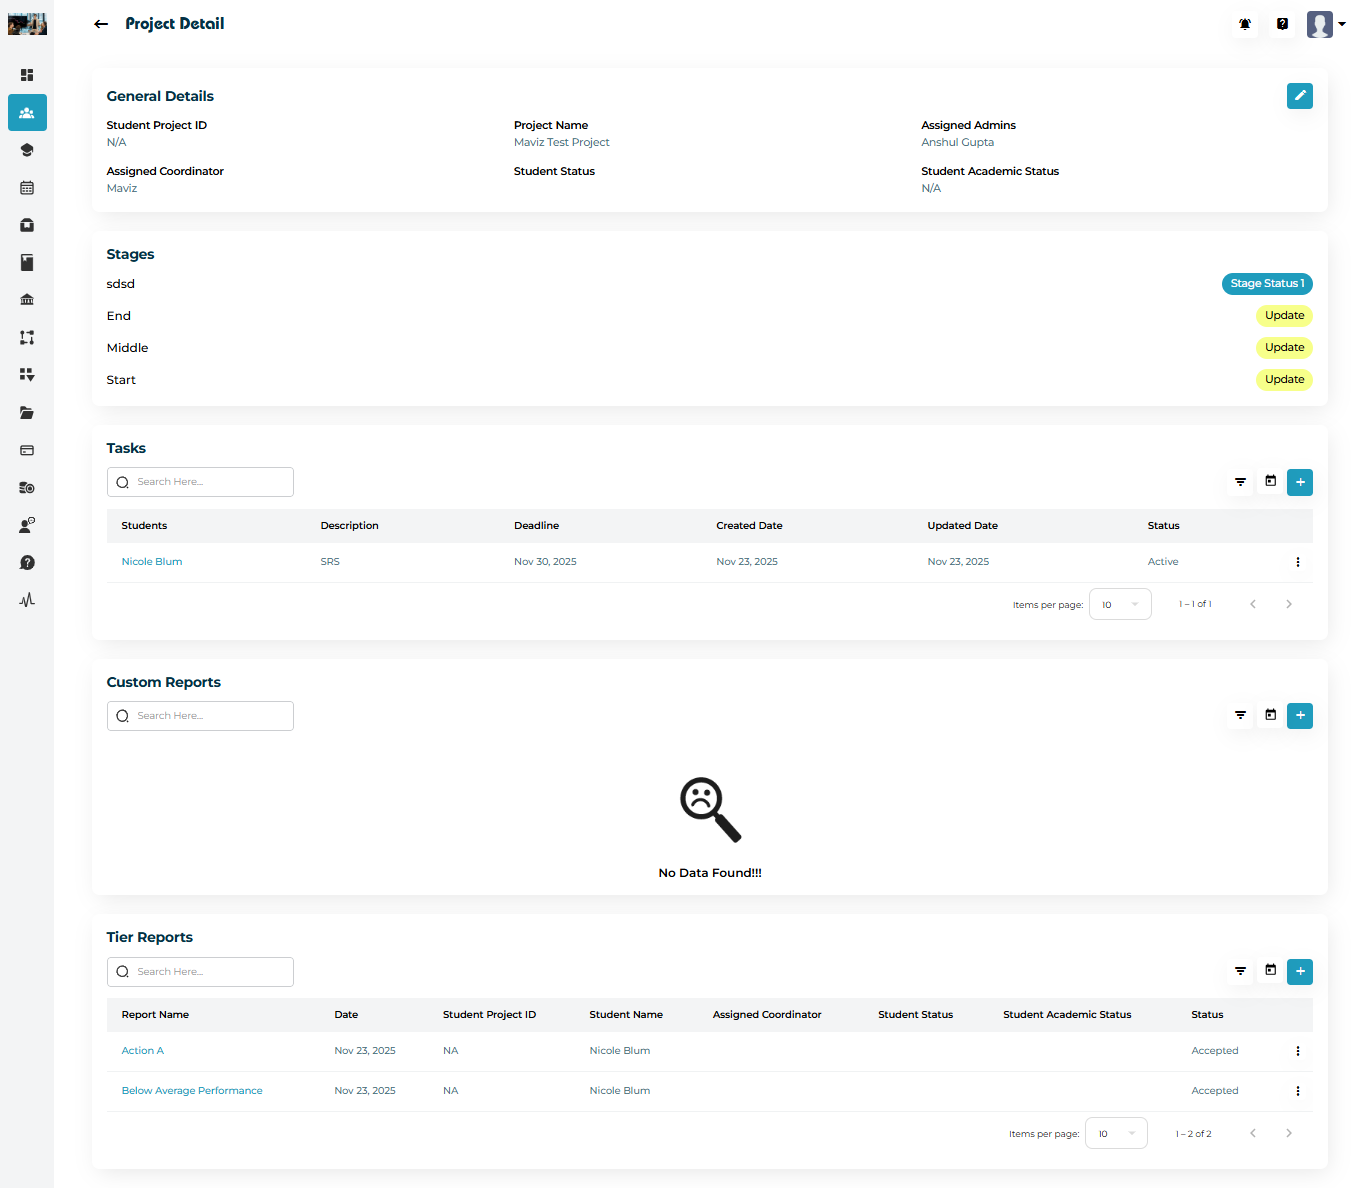
Open a course using View
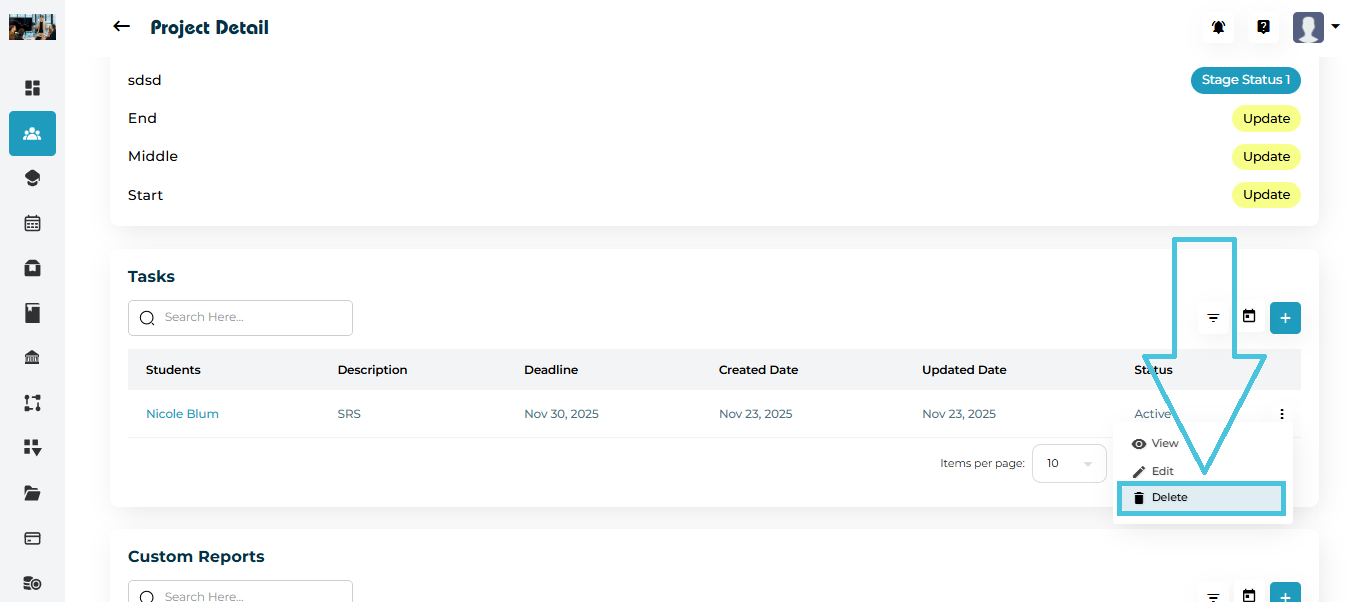
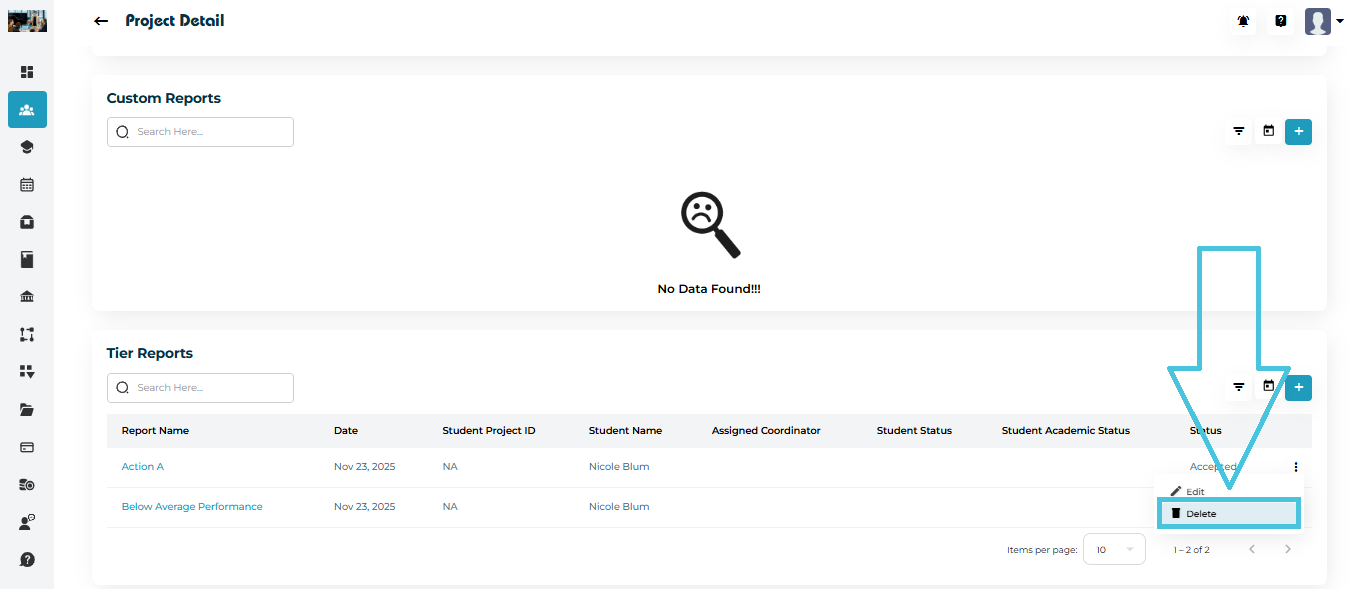
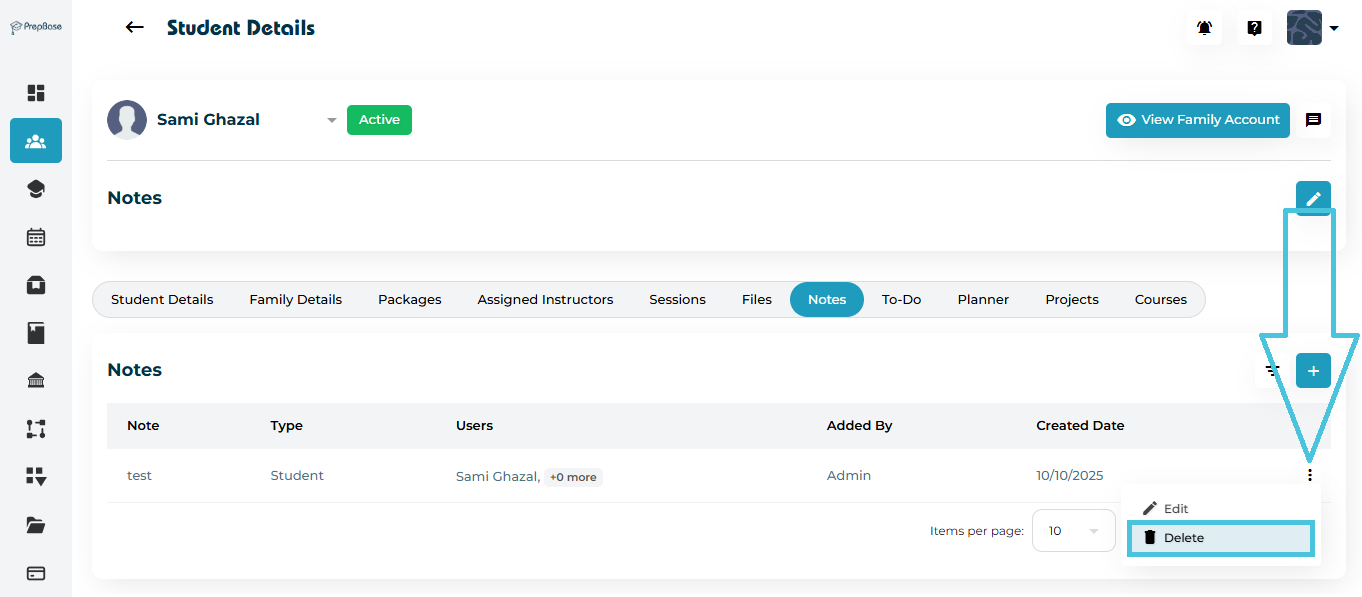
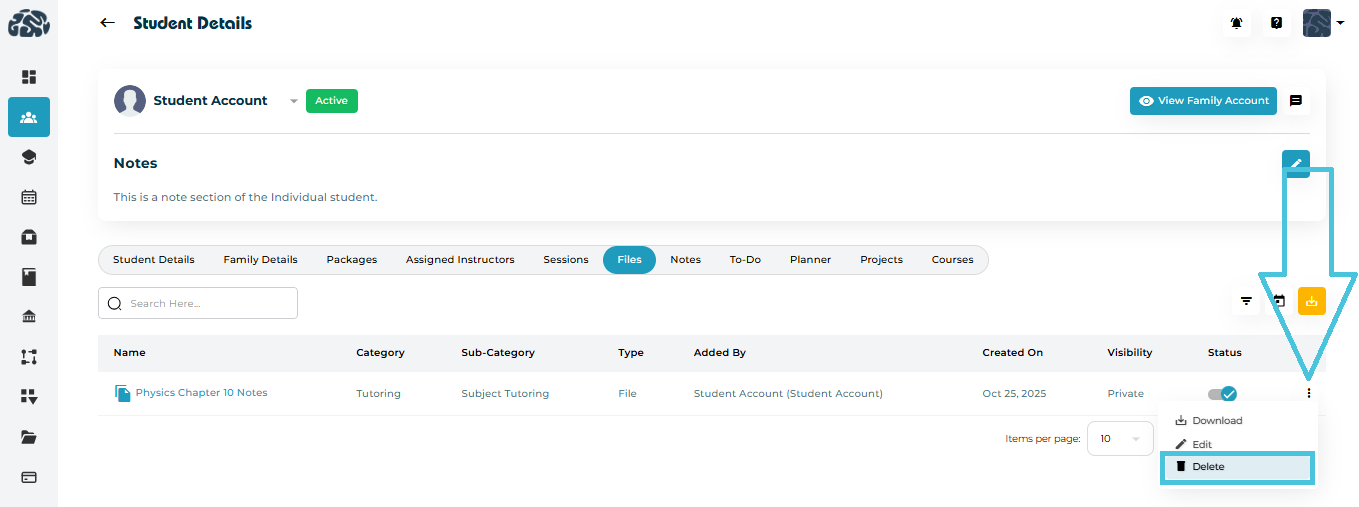
If needed, a course can be removed from a student’s profile.
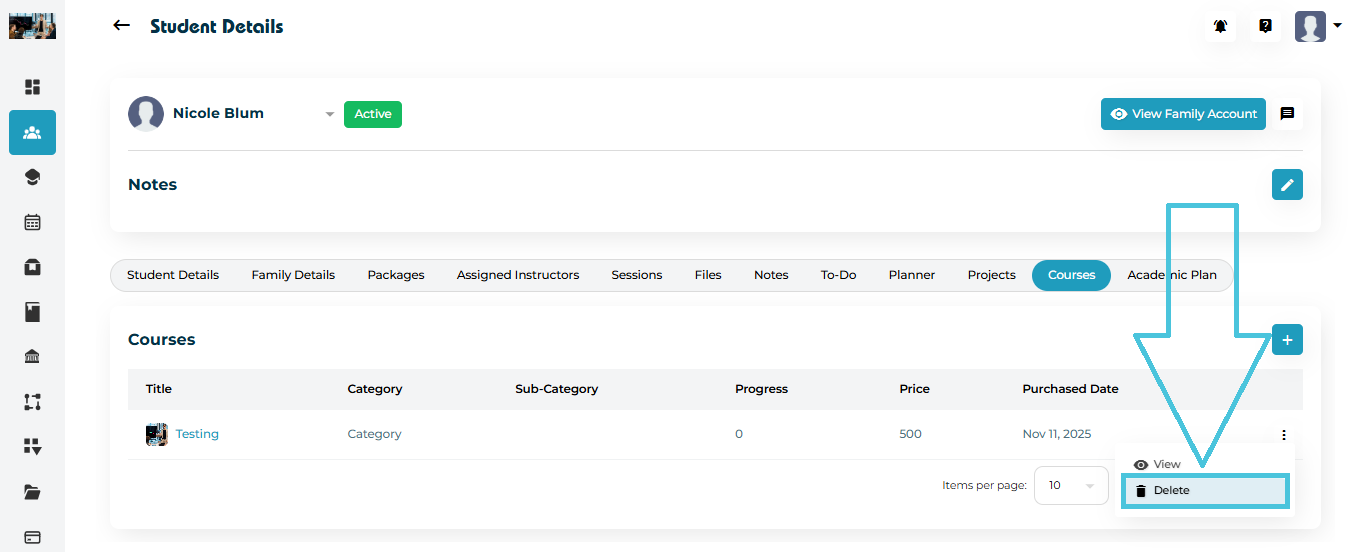
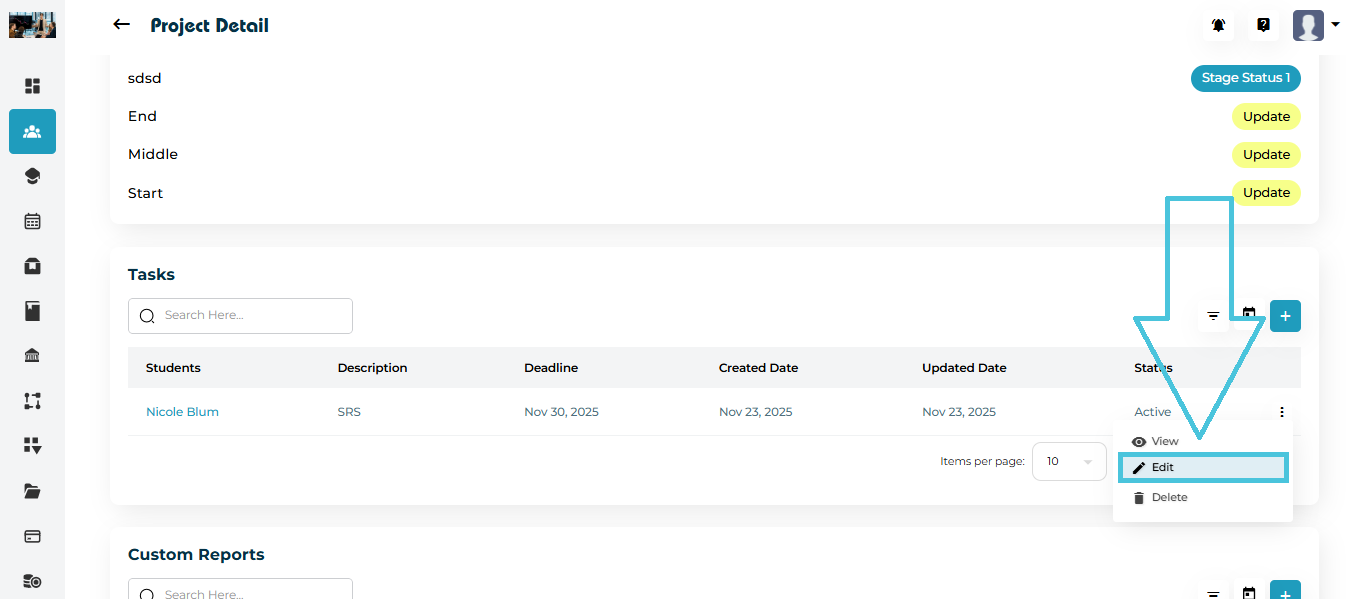
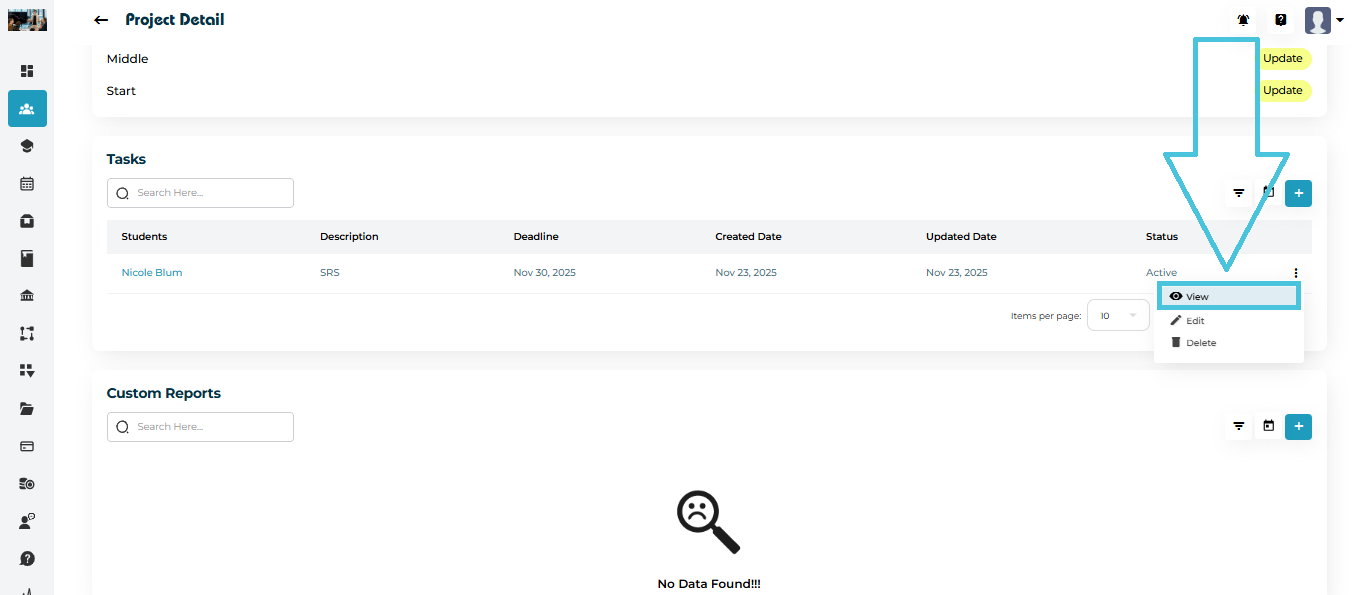
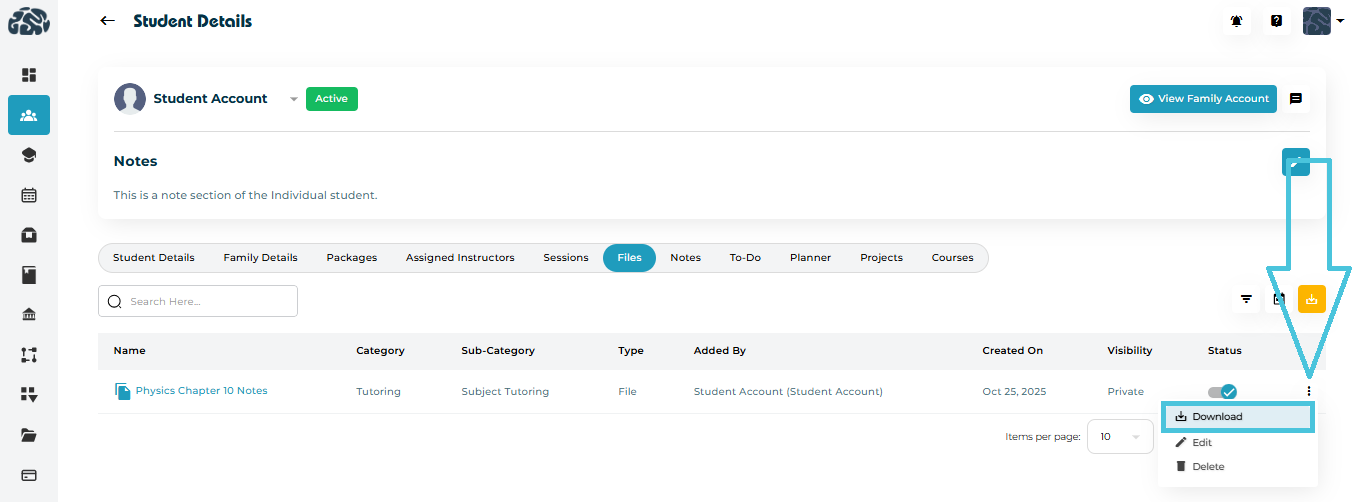
Click the three-dot menu (⋮)
Select Delete
This is typically done when:
A course was assigned incorrectly
A student changes programs
Duplicate enrollments exist