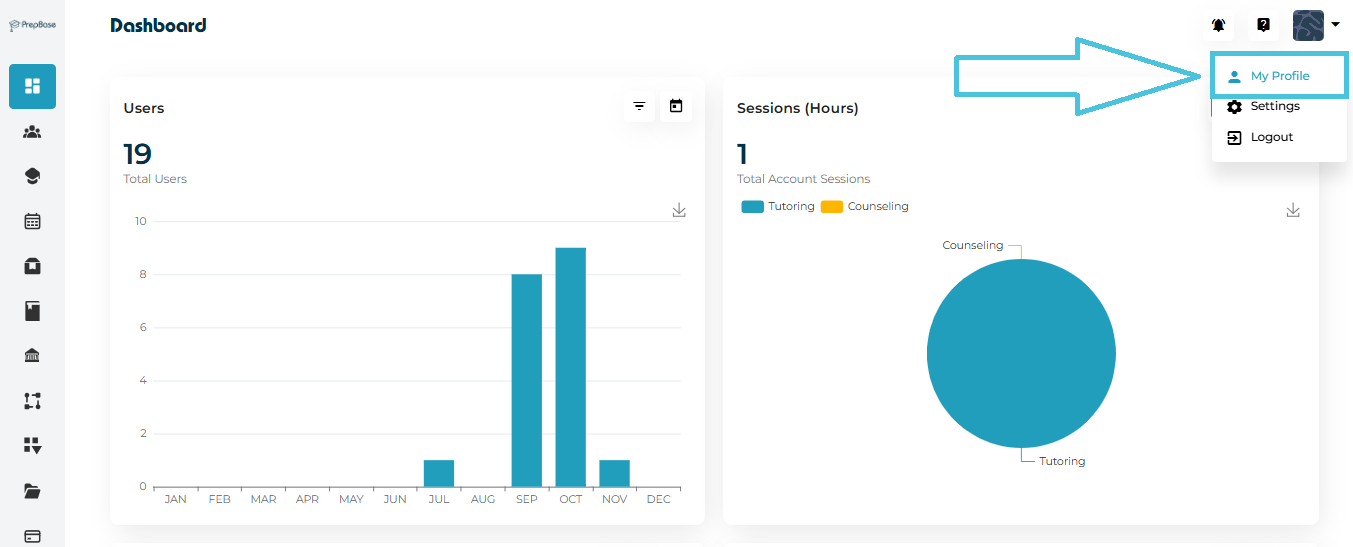
To access your profile:
-
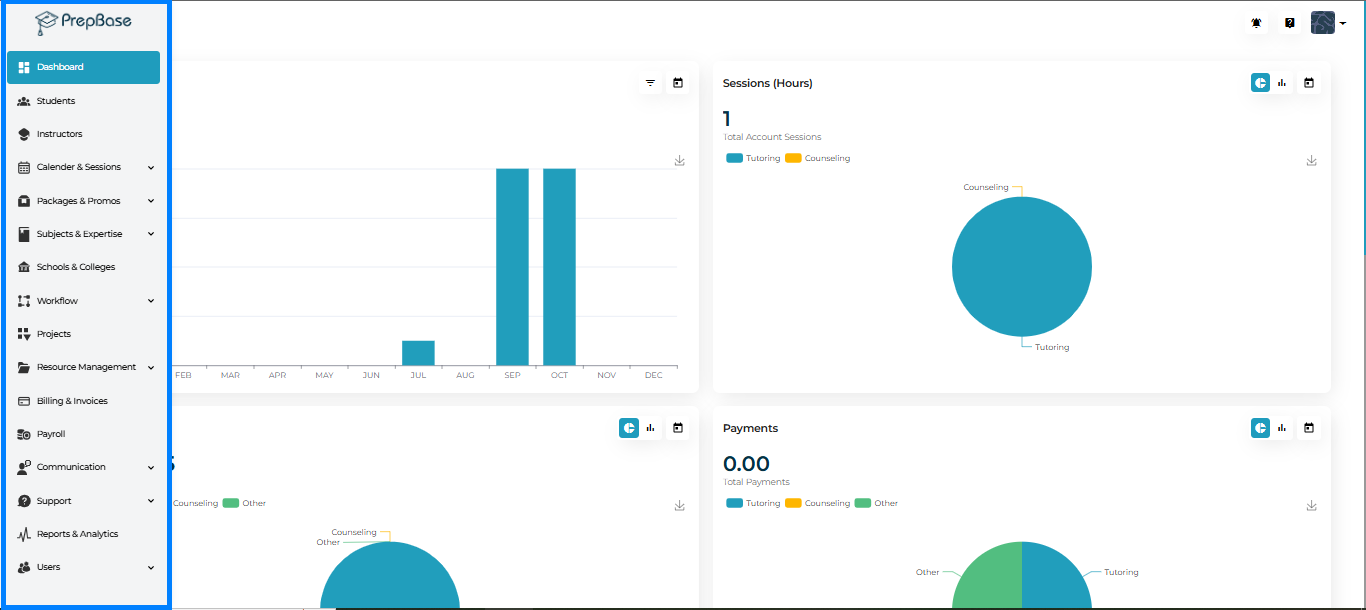
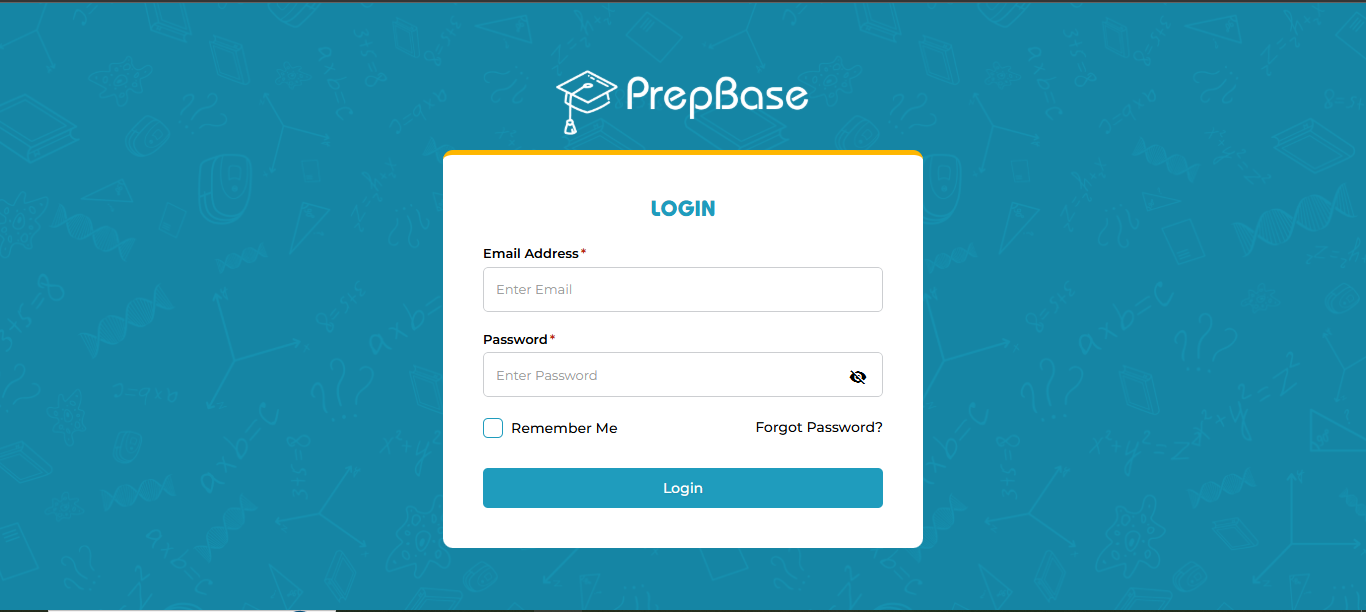
Log in to your PrepBase Admin Dashboard.
-
Click on your Profile Icon located at the top-right corner of the screen.
-
Select My Profile from the dropdown menu.
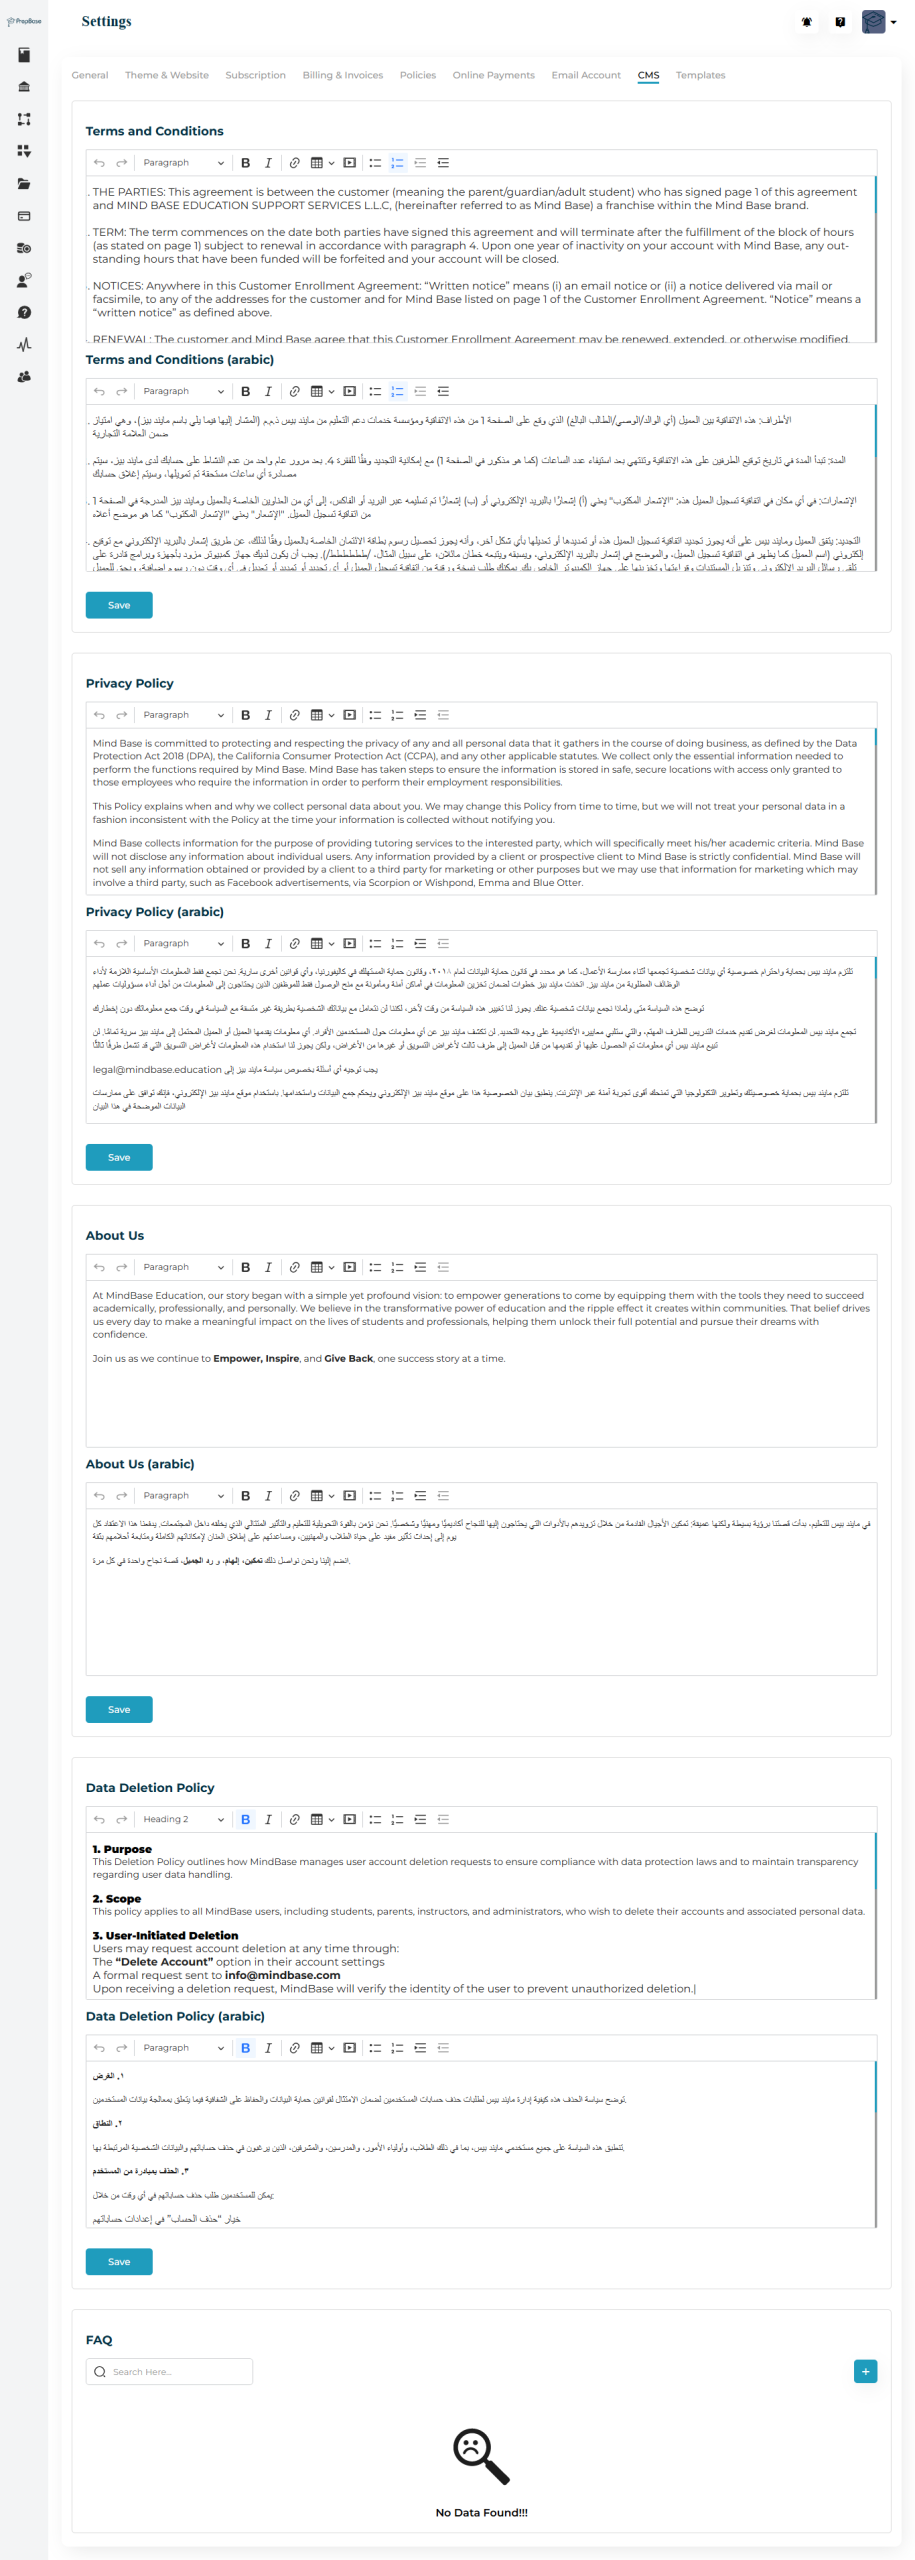
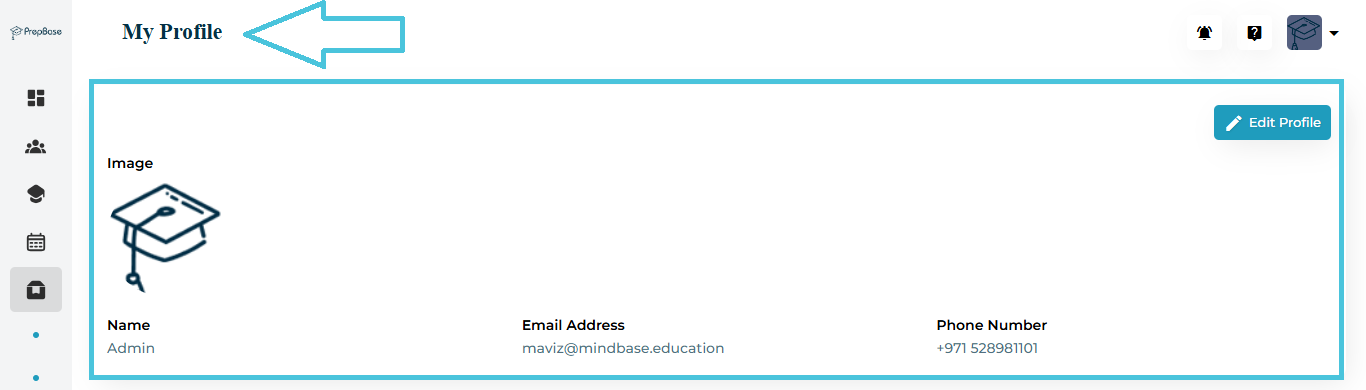
Once opened, you’ll see a summary of your personal information such as name, email address, and contact number.
The Profile Overview page displays your key account details in a clean and organized layout.
| Field | Description |
|---|---|
| Name | Displays the full name associated with your account. |
| Email Address | Your registered email used for login and communication. |
| Phone Number | The contact number linked to your admin account. |
| Profile Image | The photo or logo associated with your account. |
To update your personal information:
-
-
Click the Edit Profile button on the top-right corner of the My Profile page.
-
In the Edit Profile tab, make the necessary updates:
-
Upload or replace your profile image.
-
Update your Name or Phone Number.
-
(The Email Address field is view-only and cannot be modified.)
-
-
Click Save to apply your changes.
-

For account security, you can update your password anytime from within the same screen.
-
Go to the Change Password tab at the top of the Edit Profile section.
-
Enter your Old Password for verification.
-
Type your New Password, then re-enter it in Confirm Password.
-
Click Save to apply the change.

🔐 Security Tips:
-
Use at least 8 characters with a mix of letters, numbers, and symbols.
-
Avoid reusing passwords from other accounts.
-
Change your password periodically to maintain account safety.