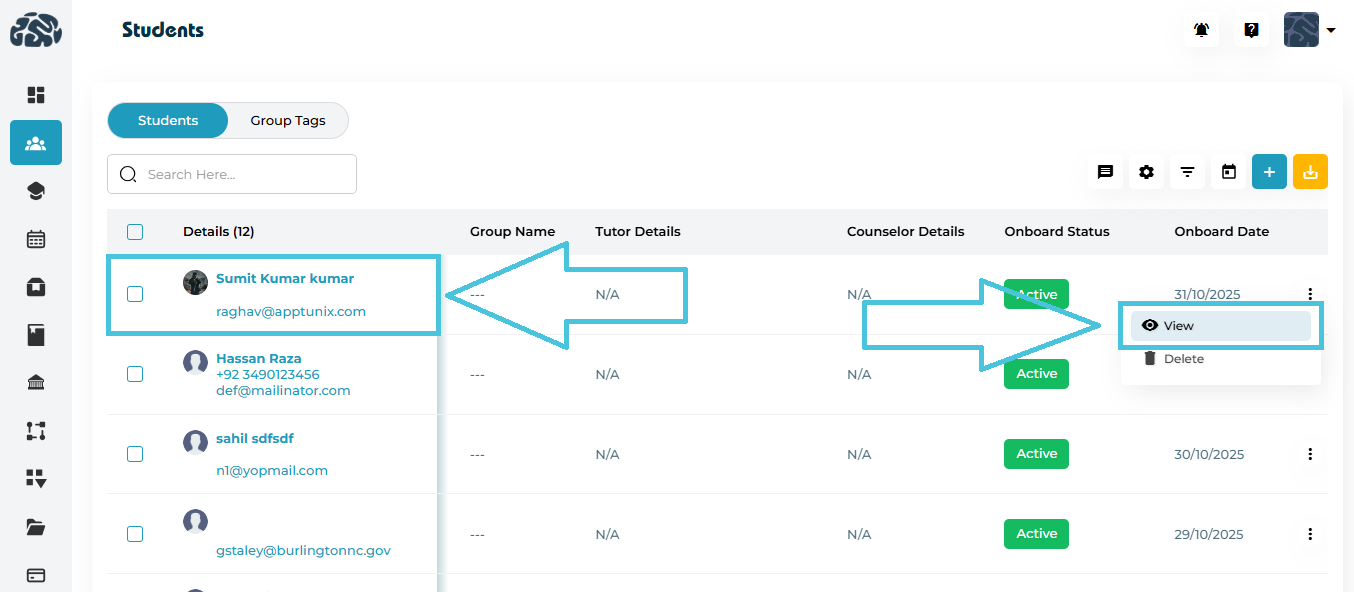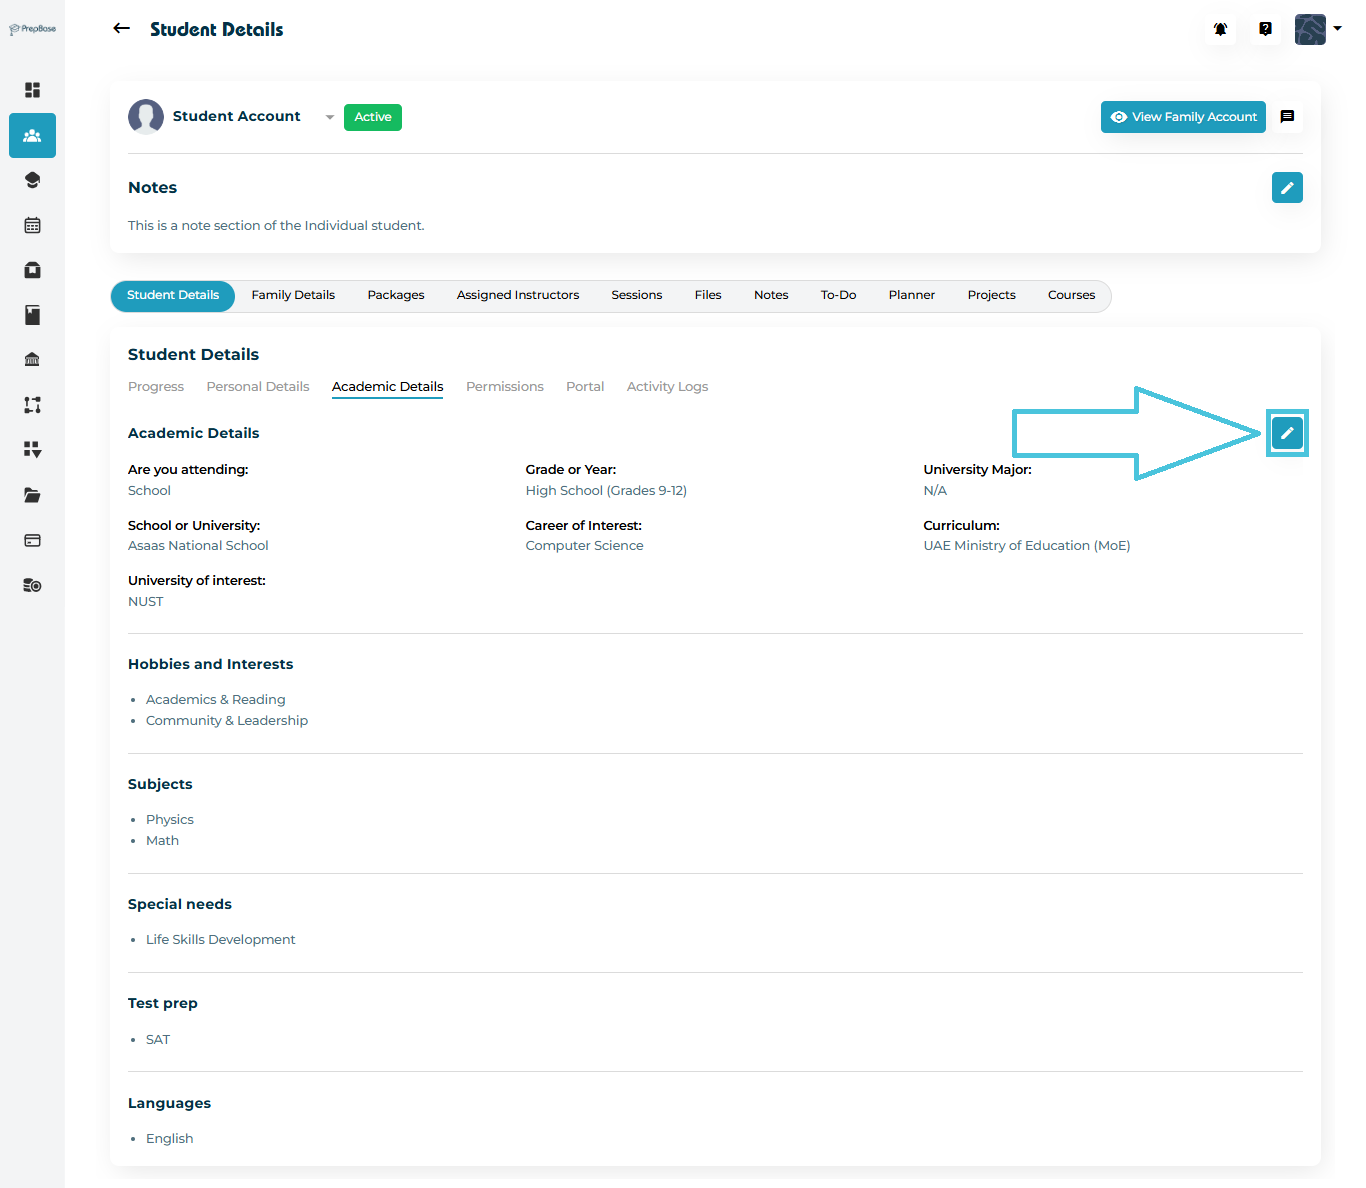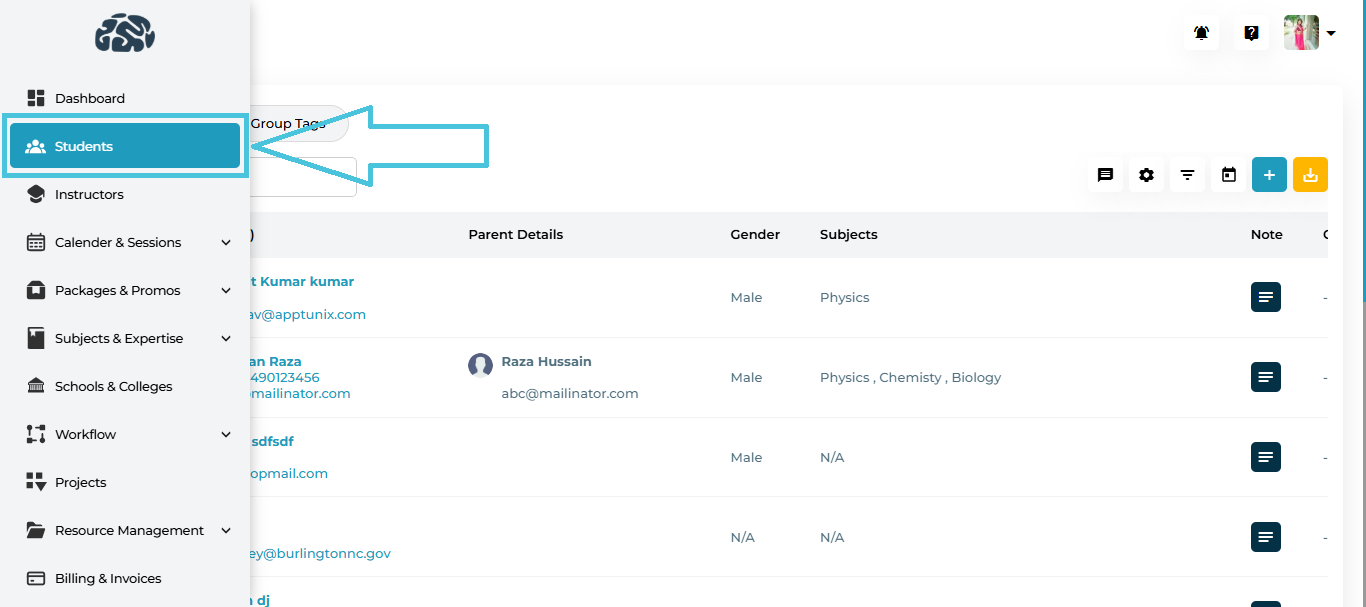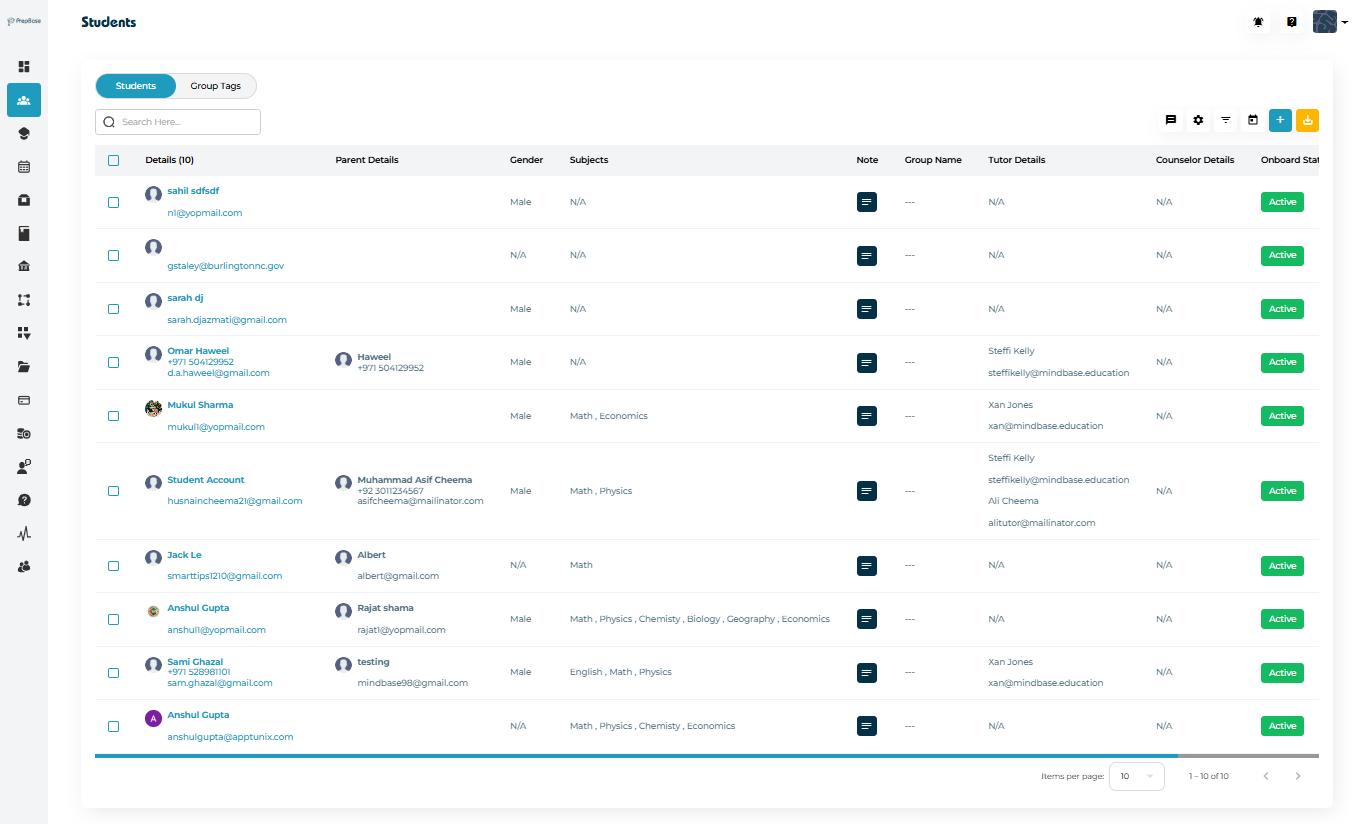
Navigate to Students → Student Profiles.
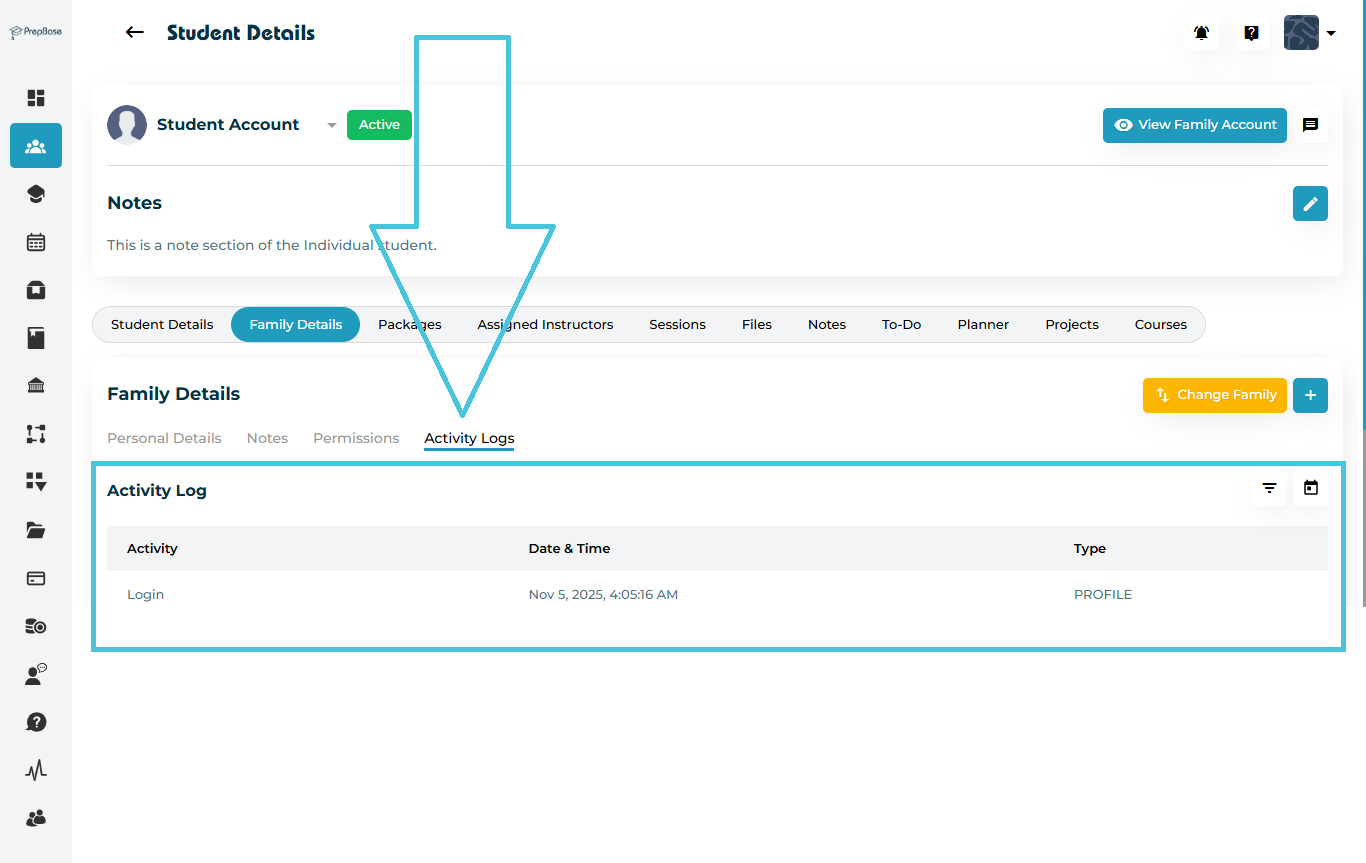
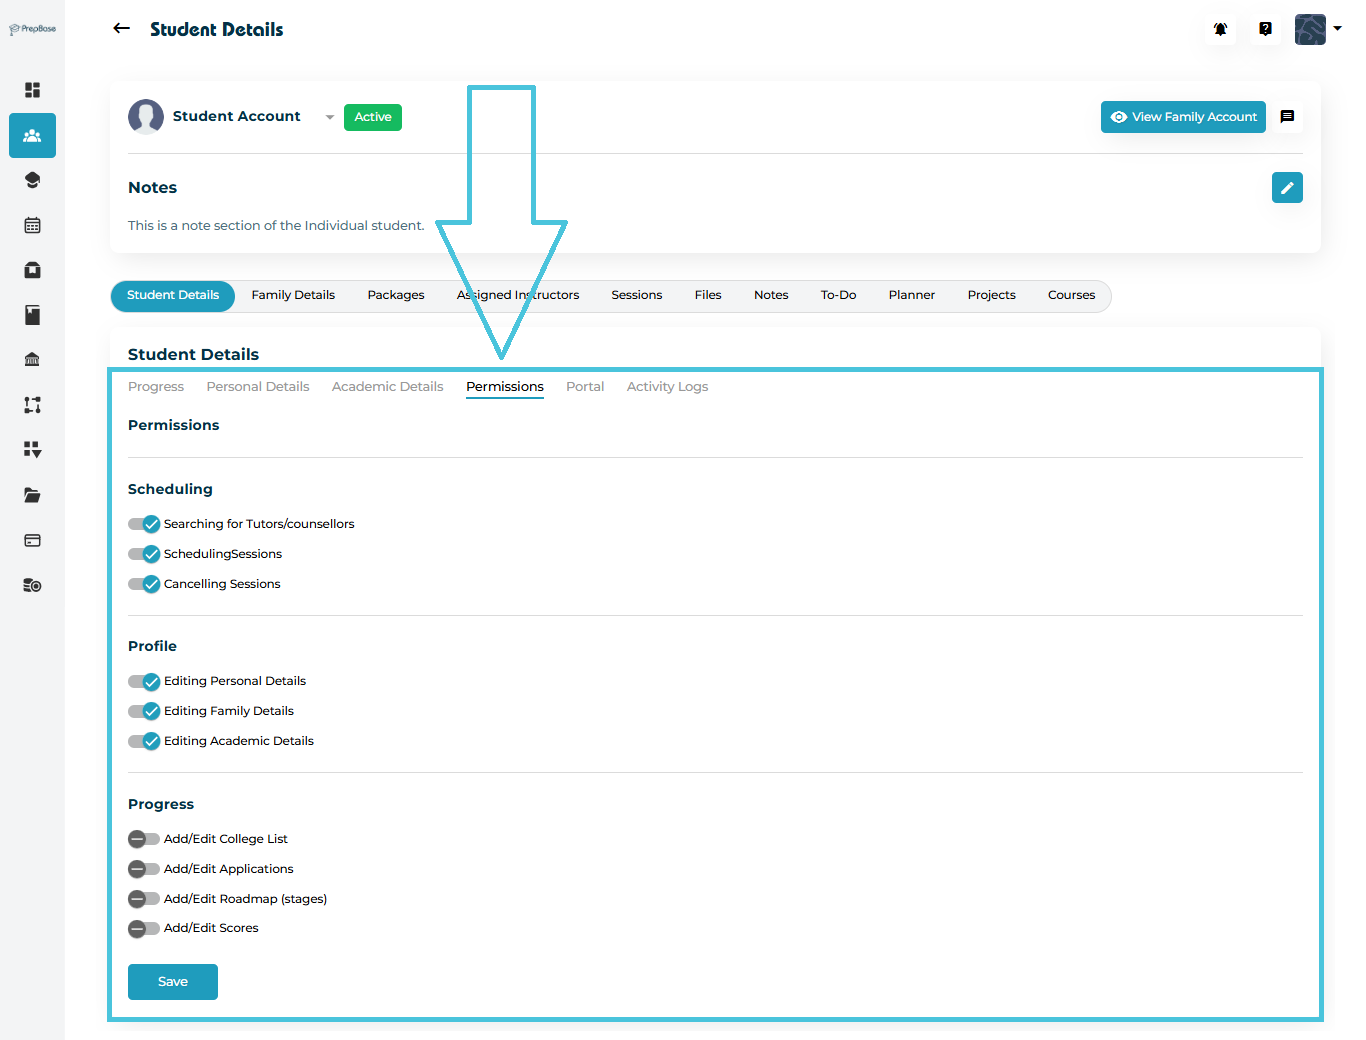
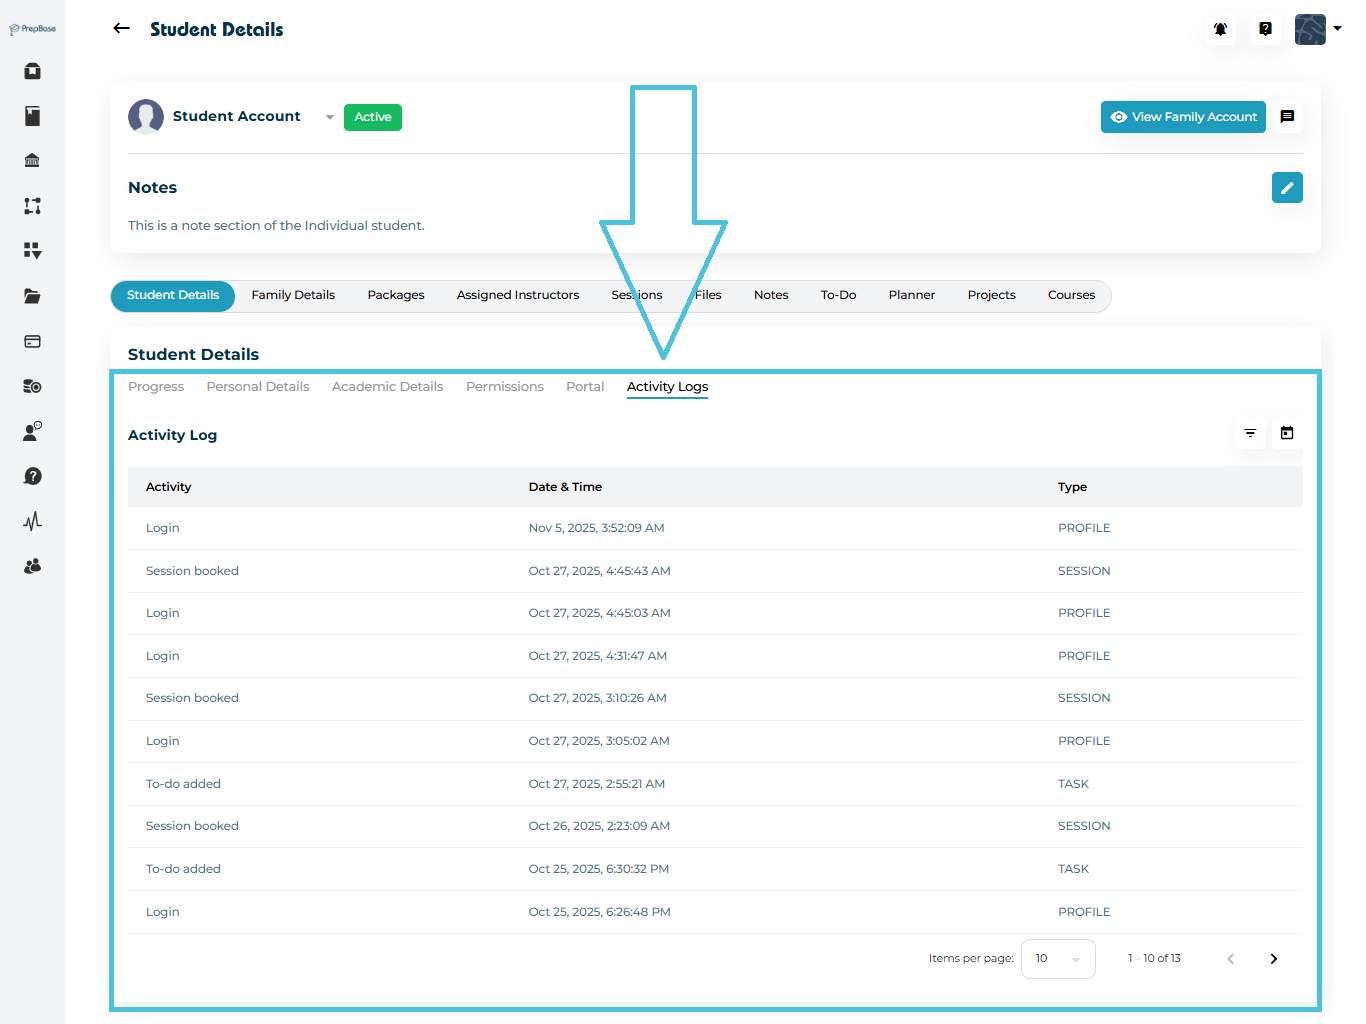
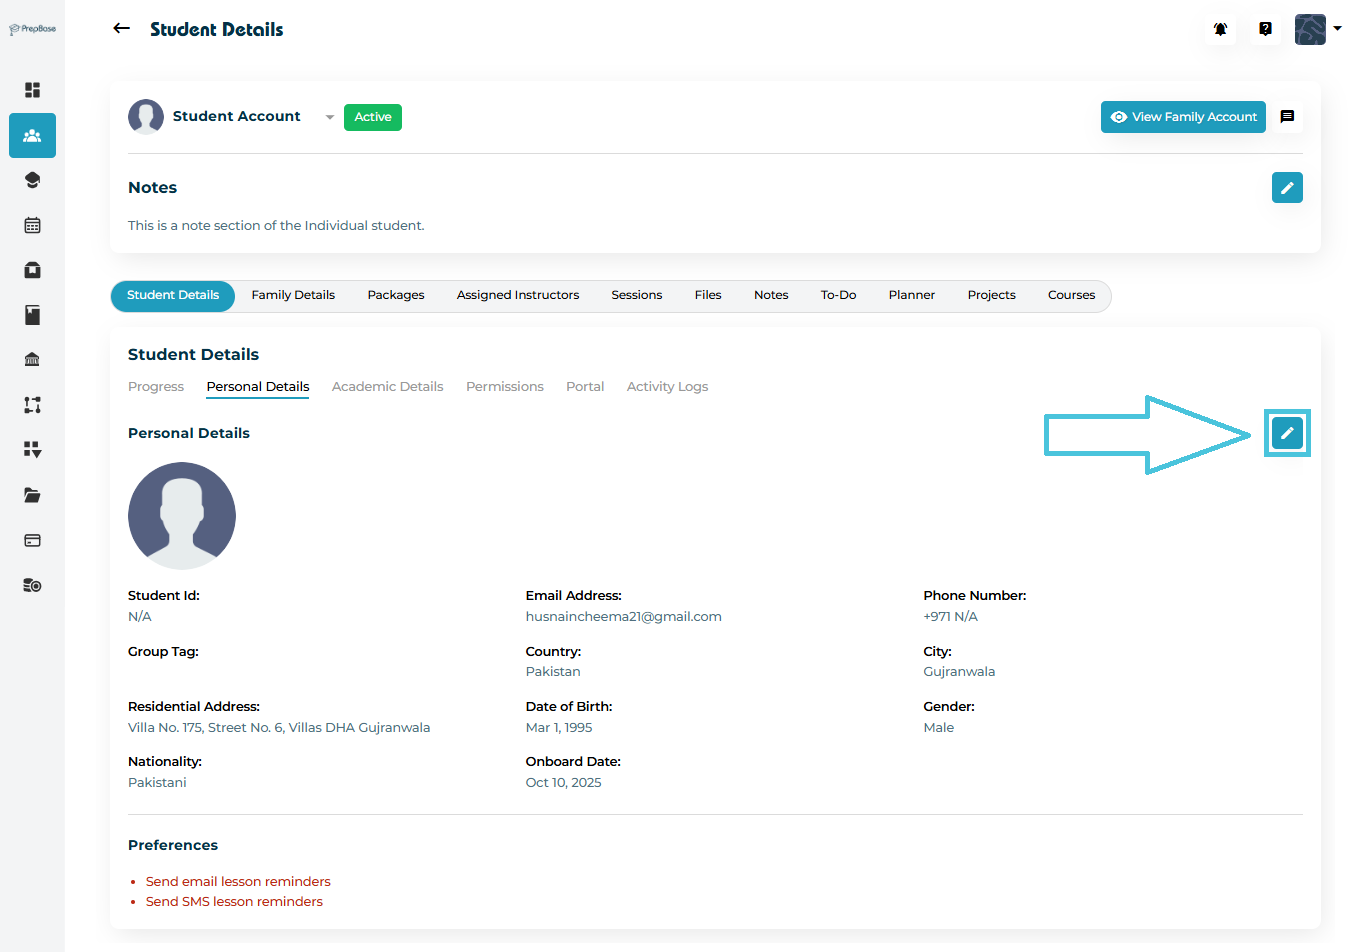
Click on the student’s name to open their detailed profile.
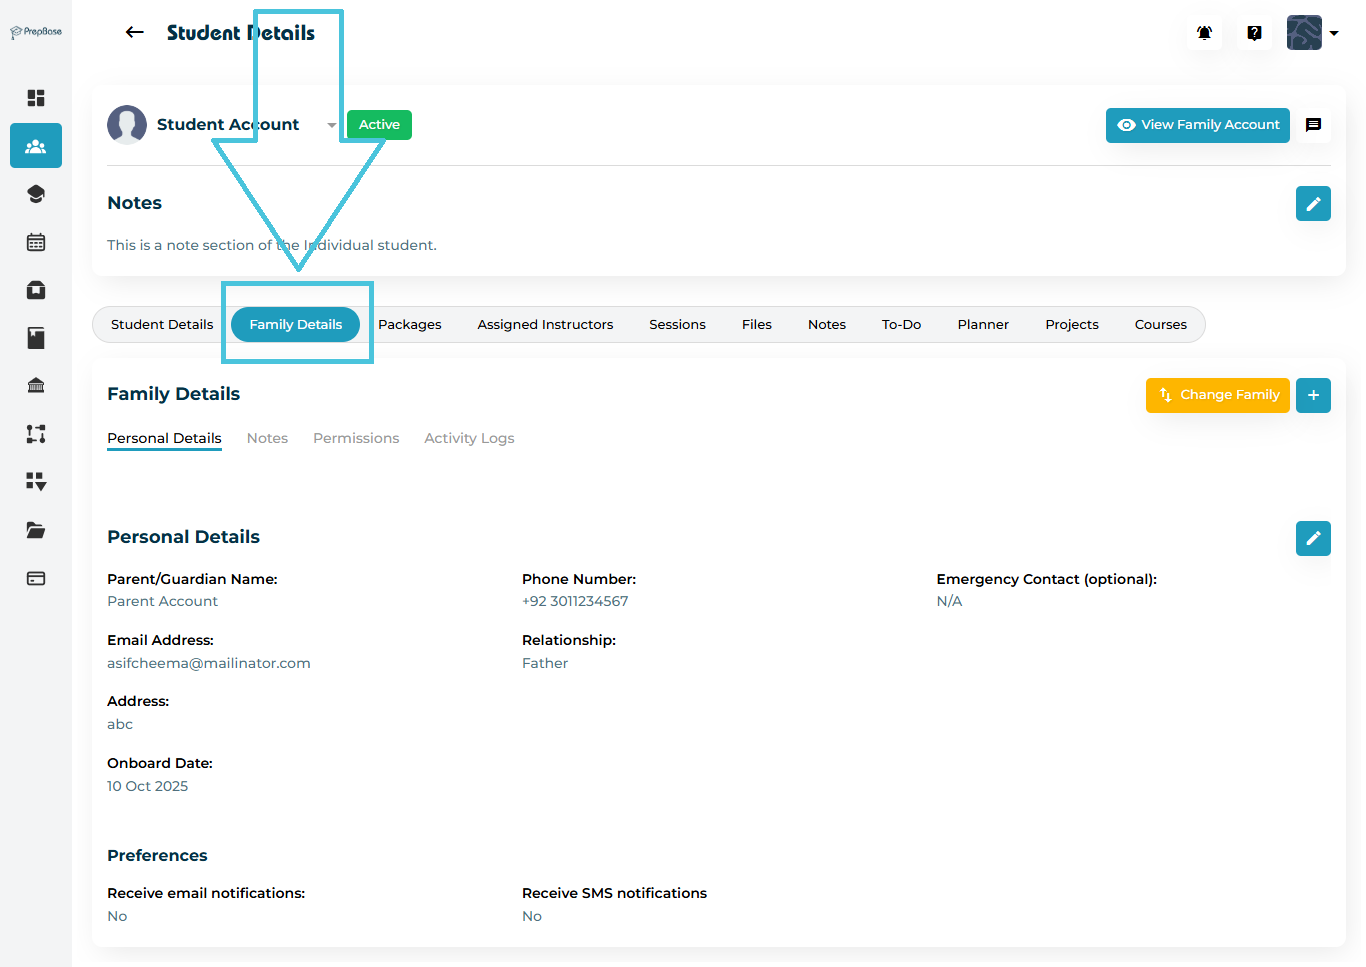
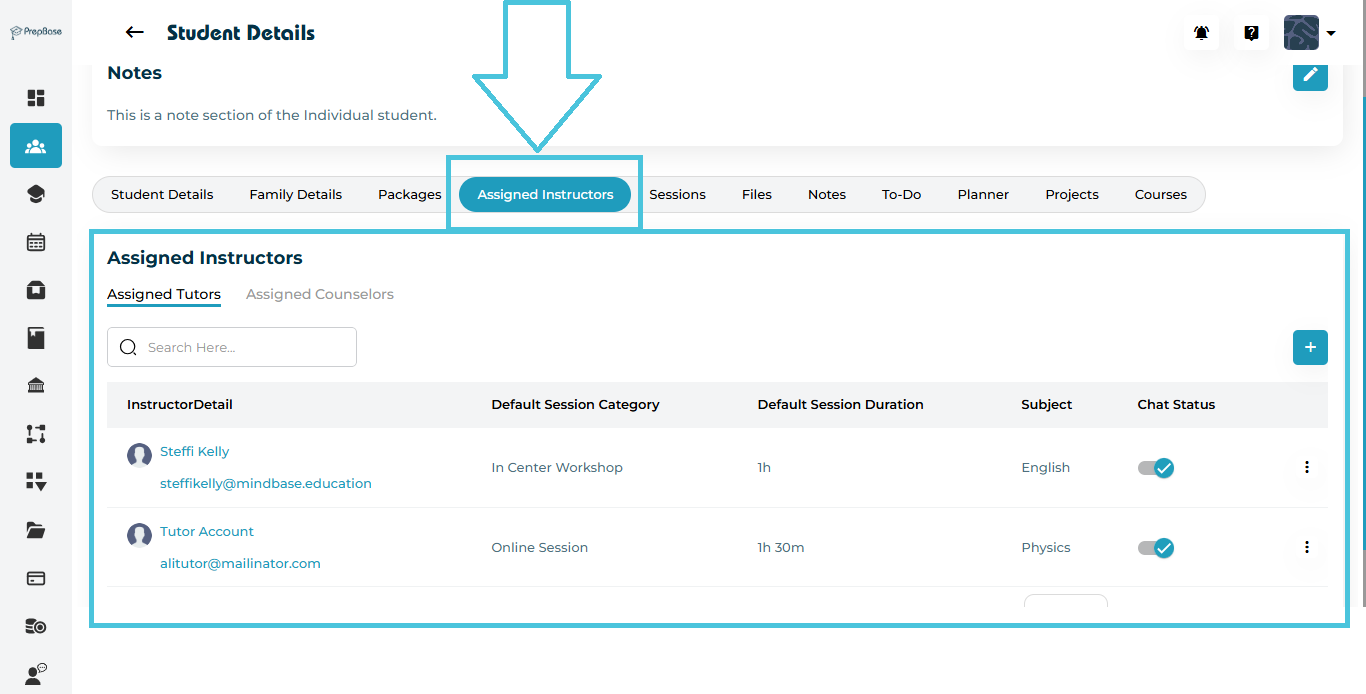
Select the Assigned Instructors tab from the top navigation bar.
The screen is divided into two sections:

Assigned Tutors – Displays all academic tutors linked to the student.
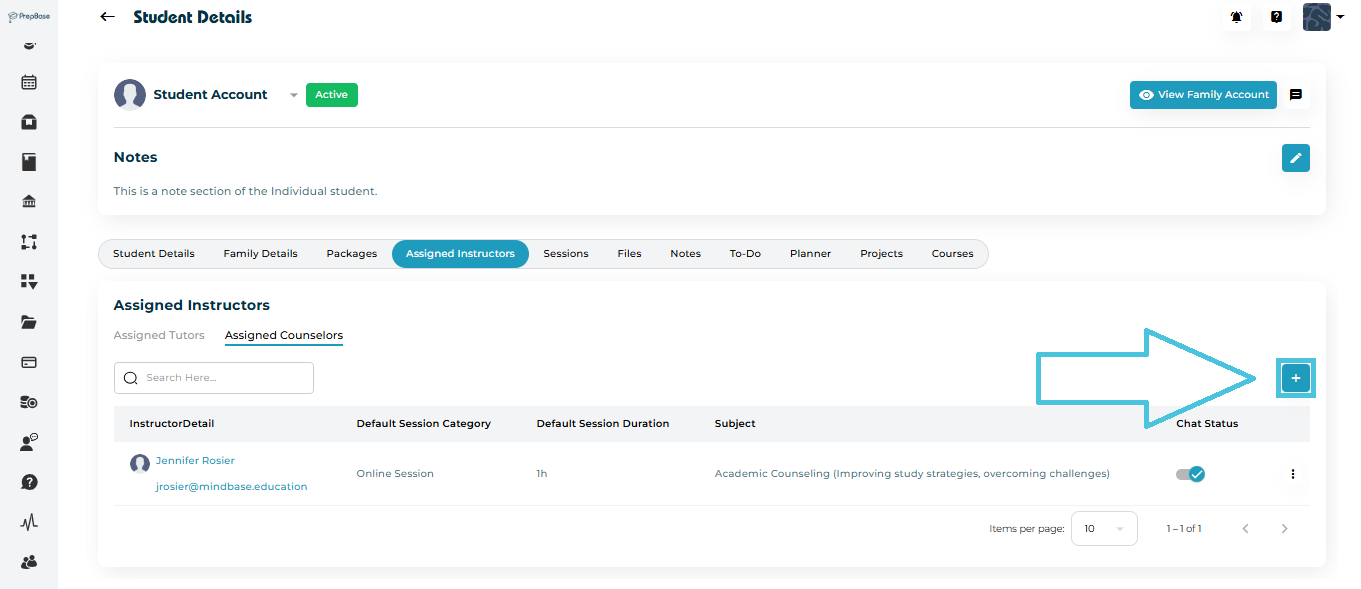
Assigned Counselors – Lists all mentors or counselors managing the student’s academic or career guidance.
To assign a student to a tutor:
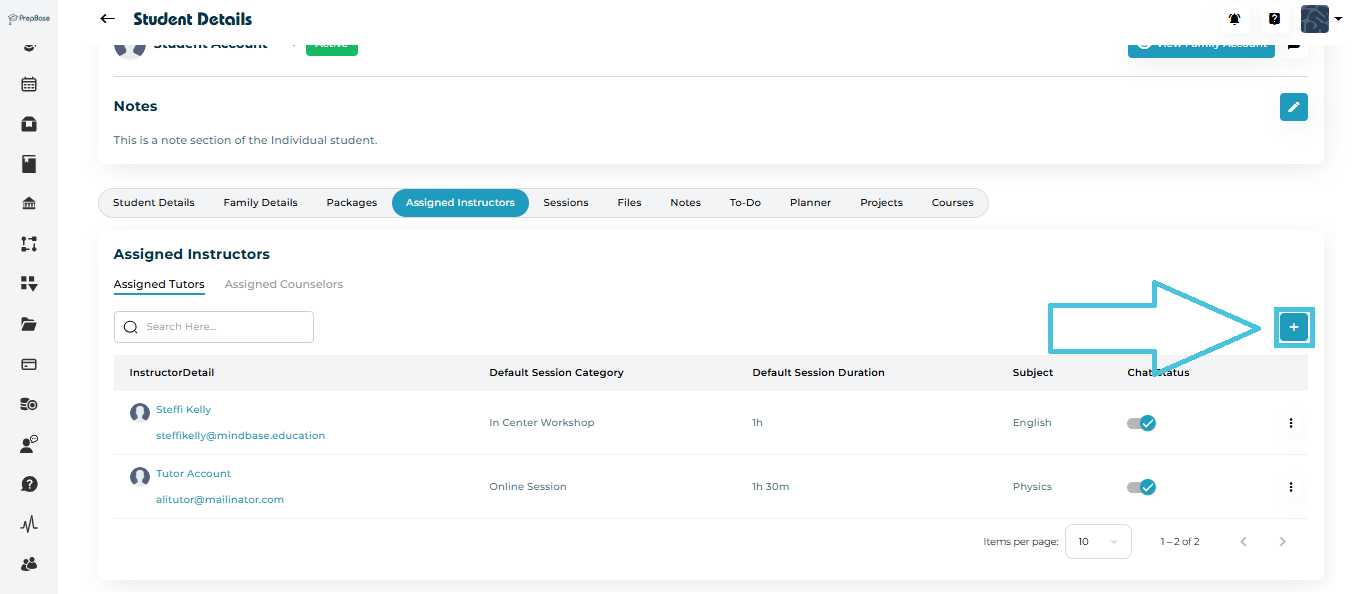
Go to the Assigned Tutors section.
Click the ➕ Add button in the top-right corner.
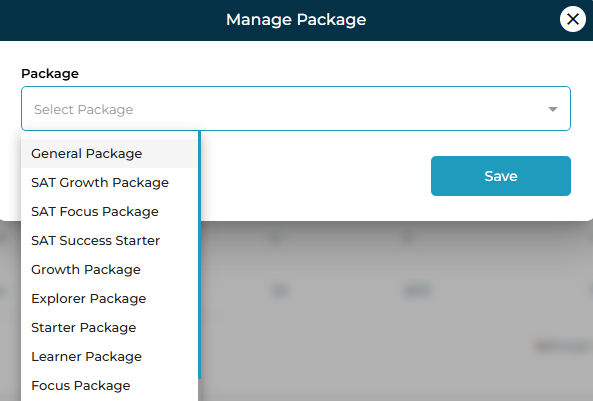
A popup window titled Assigned Tutor will appear.
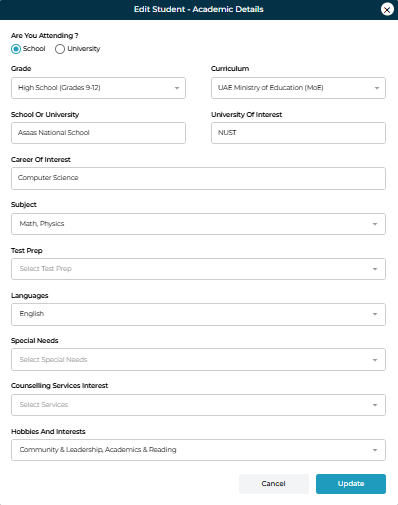
Steps to Assign
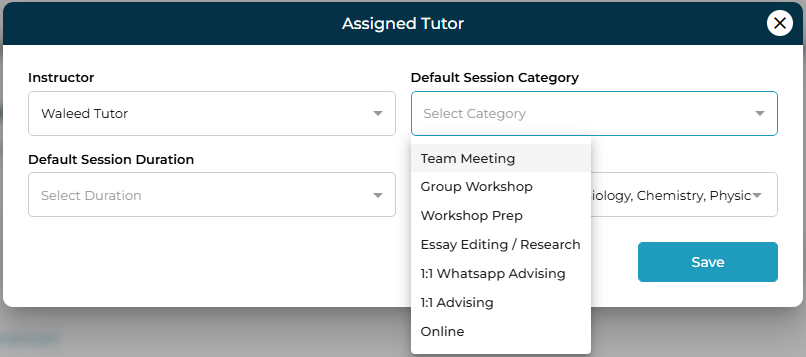
From the Instructor dropdown, select the tutor’s name.
(You can search by name or email for quick selection.)Choose the Default Session Category — e.g., Online Session, In-Center Workshop, Essay Editing, Group Workshop, etc.
Set the Default Session Duration — e.g., 30m, 1h, 1h 30m, 2h, etc.
Click Save to finalize the assignment.
NOTE: these default settings will only help in prepopulating the details whenever a session is being scheduled between this tutor and the student and can be changed manually while shceduling the session.
Once saved, the tutor appears in the Assigned Tutors list with details like:
Instructor Name and Email
Default Session Category
Default Session Duration
Subject(s)
Chat Status (enabled/disabled)
To assign a student to an academic or career counselor:
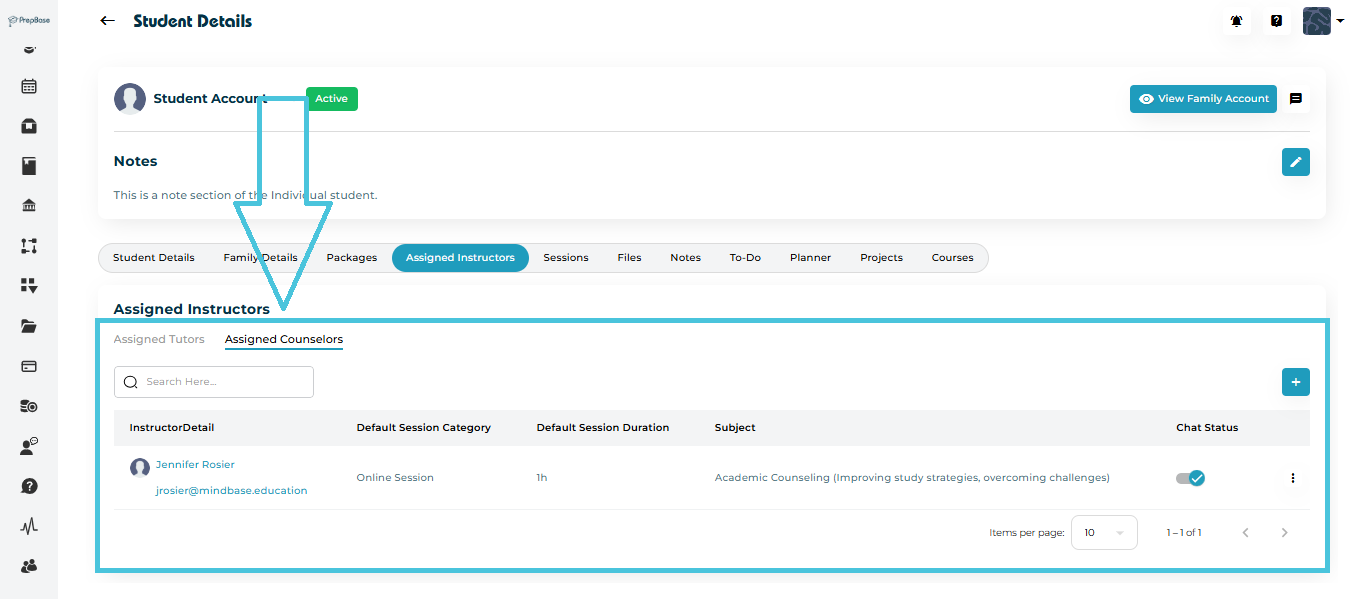
Switch to the Assigned Counselors tab.
Click the ➕ Add button.
A similar popup titled Assigned Counselor will appear.
Select the counselor’s name, session category, and duration.
Click Save.
The assigned counselor will now appear in the list with:
Counselor Name and Contact Email
Default Session Category (e.g., Online Session)
Default Session Duration
Subject or Area of Counseling
Chat Status (for direct student communication)
NOTE: these default settings will only help in prepopulating the details whenever a session is being scheduled between this tutor and the student and can be changed manually while shceduling the session.
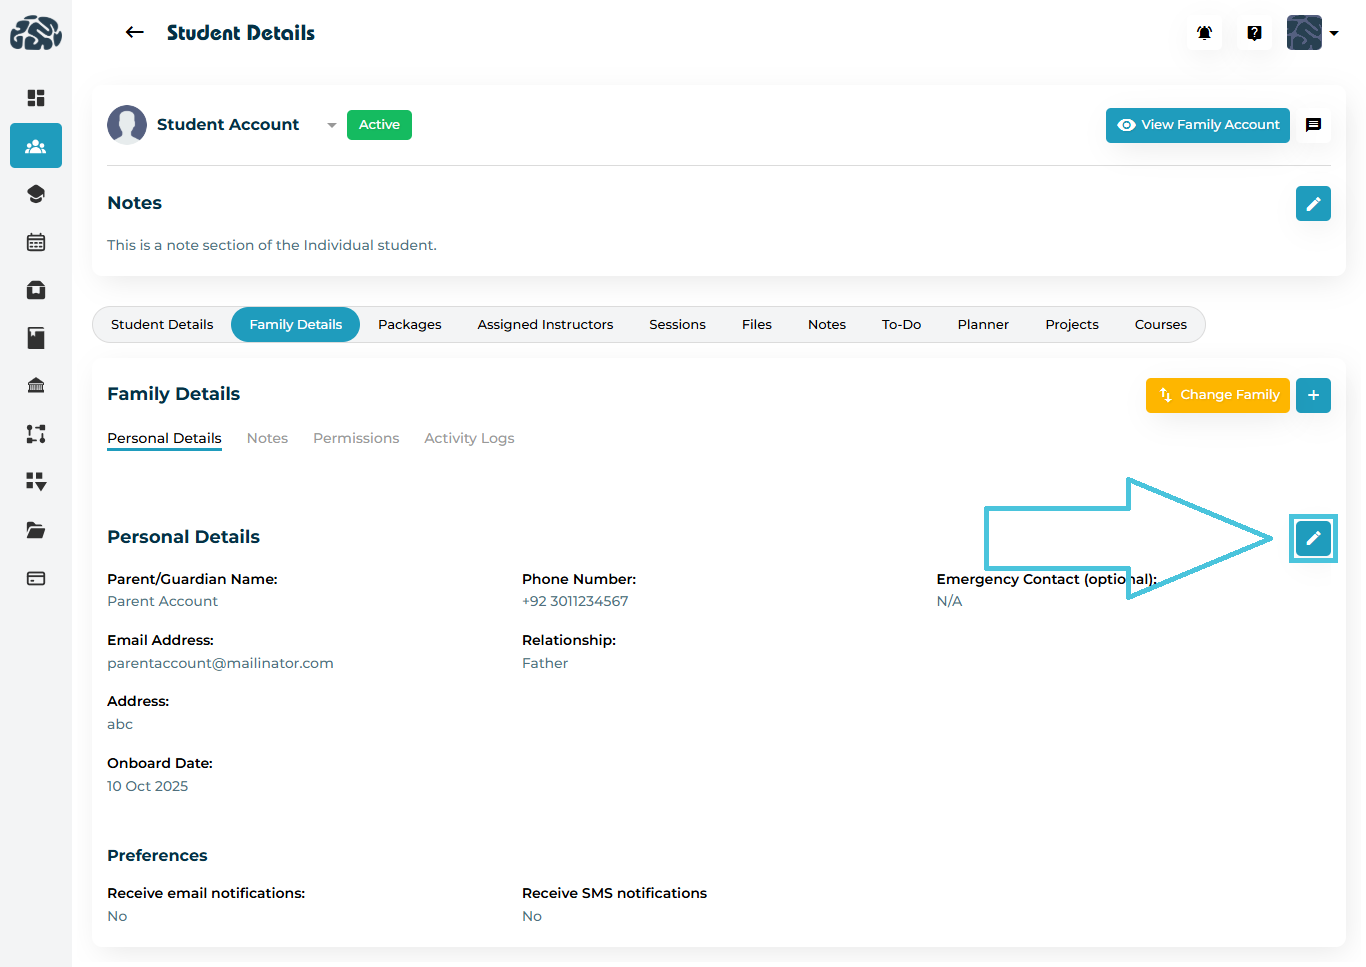
Admins can modify the instructor’s default session settings anytime.
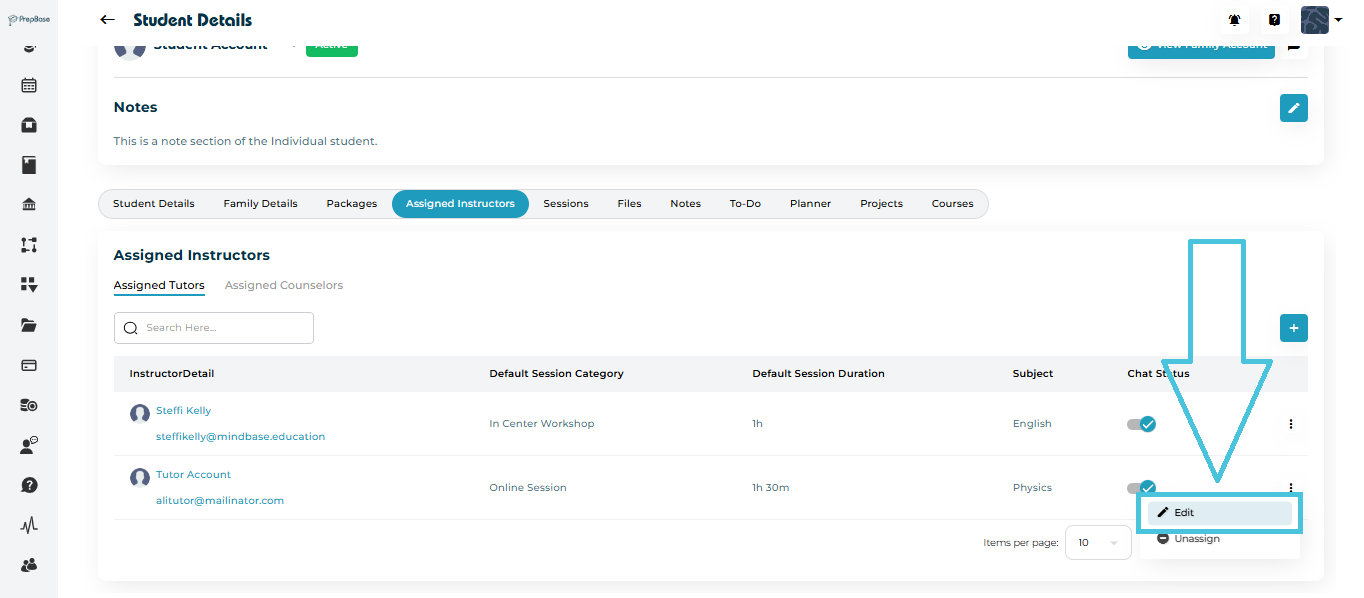
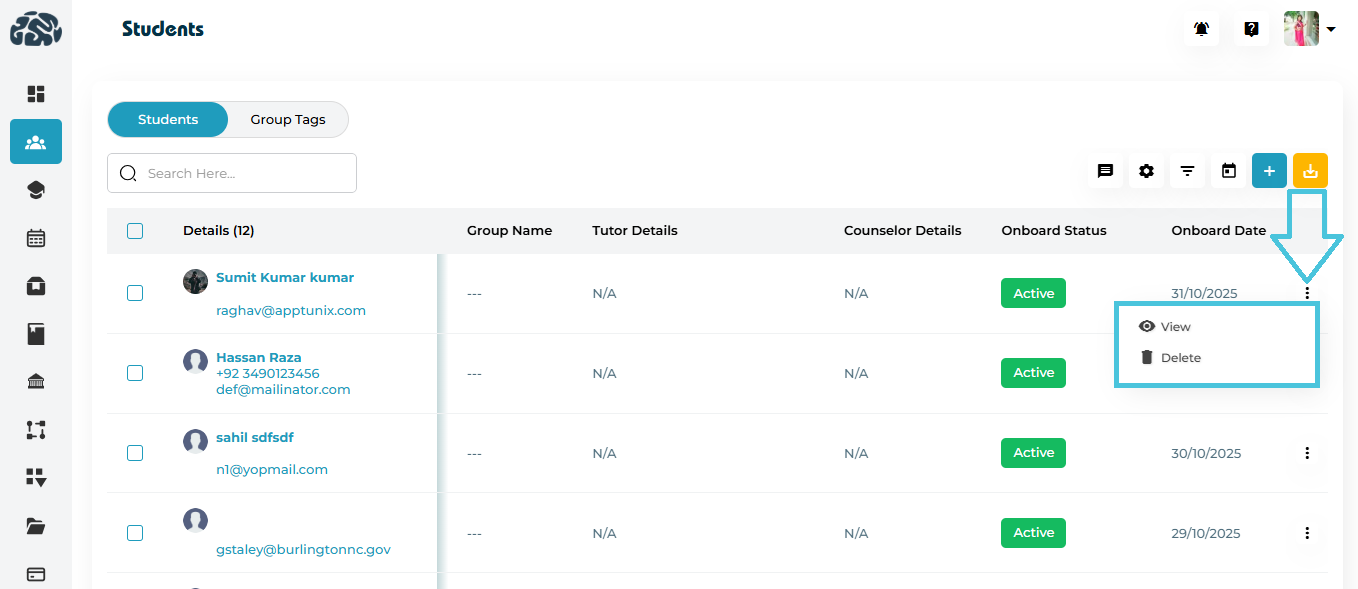
Click the three-dot menu (⋮) next to the tutor or counselor’s name.
Select Edit.
Update session category, duration, or other details.
Click Save to confirm changes.
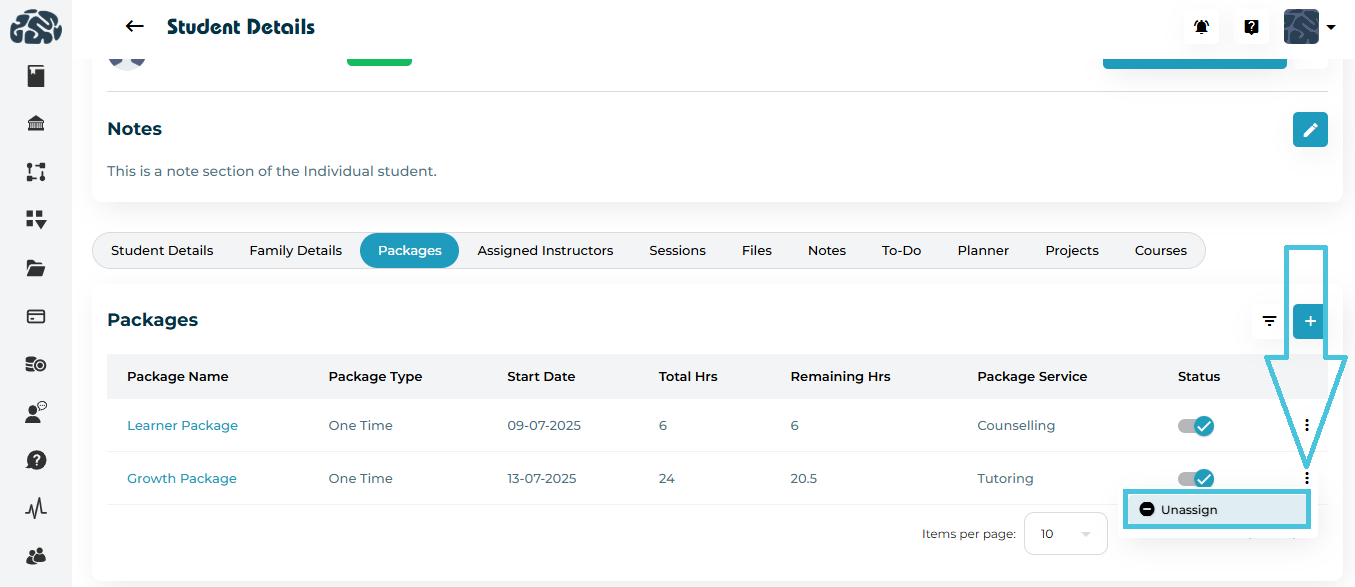
If a student no longer needs a particular instructor:
Click the three-dot menu (⋮) beside the tutor or counselor’s record.
Select Unassign.

The selected instructor will be removed from the list immediately, but past session history remains stored under the Sessions tab.
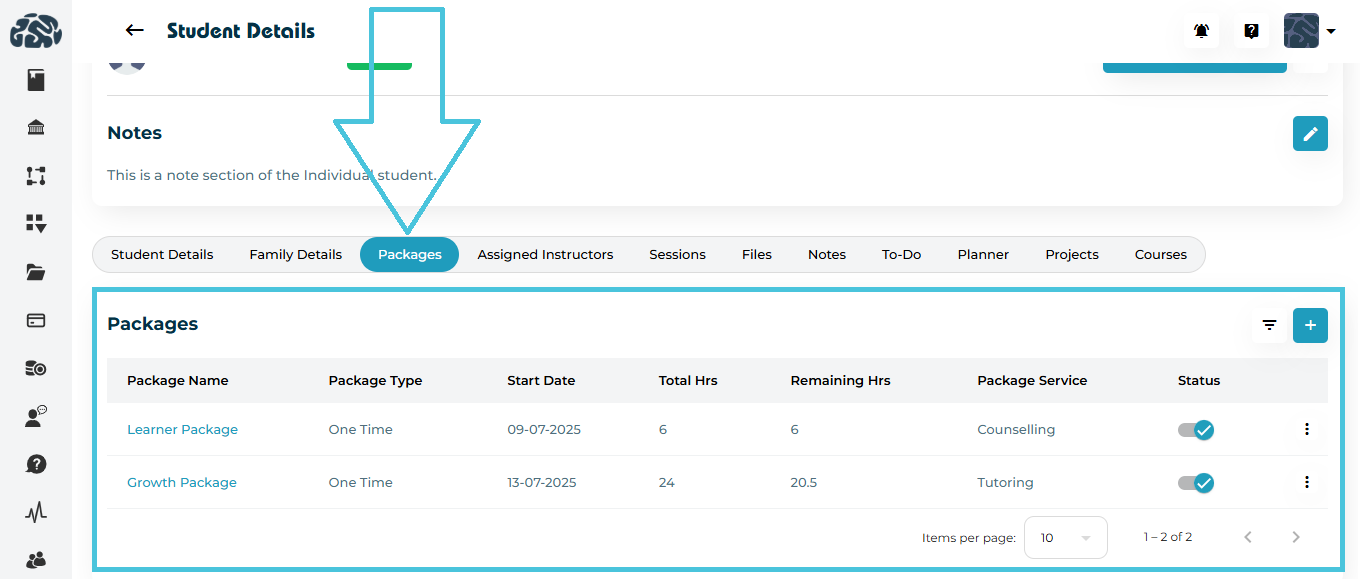
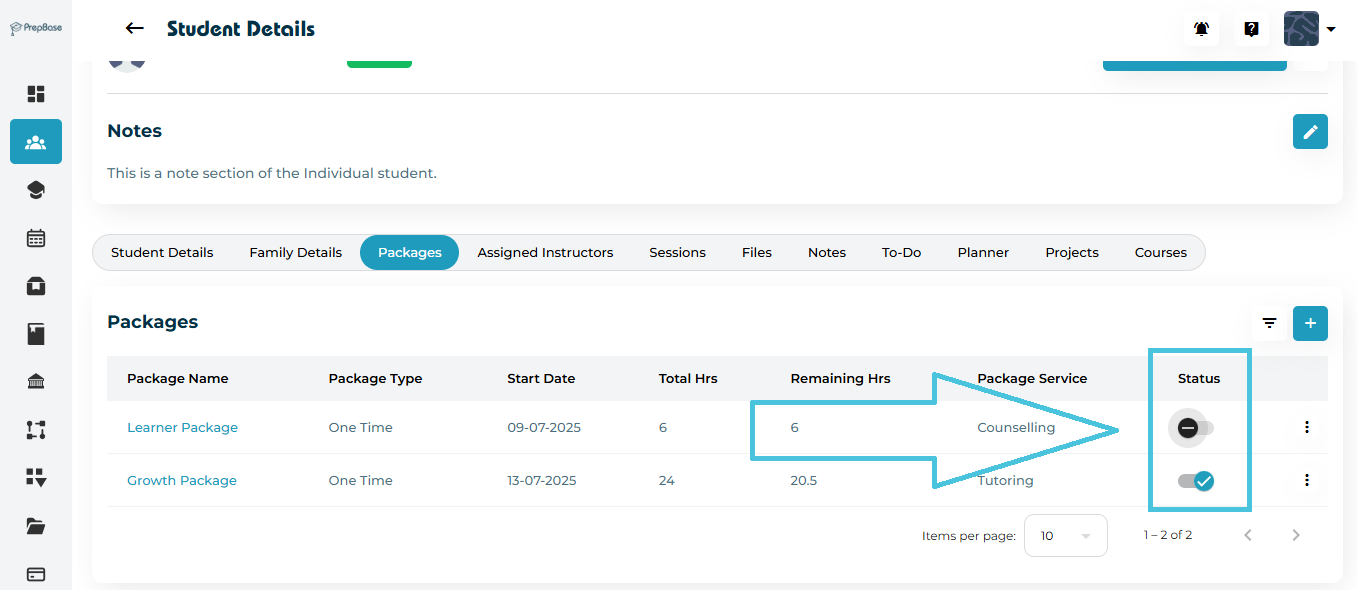
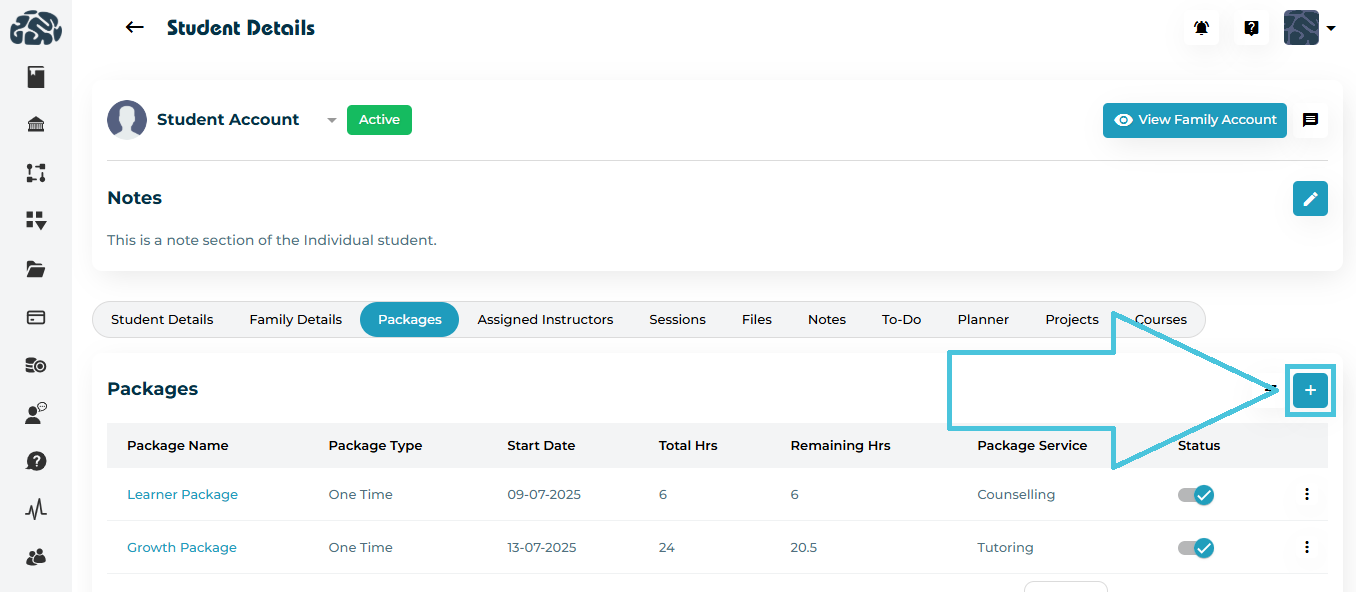
 Add button at the top-right corner of the Packages section.