This is the General settings form which allows any organization to setup basic settings as explained under with examples and screenshots.
Quick Steps Summary #
1. Open Prepbase → Click Settings in the left menu → Select General tab.
2. Update any fields (Company Name, Organization Name, Web URL, Country, Address, Email, Phone Number, Time Zone).
3. Click Save.
4. Verify changes in a system page (invoice, profile, or a test notification) and inform your team if needed.
Step-by-step: update your details #
- Log in as an admin.
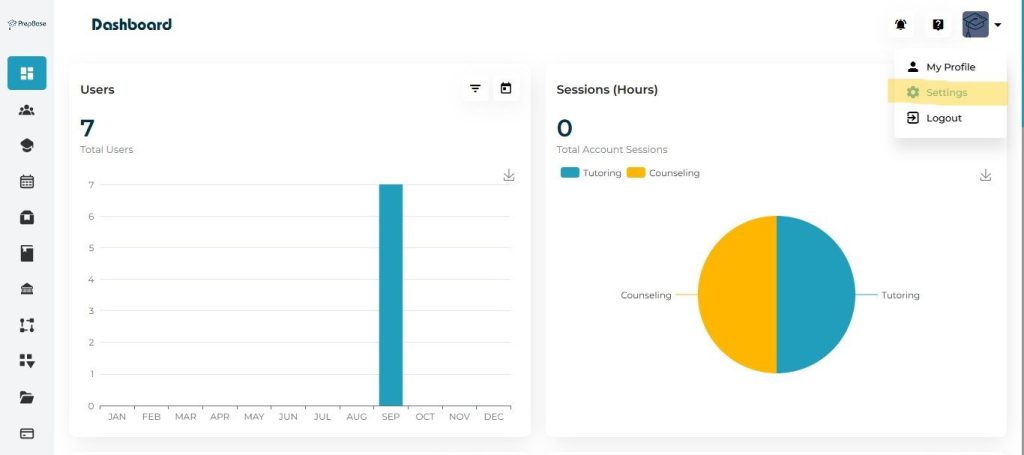
- From the right click the profile icon then click settings.
3. Edit fields as needed:
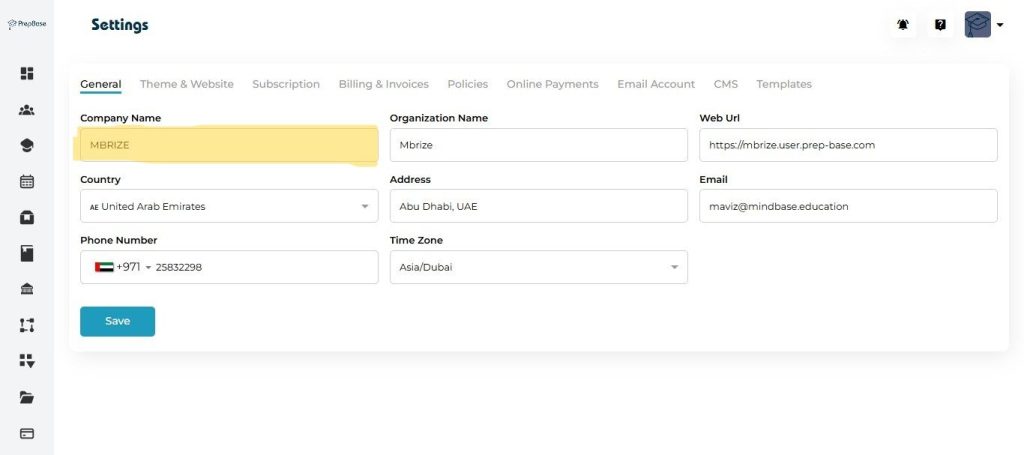
Click the Company Name box and type the display name.
Company Name
- Company Name is a Short/brand name displayed in UI (use for public-facing label).
- Example: Mbrize
- Use the name customers recognize. Avoid ALL CAPS — use normal title case.
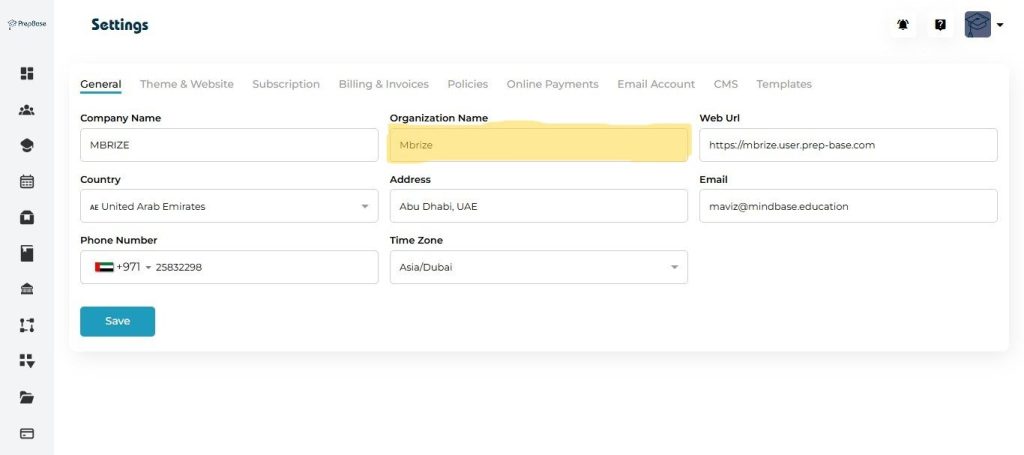
Enter the Organization Name (legal name) if different.
Organization Name
- Organization Name is a Formal/legal name of your entity (use for contracts/invoices).
- Example: Mbrize (Pvt) Ltd.
- Put full registered name here if different from Company Name.
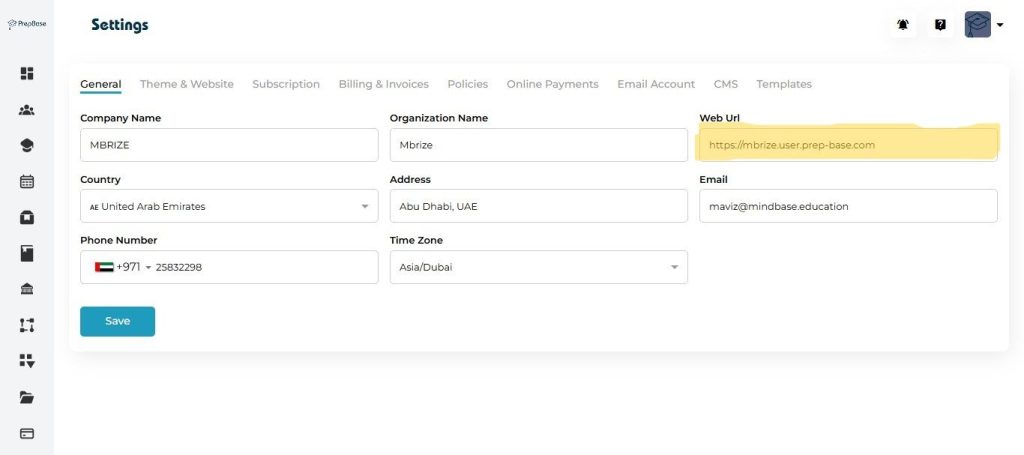
Web URL
- Web URL is a Tenant site assign to your organization by prepbase. This is the URL that your user will use to access the plateform.
- Example:
https://mbrize.user.prep-base.com
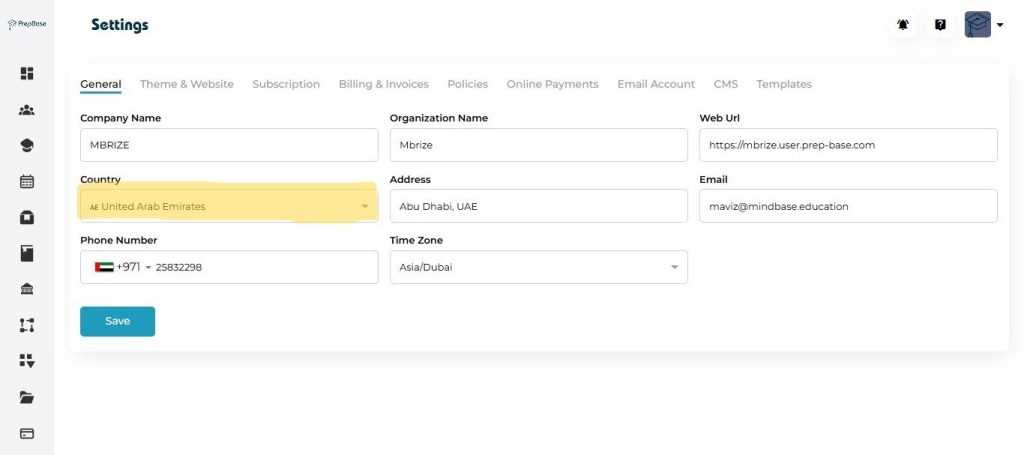
Open Country dropdown, select the country (this also sets phone code).
Country
- Select the country that matches your business/legal address.
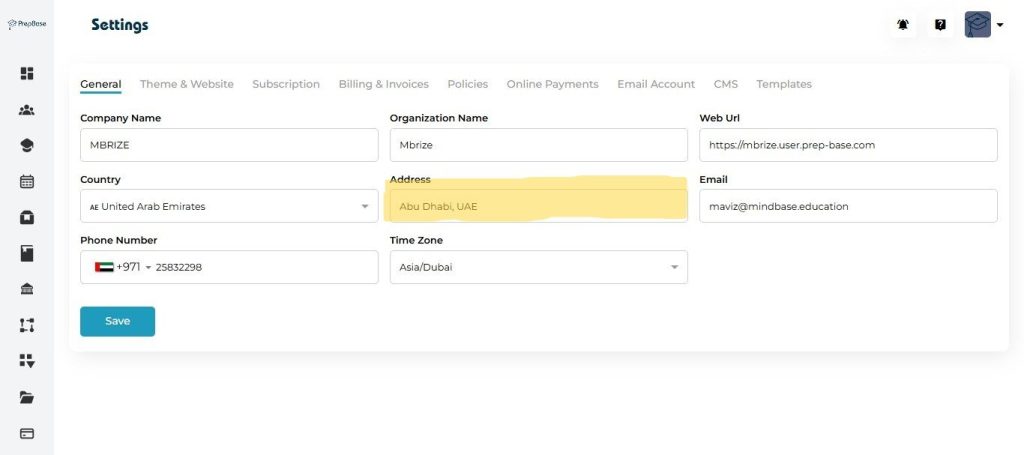
Enter Address exactly as it should appear on invoices.
Address
- Address is a Full mailing/legal address (street, city, postal code, country).
- Example: Abu Dhabi, UAE
- This address may be used on invoices — enter the legal billing address.
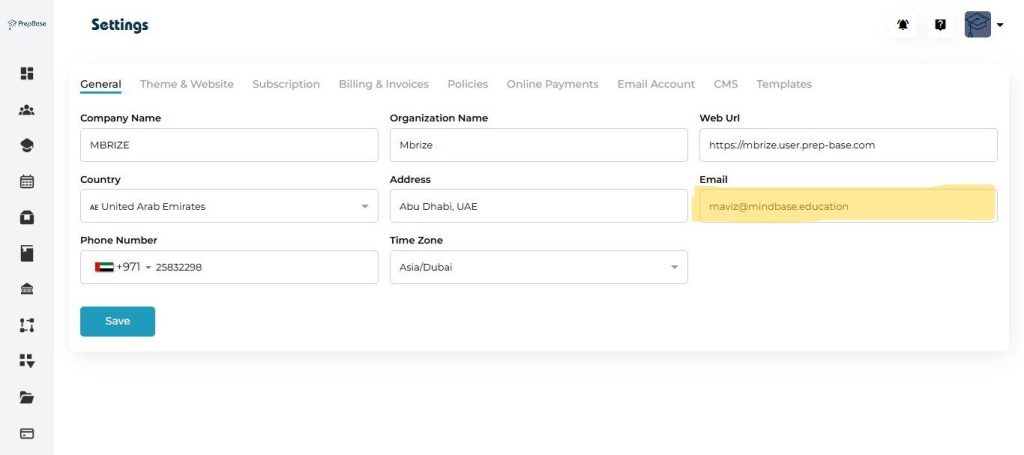
Update Email to your official contact address.
- Email is a Primary contact email for system notifications and support messages.
- Example: maviz@mindbase.education
- It’s better to use an official/shared mailbox (e.g.,
billing@,support@) rather than a personal account.