
Open the side navigation menu.
Go to Packages & Promos → Packages.
Choose the service category you want to manage:
Tutoring
Counseling
Each tab lists all active packages under that service, showing key details such as price, hours, promo code eligibility, status, and package type (One-Time or Recurring).
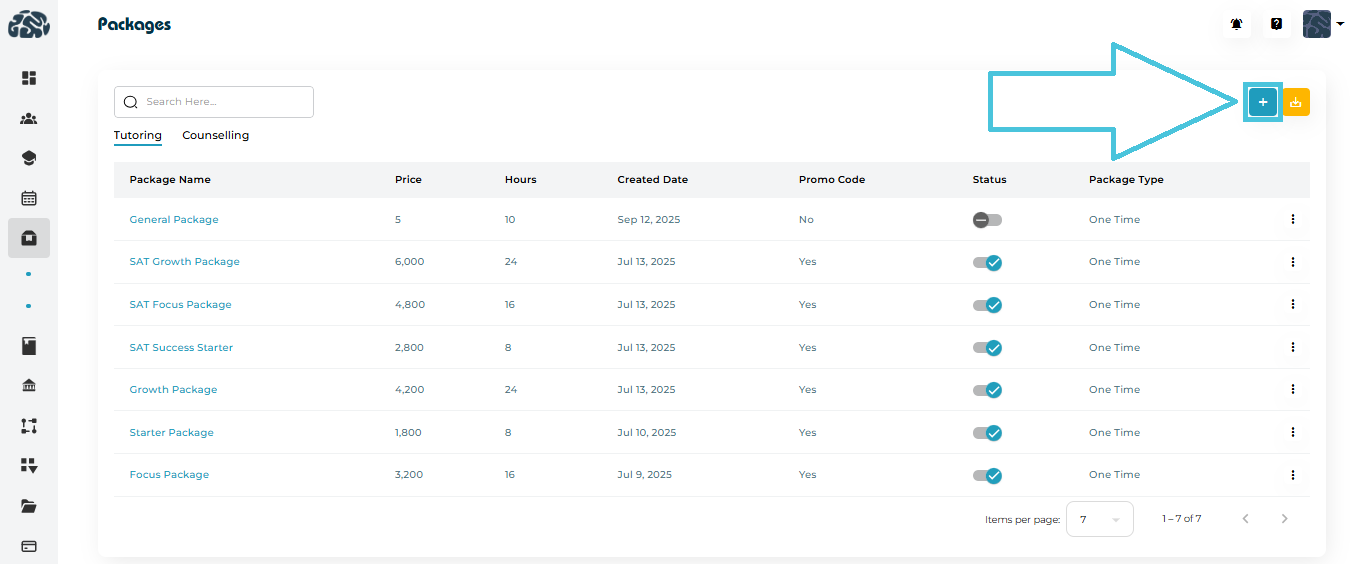
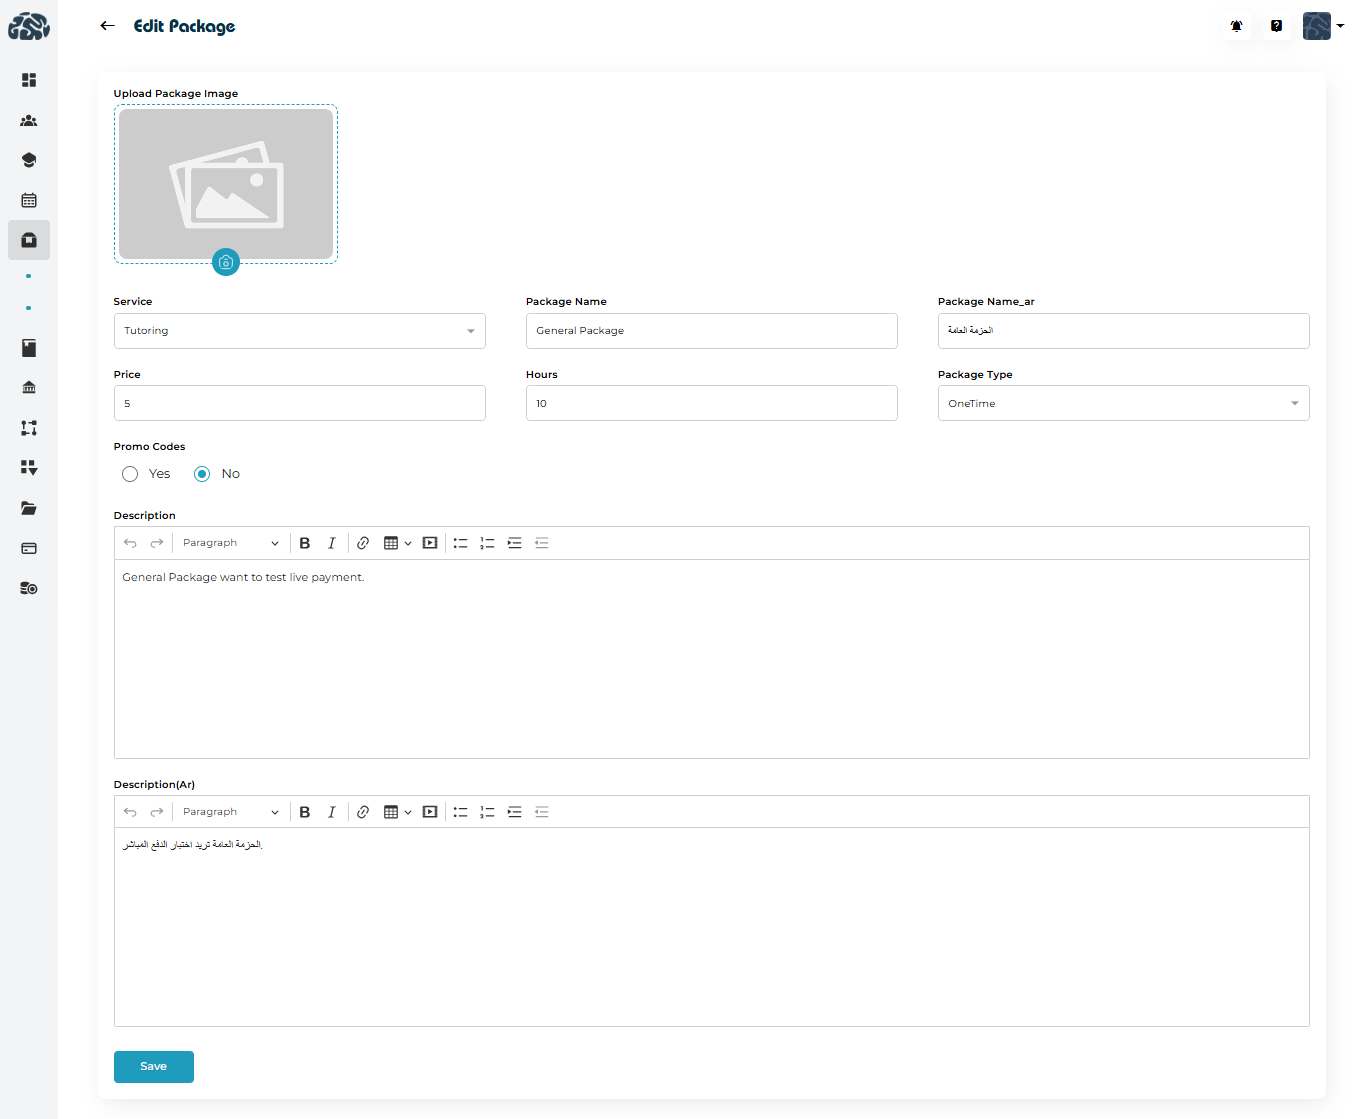
Click the “+” Add Package button to open the package creation form.
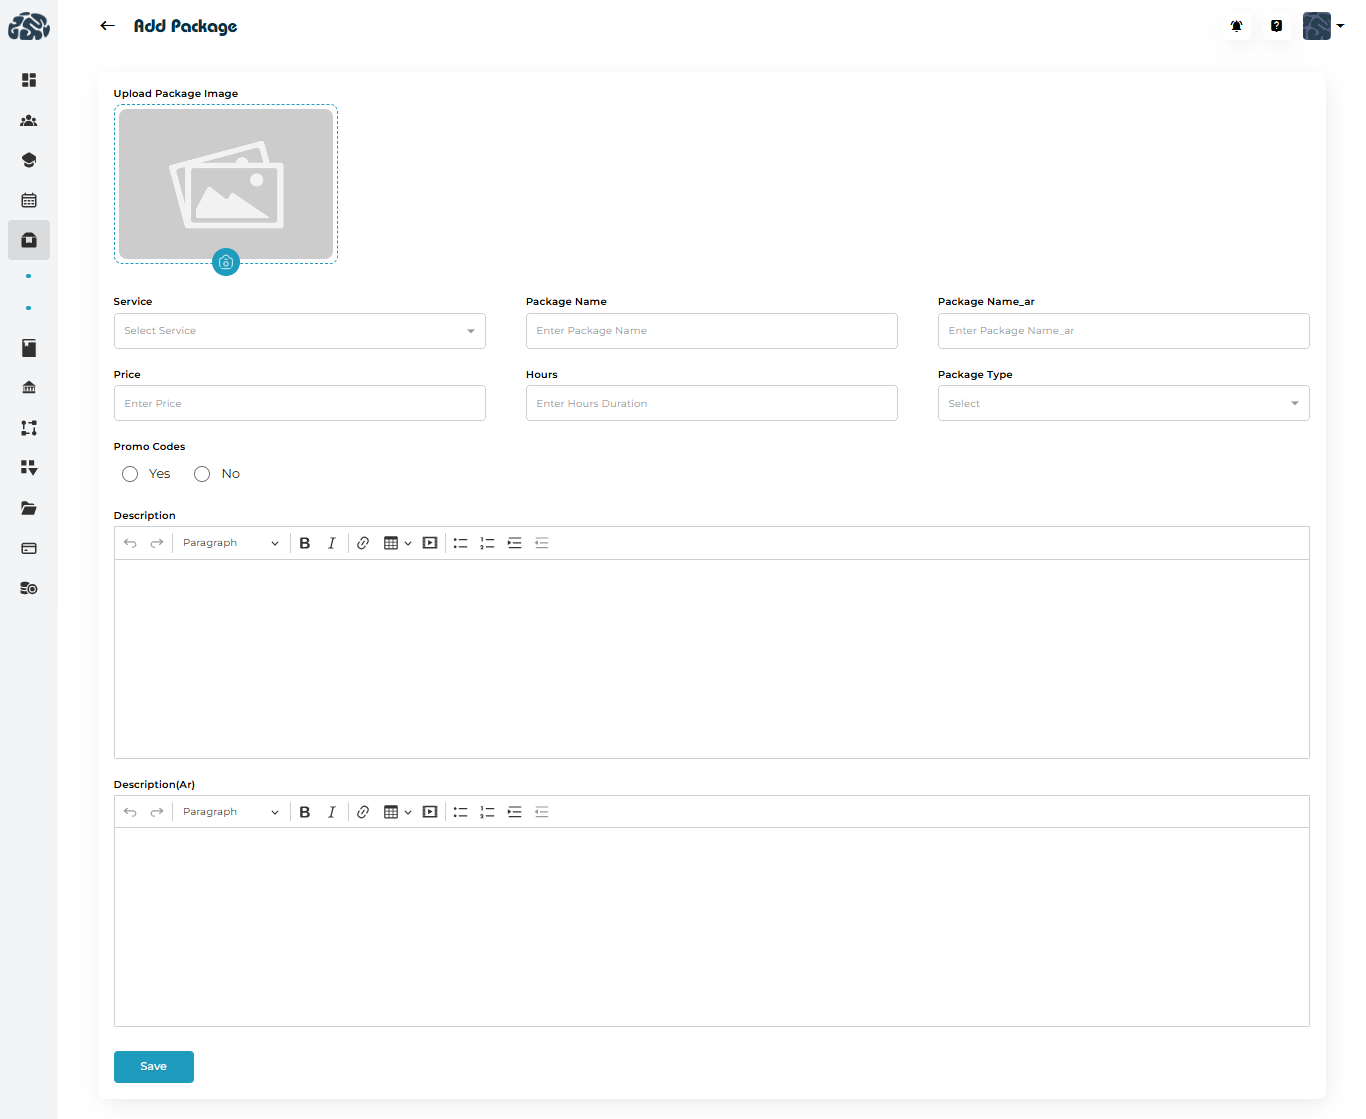
Fields Included When Creating a Package
When adding a new tutoring or counseling package, you will be able to configure:
Package Image
Service Selection (Tutoring or Counseling)
Package Name (EN & AR)
Price
Hours
Package Type (One Time Purchase or Recurring Monthly Package)
Promo Code Eligibility (Which Code(s) to be Accepted)
Description (EN & AR)
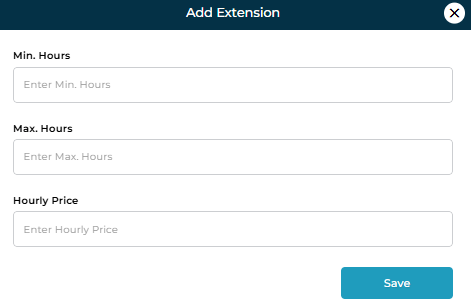
Once the package is created, admins also have the ability to add options to extend a package by purchasing hourly add-ons.
If enabled, you can define:
Minimum Hours that can be extended
Maximum Hours for extentions
Hourly Price for the extended hours
This is perfect for students who finish their package but want extra sessions without purchasing a full new package.
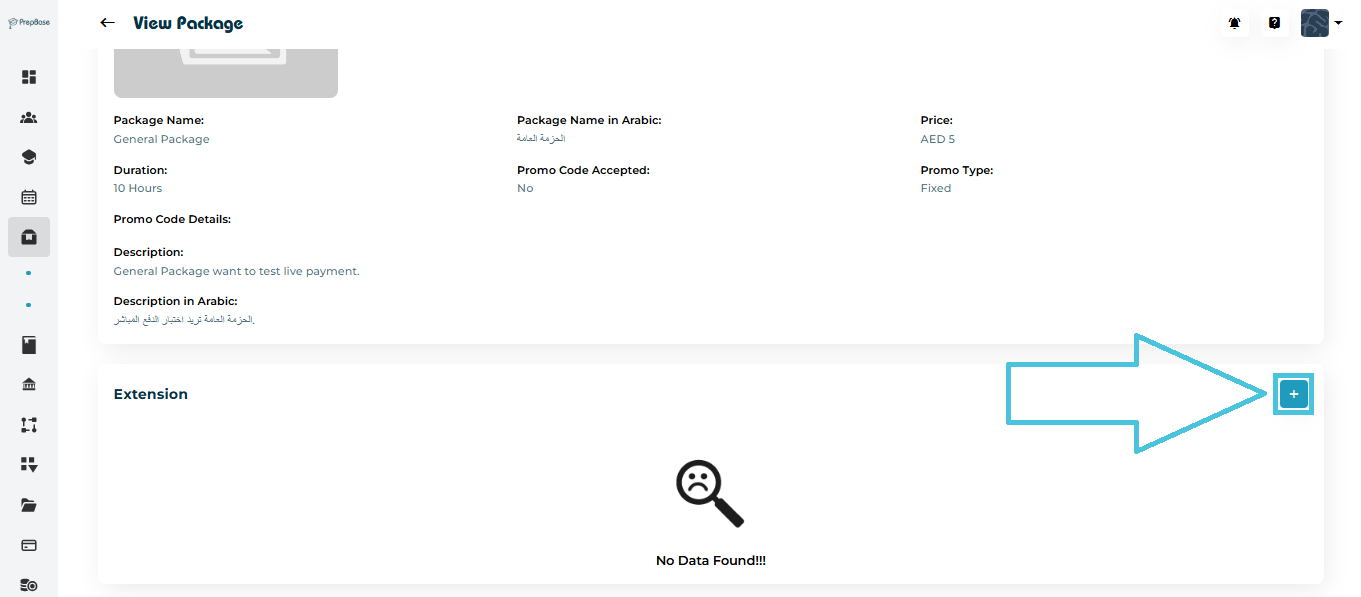
To add an extension:
Open the package.
Scroll to the Extension section.
Click the “+ Add” button.
Enter the extension configuration.
Save.

Each package has a detailed view showing:
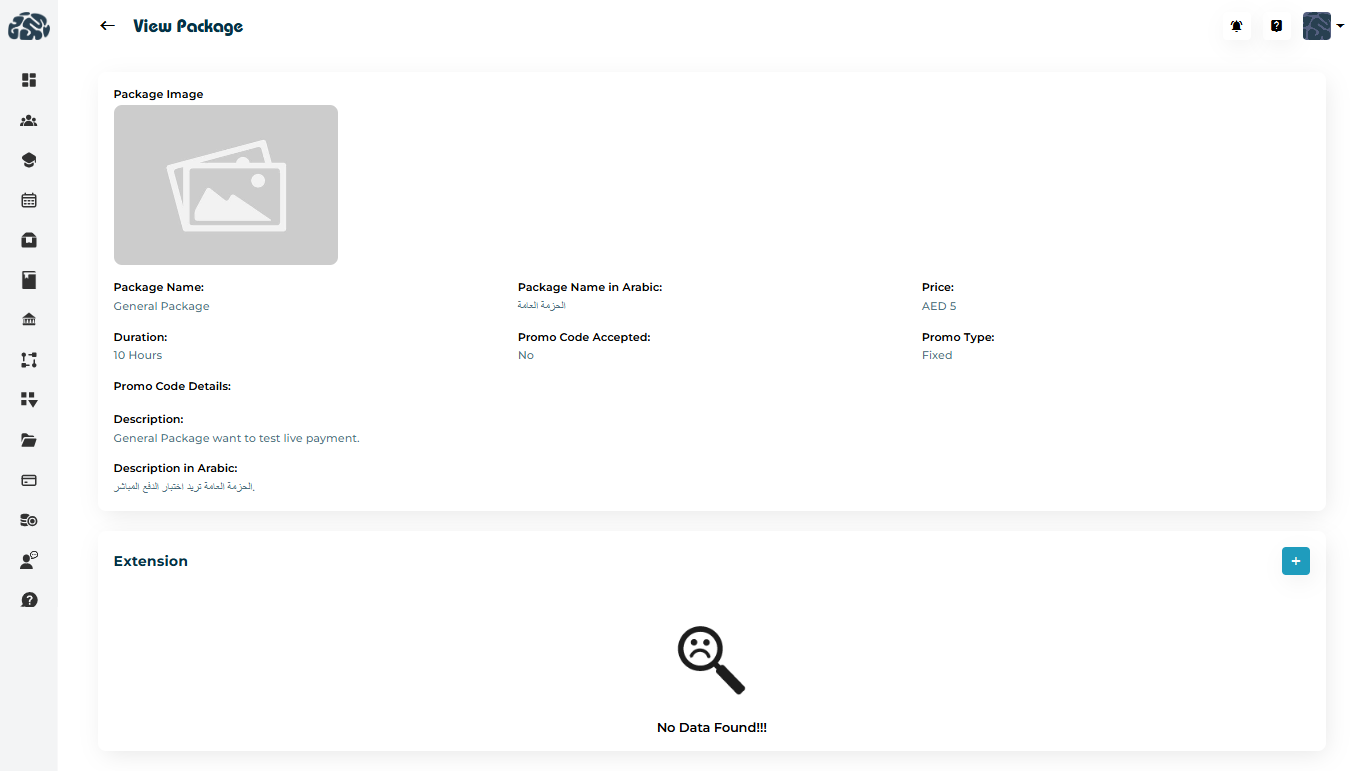
Package image
Name (EN & AR)
Duration (total hours)
Price
Promo code acceptance
Package type
Full description in all available languages
Extension details (if any)
You can access this by selecting “View” from the options menu (three dots).
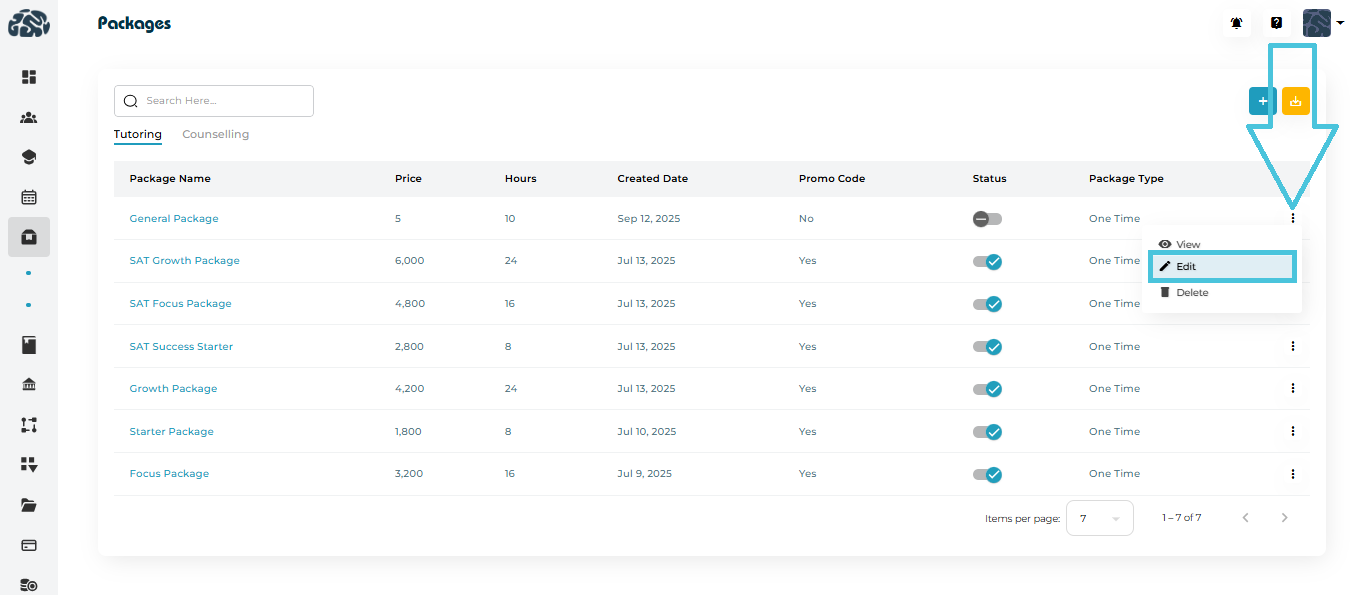
If you need to update a tutoring or counseling package:
Click the three dots (…) beside the package.
Choose Edit.
Make your updates:
Adjust pricing
Update descriptions
Change hours
Replace the image
Enable/disable promo codes
Update extension rules
Click Save.
Edits apply immediately to the package listing.
You may delete outdated or discontinued packages.
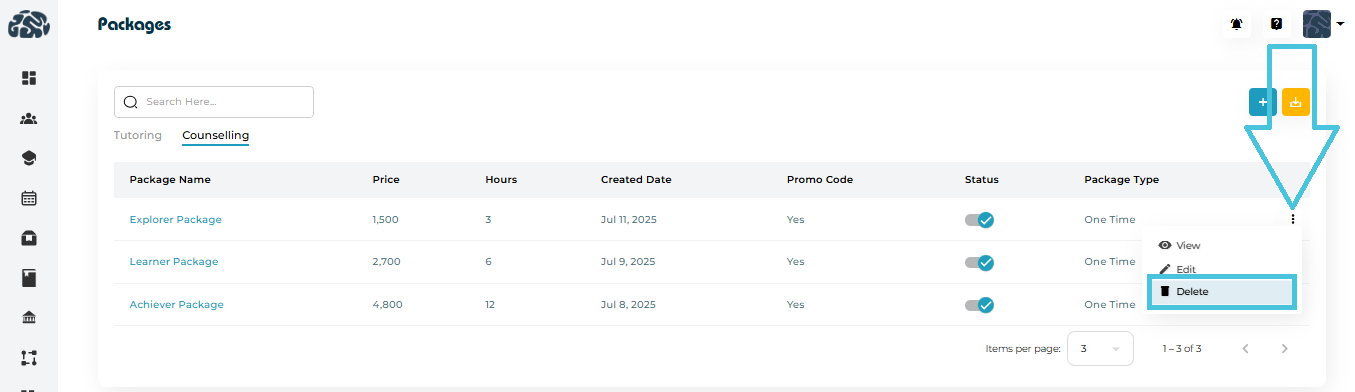
To delete:
Select the three dots (…) next to the package.
Click Delete.
Confirm the action.
A CSV export button allows admins to download:
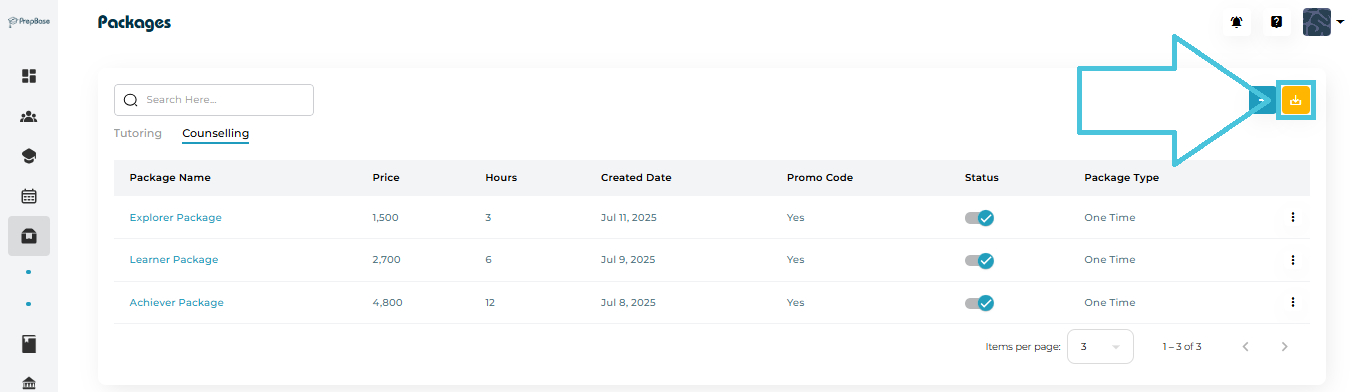
Tutoring package data
Counseling package data
This helps with:
Finance reports
Sales analytics
Inventory of services
Operational tracking
One click generates a clean file for offline use.