Navigate to:
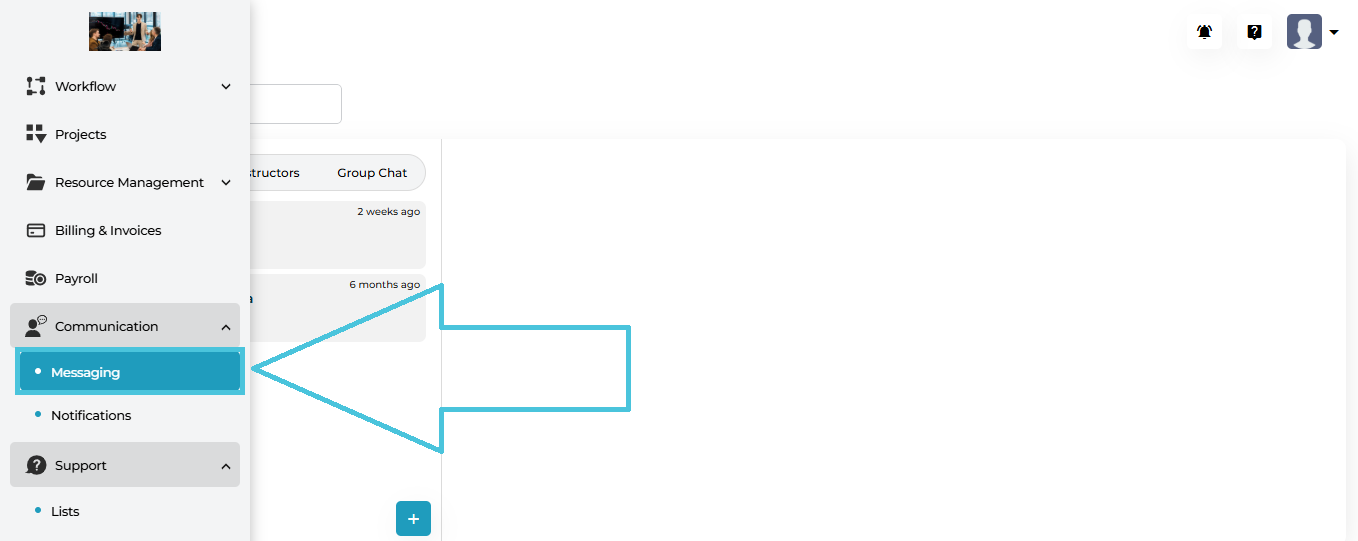
Communication → Messaging
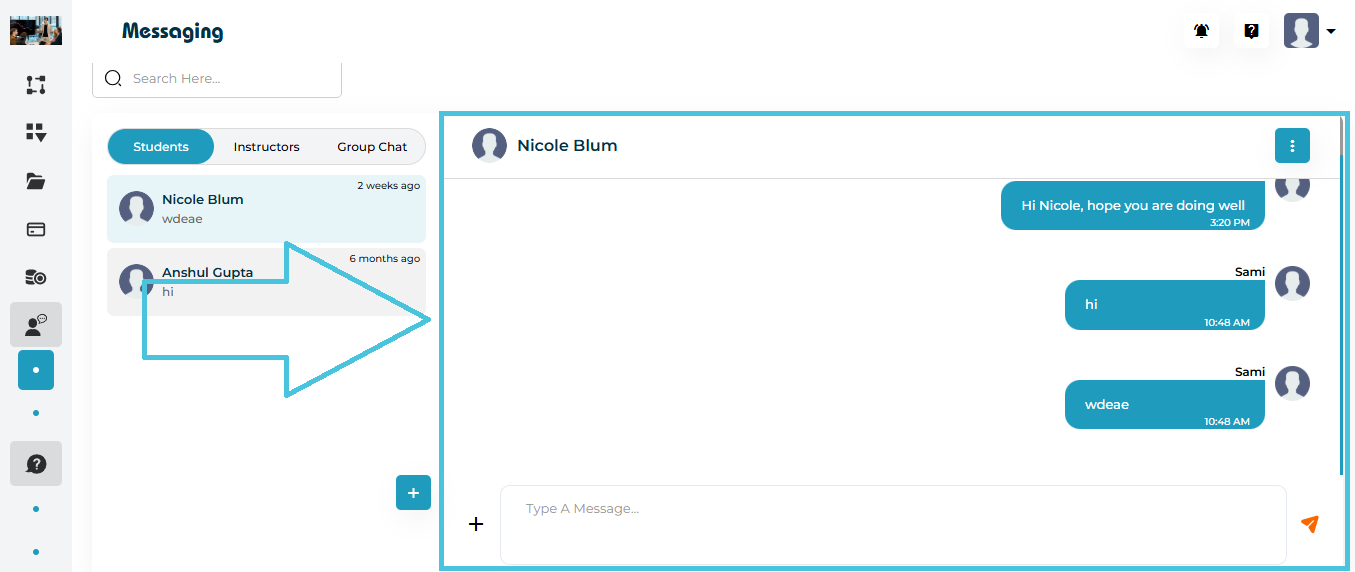
This opens the main Messaging interface, where all one-to-one and group conversations are managed.
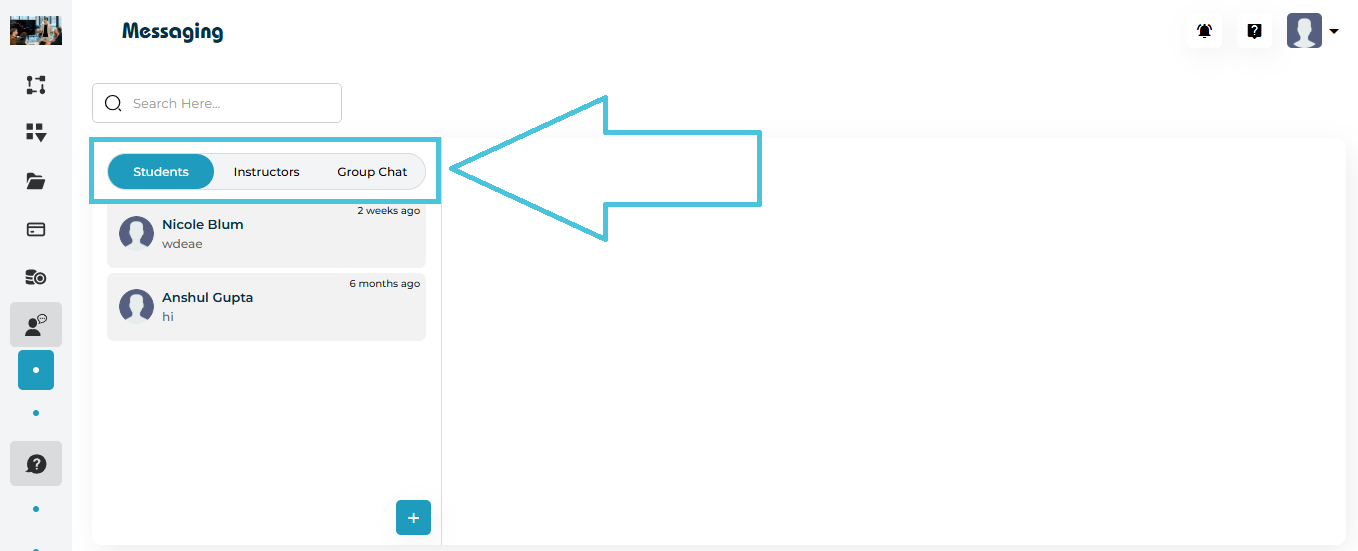
The Messaging screen is divided into three main areas:
1. Conversation Categories (Top Tabs)
-
Students – One-to-one chats with students
-
Instructors – One-to-one chats with instructors
-
Group Chat – Group conversations with multiple participants
You can switch between these tabs at any time without losing chat history.
2. Conversation List (Left Panel)
This panel displays all existing conversations under the selected tab.
Each conversation shows:
-
User or group name
-
Profile icon
-
Last message preview
-
Time since last activity
Search Conversations
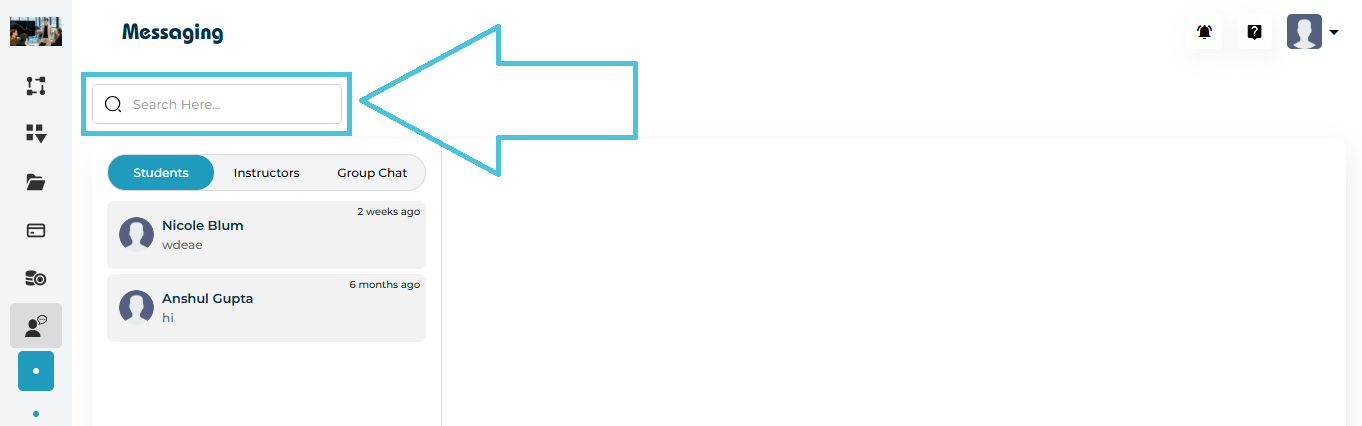
Use the Search bar at the top to quickly find a conversation by name.
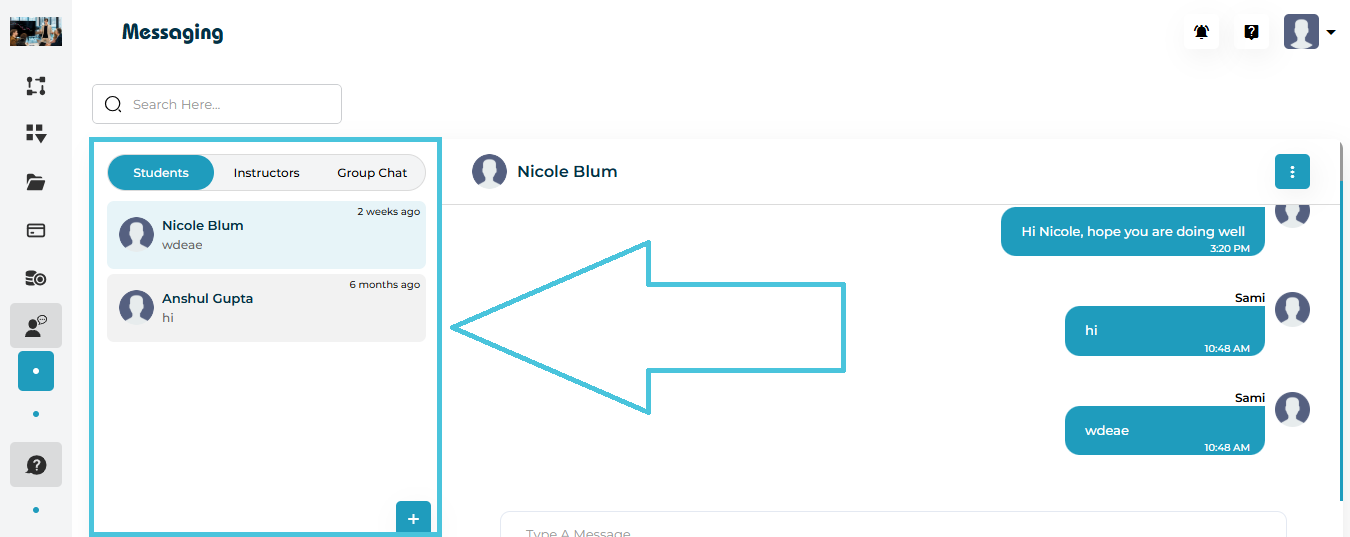
3. Chat Window (Main Panel)
The main panel shows:
-
Chat header with participant name
-
Message history
-
Message input field
-
Send button
Messages are displayed in a chat-style format, making conversations easy to follow.
Admins can start new conversations directly from the Messaging module.
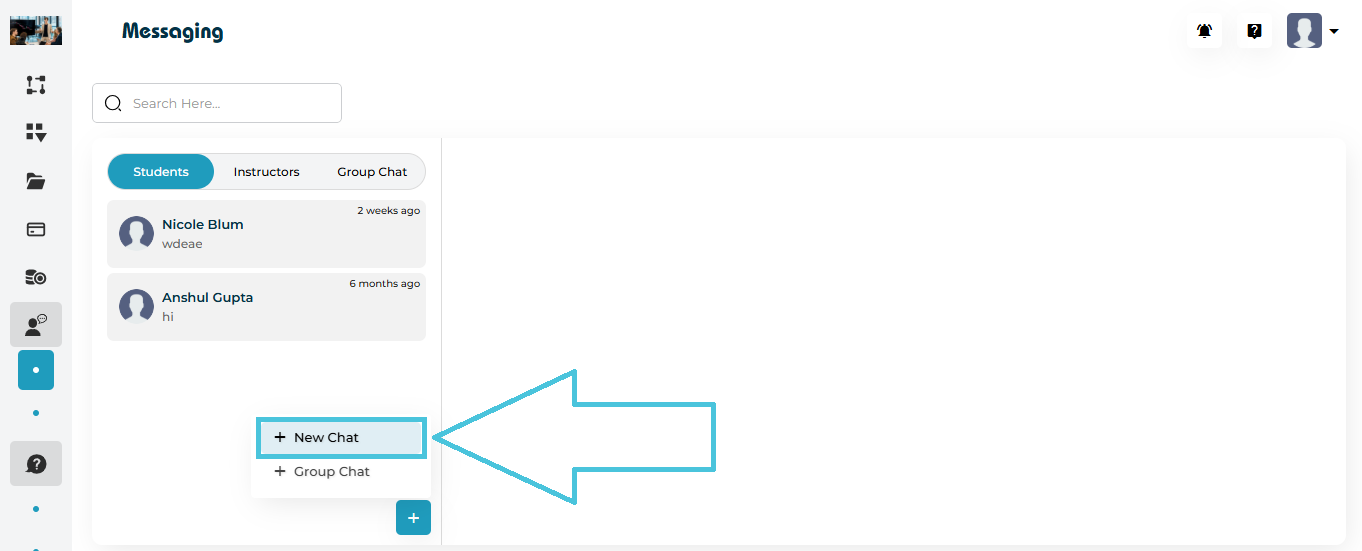
How to Start a New Chat
Click the ➕ (Add) button at the bottom of the conversation list
Select New Chat
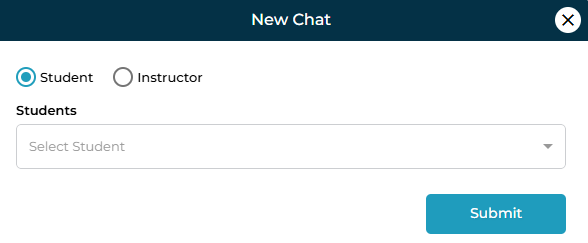
Choose the chat type:
Student
Instructor
Select the user from the dropdown list
Click Submit
A new one-to-one chat is created instantly.
Once a conversation is open:

-
Click inside the Type a message… input field
-
Enter your message
-
Click the Send (➤) button
The message is delivered in real time and added to the chat history.
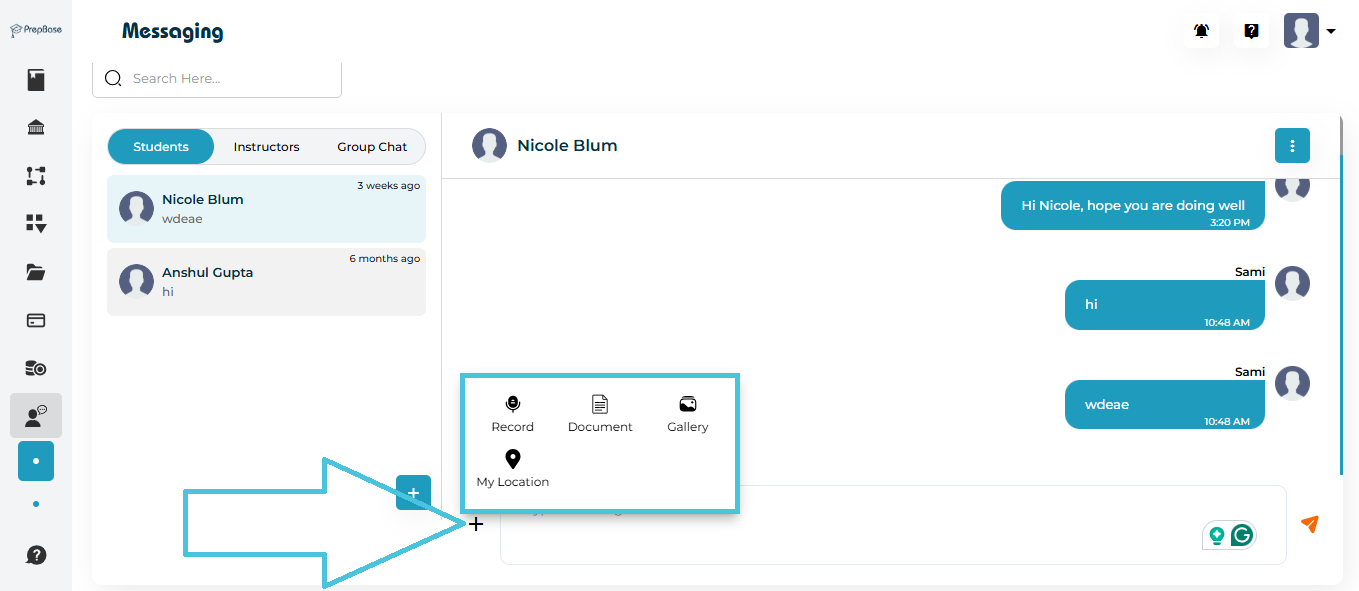
Sending Attachments
PrepBase allows you to share additional content such as documents, images, voice recordings, and location details during a conversation.
To send an attachment:
-
Click the ➕ (Add) icon next to the message input field.
-
Select one of the available attachment options:
-
Record – Record and send a voice message directly from the chat.
-
Document – Upload and share files such as PDFs, Word documents, or other supported file types.
-
Gallery – Select and send images from your device.
-
My Location – Share your current location with the recipient.
-
-
Choose or upload the required file/content.
-
Click the Send (➤) button to deliver the attachment.
The attachment is sent instantly and appears within the conversation thread, just like regular messages.
Group chats allow admins to communicate with multiple users simultaneously.
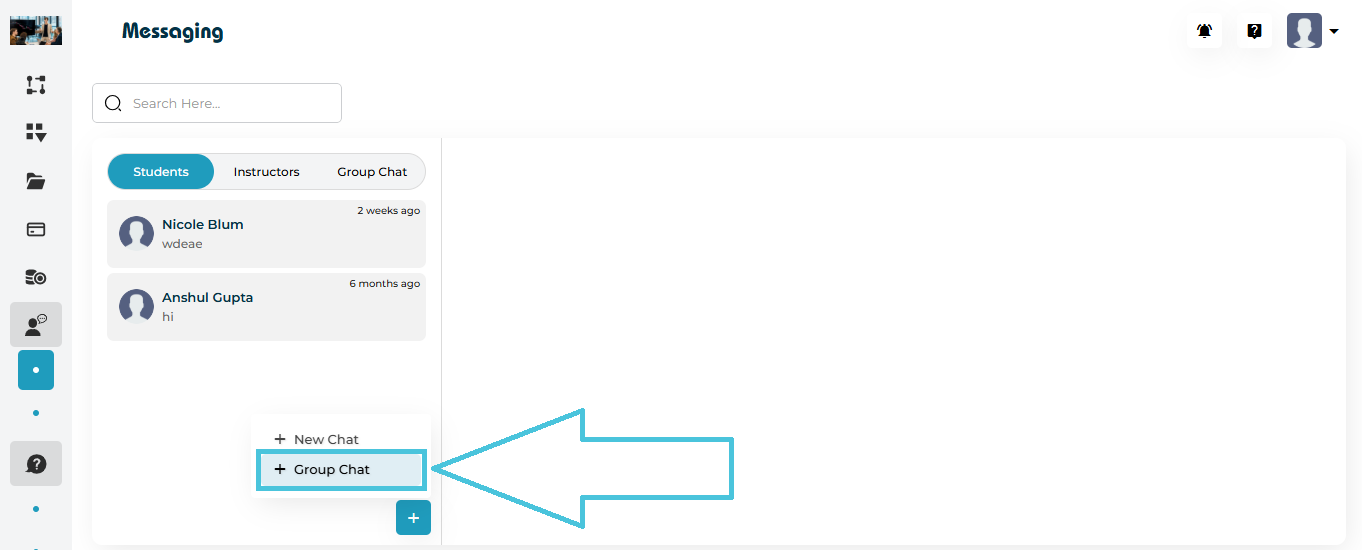
How to Create a Group Chat
Click the ➕ (Add) button
Select Group Chat
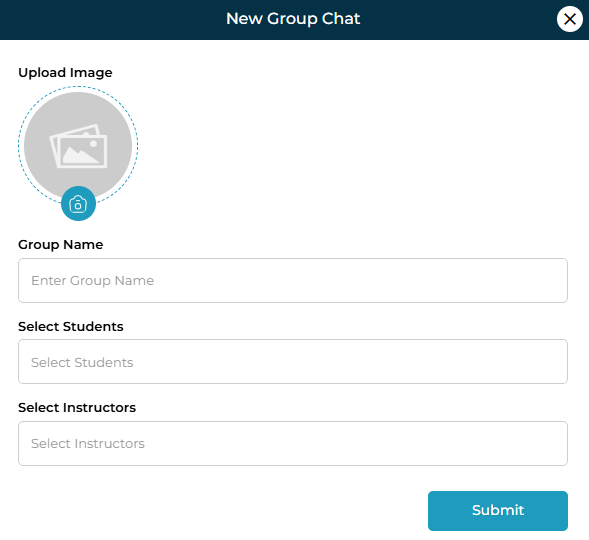
Upload a Group Image (optional)
Enter a Group Name
Select Students
Select Instructors
Click Submit
The group chat is created and appears under the Group Chat tab.
Managing Group Conversations
In group chats:
All selected participants can view and respond to messages
Messages are visible to all members
Group chats are useful for:
Batch announcements
Session coordination
Program or class communication
Admins can remove conversations when they are no longer needed.
How to Delete a Chat
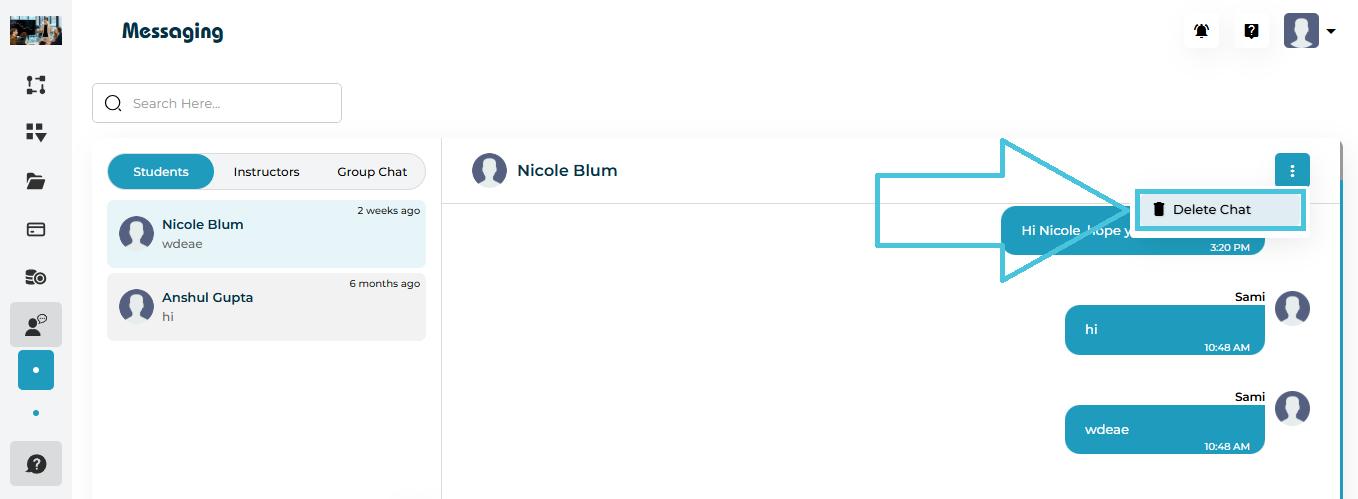
Open the conversation
Click the three-dot menu in the top-right corner
Select Delete Chat
Confirm the action
⚠️ Deleting a chat permanently removes the conversation history.