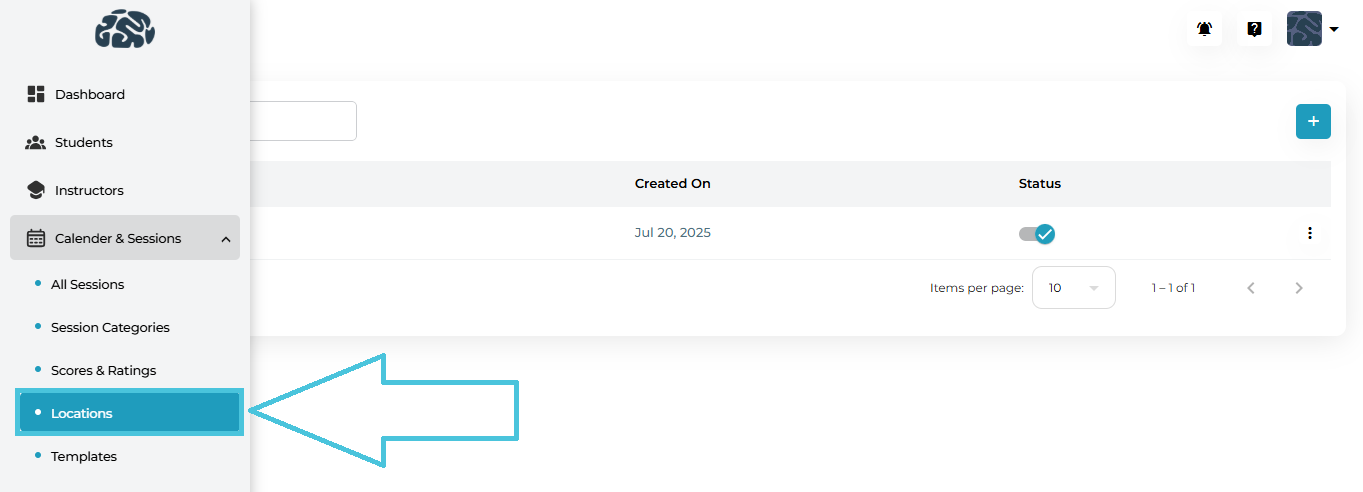
Go to Calendar & Sessions from the left navigation panel.
Click Locations.
Administrators can create new session locations to match organizational needs.
How to Add a Location
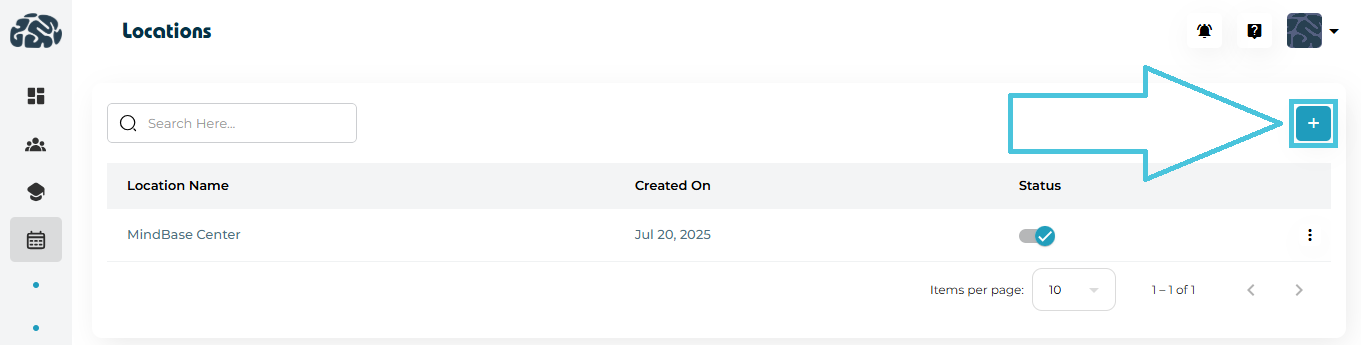
Go to Calendar & Sessions → Locations.
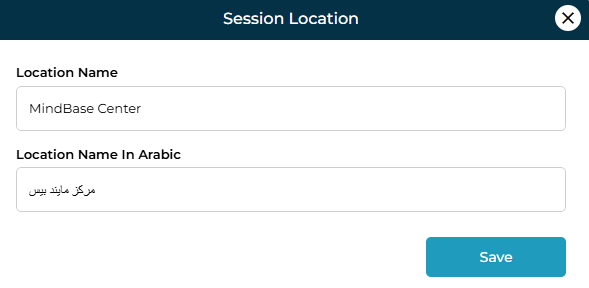
Click the Add Location (+) button.
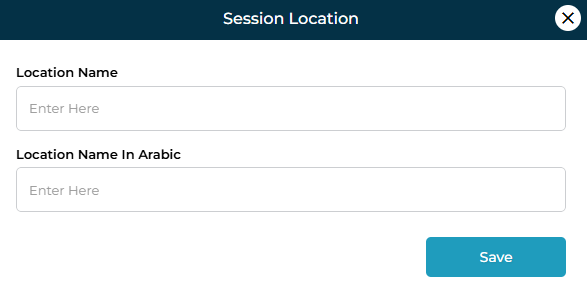
Fill in the required details:
Location Name (English)
Location Name in Arabic (optional for bilingual setups)
Click Save.
Examples of Locations You Might Add
Main Training Center
Dubai Academic Campus
Student Home Visit
Virtual Meeting (Zoom, Google Meet, Teams)
Conference Room A
Library Study Hall
By defining these once, instructors can select them easily during session scheduling, preventing errors and inconsistencies.
If a location name changes or needs updating:
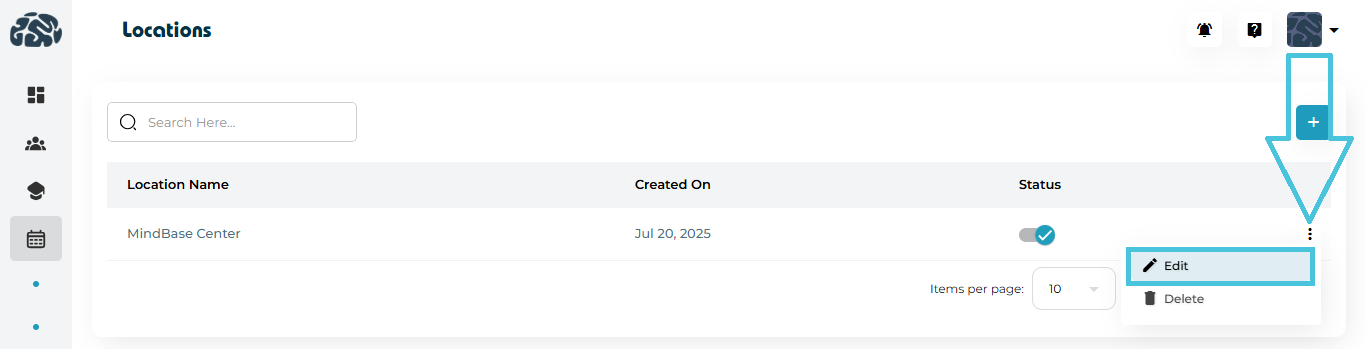
Steps to Edit
Open Calendar & Sessions → Locations.
Click the three-dot menu next to the location.
Select Edit.
Update the English or Arabic name as needed.
Click Save.
Use Case Example
Rebranding “MindBase Center” to “PrepBase Learning Hub”.
Updating “Virtual Meeting” to include a specific platform name.
Refining location names for clarity (e.g., “Room 12B – Math Lab”).
Locations can be removed if they are no longer in use.
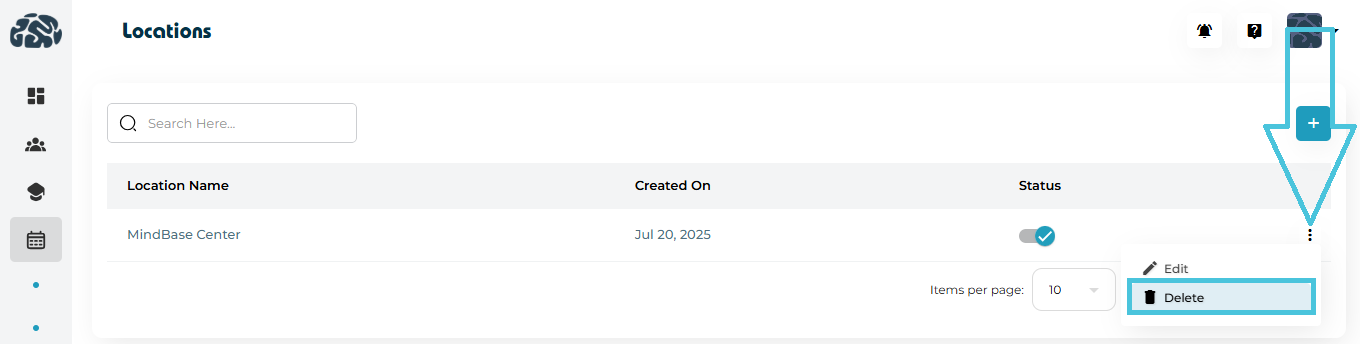
How to Delete
Navigate to the Locations list.
Click the options menu (⋮) on the right of the location.
Choose Delete.
Confirm the action.
Each location includes a status toggle that allows Admins to control availability without deleting the record.
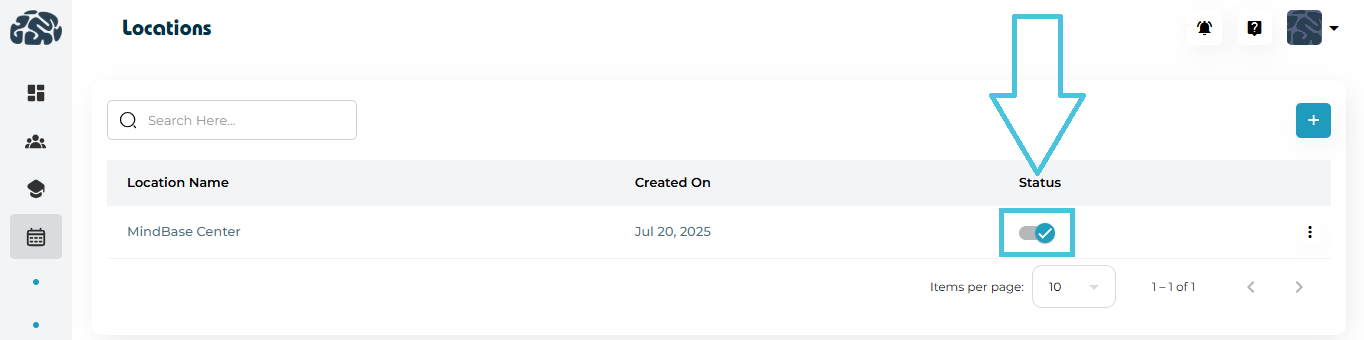
Why Use Status Controls?
Temporarily disable locations during renovations or closures.
Hide locations not yet ready for use.
Prevent instructors from selecting outdated or inactive sites.
Locations marked as inactive will not appear in the session scheduling dropdowns.