Go to Students → Student Profiles
Select a student
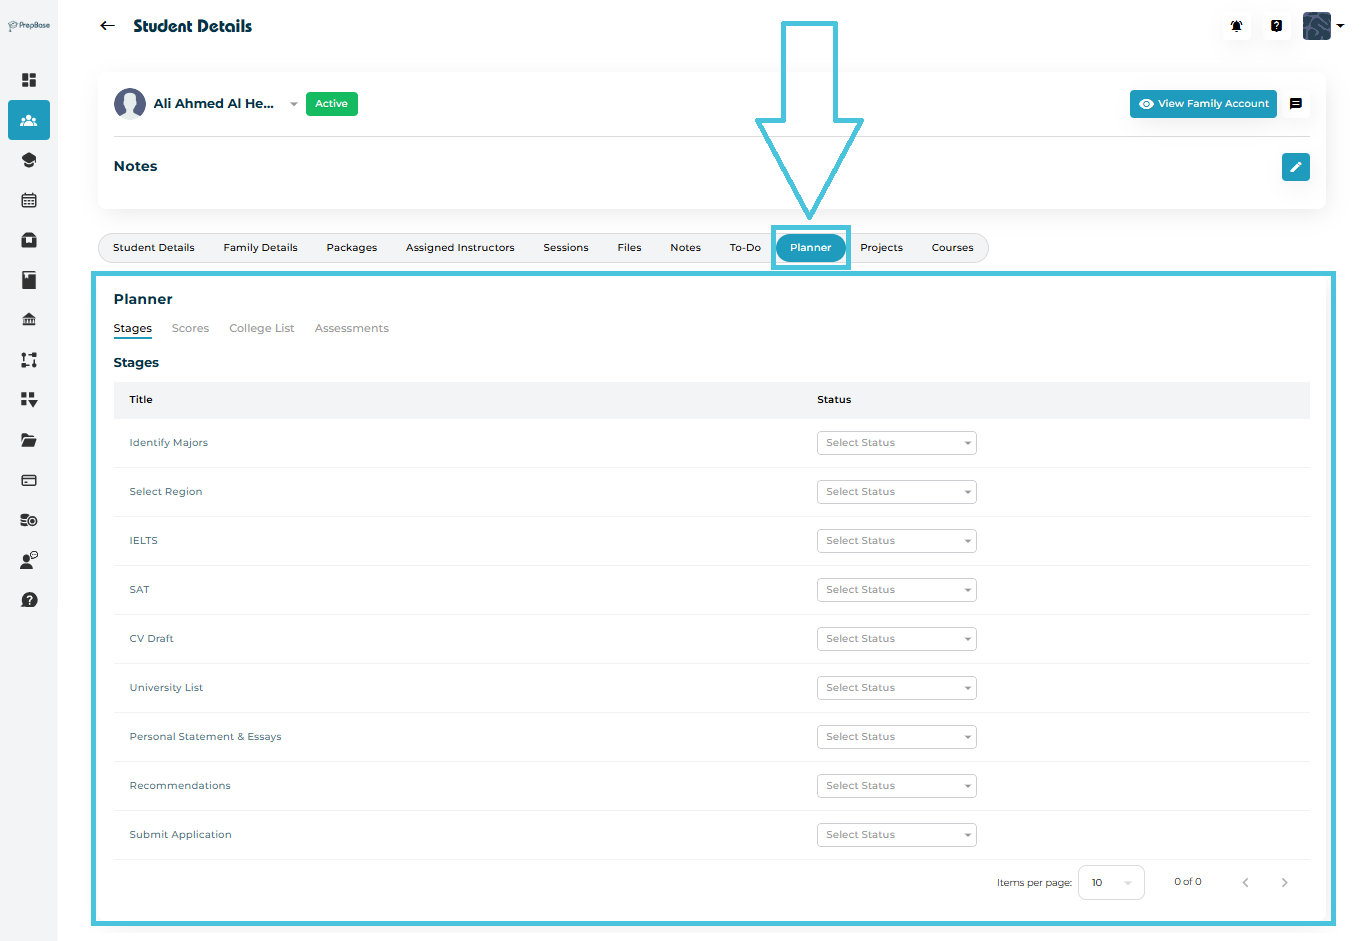
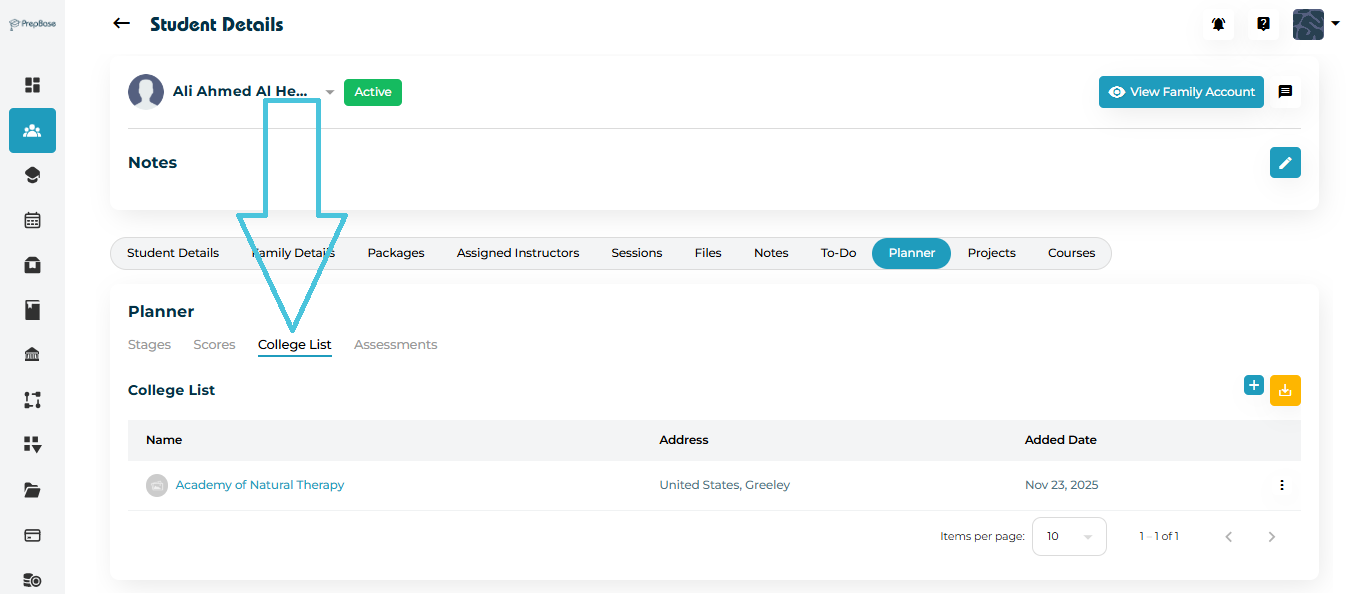
Click the Planner tab
Inside the Planner, you’ll find four sub-sections:
Stages – Tracks key steps in the student’s application timeline
(can be defined by admin under the Stages & Scores subtab within the Workflow tab in the admin panel)Scores – Stores standardized test results
(can be defined by admin under the Stages & Scores subtab within the Workflow tab in the admin panel)College List – Saves colleges the student intends to apply to
Assessments – Coming Soon
The Stages tab breaks the entire application process into actionable steps.
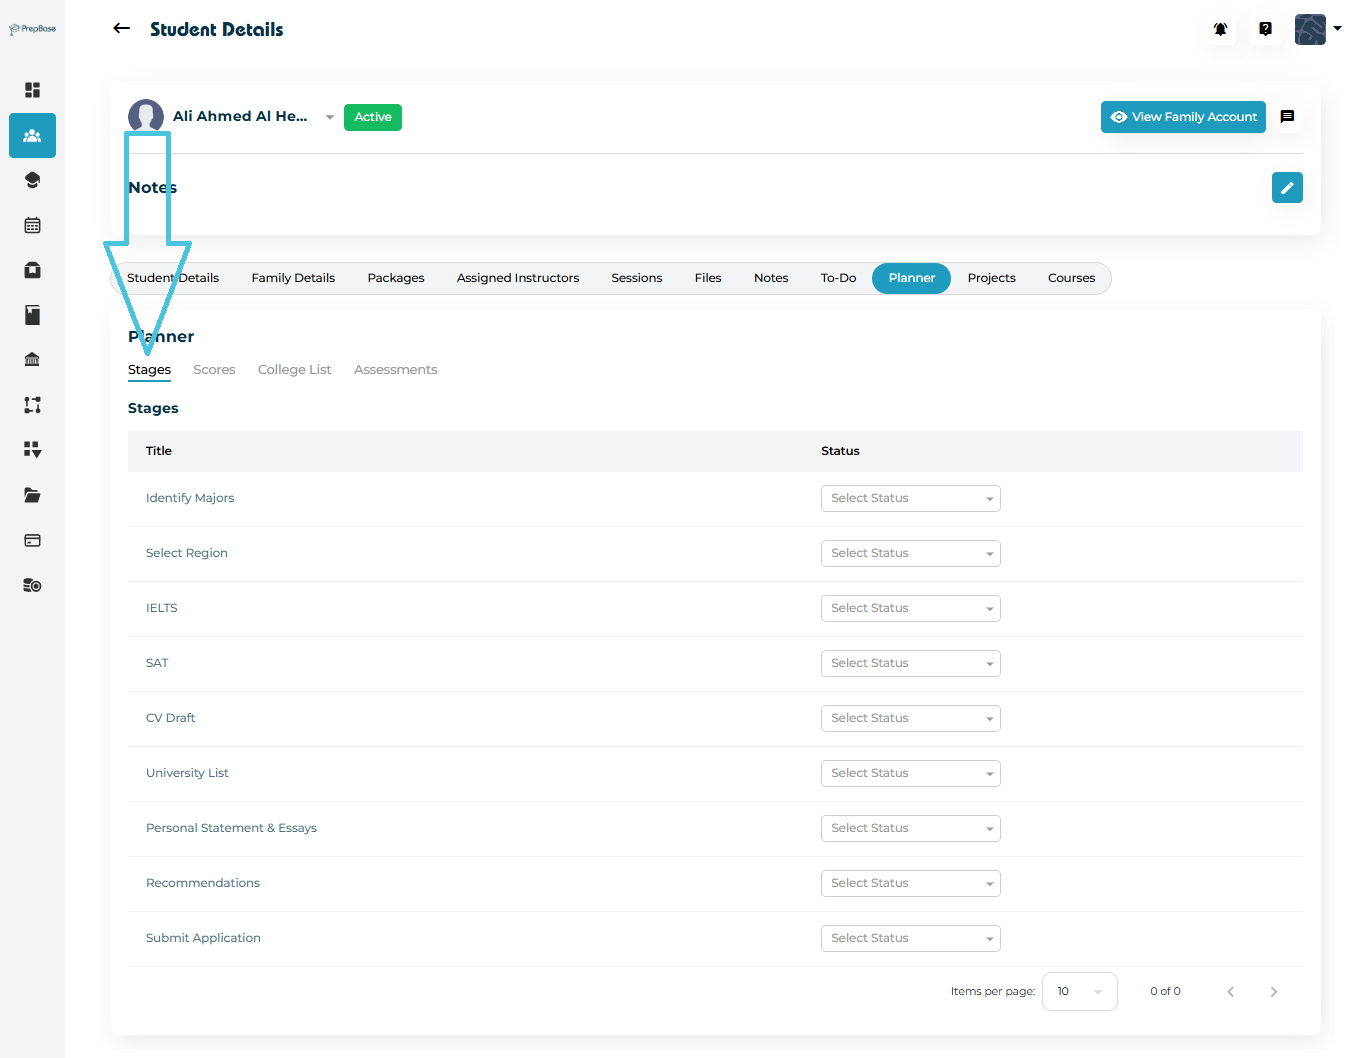
Typical stages include:
Identify Majors
Select Region
IELTS / SAT prep
CV Draft
Personal Statement
Recommendations
University List
Submit Application
Note: these stages and the statuses for each can be customized and defined by admins by navigating to the Stages & Scores subtab under the Workflow main tab in the admin panel.
Updating Stage Status
Each stage has a dropdown with the statuses defined by admin, for example:
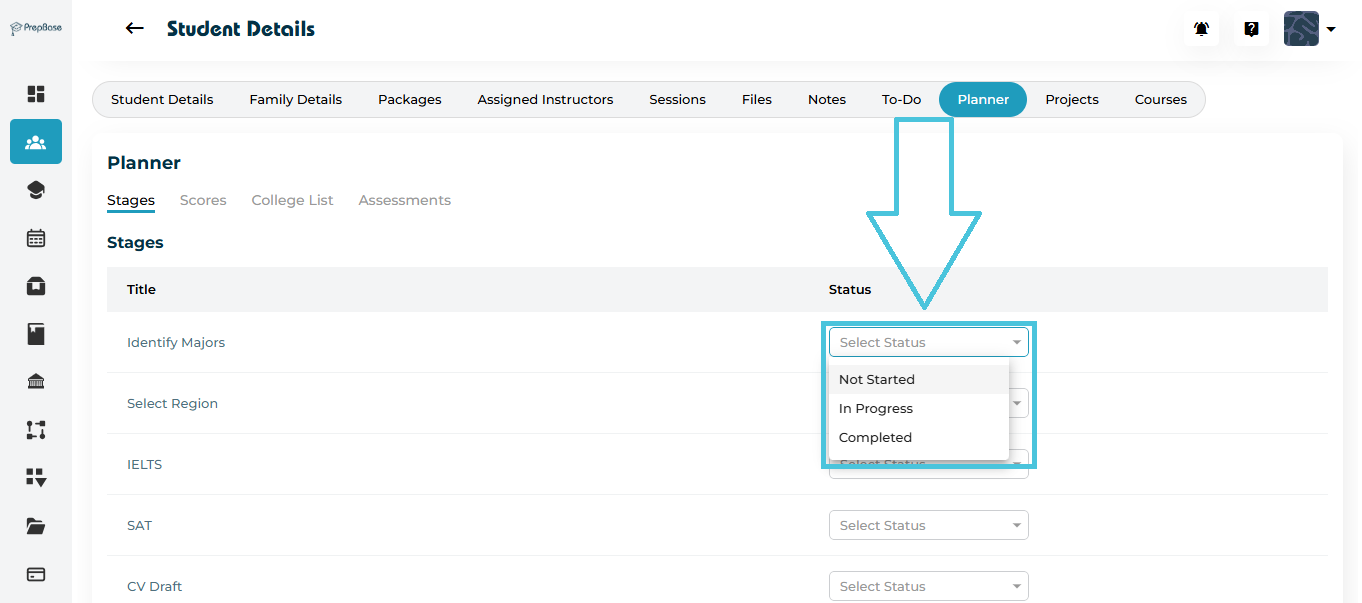
Not Started
In Progress
Completed
Simply:
Select the stage
Choose the status
Status saves automatically
The Scores tab displays key academic test results required for admissions or any scores that you want to keep track of for all of your students.
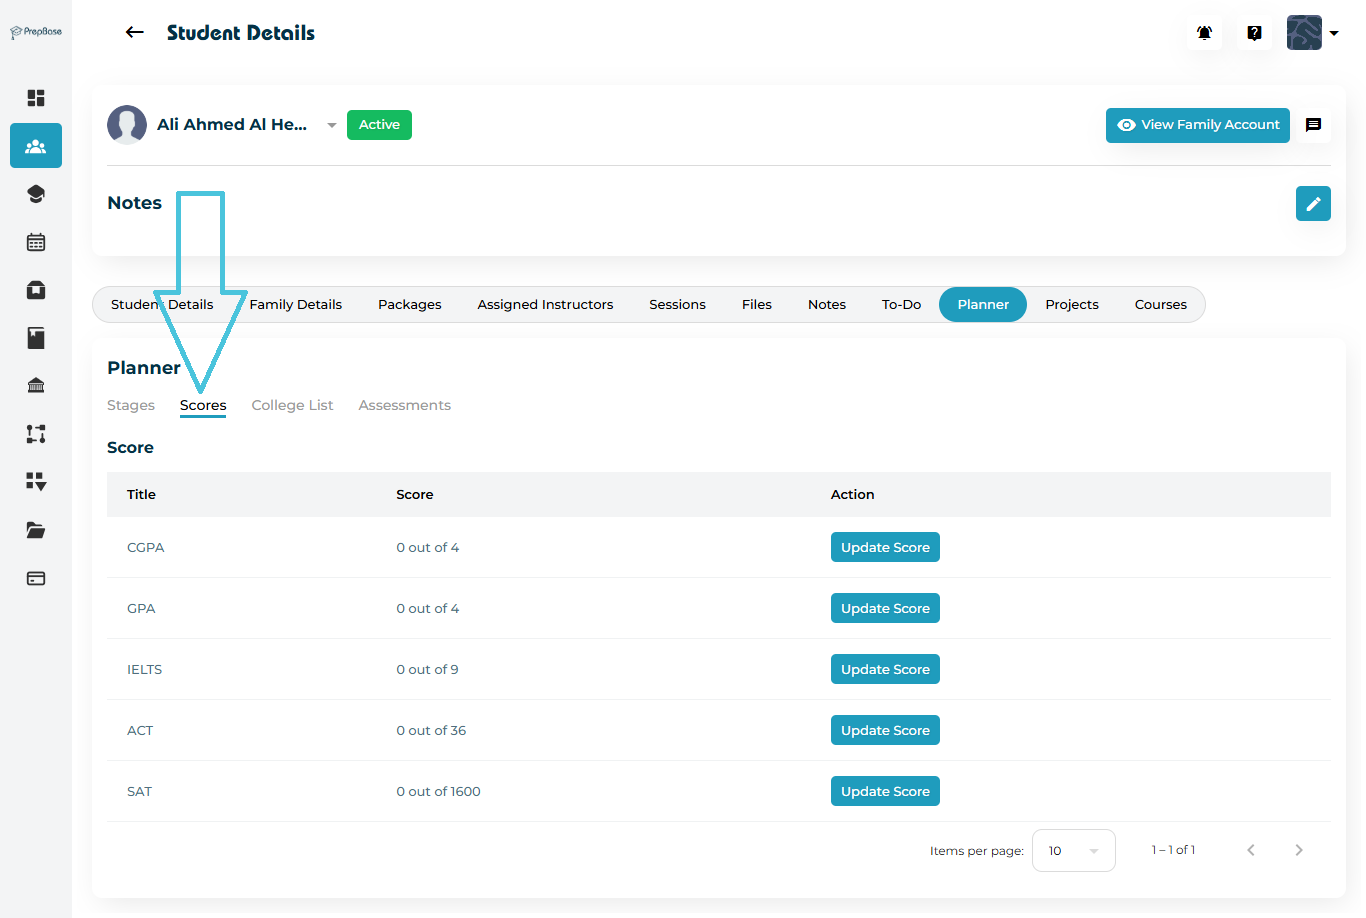
Typical Scores include:
CGPA
GPA
IELTS
ACT
SAT
Note: these scores can be customized and defined by admins by navigating to the Stages & Scores subtab under the Workflow main tab in the admin panel.
Updating a Score
Click Update Score next to the test
Enter the score
Save changes
This creates an easy reference sheet for counselors managing applications.
The College List sub-tab stores all universities a student is planning to apply to.
➕ Adding a College to the List
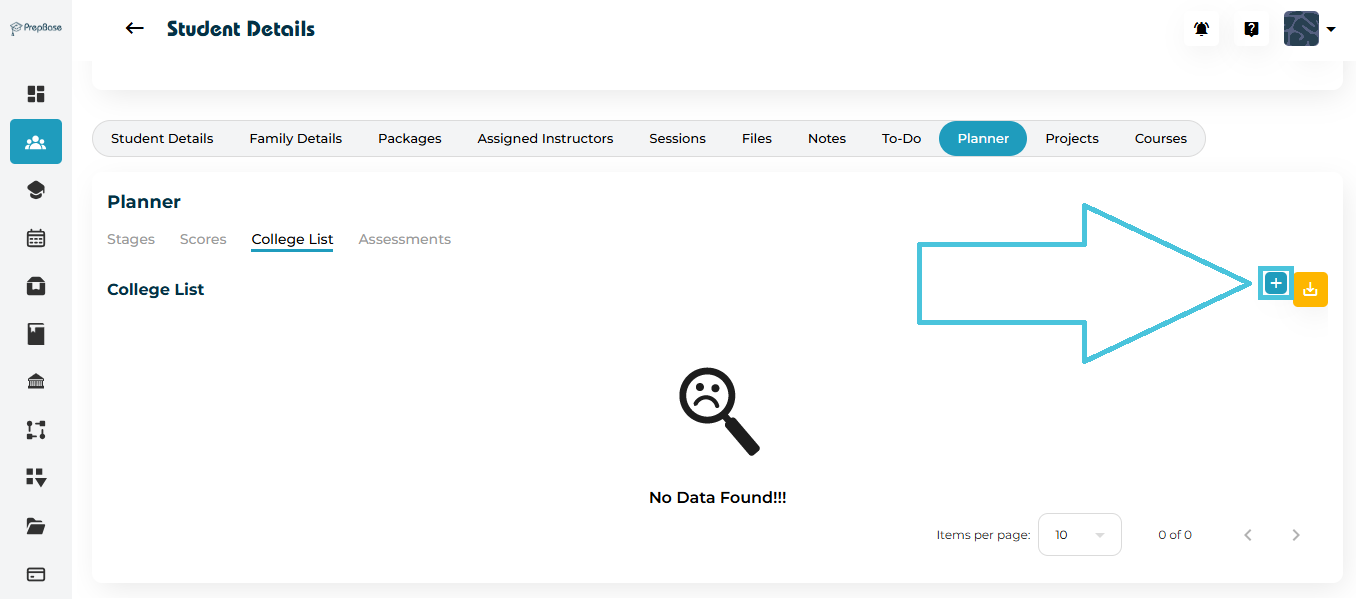
Click the ➕ Add College button
A searchable list of all PrepBase colleges appears (these colleges can also be added by admin by navigating to the Schools & Colleges main tab in the admin panle)
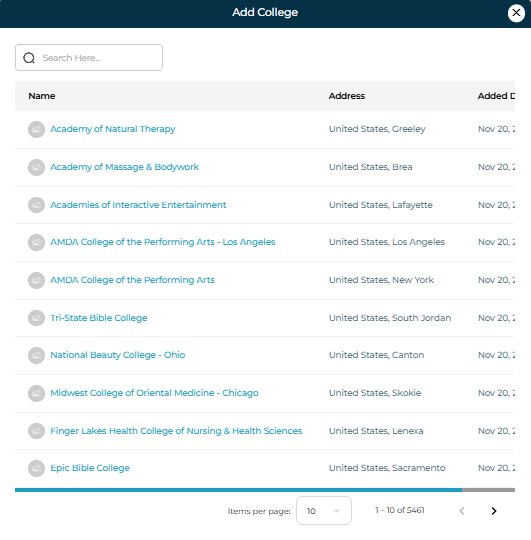
Search for the college
Click the name of the college or the three-dot menu (⋮) next to the college
Select Add to List
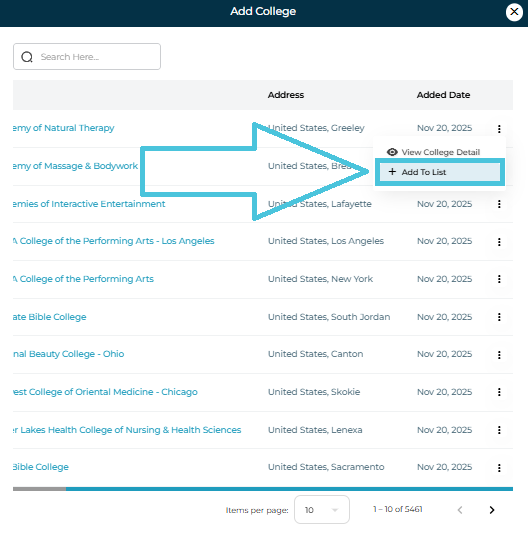
The college will now appear in the student’s personalized application list.
To review college information before adding:
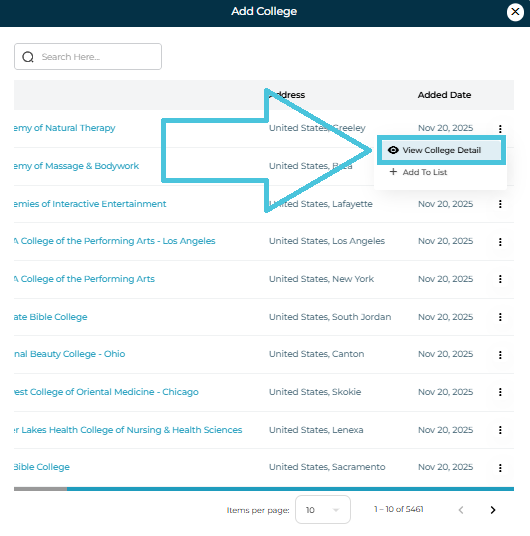
Click View College Detail from the menu
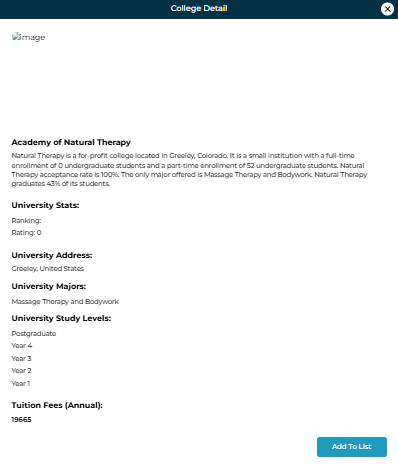
This shows any available details including:
Overview
Address
Fees
Majors
Rankings
Study levels
The Assessments tab displays all academic or counseling assessments completed by the student.
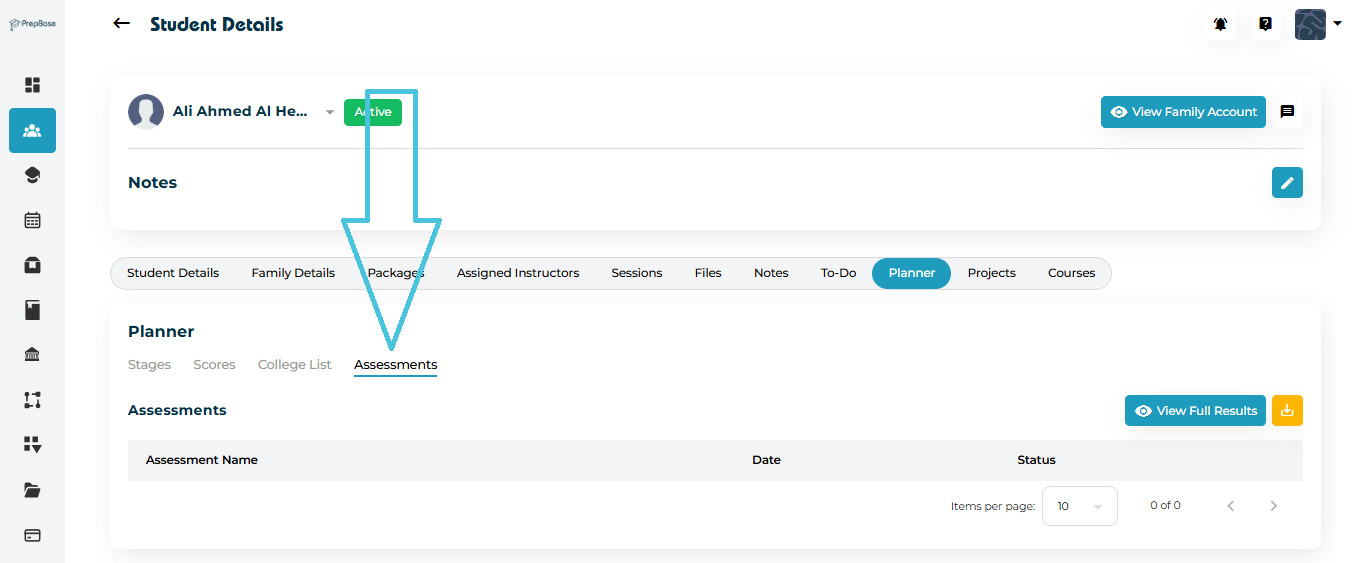
You can:
View the assessment name
Check completion date
Review the status
Open full results via View Full Results
These assessments help administrators measure the student’s preparedness for the application cycle.